You want to learn how to crochet, but you’re staring at a pile of yarn and a hook with absolutely no clue where to start. Maybe you’ve watched a few videos, but the stitches all blur together, and the patterns look like they’re written in code. I’ve been there.
When I first picked up a hook, I thought I knew what I was doing. I had slip stitch and single crochet completely mixed up, and my first few projects were a mess. If someone had sat me down and walked me through the basics — the real, practical stuff — I would have saved hours of frustration. So here’s everything I wish I’d known from day one.
Start With the Basic Stitches — And Actually Learn Them
The biggest mistake beginners make is jumping into a complicated project before they’ve nailed the fundamentals. You don’t need to know every stitch in the book, but you do need to be comfortable with a handful of them.
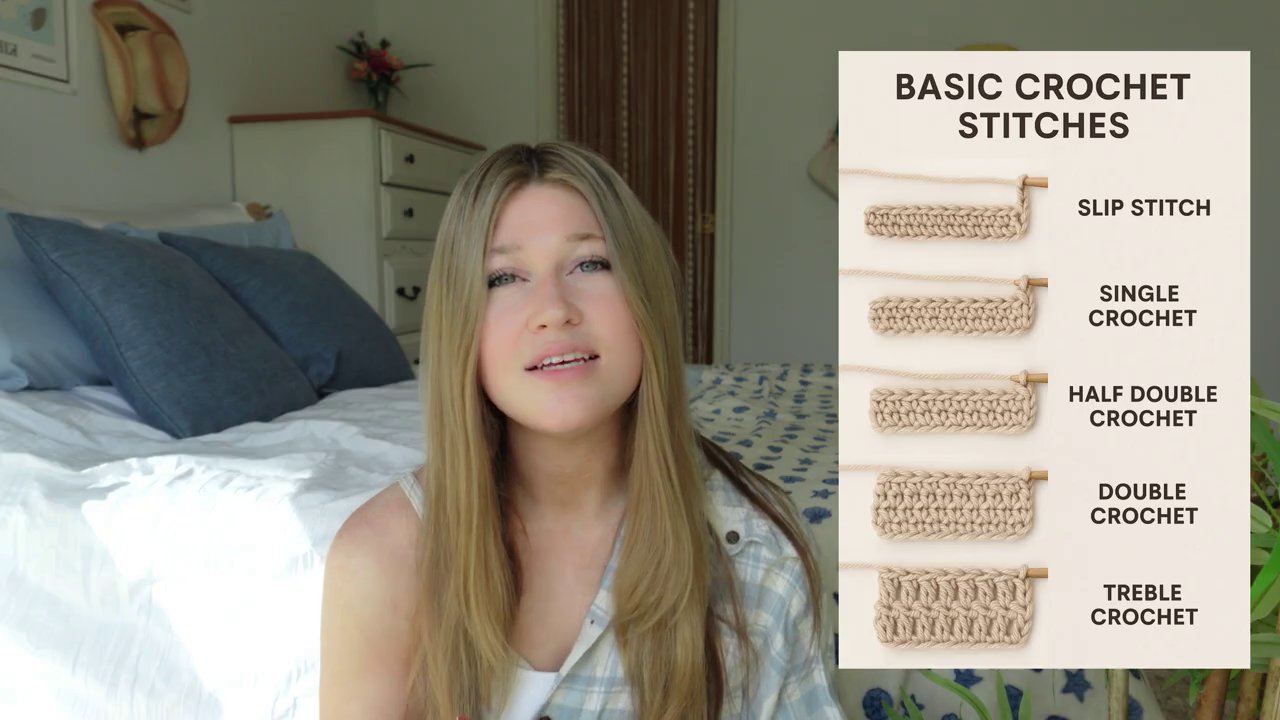
At minimum, learn how to make a slip knot, a slip stitch, a single crochet, and a double crochet. These four are the building blocks for almost everything else. Once you’ve got them down, you can make just about anything. Really.
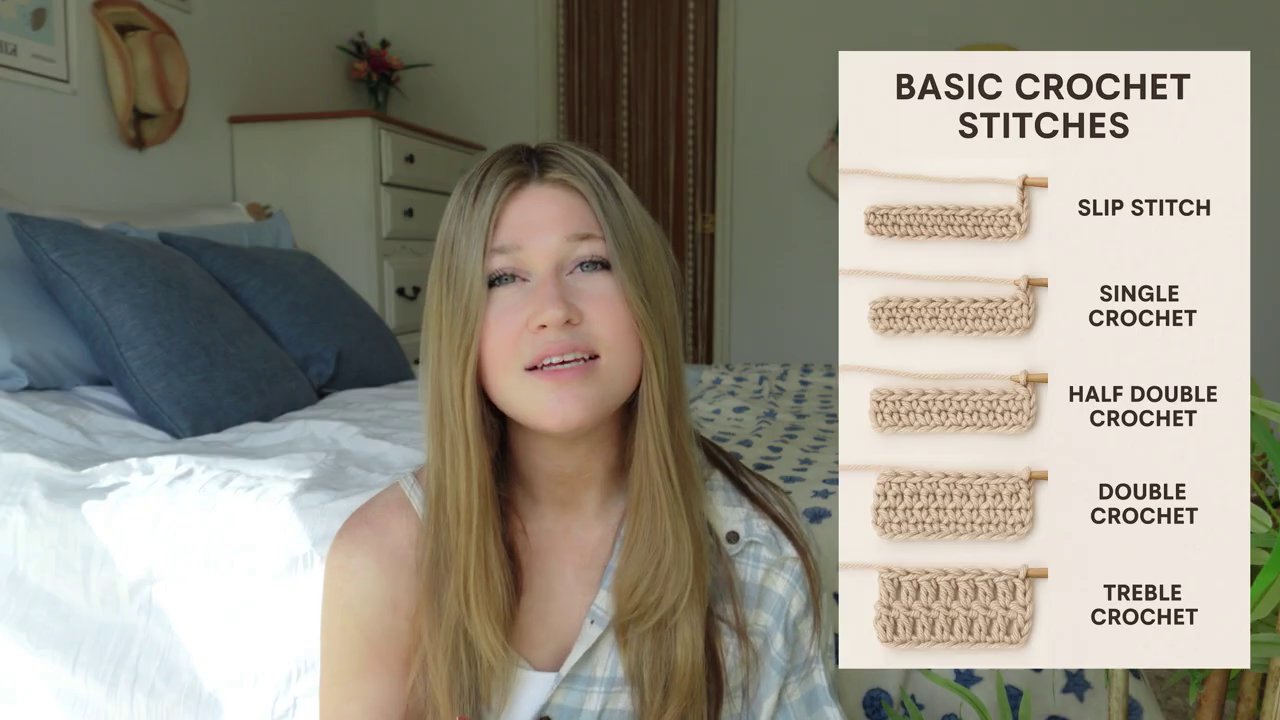
I started out only knowing slip stitching — and even that was shaky. I confused it with single crochet constantly, and every row I made looked wrong. It took me way too long to realize I needed to go back to basics. Don’t make that same mistake. Spend your first few sessions just practicing these stitches until they feel natural. Your future self will thank you.
Granny Squares Are Your Best Friend
If you’re looking for a first project, stop overthinking it. Make a granny square.
Granny squares are the perfect starting point because they teach you multiple stitches in a single project — chains, double crochets, and working into spaces. They’re small, so you won’t get discouraged when you realize how long crochet actually takes. And once you’ve mastered one, you can use it to make blankets, bags, cardigans, sweaters — you name it.
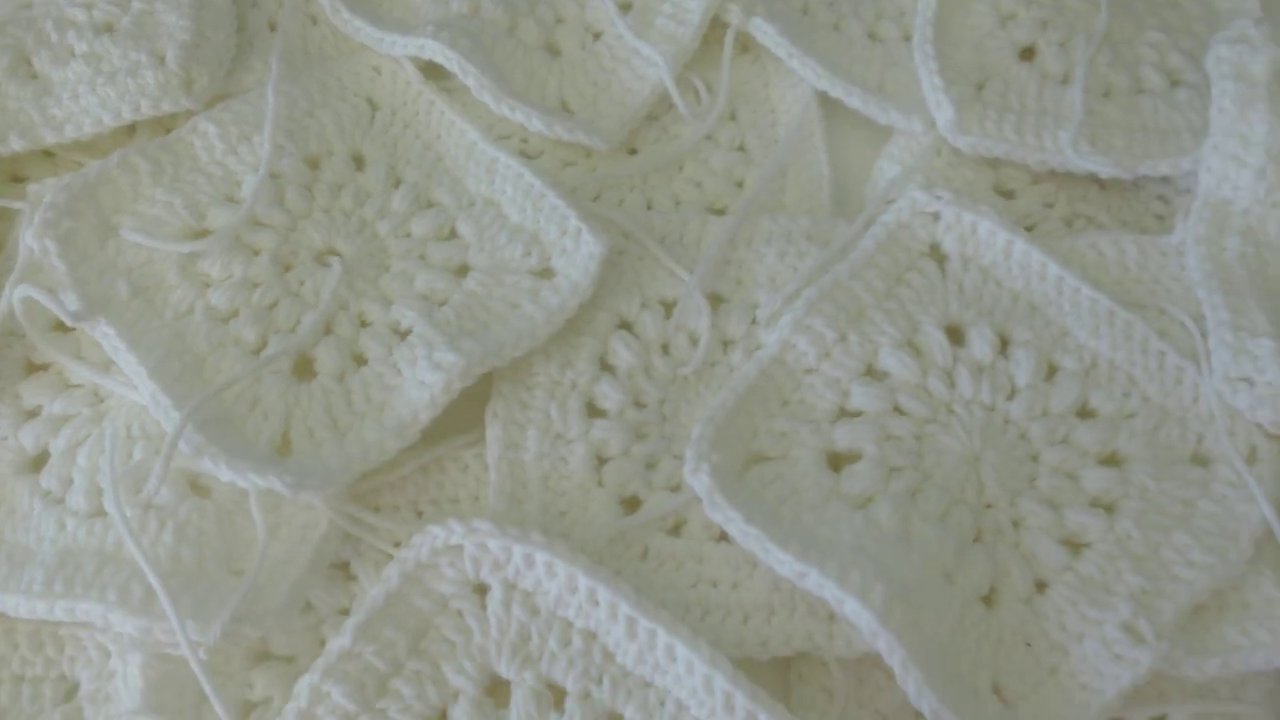
A granny square was one of the first things I learned, and honestly, it was the best place to start. It gave me a real sense of accomplishment without requiring a massive time commitment. If you want something even smaller, you could try a simple monster keychain — those work up fast and make great gifts.
Learn to Read Patterns (Abbreviations and Symbols)
Patterns are the language of crochet, and at first, they look like alphabet soup. “Ch, sc, dc, sl st” — what does any of that mean? But once you learn the abbreviations, reading a pattern becomes second nature.
Here’s the trick: the symbols for each stitch actually look like the stitch itself. A double crochet symbol, for example, looks like a little T with a crossbar — which is pretty much what a double crochet stitch looks like. Once you see that connection, it clicks fast.
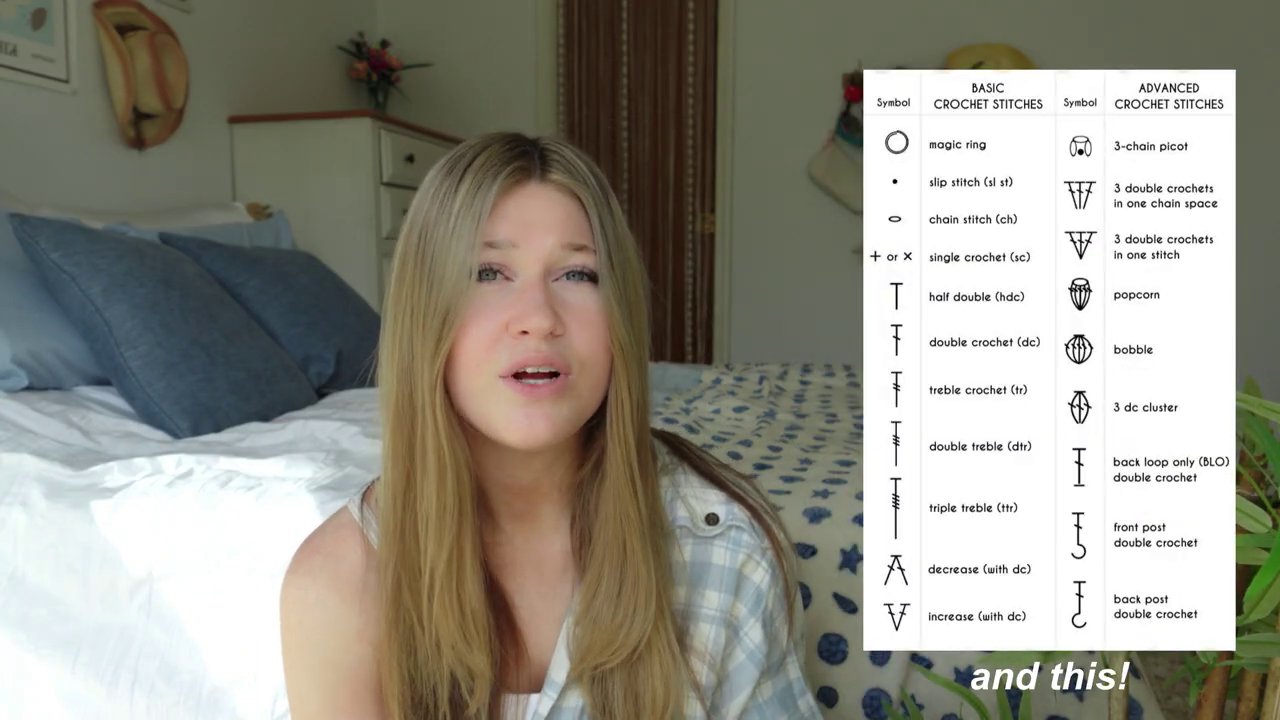
Take the time to memorize the most common abbreviations. It’s one of those small investments that pays off every single time you pick up a hook. You’ll be able to follow any pattern, from a simple dishcloth to an intricate sweater.
Use the Right Hook Size (Check the Yarn Label)
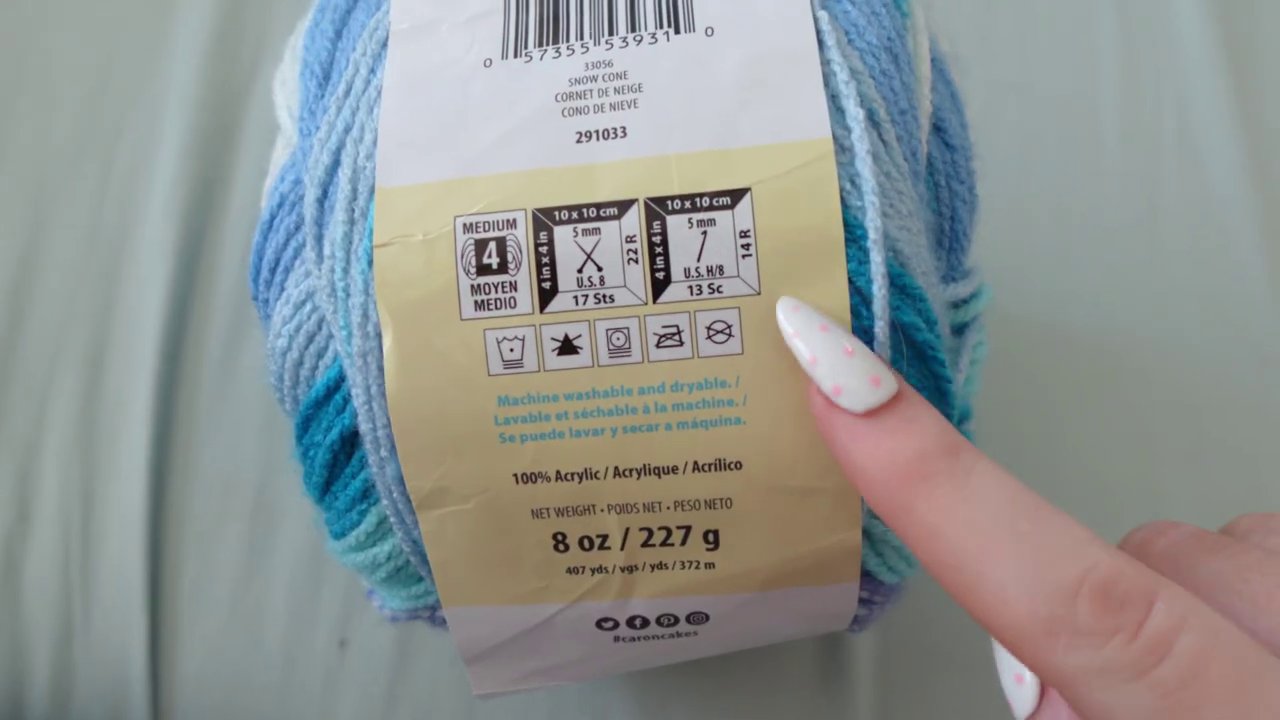
This seems obvious, but you’d be surprised how many beginners ignore it. Every skein of yarn has a wrapper that tells you exactly what hook size to use. If you use a bigger hook, your stitches will be loose and airy. Use a smaller hook, and they’ll be tight and dense.
If you want your project to turn out the way the pattern intended, match the hook to the yarn weight. It’s that simple.
Stitch Markers Will Save Your Sanity
When you’re working in rounds — like for hats or amigurumi — it’s incredibly easy to lose track of where your row started. Everything blends together, and suddenly you’re one stitch off and your circle looks like a potato.
Stitch markers fix that. Mark your first and last stitch of each round, and you’ll always know where you are. Don’t have actual stitch markers? No problem. I’ve used paper clips, safety pins, and even little scraps of yarn in a pinch. Desperate times call for desperate measures.
Don’t Throw Away Your Scrap Yarn
When you finish a project, you’ll almost always have leftover yarn. It’s tempting to toss it, but don’t. Scrap yarn is incredibly useful.
You can use it for stuffing amigurumi, sewing pieces together, making little bows or accessories, or even starting a whole new scrap-yarn project. There are tons of patterns designed specifically for using up leftovers. Keep a bag or box for scraps, and you’ll be glad you did when you need a small amount of yarn for a repair or embellishment.
Stretch Before You Crochet (Seriously)
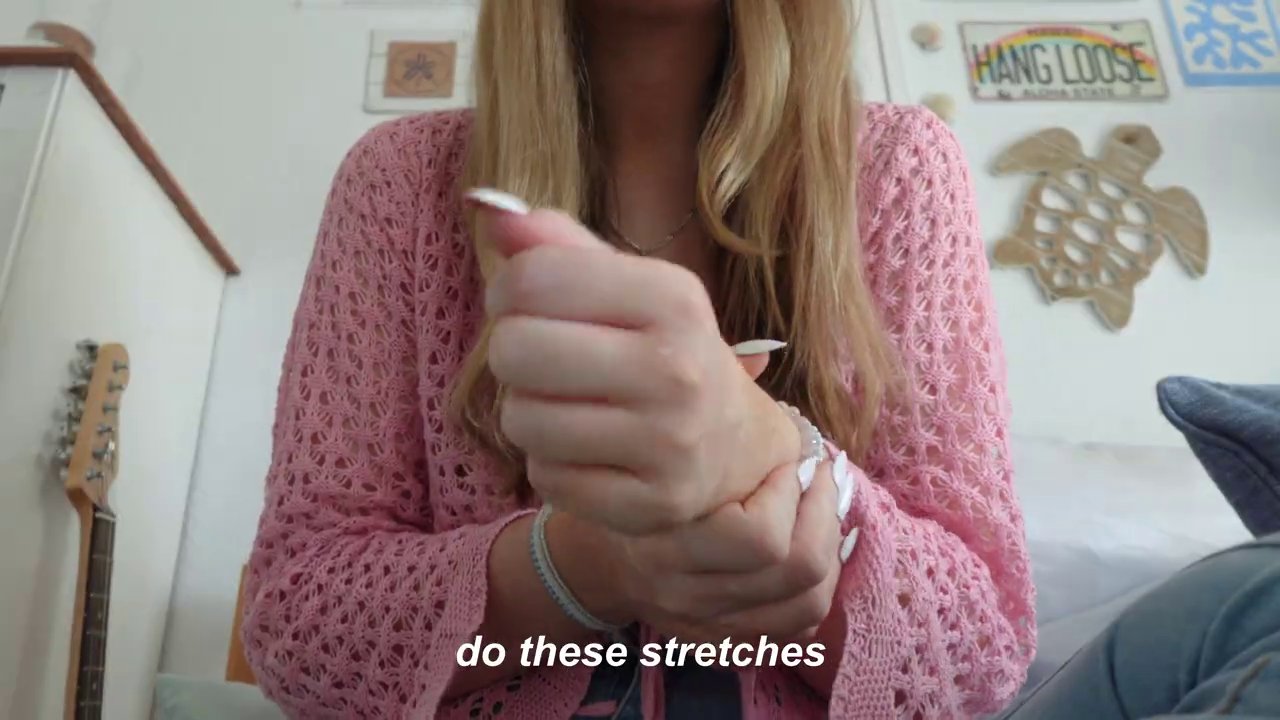
This sounds silly, but repetitive motion injuries are real. Carpal tunnel, sore wrists, tingling fingers — I’ve dealt with all of it because I didn’t take care of my hands.
Before you start a long crochet session, take two minutes to stretch your fingers, wrists, and forearms. Flex your hands back, make fists, rotate your wrists. It makes a huge difference. If you want to crochet for years to come, treat your hands like the tools they are.
Use Liquid Starch for Stiff Projects
If you’re making hats, purses, keychains, or wall decor, you might want your finished piece to hold its shape. Yarn is naturally flimsy, but liquid starch can stiffen it right up.
Just soak or spray your finished project with liquid starch, shape it the way you want, and let it dry. It’s a simple trick that makes a huge difference — especially for things like baskets or decorative pieces that need to stand up on their own.
Write Down Your Yarn Details Before You Start
Here’s a scenario that happens way too often: you start a project, lose the yarn wrapper halfway through, run out of yarn, and then have no idea what color or brand you were using. You search online, buy something that looks close, and it’s not even the same shade.
Avoid this by writing down the exact brand, color name, and dye lot before you start. Tape the wrapper to a notebook or take a photo on your phone. Future you will be grateful.
Secure Loose Ends With Fabric Glue
Loose ends are the worst. You weave them in, you think they’re secure, and then they pop out again. It’s maddening.
A quick fix: use fabric glue on the back of your project where no one will see it. Just dab a tiny bit on the loose ends and press them down. Hot glue works, but it gets crunchy and uncomfortable — especially on clothing. Fabric glue stays flexible and won’t ruin the feel of your work.
Start Small — Really Small
Crochet takes time. A lot more time than most people expect. When you see a beautiful blanket online, it’s easy to think, “I could make that in a weekend.” The reality is that even a small project can take hours.
That’s why your first project should be small. A granny square, a dishcloth, a simple keychain. Something you can finish in a sitting or two. Finishing a project feels amazing, and that feeling will keep you going. If you start with a king-size blanket, you’ll burn out before you finish the first row.
If you’re looking for a cute, quick project, try a baby crab or a jellyfish — they work up fast and make adorable gifts.
Final Thoughts
Starting crochet can feel overwhelming, but it doesn’t have to be. Focus on the basics, pick a small project, and don’t be afraid to make mistakes. Every single crocheter has ripped out rows, confused stitches, and started over. That’s part of the process.
The most important thing is to keep going. One stitch at a time, one row at a time. Before you know it, you’ll be making things you’re proud of — and wondering why you didn’t start sooner.
Now grab your hook and some yarn. You’ve got this.