There’s something about chenille yarn that makes you want to squeeze it before you even start crocheting. It’s impossibly soft, perfectly plush, and absolutely irresistible for amigurumi projects. But if you’ve ever tried to work with it, you already know the truth: that fluffy cloud of a yarn can be a total diva.
Working with chenille yarn feels magical and frustrating at the same time. The stitches disappear into the fuzz. The magic ring refuses to tighten. And the moment you think you’ve got it, the yarn splits and you’re left untangling a mess of tiny polyester fibers. I’ve been there more times than I can count. But I’ve also learned a few tricks that make the whole experience so much smoother — and I want to share them with you.
Start with a Pattern You Already Know
Here’s the honest truth: chenille yarn is not the best material for learning a new pattern. The fluffy texture makes it harder to see your stitches and count your rounds. If you’re trying to follow a new design for the first time while wrestling with this yarn, you’re setting yourself up for frustration.
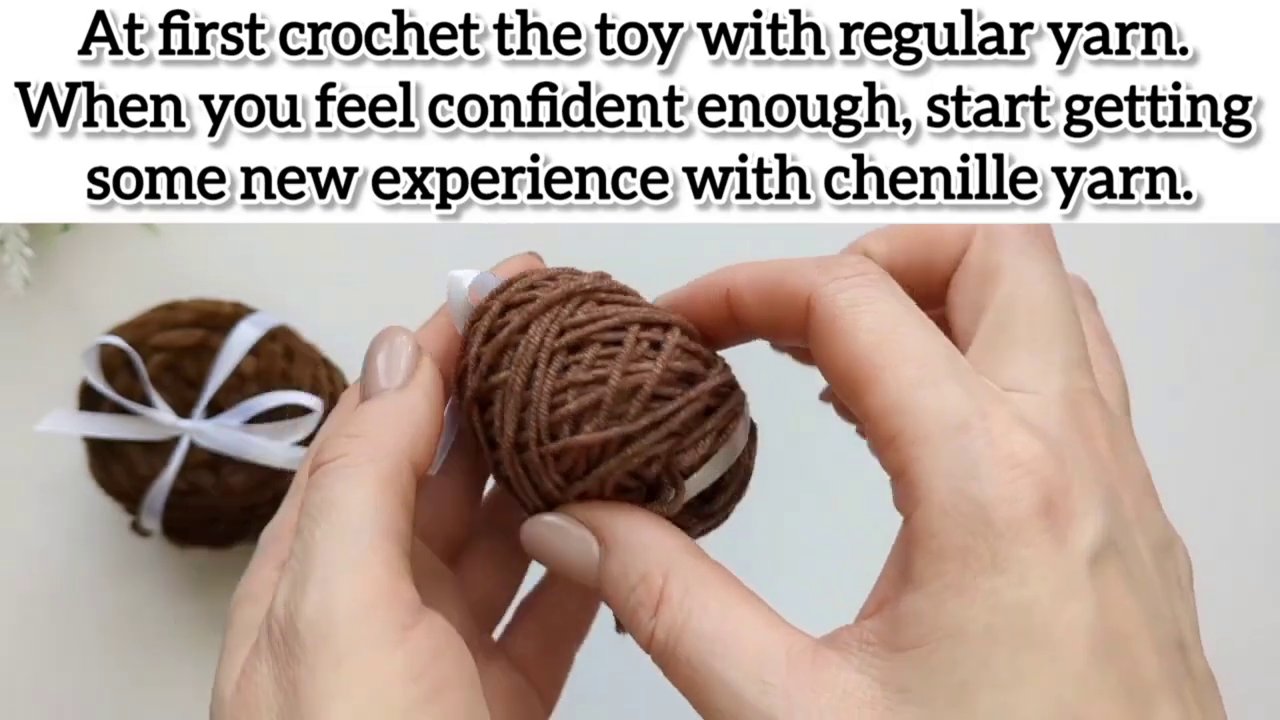
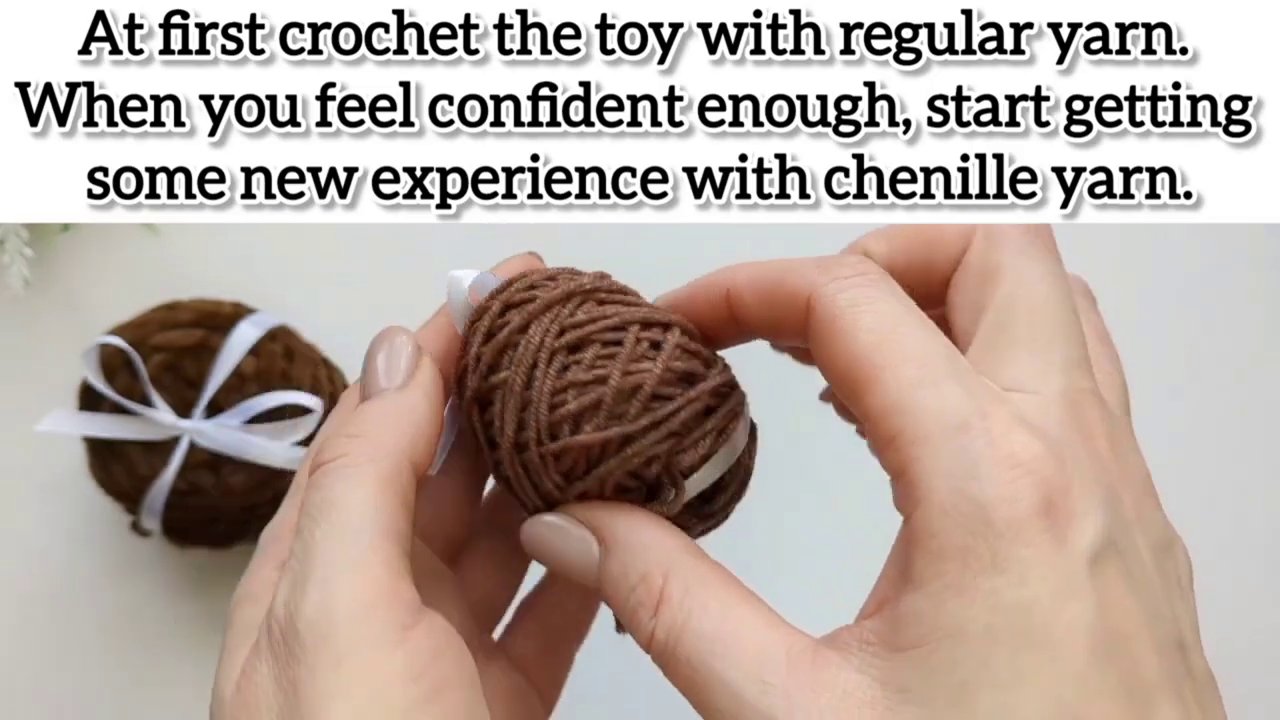
Instead, pick a pattern you’ve already made before — preferably one you could crochet in your sleep. Make it first with regular yarn, just to refresh your muscle memory. Once you’re comfortable with the shape and the stitch counts, switch to chenille for your next attempt.
This two-step approach lets you focus on learning the yarn’s behavior without also trying to decode a new pattern. It’s a small shift in workflow, but it makes a massive difference when you’re starting out.
Ditch the Magic Ring — Use the Chain 2 Method
The magic ring is a staple in amigurumi. It’s elegant, adjustable, and creates a perfectly closed center. But with chenille yarn? It’s a nightmare. The fuzz makes it nearly impossible to pull the tail tight enough to close the ring, and even when you manage it, the tension often loosens as you work the first round.
The chain 2 method is a simple alternative that works beautifully with plush yarns. Here’s how it goes:
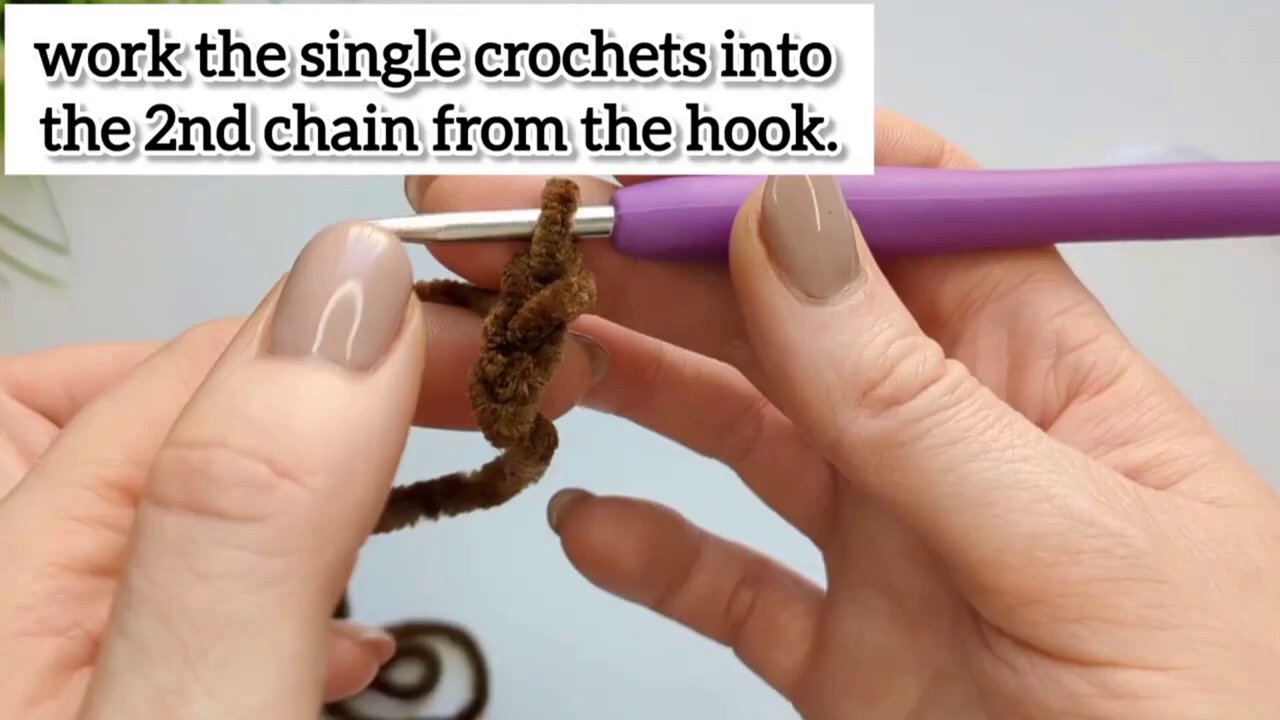
Make a slip knot and chain 2. Then work your single crochet stitches into the second chain from the hook — the one closest to the slip knot. That’s your first round. From there, continue in a spiral just like you would with a magic ring.
This method isn’t adjustable, but it creates a neat, tight center that holds its shape. And honestly, once you’ve sewn the piece closed or attached it to another part, the tiny gap at the start disappears into the fuzz anyway. No one will ever notice.
Use a Stitch Marker (and Not the Fancy Kind)
This tip sounds almost too simple to mention, but it’s one of those things that saves you from endless frustration. When you’re working with chenille yarn, it’s incredibly easy to lose track of where your round starts. The stitches blend together, and that little plastic stitch marker can be hard to see against all that fluff.
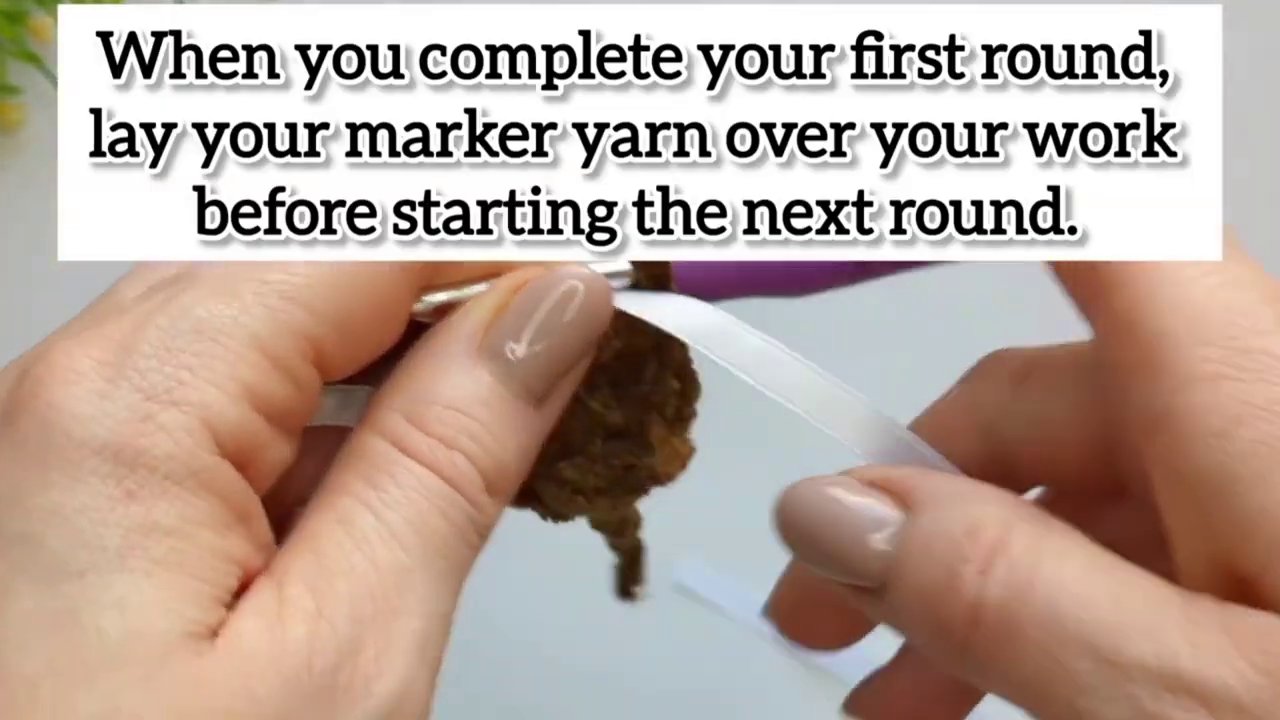
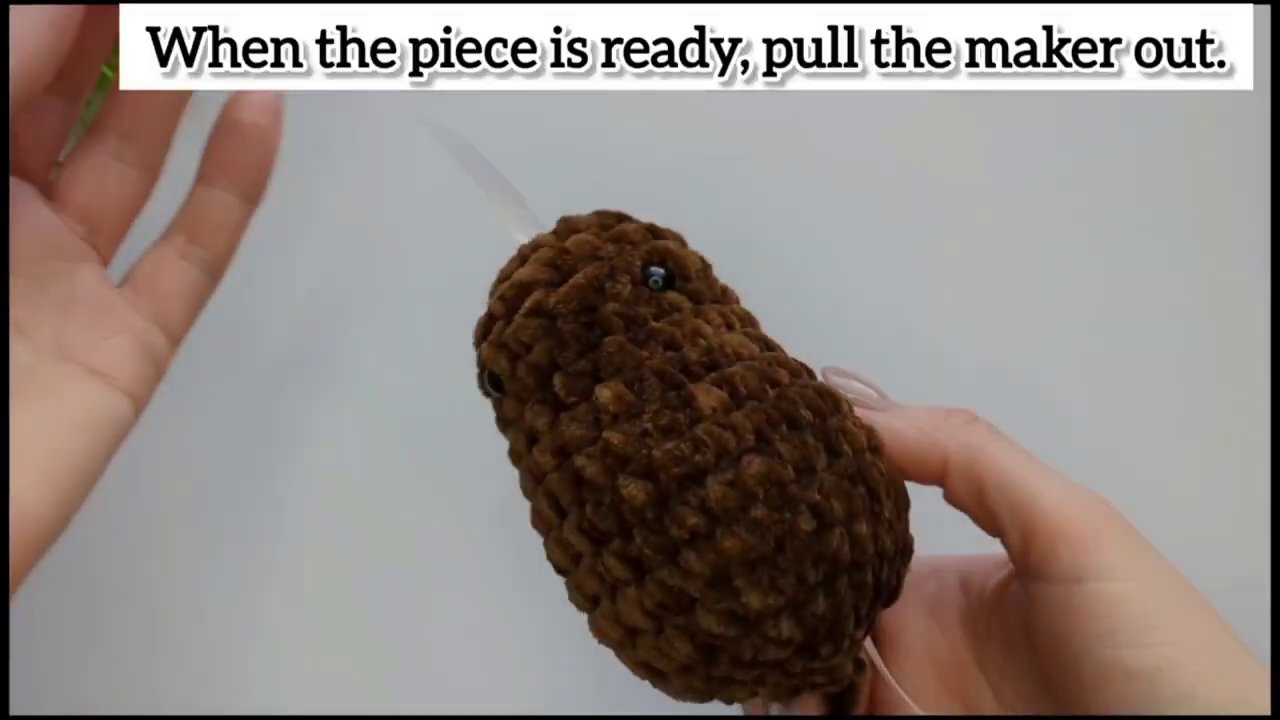
So use a different kind of marker. A short piece of scrap yarn or a thin ribbon works perfectly. When you complete your first round, lay the marker across your work before starting the next round. As you crochet the second round, the marker gets trapped between the stitches. It stays visible, it doesn’t fall out, and you can clearly see where each round begins.
When the piece is finished, just pull the marker out. That’s it. No fumbling, no guessing, no accidentally skipping a stitch.
Go Down a Hook Size
This is the kind of advice that sounds counterintuitive until you try it. The yarn label will recommend a range of hook sizes — usually something like 5mm to 7mm for chenille. And those sizes work fine if you’re making a blanket or a scarf. But for amigurumi, you need a tighter gauge. You want the stitches to be dense enough that the stuffing doesn’t poke through and the shape holds firm.
So go down at least one size from the smallest recommended hook. If the label says 5mm to 7mm, try a 4.5mm. If it says 4.5mm, try a 4mm. The difference in fabric density is noticeable. Your stitches will be snugger, the surface will be smoother, and your finished piece will look more polished.
Just be aware that going down in hook size makes the crochet itself a little harder. The yarn has less room to move, and your hands might tire faster. But for small amigurumi pieces, the trade-off is absolutely worth it.
Sew Pieces Together with Regular Yarn
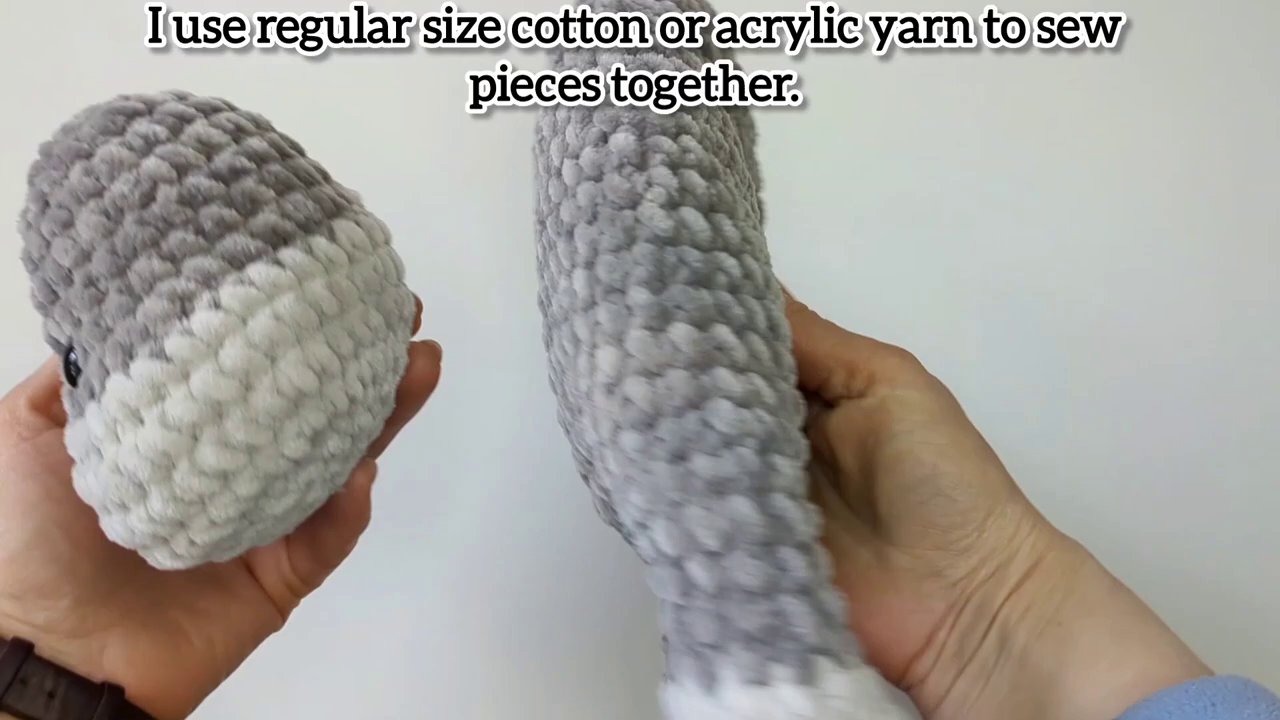
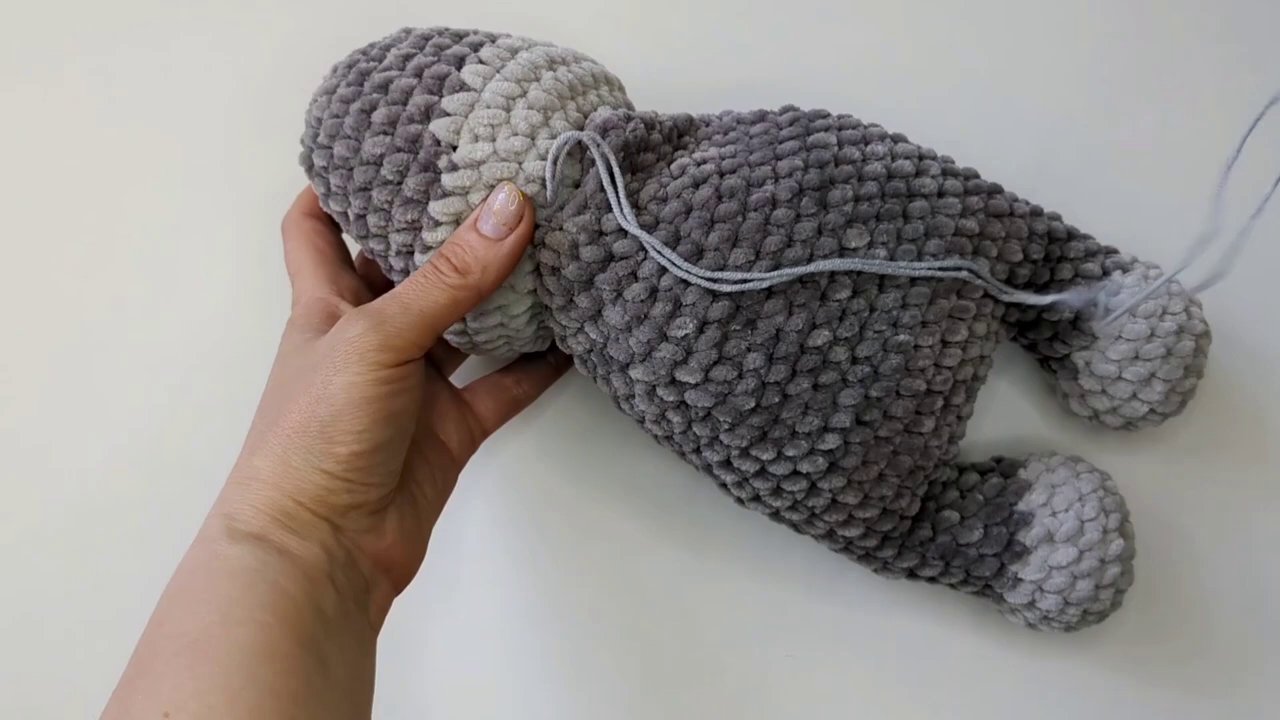
This is the tip that changed everything for me. Chenille yarn is soft and fluffy, but it’s not very strong. When you try to sew pieces together with it — attaching an arm to a body, for example — the yarn can stretch, break, or simply disappear into the fabric. The seam ends up loose and unstable.
Instead, use a sport or fine weight yarn in a matching color. Cotton or acrylic both work well. Cotton is especially good because it’s durable and doesn’t stretch as much. Just cut a long piece, thread your needle, and sew the pieces together the same way you normally would.
The seam will be stronger, the stitches will stay put, and the chenille fuzz will hide the regular yarn completely. The color doesn’t have to be an exact match — close enough is fine, because the fluff on the surface will cover the thread.
If you’re working on a project that needs extra durability, like a toy that will be handled a lot, this tip is non-negotiable. You can find patterns like this Crochet plush Frog pattern – CabinInTheWoodsFR that work beautifully with chenille when you use this technique.
Secure the Ends with a Lighter
This one sounds a little extreme, but hear me out. Chenille yarn has a tendency to fray at the cut ends. Those tiny fibers can come loose over time, especially if the piece gets washed or handled roughly. A quick pass with a lighter melts the synthetic fibers slightly and seals the cut end.
Hold the flame a safe distance away — you don’t want to burn the yarn, just kiss it with heat. The end will melt into a tiny bead that won’t unravel. It’s a small step, but it gives your finished pieces a much more professional finish and prevents loose threads from appearing later.
Just be careful. Work over a sink or a non-flammable surface, and keep the lighter moving. It takes a couple of tries to get the feel for it, but once you do, you’ll wonder why you didn’t do it sooner.
Pick the Right Project
Not every amigurumi pattern works well with chenille yarn. The bulk and fluff can obscure small details, so patterns with lots of fine shaping or intricate color changes can get muddy. Stick to simpler shapes — spheres, ovals, cylinders — and let the soft texture do the heavy lifting.
Animals with big round heads and chunky bodies are perfect. Think bears, bunnies, and simple monsters. Patterns that rely on the yarn’s plushness for their charm, like this Monster Keychain,Free Crochet Patterns,Crochet Easy Patterns,Crocheting Projects for Beginners – Kathy Leung, are ideal candidates.
You can also use chenille for accessories like scarves, hats, and cowls. The fabric works up fast, feels amazing against the skin, and doesn’t require the same precision as amigurumi. If you’re new to this yarn, starting with a simple accessory is a great way to build confidence.
Keep Your Tension Consistent
Chenille yarn is forgiving in some ways and unforgiving in others. Inconsistent tension shows up more clearly because the fluffy stitches don’t blend together as smoothly when some are tight and others are loose. Try to maintain an even tension throughout your project.
If you tend to crochet tightly, that’s actually an advantage with chenille. A tighter tension creates a denser fabric that holds its shape better. If you’re a loose crocheter, you might need to consciously tighten up, especially on the first few rounds where gaps are most likely to appear.
And if you find yourself struggling, put the project down for a few minutes. Stretch your hands. Come back fresh. The yarn isn’t going anywhere.
Watch for Splitting
Chenille yarn is made up of a core thread wrapped in a layer of cut fibers. That core thread can split if your hook catches it at the wrong angle. When that happens, the yarn separates, and you end up with a messy, uneven stitch.
The fix is simple: pay attention to where your hook enters the stitch. Aim for the center of the V, not the edges. Work slowly at first, especially on the first few rounds where the stitches are small and tight. If you do split the yarn, pull out the stitch and try again. It’s better to redo one stitch than to have a visible flaw in your finished piece.
This is one of those skills that gets easier with practice. After a few projects, your hands will learn the feel of the yarn, and splitting will happen less and less.
Embrace the Fuzz
Here’s the thing about chenille yarn: it’s never going to look as crisp and defined as cotton or acrylic. The fuzz is the whole point. So don’t fight it. Accept that your stitches won’t be perfectly visible, that your finished piece will have a soft, blurred look, and that this is exactly what makes chenille so appealing.
The best chenille projects are the ones that lean into the texture. Simple shapes, bold colors, and minimal details let the yarn shine. If you’re the kind of crocheter who loves precision and sharp stitch definition, chenille might not be your favorite material. But if you’re making a gift for a baby, a plush toy for a child, or a cozy accessory for yourself, there’s really nothing better.
Final Thoughts
Chenille yarn is one of those materials that rewards patience. The first time you work with it, you might feel like you’re fighting it every step of the way. But once you learn its quirks — the right hook size, the best starting method, the way to sew pieces together — it becomes a joy to use.
Start with a pattern you know. Use the chain 2 method instead of the magic ring. Mark your rounds with scrap yarn. Go down a hook size. Sew with regular yarn. Seal the ends with a lighter. And above all, give yourself permission to go slow.
You’ll end up with something soft, squishy, and absolutely impossible to put down.
If you’re looking for more projects to try with this technique, check out this Baby Crabs – All From Jade pattern — it’s a fun, simple shape that lets the chenille texture do all the work.