Welcome to a delightful and simple crochet project that’s perfect for crafters of all levels! Today, we’re diving into how to create super cute, quick, and easy crochet flowers. This is an excellent project for absolute beginners, especially if you haven’t yet mastered the magic ring technique—because we won’t be using it here. Each charming flower takes only a few minutes to make, and I’ll guide you through every stitch step-by-step. By the end, you’ll have a beautiful handmade bloom and the confidence to make more.
What You’ll Need to Get Started
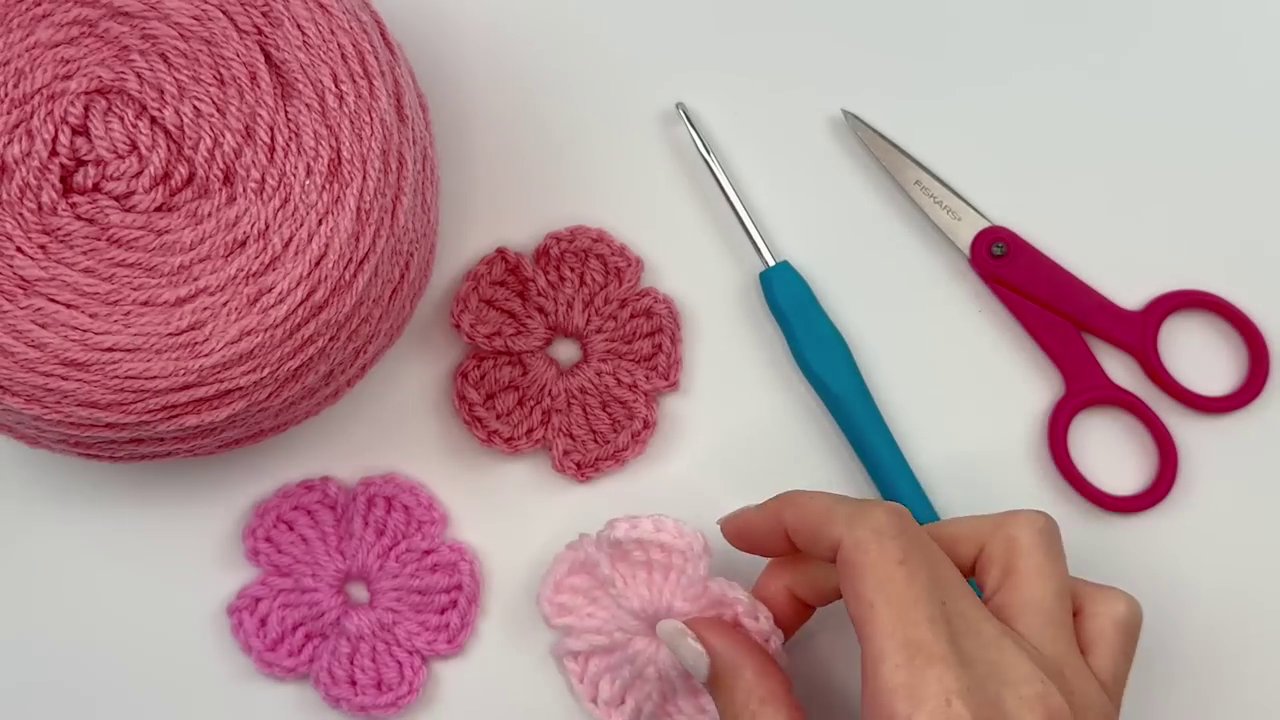
Before we begin stitching, let’s gather our materials. The beauty of this pattern lies in its simplicity and adaptability. You only need a few basic supplies:
- Yarn: A worsted weight (Category 4) yarn is recommended. This common yarn weight is easy to work with and creates a sturdy, well-defined flower.
- Crochet Hook: A 4mm (US size G-6) hook pairs perfectly with worsted weight yarn.
- Scissors: For trimming your yarn tails.
- Yarn Needle (Optional): Useful for weaving in ends, though you can manage without it for this project.

One of the best features of this pattern is its scalability. If you’d like to increase or decrease the size of your flower, you simply adjust the size of your hook and/or your yarn. A bulkier yarn with a larger hook will yield a bigger, statement flower, while a finer yarn with a smaller hook will create a delicate, petite bloom. This makes it a versatile pattern for everything from appliqués to brooches.
Step-by-Step Guide to Your First Crochet Flower
We’ll break down the process into clear, manageable steps. Remember, the goal is to form a ring of chains that acts as our foundation, replacing the need for a magic ring.
Creating the Foundation Ring
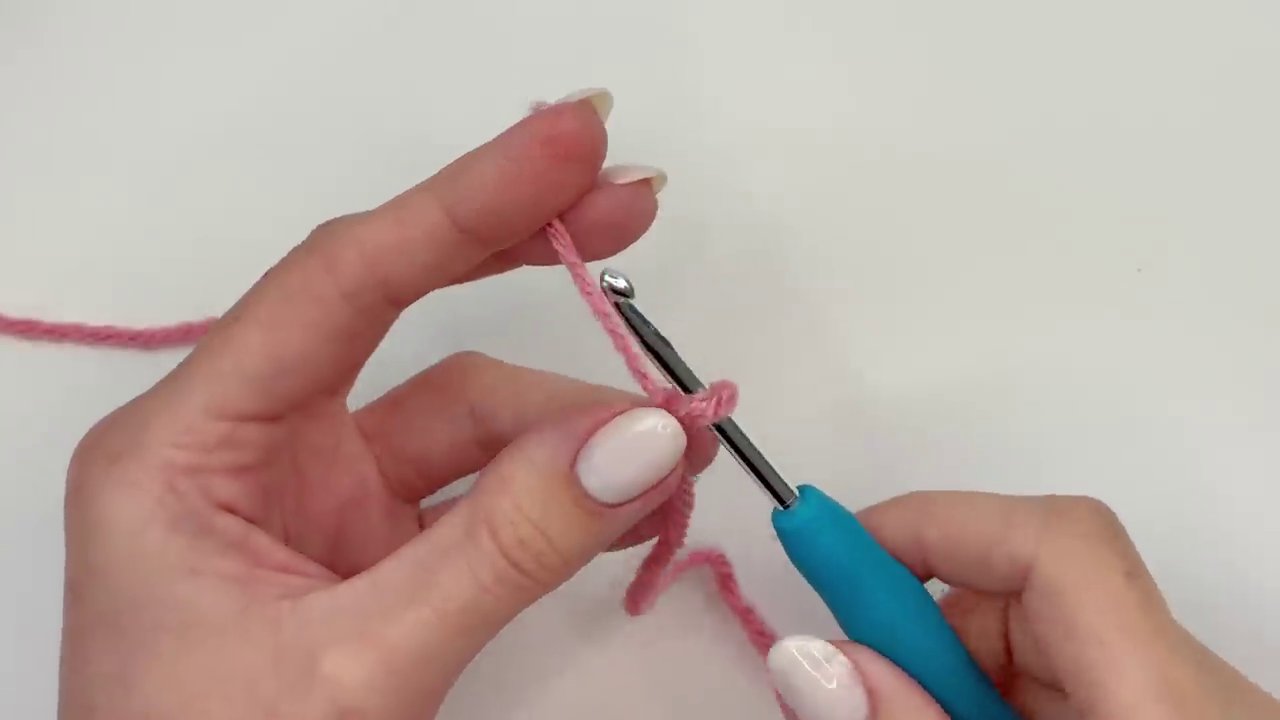
We start with a simple slipknot and a chain.
- Make a Slipknot: Wrap the yarn around your finger, crossing it over itself. Pinch the yarn tail with your thumb. Using a finger from your other hand, go under the first strand and over the second. Flip this loop up and pull it tight to form a slipknot. Insert your hook and tighten.
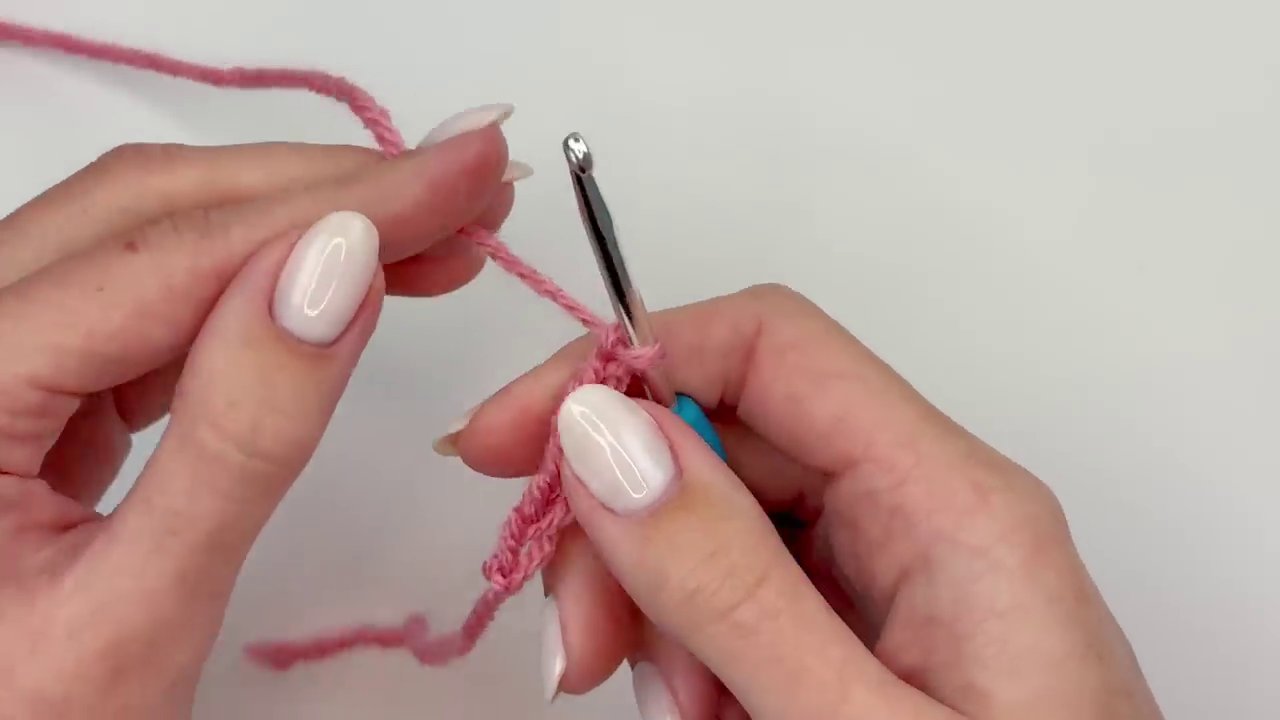
- Chain Six: Hold your yarn and make a yarn over (yo), then pull it through the loop on your hook. This is one chain stitch. You need a total of six chains. These chains will form our foundational ring.
- Form the Ring: Carefully connect the ends of your chain without twisting it. Insert your hook into the very first chain you made. Yarn over and pull through both the loop on the hook and the loop on the chain. This is a slip stitch. Pull it tight to close the ring.
Important: Ensure your chain is not twisted before joining. If it is, simply undo the slip stitch, straighten the chain, and try again. Once your ring is secure, you can trim the starting yarn tail to keep it out of the way.
Crafting the First Petal
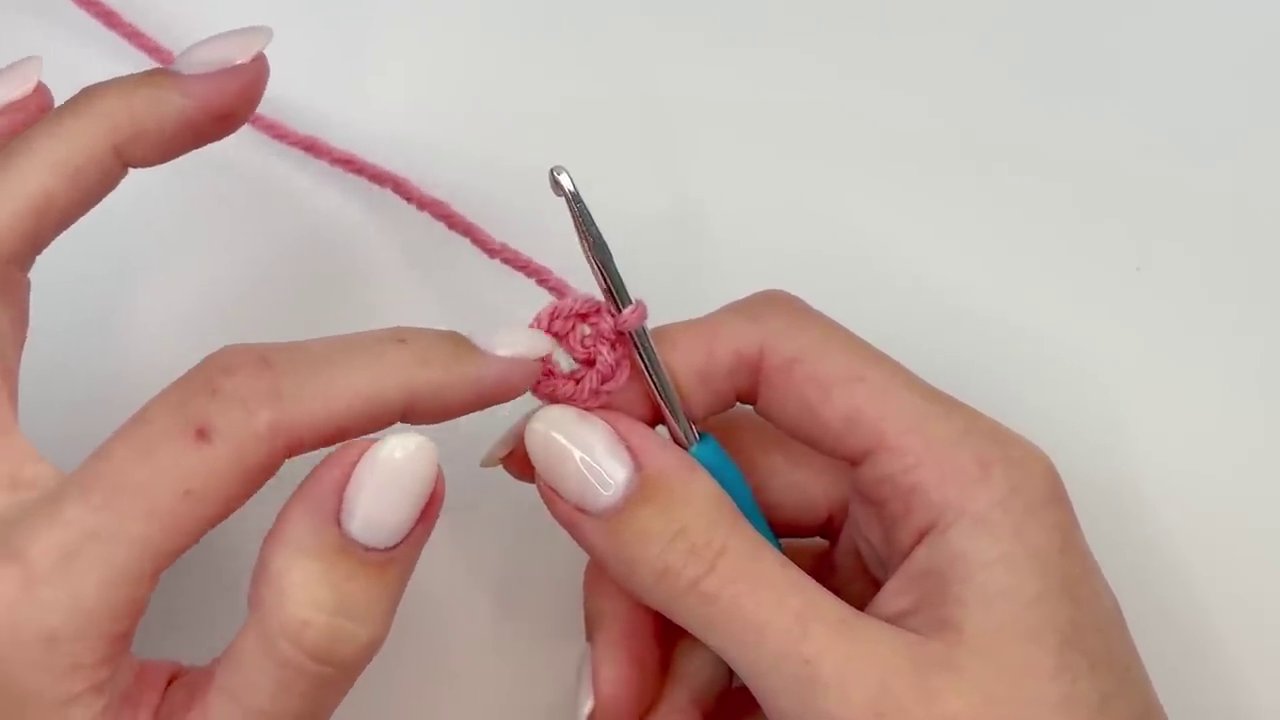
Now for the fun part—creating the petals! Each petal is made of a chain-4 arch filled with triple crochets.
- Chain Four: This creates the top arch of your petal. Simply yarn over and pull through the loop on your hook four times.
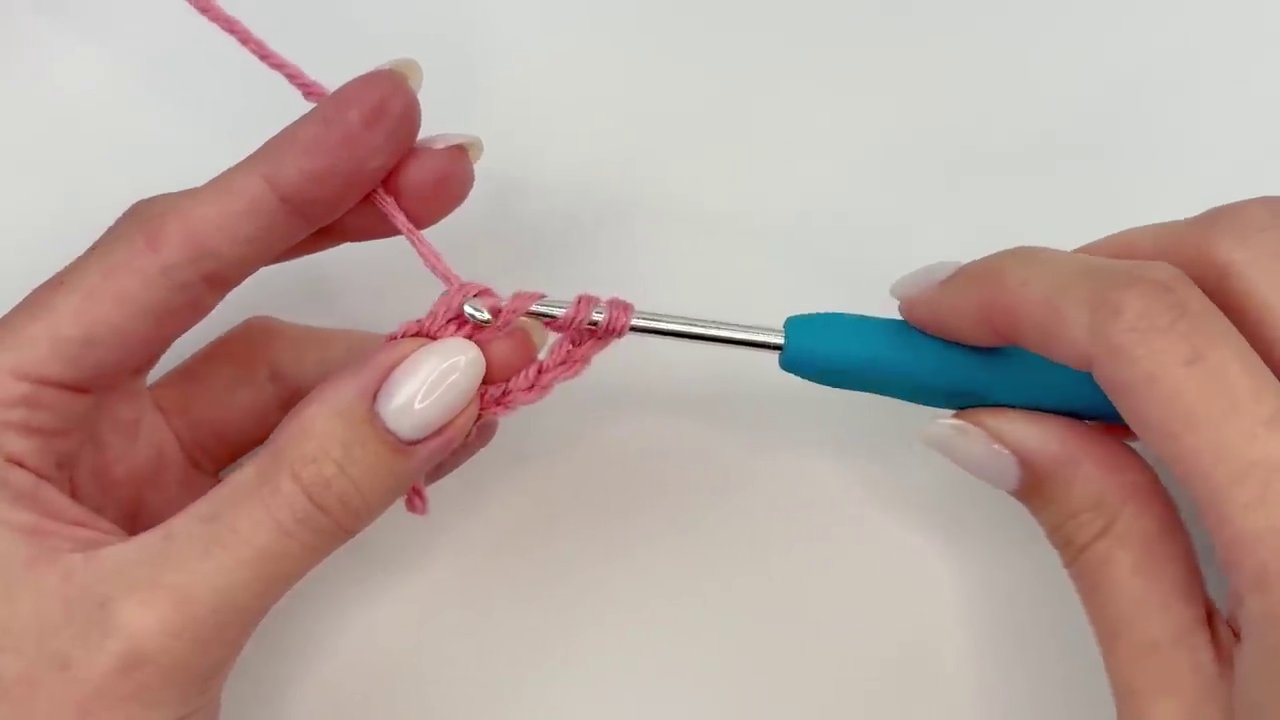
- Work Three Triple Crochets into the Ring: A triple crochet (tr) is taller than a double crochet. Here’s how:
- Yarn over your hook twice.
- Insert your hook into the center of the ring (you are working around the chain, not into the individual stitches).
- Yarn over and pull up a loop. You should now have four loops on your hook.
- Yarn over and pull through the first two loops.
- Yarn over and pull through the next two loops.
- Yarn over and pull through the final two loops. That’s one triple crochet.
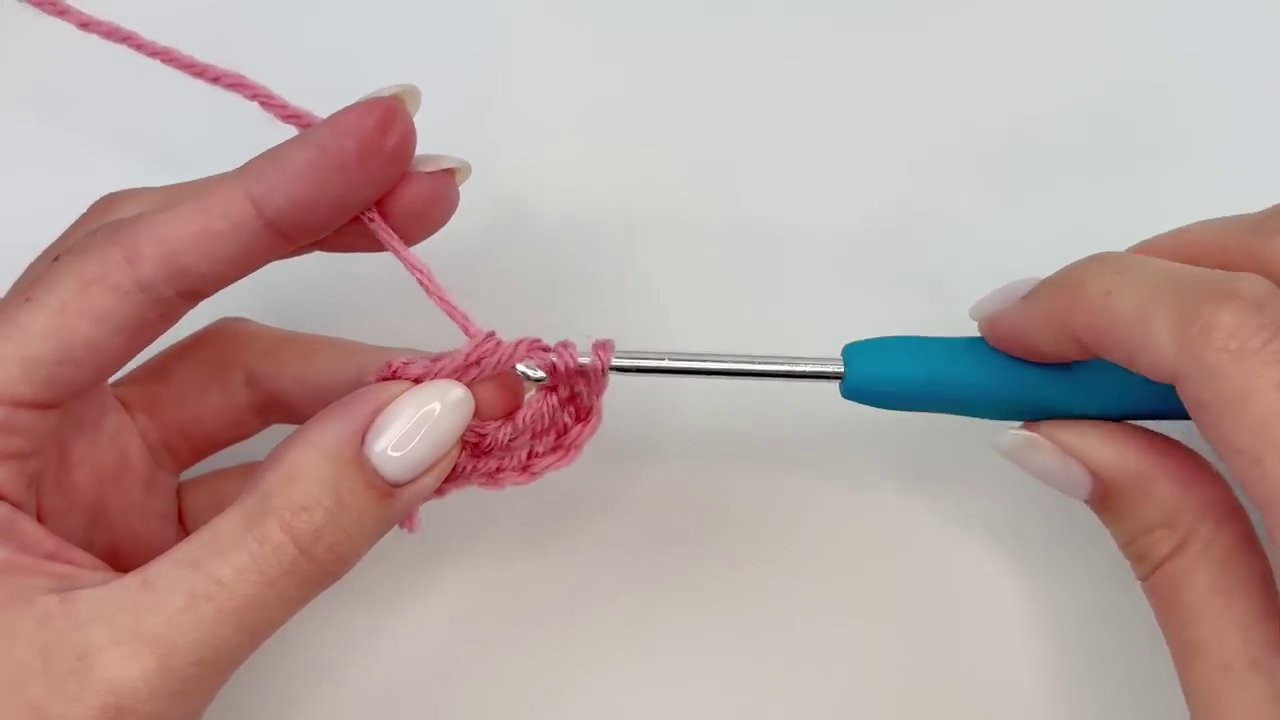
- Make two more triple crochets into the same ring space, working them right next to the first. As you work, gently push or “scoot” your completed stitches down toward the initial chain-4 arch to make room.
- Chain Four: After the third triple crochet, make another chain of four.
- Slip Stitch to Close: Insert your hook back into the center ring and make a slip stitch (yo, pull through all loops). This completes your first petal!
Repeating for a Full Bloom
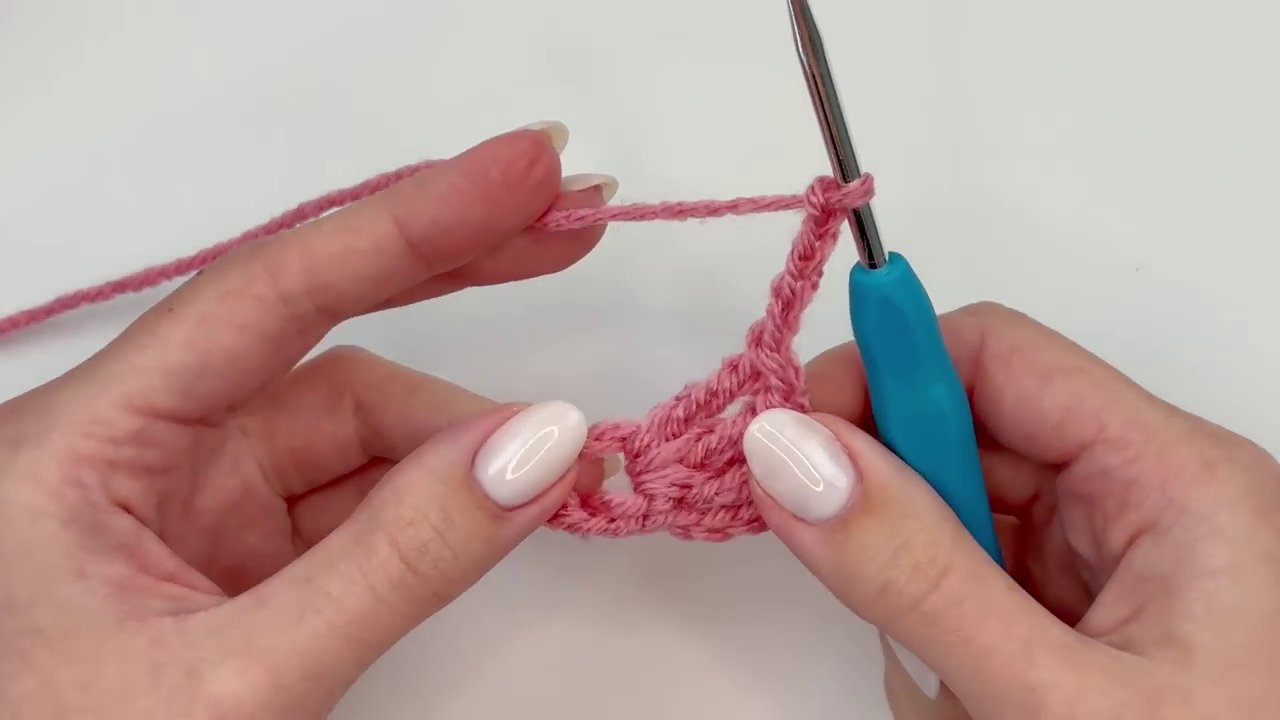
You need five petals in total for a full, rounded flower. The process is a simple repeat:
- Chain four.
- Work three triple crochets into the center ring.
- Chain four.
- Slip stitch into the center ring.
Continue this pattern all the way around. A helpful tip: consistently scoot your stitches down toward the base of the petal you’re working on. This ensures you have enough room in the ring for all five petals.
You might finish your fourth petal and feel like there’s no room left for the fifth. Don’t worry! This is normal. Just keep scooting the previous stitches as close together as possible. The petals may overlap slightly at the base, which is perfectly fine and actually helps create a lush, full flower. For more practice with working in rounds and managing space, our guide on creating Cuddly Caterpillars in Bernat Handicrafter Cotton Solids – Bernat offers great techniques for amigurumi that translate well here.
Finishing Your Flower
Once you’ve made your fifth petal and completed the final slip stitch into the ring, you’re ready to finish.
- After the last chain-four of the final petal, chain one more stitch. This little chain helps secure the end.
- Cut your yarn, leaving a tail of about 6 inches for weaving.
- Pull the yarn tail completely through the last chain loop on your hook and pull it tight.
- Now, locate the very first yarn tail from your starting slipknot at the back of the flower. Pull this tail tight as well to close the center ring completely.
- To secure everything, tie the two yarn tails together in a firm knot. You can then weave these ends into the back of the flower stitches using a yarn needle or simply trim them close if the knot feels secure. For a polished finish on all your projects, learning to weave in ends is a key skill, much like the finishing touches needed for a delicate Baby Cardigan in Lion Brand Touch Of Linen.
And there you have it! Your very own handmade crochet flower is complete.
Conclusion and Creative Next Steps
Congratulations on creating a beautiful, beginner-friendly crochet flower! This project proves that you don’t need advanced techniques like the magic ring to make something lovely. The key takeaways are the simple foundation chain ring, the repetitive petal pattern of chains and triple crochets, and the importance of managing your space by scooting stitches.
These charming flowers are incredibly versatile. Attach a pin back to make a brooch, sew several onto a hat or bag for a floral accent, or string them together for a sweet garland. Because the pattern is so quick, you can make a whole bouquet in an afternoon. If you enjoyed this introduction to simple, repetitive patterns, you might love exploring other quick projects like this FREE Strawberry Crochet Pattern which uses similar foundational skills to create adorable fruits.
I truly hope you enjoyed this tutorial. If you did, consider subscribing for more crochet guides. Have an idea or request for a future tutorial? Let me know in the comments below. Happy crocheting, and I’ll see you next time with another creative project