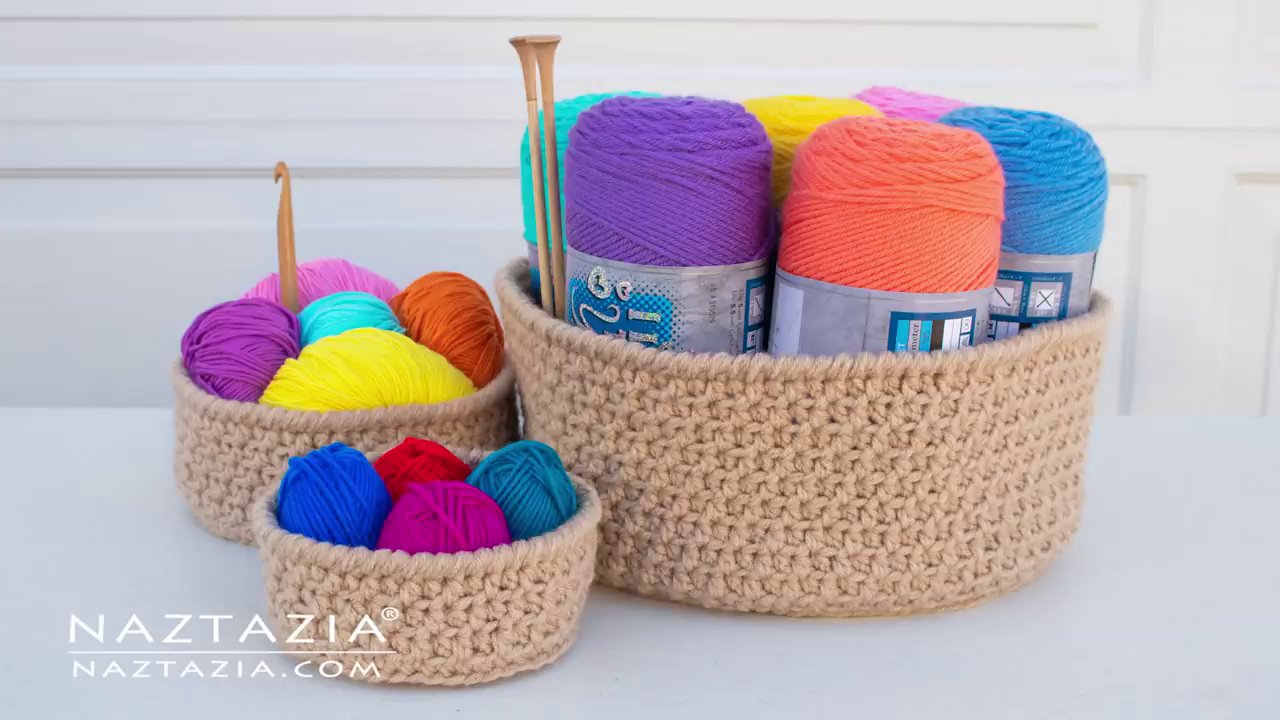
Looking for a stylish and functional way to organize your home? In this comprehensive guide, we’ll walk you through the process of crocheting beautiful, sturdy baskets in three different sizes. Based on a tutorial from Donna Wolfe of Estacia.com, this pattern is perfect for crafters of all levels. By holding two strands of yarn together, you’ll create durable containers perfect for holding everything from yarn and craft supplies to bathroom essentials and kitchen items. Let’s dive into the simple, repetitive stitches that will transform your space.
Getting Started: Materials and Setup
Before you begin stitching, you’ll need to gather your materials. For this project, Donna uses approximately 700 yards of Worsted White yarn to create all three baskets. The key to achieving a strong, stable structure is to hold two strands of yarn together throughout the entire project. This technique gives the finished basket the rigidity it needs to hold its shape and carry items without sagging.
You’ll also need an appropriate crochet hook for the yarn weight you’ve chosen. While the specific hook size isn’t mentioned in the tutorial, it should be one that works comfortably with two strands of your selected yarn. A sturdy, well-made basket starts with the right foundation, which in crochet terms, is the magic ring.
Creating the Basket Base
The base, or bottom, of the basket is worked in continuous rounds. The process is the same for all three sizes; the only difference is how many rounds you complete to achieve the desired diameter.
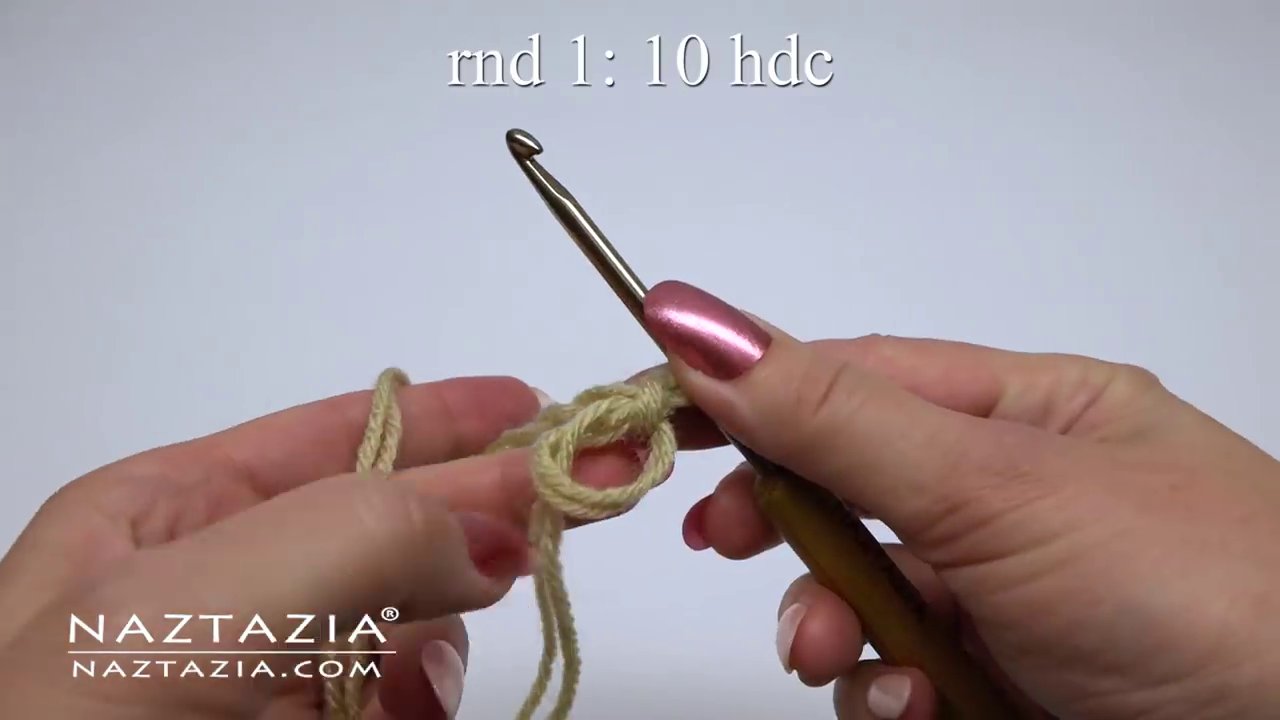
- Round 1: Start with a magic ring, which is essentially a very loose slip knot. Chain one. Into this ring, and over the starting tail, make 10 half double crochet (hdc) stitches. Once complete, pull the starting tail to close the ring tightly. Slip stitch to the first stitch to join the round. Always begin each round with a chain one and end with a slip stitch in this pattern.
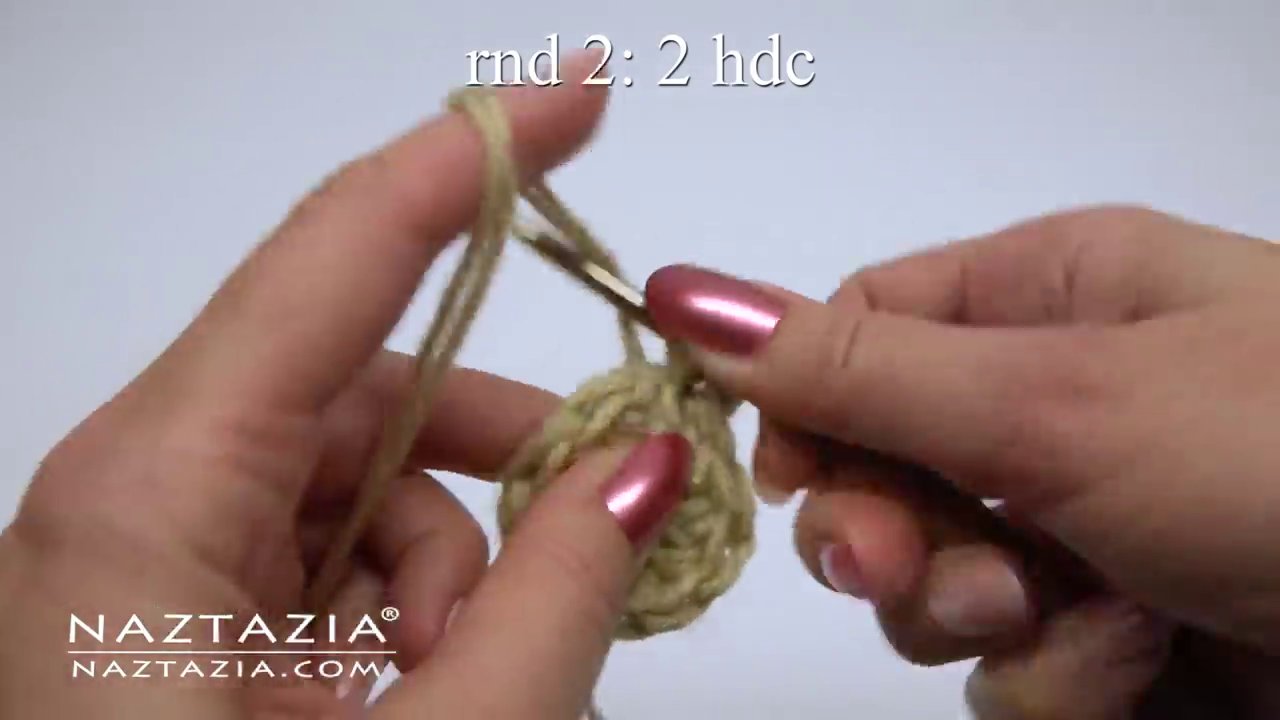
- Round 2: Make two half double crochet stitches in each stitch around. Since you started with 10 stitches, this round will result in 20 stitches.
- Round 3: This round establishes an increase pattern. Work two hdc in the first stitch, then one hdc in the next stitch. Repeat this sequence (2 hdc, 1 hdc) all the way around.
- Round 4: Continue increasing. Work two hdc in the first stitch, then one hdc in each of the next two stitches. Repeat this pattern (2 hdc, 1 hdc, 1 hdc) around.
- Round 5: For this round, work two hdc in the first stitch, then one hdc in each of the next three stitches. Repeat this sequence (2 hdc, 1 hdc, 1 hdc, 1 hdc) around.
At this point, you have a decision to make based on the size of the basket you want:
– Small Basket: Five rounds are sufficient for the base.
– Medium Basket: Continue increasing for two more rounds (a total of seven rounds). The increase logic follows the established pattern, adding one more plain hdc between increases each round. A detailed written pattern is available on Donna’s website if you need guidance.
– Large Basket: Increase for a total of 11 rounds to create a wide, spacious bottom.
This modular approach to sizing makes the pattern incredibly versatile. Once you master the base, you can easily create a whole set of nesting baskets, similar to the popular Striped Pouch – Free Bag Crochet Pattern in Paintbox Yarns 100% Wool Worsted – Downloadable PDF – Paintbox Yarns, which also uses simple shaping to create a functional item.
Building the Sturdy Sides
Once the base is complete, you’ll transition to working on the sides. This section is what gives the basket its height and distinctive ridged texture. The method is consistent for all three basket sizes.
- Round 1 of the Sides: For the first round of the sides, make one single crochet (sc) into the back loops only of every stitch from the previous round. Working in the back loop creates a visible ridge that neatly defines the transition from the flat base to the vertical sides.
- Round 2 of the Sides and Beyond: For the second round, and all subsequent rounds that form the sides, you will work in half double crochet (hdc) using an alternating pattern.
- Make the first hdc into the back loop only of the stitch below.
- Make the next hdc by inserting your hook under both loops of the next stitch.
- Continue alternating back loop only, then both loops all the way around the round.
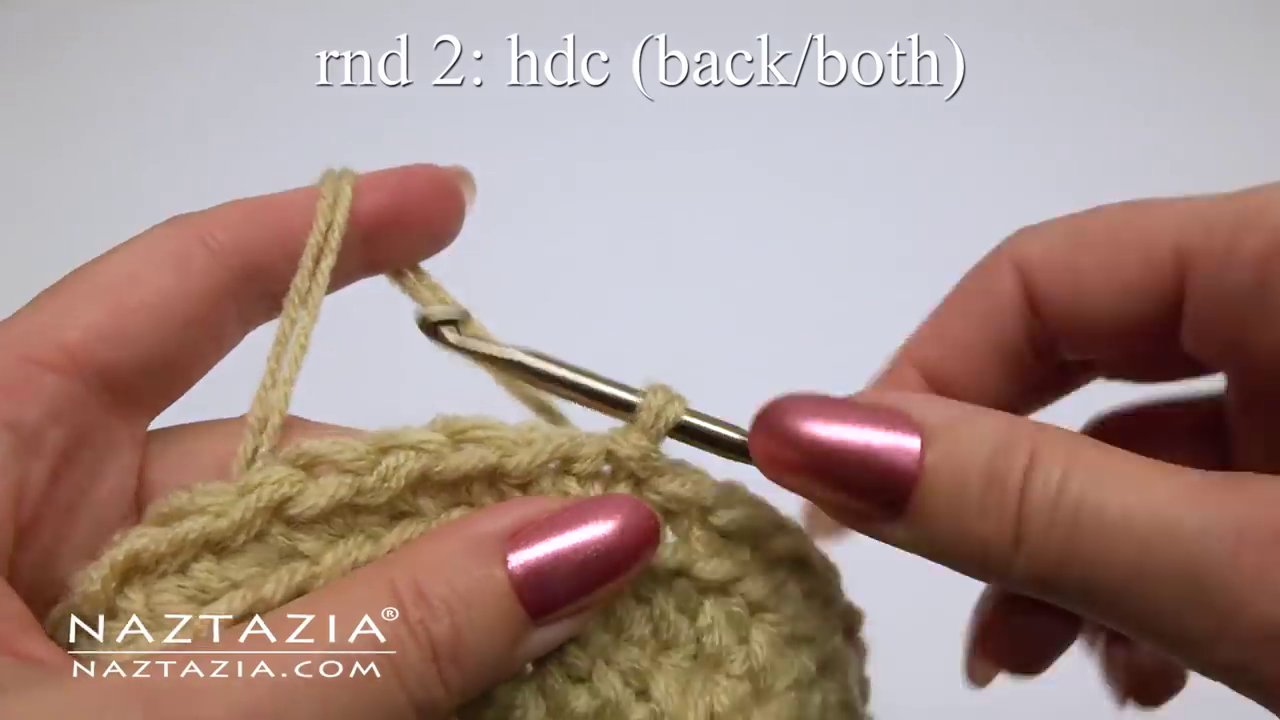
This alternating stitch pattern creates a lovely, woven-like texture and adds to the overall strength of the basket wall. The only variable is how many rounds you work to achieve your desired height:
– Small Basket: Approximately 4 side rounds.
– Medium Basket: Approximately 6 side rounds.
– Large Basket: Approximately 11 side rounds.
Donna emphasizes that the exact number of rounds is a personal choice. You can make your basket as shallow or as tall as you like. This flexibility allows you to customize baskets for specific purposes, much like you would when choosing a pattern for Cuddly Caterpillars in Bernat Handicrafter Cotton Solids – Bernat for a child’s toy or a decorative item.
Finishing Touches: Edging and Stiffening
With the sides completed, you have a functional basket. However, a few finishing steps will elevate its look and durability.
Adding an Edging: To give the top edge a clean, finished appearance, you have two options:
– Reverse Single Crochet (Crab Stitch): This creates a beautiful, rounded braided edge. Be aware that it can be slightly trickier to execute when working with two strands of yarn.
– Regular Single Crochet: A simple, reliable edging that provides a neat finish. Work one single crochet into each stitch around the top edge.
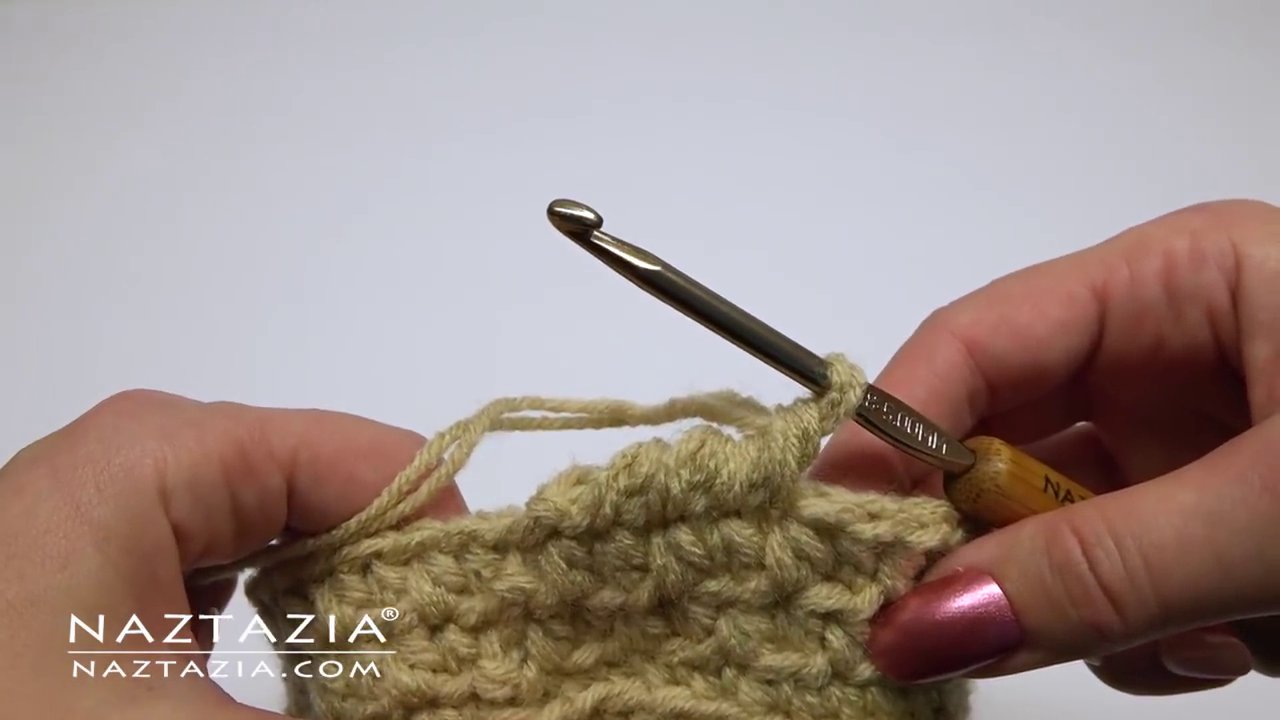
Stiffening the Basket: While the two-strand technique creates a fairly sturdy basket, you may want to add extra rigidity, especially for larger baskets meant to hold heavier items. Donna suggests using common household items to help mold and set the shape.
– You can use various spray stiffeners or a homemade mixture of glue and water.
– Simply spray or paint the solution onto the finished basket, shaping it with your hands as you go.
– Allow the basket to dry completely, preferably over a mold like a bowl or pot that matches the interior shape you desire. This step ensures your basket maintains its perfect form.
Conclusion: Your Handmade Organization Solution
Crocheting your own baskets is a rewarding project that combines practicality with creativity. By following this single, adaptable pattern, you can produce a whole set of custom storage solutions for every room in your home. The key takeaways are simple: use two strands of yarn for strength, follow the logical increase pattern for the base, and build the sides with the alternating back-loop/both-loop stitch for texture. Remember, the size is fully customizable by adjusting the number of base and side rounds.
Once you’ve mastered this basic basket, you’ll have the skills to tackle a wide variety of crochet projects that involve similar techniques, from amigurumi to wearables. For your next project, consider exploring something like the FREE Strawberry Crochet Pattern – arianarosecreates for a fun and quick decorative item. Happy crocheting, and enjoy organizing your home with your beautiful, handmade creations!