If you’ve been crocheting granny squares for a while and you’re ready for something that looks a little different but feels just as familiar, the hexagon granny is your next project. It works up fast, uses the same basic stitches you already know, and here’s the best part — make it big enough, and you’ve got a cardigan. No complicated shaping. No sewing together a dozen separate pieces. Just one hexagon, folded in half, with a couple of seams. That’s it.
I’ll walk you through the whole thing, from the first slipknot to the final fold, with enough detail that you won’t get lost even if you’re still new to working in the round.
What You’ll Need
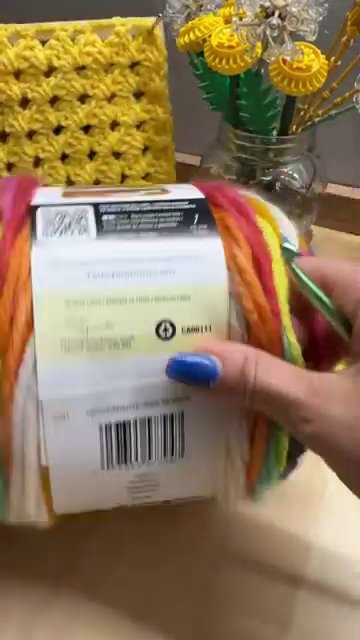
Before we get into the stitches, let’s talk materials. For this tutorial, I used Karen Slice in Anniversary Cake — a super bulky weight yarn (that’s a size 6, if you’re checking labels). It’s a fun, colorful choice that makes the hexagon pattern pop, but honestly, any bulky or worsted weight yarn will work. Just keep in mind that the yarn weight affects your final size, so if you want a cardigan, you’ll need enough yardage to keep going until it fits.
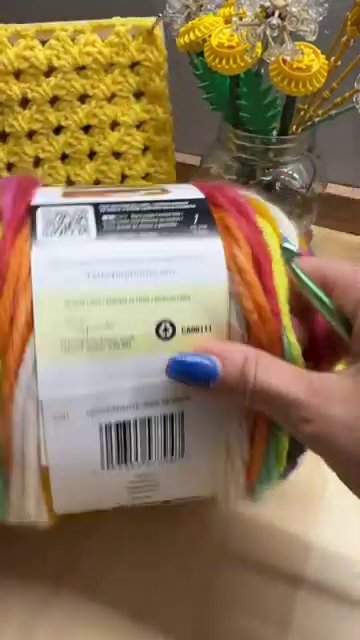
Here’s where I made a small choice that might raise an eyebrow: I used a size J (6mm) hook, even though that’s not what the yarn label recommends. The label probably suggests something bigger, but going a little smaller gives you tighter stitches. That means your hexagon holds its shape better and won’t get all floppy when you wear it. Sometimes breaking the rules pays off.
So grab your yarn, a hook that feels comfortable in your hand, and a pair of scissors. Let’s make a hexagon.
Round 1: Building the Center
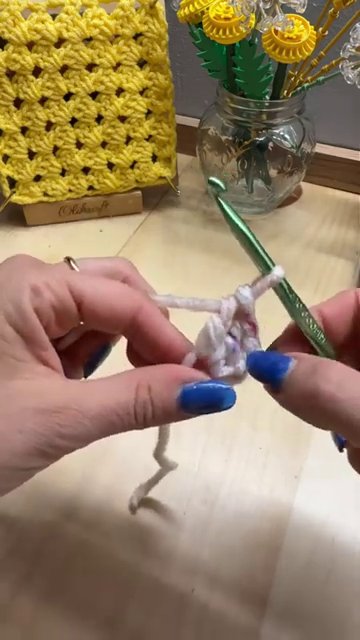
Start with a slipknot. Make sure it’s big enough to slide easily over the head of your hook — not too tight, not too loose. Chain four stitches.
Now, working into that first chain you made (the one farthest from your hook), work two double crochets. Count that initial chain of three as your first double crochet, so you should have a total of three double crochets sitting together in that space. That’s your first cluster.
Chain two. Turn your work — but don’t flip it like a page. You’re actually just rotating the whole thing in your hand, keeping the circle going. Work three more double crochets into the same center ring. Chain two. Do this again: three double crochets, chain two. Keep going until you have six clusters total, each separated by a chain-two space.
When you’ve got all six, chain two and slip stitch into the top of that first chain-three you made at the very beginning. You should now have a small hexagon shape — six bumps around a tiny center hole.
Round 2: The Corners Start to Grow
This is where things get interesting. Slip stitch your way over to the first chain-two space between two clusters. Chain three — that counts as your first double crochet — then work two more double crochets into that same space. Chain two, then work three more double crochets into the same space. You’ve just made a corner.
Now chain one. Move to the next chain-two space and make another corner: three double crochets, chain two, three double crochets. Chain one, then repeat all the way around. You should end up with six corners, each separated by a single chain stitch on the sides.
Slip stitch to close the round at the top of that first chain-three. Your hexagon is getting bigger, and you can already see the shape taking form.
Round 3: Adding the Side Clusters
Now the pattern really starts to click. Slip stitch over to your first corner space. Chain three, work two more double crochets, chain two, then three more double crochets — same corner as before.
Chain one. Here’s the new part: in the space between the two corners (that chain-one space from the previous round), work a regular granny cluster — three double crochets. Chain one.
Now you’re at the next corner. Work your corner cluster: three double crochets, chain two, three double crochets. Chain one. Then another regular granny cluster in the side space. Repeat this all the way around: corner, chain one, side cluster, chain one, corner, and so on.
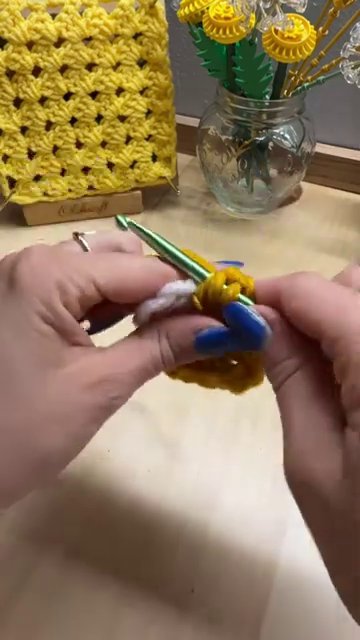
At the end of the round, chain one and slip stitch to close. Your hexagon now has six corners and six side clusters. Each round from here follows the same logic — corners stay the same, and the number of side clusters between them increases by one each time.
Round 4 and Beyond: Let It Grow
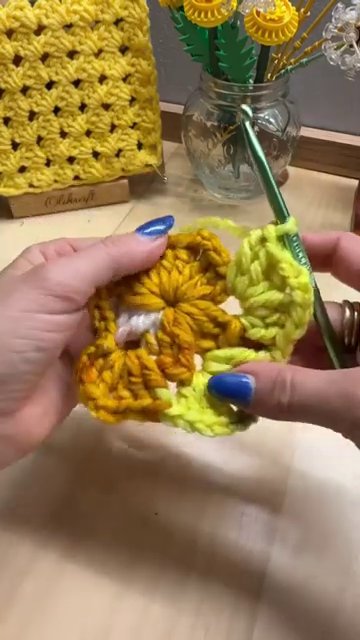
This is where the rhythm takes over. For every subsequent round, you’ll work a corner into each corner space (three double crochets, chain two, three double crochets), chain one, then work a regular granny cluster into every chain-one space along the sides. Chain one between each cluster. That’s it.
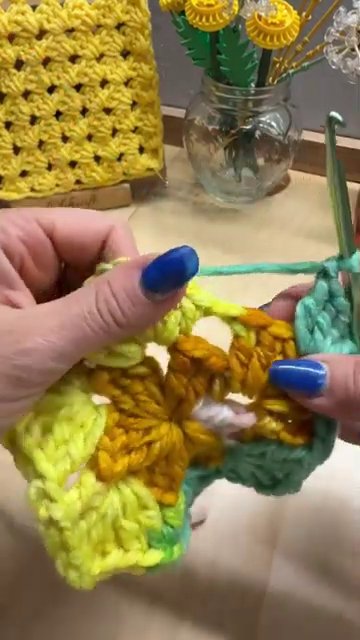
The pattern repeats exactly the same way, round after round. Your hexagon will grow evenly, with corners staying in the same spots and side spaces multiplying. Chain one between all clusters except at the corners, where you chain two.
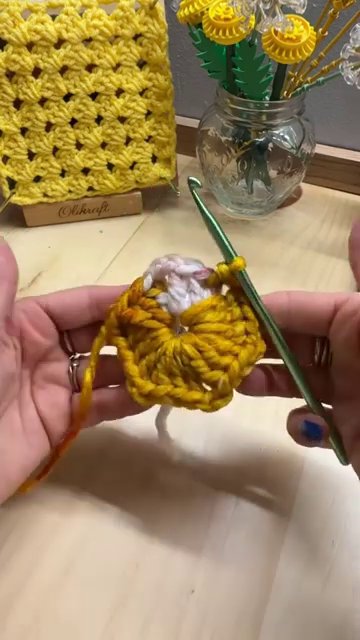
Keep going until the hexagon is as big as you want. If you’re making a cardigan, you’ll want it large enough to wrap around your body with the fold we’ll talk about next. If you’re just practicing, stop whenever you feel like it — this pattern makes a great blanket square, too.
Turning Your Hexagon Into a Cardigan
Here’s the clever bit. Once your hexagon is big enough, fold it in half so two opposite corners meet. You’ll have a triangle shape with a curved edge. The fold line becomes the top of your shoulder. The two points that meet at the fold are where your neck goes. The two open sides on either side of the fold become the armholes.
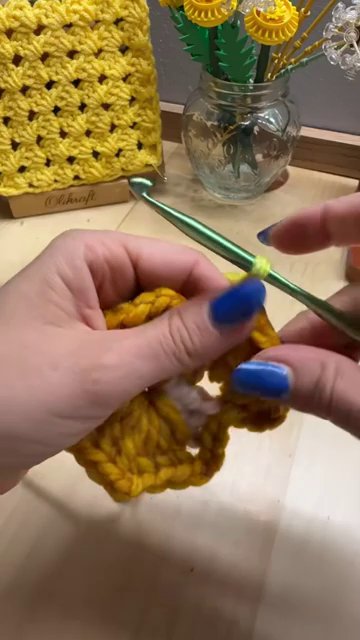
Sew up the seams from the fold down to about where your underarm sits. Leave the rest open for the sleeves. Try it on as you go — you can adjust the seam length to fit your body. The beauty of this design is that you’re not locked into a pattern size. You customize it as you stitch.
If you want a more fitted cardigan, make your hexagon a little smaller. For an oversized, cozy sweater vibe, keep going until it’s huge. There’s no wrong answer.
Tips for Success
A few things I learned along the way that might save you some trouble:
- Count your corners. It’s easy to accidentally add an extra cluster or skip a chain. Every round should have exactly six corners. If you end up with seven, you’ve made a mistake somewhere.
- Use stitch markers. Put one in the first corner of each round so you always know where to start. It sounds simple, but it saves so much time.
- Tension matters. If your stitches are too loose, the hexagon will look floppy. Too tight, and it won’t lie flat. Find a comfortable middle ground.
- Block your work. When you’re done, a quick steam or wet block will make the hexagon lie perfectly flat and even out any uneven stitches.
If you enjoy working in the round and want to try other projects that build from a center out, you might like this Crochet plush Frog pattern — it uses similar increase principles but for a totally different result. Or, if you’re in the mood for something smaller and faster, these Baby Crabs are a fun way to practice working in rounds without committing to a big project.
Why This Pattern Works
The hexagon granny is one of those rare patterns that feels both simple and satisfying. You don’t need to count complicated stitch repeats or follow a chart. Once you understand the corner-and-cluster rhythm, you can zone out and let your hands do the work. And the payoff — a wearable garment made from a single shape — is genuinely exciting.
It’s also endlessly customizable. Change your yarn weight, switch up colors every round, add a border, or leave the edges raw. You can make it in a solid color for a modern look or go wild with scraps for something totally unique.
So whether you’re making your first cardigan or just want a new go-to stitch for blankets and throws, the hexagon granny deserves a spot in your repertoire. Start with one round. See how it feels. Before you know it, you’ll be on round ten, already planning your next one.