There’s something satisfying about a project you can finish in an evening. A heart keychain is exactly that — small enough to work up quickly, but charming enough that people will actually ask where you bought it. Whether you want to use it as a bag charm, a gift tag topper, or a little Valentine’s Day surprise, this pattern is a solid place to start if you’re new to crocheting in the round or shaping amigurumi-style pieces.
The tutorial from Knitting by Wajuda walks through the whole process, from the first stitch to the final border. I’ve broken down the steps here so you can follow along at your own pace.
What You’ll Need
Before you start, gather a few basics. You don’t need anything fancy — just the usual suspects for small amigurumi work.
- Worsted weight yarn in your main color (the tutorial uses red) and a contrasting color for the border (white works beautifully)
- A 3.5mm or 4mm crochet hook — whichever feels comfortable with your yarn weight
- Stitch markers (or scraps of contrasting yarn) to keep track of your rounds
- Scissors and a yarn needle for weaving in ends
- A keychain ring or lobster clasp if you want to actually attach it to something
The heart itself uses basic stitches: chain, single crochet, half double crochet, and double crochet. If you can work those four stitches, you’re ready.
Starting the Heart: The Magic Ring
Every good amigurumi project starts with a magic ring. If you’ve never done one before, don’t stress — it’s simpler than it sounds. You loop the yarn around your fingers, insert the hook, and pull up a loop. Then you work your first round of stitches into that adjustable loop. When you pull the tail tight, the center closes completely with no hole.
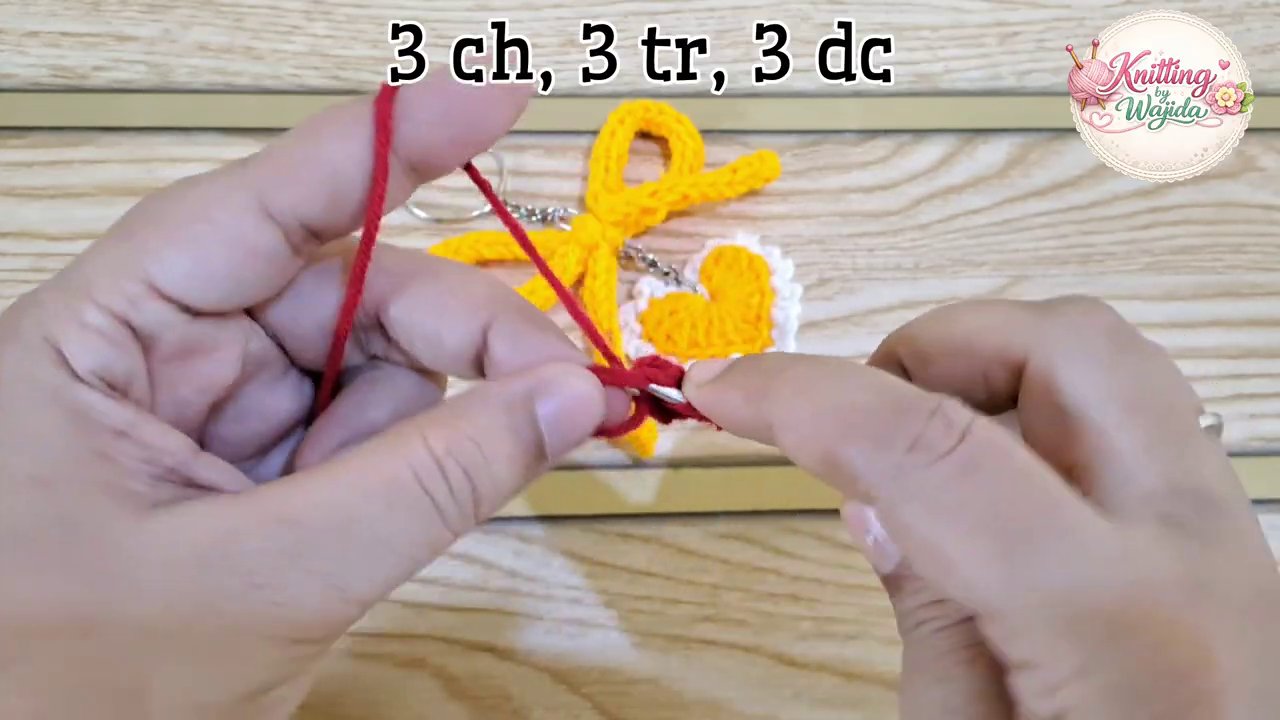
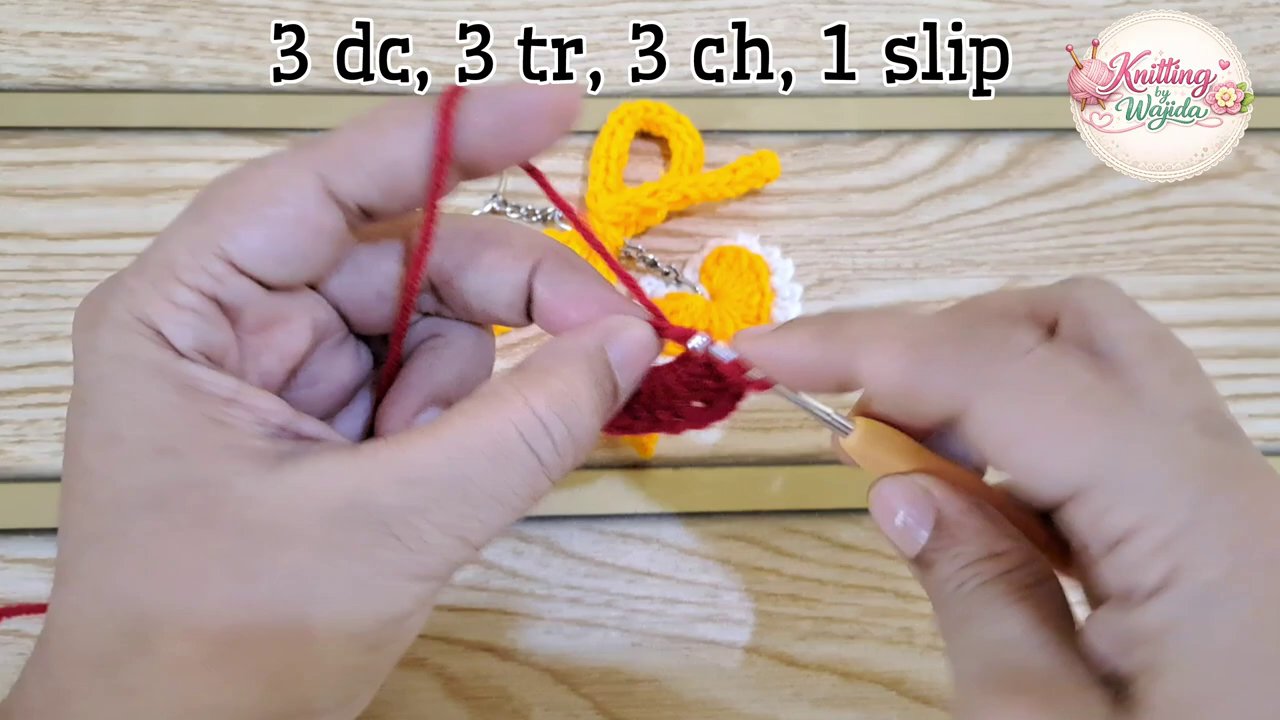
The heart begins with four chains worked into the magic ring. From there, you’ll work three double crochets, then three treble crochets (or triple crochets, depending on your terminology), then one double crochet, and finally one half double crochet. That cluster of stitches forms the first bump of the heart.
It might look a little lopsided at this stage. That’s normal. Trust the process.
Building the Second Bump
Once you’ve finished the first bump, you’ll chain two and turn your work. Now you’re going to repeat the same sequence of stitches into the same magic ring — four chains, three double crochets, three treble crochets, one double crochet, and one half double crochet.
You should now have two rounded bumps sitting side by side. Pull the magic ring tail tight, and the two bumps will come together to form the top of the heart shape.
This is where a stitch marker comes in handy. Mark the first stitch of each round so you don’t lose your place. It’s easy to get turned around when you’re working in continuous rounds, and one missed stitch can throw off the symmetry of the whole piece.
Shaping the Body
Now you’ll work in rounds to build the lower half of the heart. The first round after joining the two bumps is simple: single crochet evenly around the entire shape. You’ll work into each stitch along the top edge and then into the spaces between stitches along the sides.
This is where the heart really starts to look like a heart. The top bumps stay rounded, and the sides begin to taper down toward the point.
In the following rounds, you’ll decrease at the bottom center to create that characteristic point. A decrease in single crochet means inserting the hook into the next stitch, pulling up a loop, then inserting into the following stitch and pulling up another loop. Yarn over and pull through all three loops on your hook. One stitch gone, two stitches joined.
Work three or four decrease rounds, depending on how pointed you want the bottom of your heart. The tutorial uses three decreases in a row at the center bottom, with single crochets worked around the rest of the round.
Stuffing and Closing
Before you close the heart completely, you’ll want to stuff it. Don’t overstuff — you want the heart to be plump but not bulging. A little bit of fiberfill goes a long way in a project this size.
Once you’re happy with the shape, continue decreasing until the opening is small enough to close. You can finish off by cutting the yarn, threading the tail through a yarn needle, and weaving it through the front loops of the remaining stitches. Pull tight, and the hole disappears.
Weave the tail into the body of the heart so it’s invisible. Trim any excess.
Adding the Border
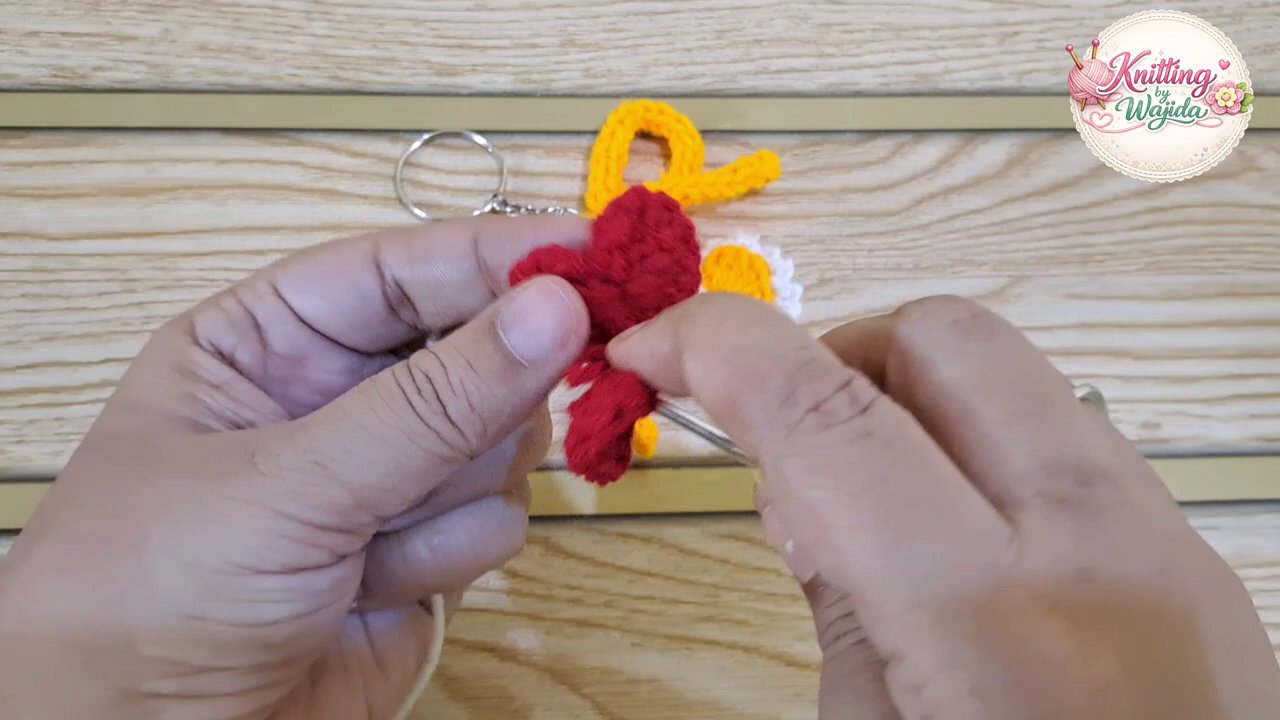
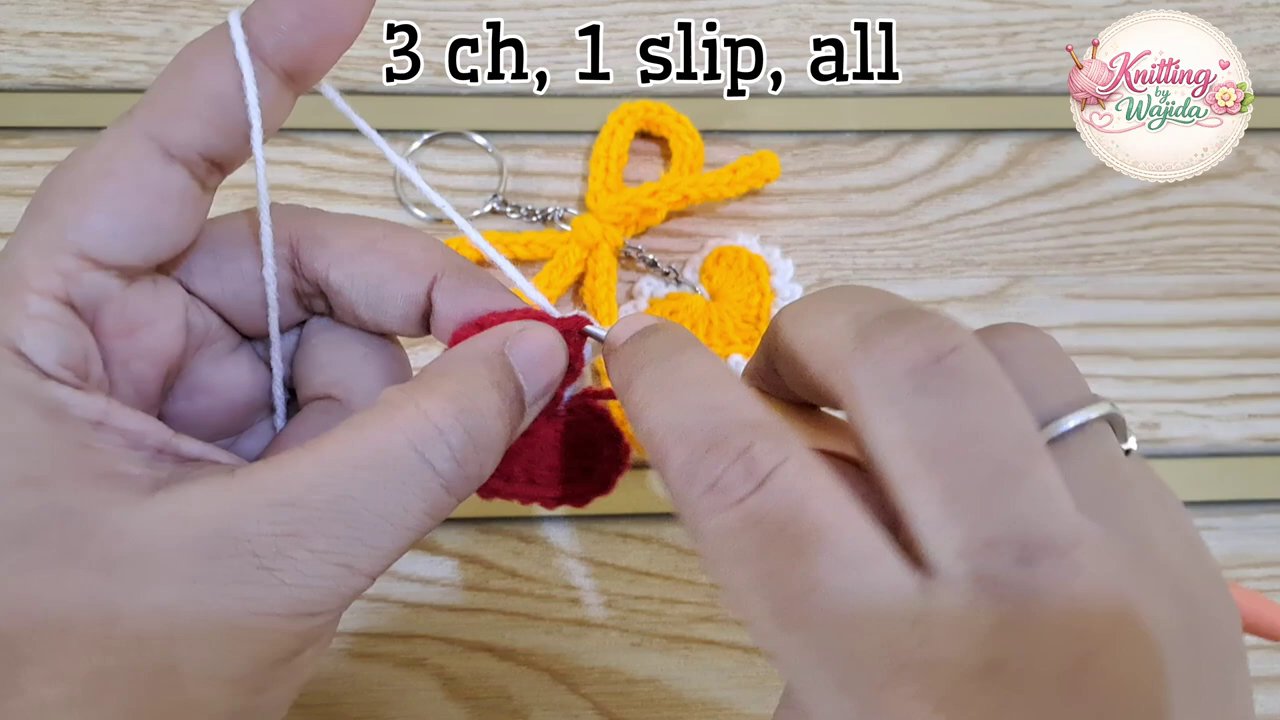
The border is what takes this from a simple heart to a finished piece that looks polished. Using your contrasting color (white in the tutorial), attach the yarn to any stitch along the edge of the heart.
Work a round of single crochet all the way around. When you reach the top center dip between the two bumps, you’ll want to work two single crochets into that space to keep the border lying flat. If you only work one, the border will pull inward and distort the shape.
For the point at the bottom, work three single crochets into the same stitch. This gives the point a defined, sharp look rather than a rounded blob.
The border serves a practical purpose too. It stabilizes the edges and helps the heart hold its shape over time, especially if you’re planning to attach it to a keychain that will get tossed around in a bag.
If you want to get fancy, you could substitute a picot stitch or shell stitch for the border. But honestly, a simple single crochet border in a contrasting color looks clean and professional.
Attaching the Keychain Ring
Now for the part that makes it a keychain. Position the heart so the point is facing down and the top bumps are facing up. Decide where you want the ring to sit — usually at the top center between the two bumps.
Thread a length of yarn through the ring, then sew it securely to the back of the heart. Make sure you go through both loops of the stitches so the attachment is strong. Knot it several times and weave the ends in thoroughly.
If you’re using a lobster clasp instead of a plain ring, you might want to attach a small chain or a few chain stitches to the heart first, then clip the clasp onto that. It gives the keychain a little more movement.
Variations and Ideas
Once you’ve got the basic heart down, the possibilities open up. You can experiment with different color combinations — pink and cream, purple and yellow, or even a variegated yarn for the main body.
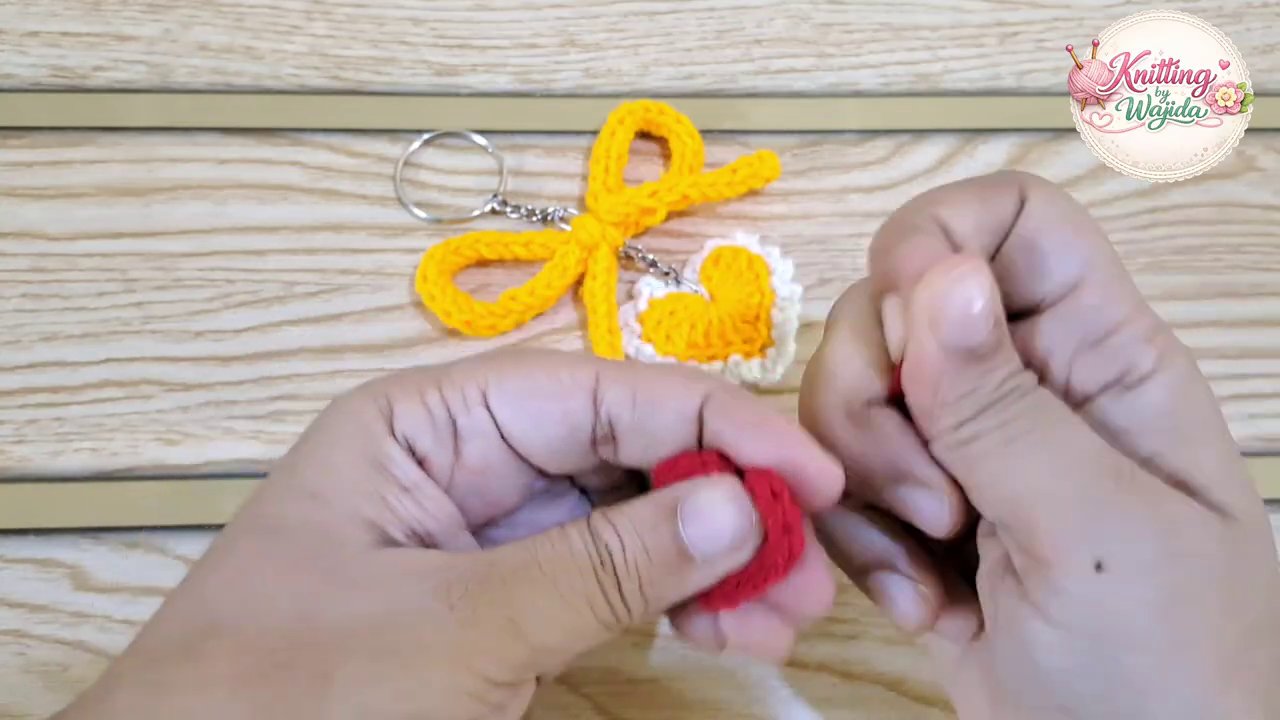
For a more playful look, add a small bow at the top. The tutorial shows a yellow bow attached to the finished heart, which adds a nice pop of color. You can make a simple bow by chaining a strip, folding it into loops, and wrapping the center with yarn.
If you’re making these as gifts, consider pairing them with a monster keychain pattern for a fun contrast. The hearts are sweet and romantic, while the monsters are quirky and playful. Together, they make a great set for a craft fair or a gift basket.
You can also scale the pattern up or down by using different yarn weights. A fingering weight yarn with a 2.5mm hook will give you a tiny heart perfect for earrings. A bulky yarn with a 5.5mm hook will produce a squishy heart pillow — just skip the keychain ring and add a hanging loop instead.
Common Mistakes and Fixes
A few things to watch out for if this is your first time shaping a heart:
Uneven bumps. If one side of the heart is larger than the other, you probably miscounted your stitches in the initial rounds. Count twice before moving on. The treble crochets in particular can be easy to lose track of because they’re taller than the other stitches.
Gaps at the top center. If the dip between the two bumps has a visible hole, you didn’t pull the magic ring tight enough, or you missed a stitch when joining the two sides. You can fix this by using the yarn tail to sew the gap closed from the back.
Wavy edges. If the border is ruffling instead of lying flat, you’re working too many stitches into the edge. Try using a smaller hook for the border round, or skip every fourth stitch to reduce the count.
Lopsided point. If the bottom of the heart curves to one side instead of pointing straight down, your decreases weren’t centered. Mark the center stitch before you start decreasing and make sure you’re working the decreases directly over that stitch each round.
Why This Pattern Works for Beginners
A lot of beginner patterns start with flat rectangles — scarves, dishcloths, blankets. Those are fine for practicing tension, but they don’t teach you how to shape a project. This heart keychain does.
You learn the magic ring, which is the foundation of almost all amigurumi. You learn how to increase and decrease in the round. You learn how to work a border that follows a curved edge. And you end up with something you can actually use or give away.
For a similar project that builds on these same skills, check out the crochet plush frog pattern — it uses the same magic ring technique and shaping principles, just scaled up to a larger toy.
Finishing Touches
Once your heart keychain is complete, give it a gentle block. You don’t need a blocking board for something this small — just spritz it with water, shape it with your fingers, and let it dry flat. This evens out the stitches and helps the border sit nicely.
If you’re giving it as a gift, attach a small tag with a handwritten note or a care instruction. Acrylic yarn is machine washable on a gentle cycle, but wool or cotton blends might need hand washing.
The heart keychain from Knitting by Wajuda is one of those patterns that looks more complicated than it actually is. Once you work through it the first time, you’ll probably find yourself making them in batches — they’re that quick and addictive.
Key Takeaways
- The magic ring is your best friend for small circular projects like this heart.
- Counting stitches in the initial rounds is critical for symmetry.
- A contrasting border adds polish and structural stability.
- Don’t overstuff — a light fill keeps the shape clean.
- The same pattern can be adapted for earrings, ornaments, or mini pillows with just a yarn weight change.
If you’re looking for another quick project to practice your shaping skills, the baby crabs pattern is a great follow-up. It uses similar techniques but introduces color changes and limb attachments, which are useful for more advanced amigurumi.
Happy crocheting.