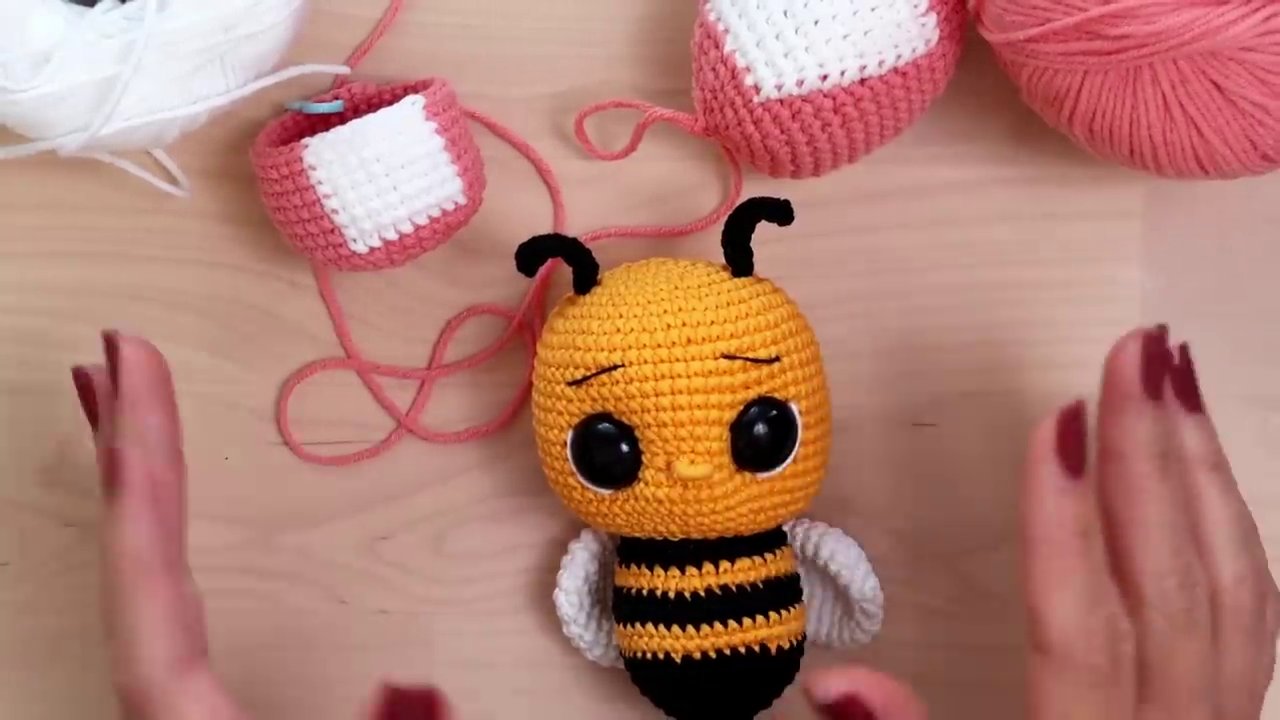
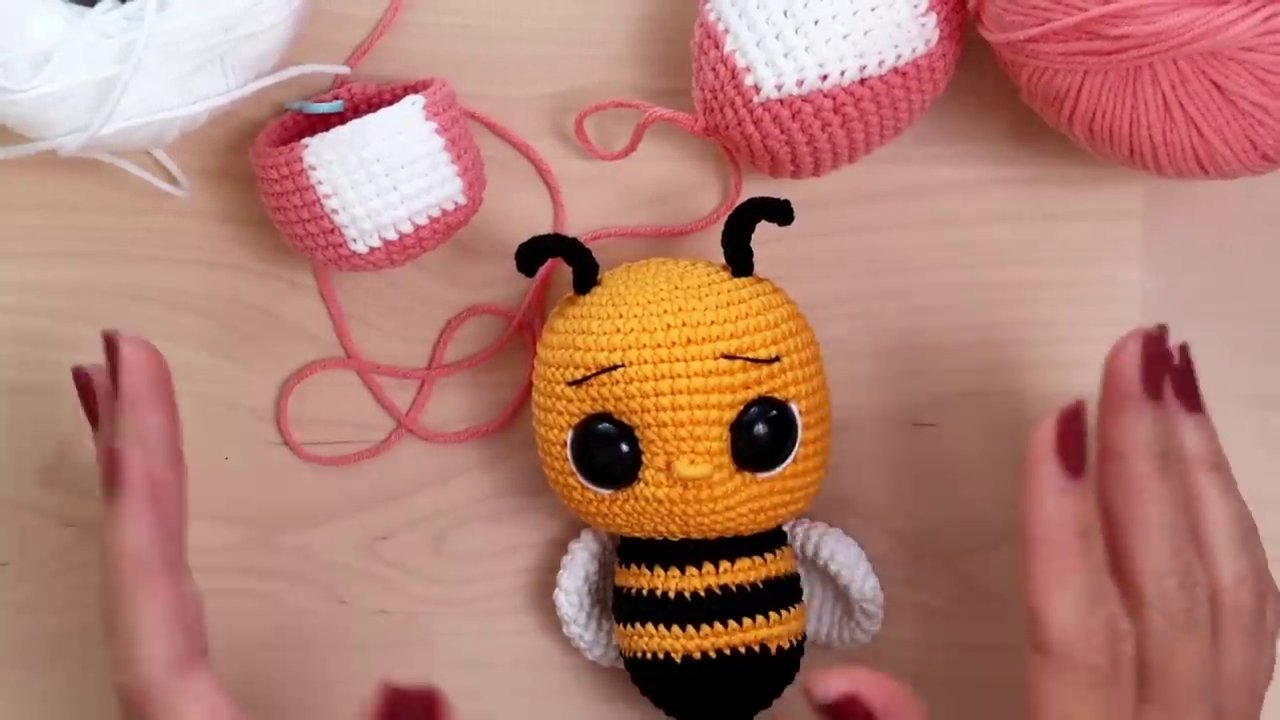
One of the most common questions I get from crocheters — whether it’s on YouTube, Instagram, or through emails — is how I keep my stitches so perfectly stacked, one on top of the other. You can see it in projects like my BumbleBee or my Baby Stitch pattern: clean, straight columns of stitches that don’t wander off to the side. And when you’re working with color changes, that alignment makes all the difference.
Let’s be real — working in the round, especially in spirals, means some shifting is normal. But there are two simple techniques that will get you as close to perfect as possible.
Why Your Stitches Slant in the First Place
Before we get into the fix, let’s talk about why this happens. When you crochet in a continuous spiral (which is how most amigurumi is made), your stitches naturally want to drift. That’s partly because of the spiral construction itself, and partly because of how you’re forming each stitch.
But here’s the thing I always tell my customers and anyone in the crochet community: working in spirals means it’s completely normal for stitches to not be 100% perfectly aligned. Don’t drive yourself crazy trying to achieve machine-like perfection. A slight slant is part of the handmade charm.
That said, if your stitches are noticeably leaning — like they’re marching off to the right or left — there’s usually one culprit.
Yarn Over vs. Yarn Under: The V and the X
The biggest factor in stitch alignment is whether you’re using a yarn over or a yarn under technique for your single crochets. This is something I cannot emphasize enough.
When you yarn over — which is the standard method most of us learn first — your stitches form a V-shape. That V shape creates a natural diagonal lean. The stitches cross each other slightly, and depending on your tension, they can drift to the right or left. In my sample using yarn over, I actually had to force the stitches to slant just so you could see the difference clearly. They were twisting noticeably to one side.
Now, when you use yarn under — where the yarn goes under the hook instead of over — your stitches form an X-shape. And that X shape stacks beautifully. One stitch sits directly on top of the next, creating those clean, vertical columns you see in professional-looking amigurumi.
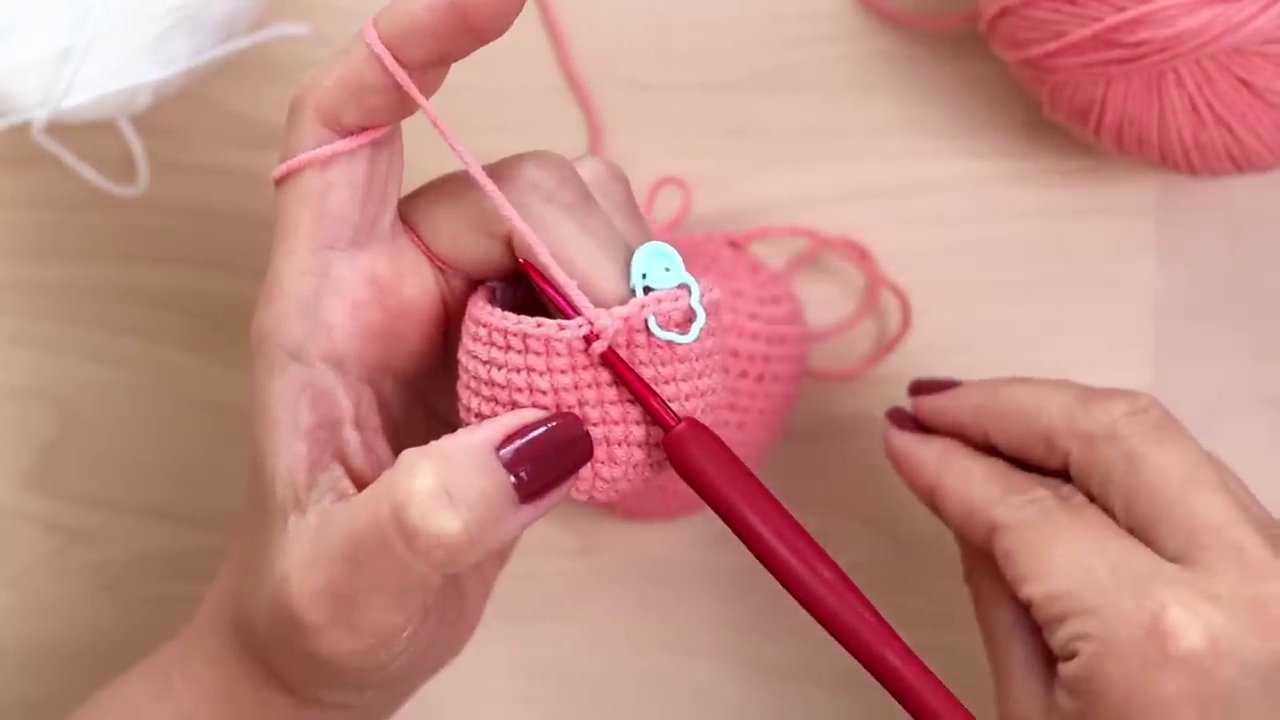
If you’re not sure what yarn under looks like or how to do it, I recommend pausing here and checking out a dedicated tutorial on the difference between yarn over and yarn under. It’s one of those skills that, once you learn it, completely transforms your amigurumi.
But Wait — Yarn Under Alone Isn’t Enough
Here’s where things get interesting. I’ve had people tell me, “I’m already using yarn under, but my stitches are still slanting!” And they’re right — yarn under alone won’t fix everything.
The problem is how you pull the yarn after you insert your hook.
Most of us, when we make a single crochet, insert the hook, yarn under, and then pull the loop toward the side — especially if you’re right-handed, pulling to the right. That sideways pull, repeated hundreds of times per project, creates a subtle but consistent lean in your stitches. Over several rounds, that lean compounds, and suddenly your columns are migrating.
So what’s the fix?
Pull Up, Not to the Side
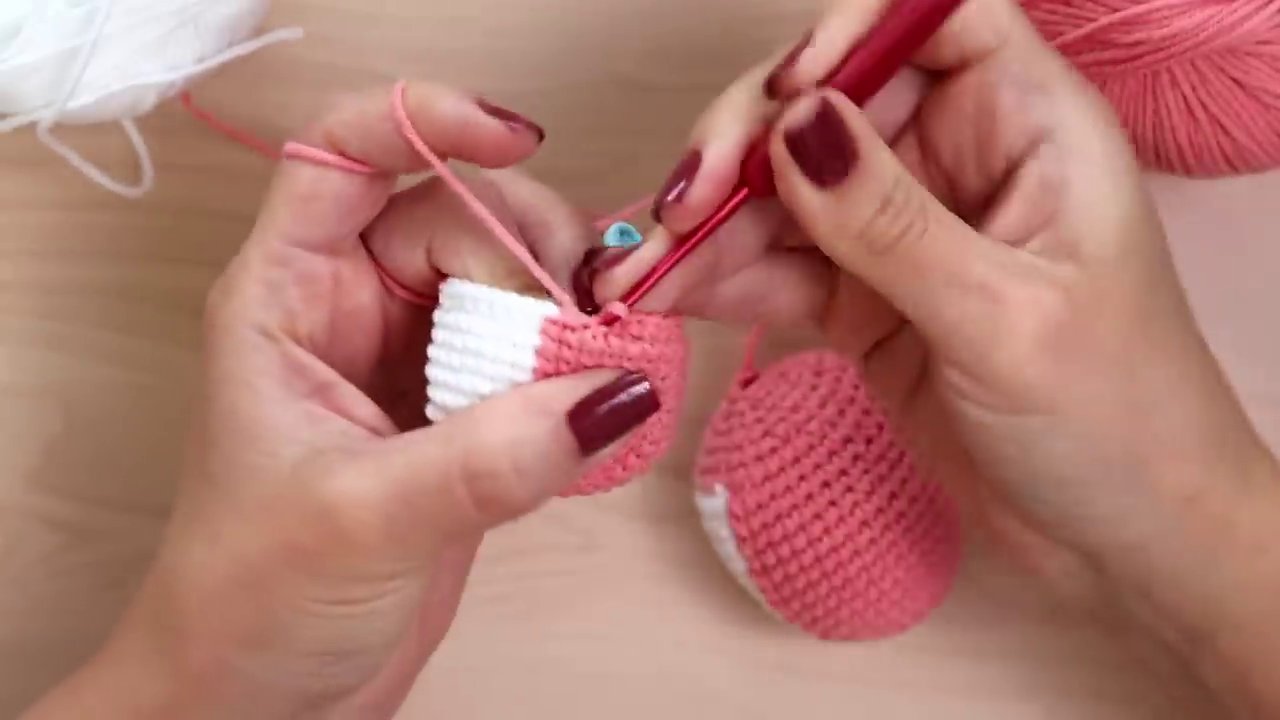
Instead of pulling the yarn to the side, pull it straight up.
I know — this sounds almost too simple. And it can feel awkward at first, especially if you’ve been crocheting for a while and your muscle memory is set. But watch what happens when you do it.
When you pull up, the loop sits centered on the hook, and the stitch forms directly above the previous one. There’s no sideways tension to nudge it off course. Do this consistently, combined with the yarn under, and your stitches will stack like bricks.
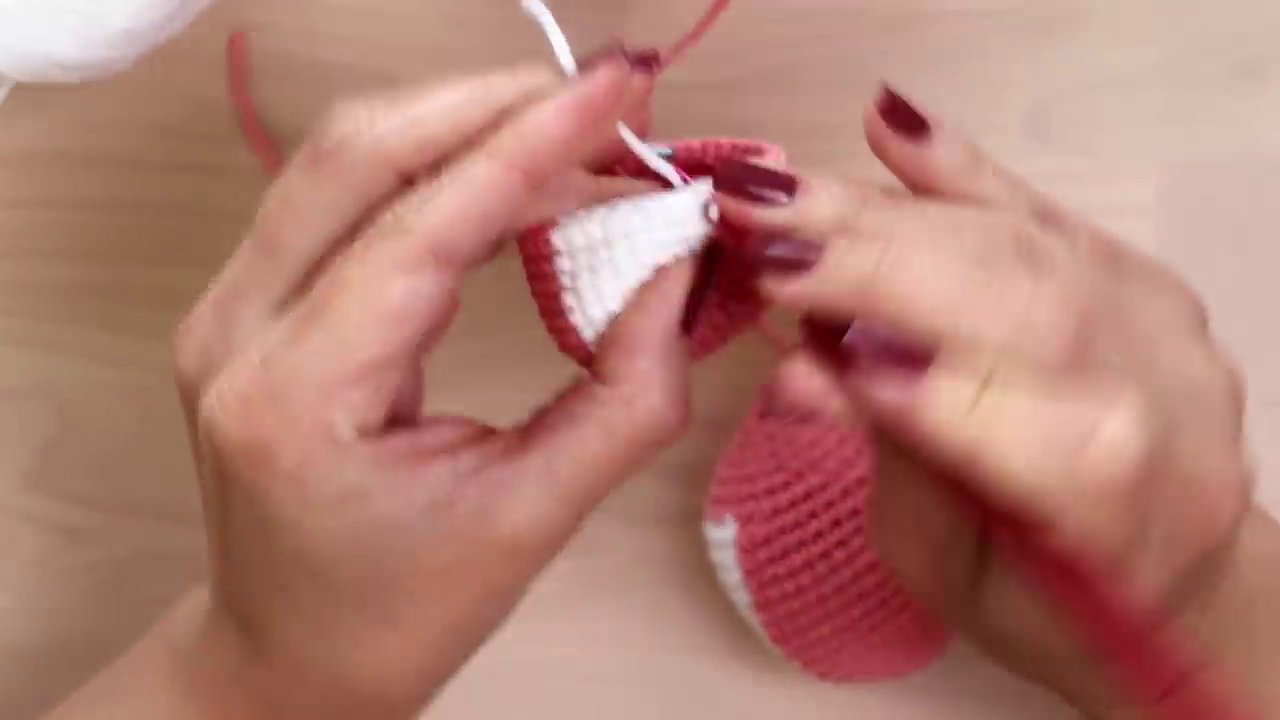
Let me show you the difference. When I exaggerate pulling to the side, you can see the whole stitch body tilt. When I pull up, it straightens out. It’s that simple — and that effective.
What About Color Changes?
Color changes are where this technique really shines. If your stitches are already leaning, a color change will make it even more obvious — the new color starts a visible slant that ruins the clean line you want.
But with yarn under and pulling up, you can change colors and the stitches will stay perfectly aligned. Just attach your new color and continue the same motion: yarn under, pull up, complete the stitch. Don’t pull to the side during the color change either. Keep everything moving upward.
One More Thing — Be Kind to Yourself
I need to circle back to something I said at the beginning. Even with yarn under and pulling up, your stitches won’t be 100% perfect every single round. You’re working in a spiral. Your tension might change slightly from one session to the next — I crocheted half of one sample yesterday and the other half while recording this video, and you can see a tiny difference. That’s normal.
Also, left-handed crocheters will experience the opposite slant direction, but the same fix applies: pull up instead of to the side.
Putting It All Together
Here’s your takeaway:
- Switch to yarn under for your single crochets in amigurumi. This creates the X-shape that stacks naturally.
- Pull your loop up, not to the side. This prevents the sideways tension that causes leaning.
- Practice on a small swatch or a simple project with color changes, like a Baby Stitch or another pattern that requires clean color transitions.
- Don’t stress over perfection. A slight spiral shift is part of working in the round. Your amigurumi will still look fantastic.
If you found this helpful, try it on your next project. And if you want more tips like this — or step-by-step tutorials — there’s plenty more where this came from. Happy crocheting.