There’s a moment in every crochet project that I used to dread. I’d finish the last stitch of a row, flip my work, and there it would be – that lumpy, obvious slip knot, sitting right at the corner of my block. It wasn’t the end of the world, but it never sat right with me. So I sat down and figured out a better way.
The problem is that a standard slip knot, no matter how you make it, usually ends up right on the edge of your work. That single strand of yarn becomes the weak point, and if you ever need to work a border or stitch into that corner, the knot can loosen, the loop can get floppy, and you’re left fighting your own foundation. My fix is simple: by adding one extra chain and changing where you place your final stitch, you can hide that knot behind your work, giving you a clean, solid corner every time.
The Two Ways to Make a Slip Knot (And Why Both Can Fail)
Before I show you the fix, let’s talk about the two basic methods for making a slip knot. Most of us know them, but it helps to see where the trouble starts.
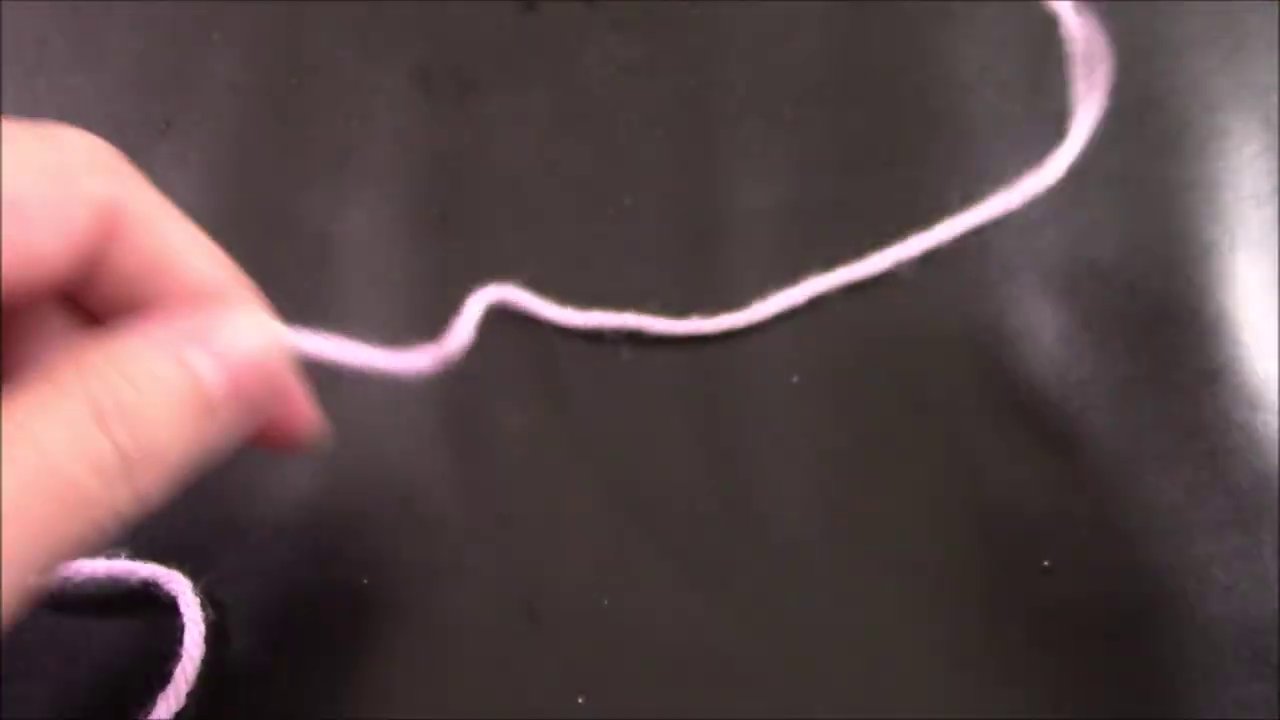
Method 1: Pull the loose end through. This is the way I usually do it. You make your loop, pull the short tail through, and tighten. Because the loose end is what controls the loop, you can adjust the knot later. If you leave a big loop by accident, you can tug on that tail and shrink it down. That’s nice, but the knot still sits at the edge of your work, and after you’ve crocheted a row, you can only tighten it so much. The real issue comes when you need to work into that corner – every time you stick your hook in, the knot is right there, and the loop can get stretched out.
Method 2: Pull the working yarn through. Some people do it this way: they pull the long strand (the yarn attached to the ball) through the loop. This gives you a knot that tightens when you pull the working yarn. That’s fine while you’re chaining, but the moment you start your row, the working yarn is gone – it’s busy being stitches. When you reach the end of the row and see a big, loose loop, you’re stuck. You can’t tighten it because the yarn you’d need to pull is now up at the top of your work. This is the worst of the two options for corner control.
What I Do Instead
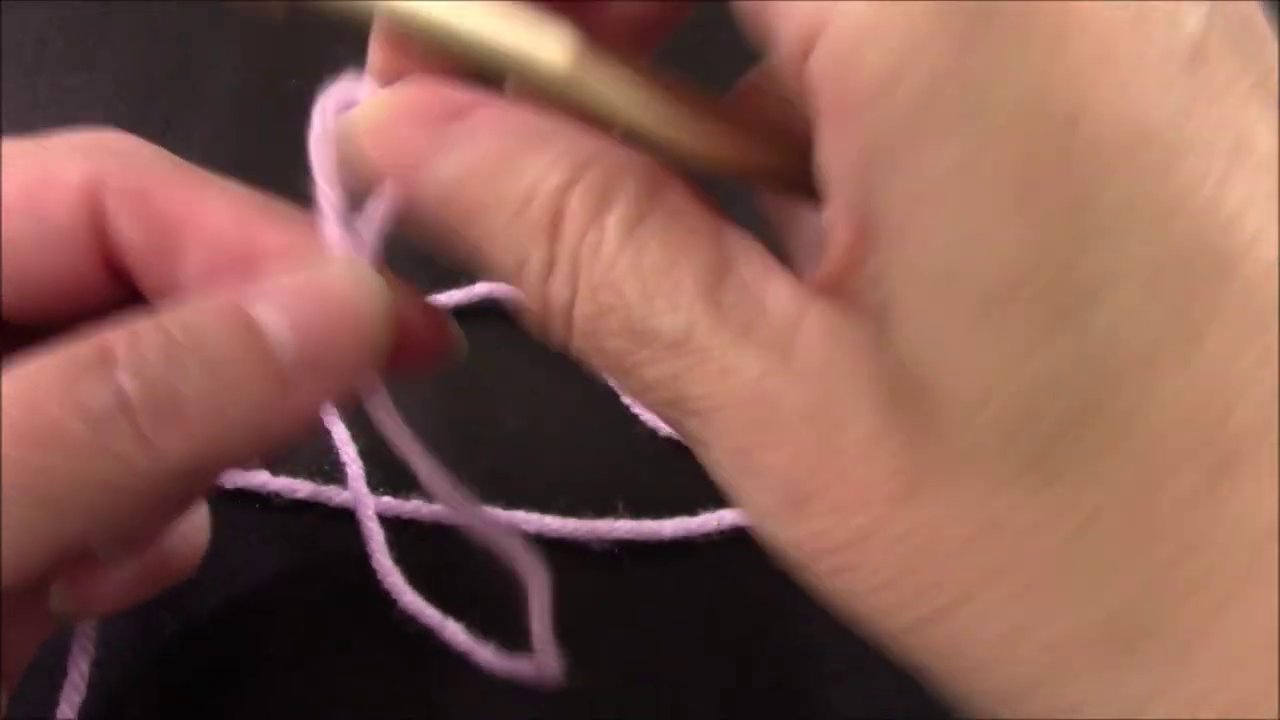
Here’s the trick. Start with the first method – pull the loose end through. This gives you control over the loop size from the start. Then, you’re going to make one small change to your chain count.
No matter what pattern you’re following, add one extra chain to the foundation. If the pattern says “multiple of 3 plus 2,” make it “multiple of 3 plus 3.” If it’s a simple single crochet blanket and you need 20 chains, chain 21. That one extra chain is the key.
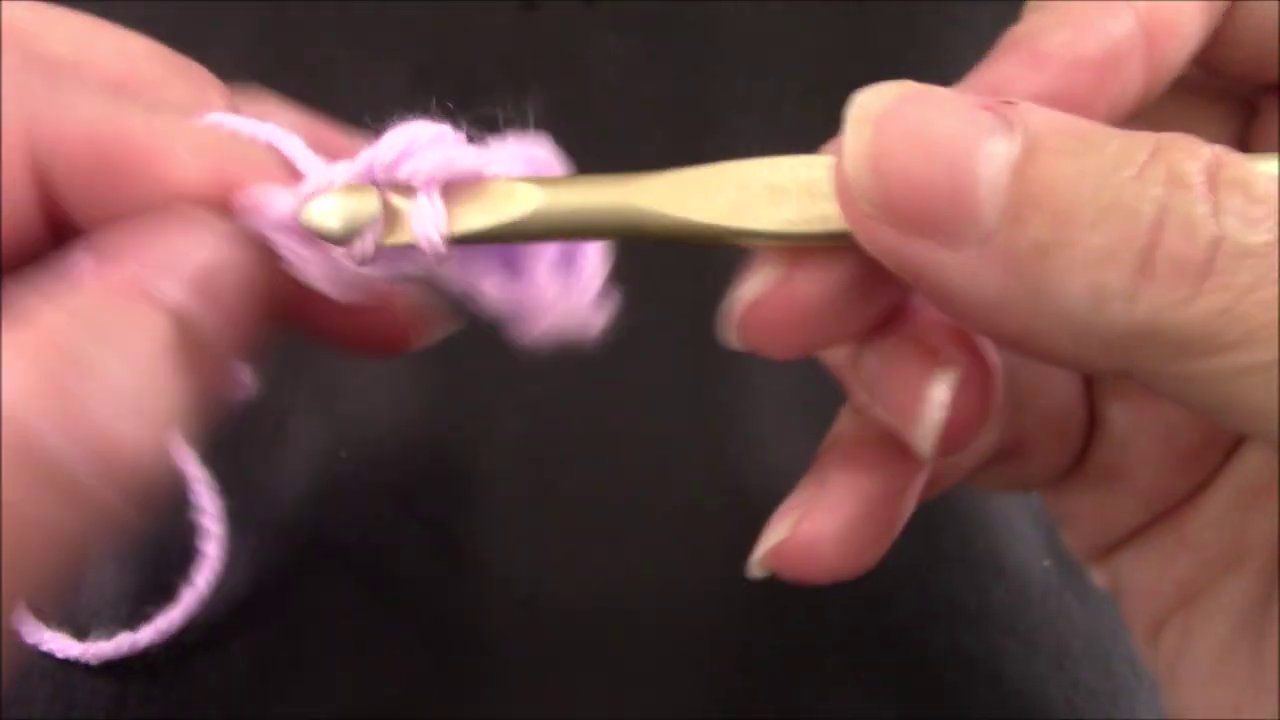
Now, work your row as normal, but stop when you have two chains left at the end. This is the part that feels strange at first. Instead of working into the very last chain, you’re going to skip it. Insert your hook into the second-to-last chain, then into the very last chain. You’re essentially using both of those chains as the base for your final stitch.
When you yarn over and pull through both loops, something magic happens: the slip knot naturally flips to the back of your work. It’s no longer sitting at the corner. It’s hiding behind the fabric, tucked away where it will never be seen.
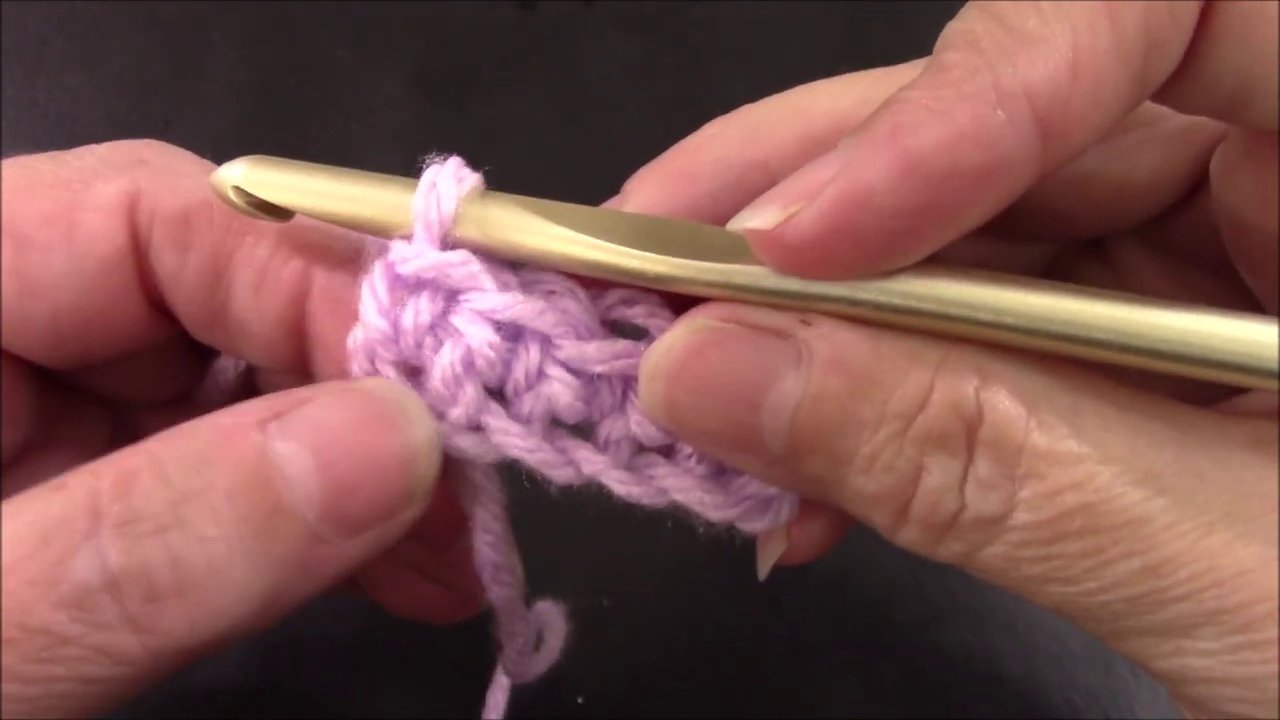
Complete your stitch (a single crochet, half double, whatever your pattern calls for), and then finish the row as usual. When you turn your work, look at that corner. It’s clean. No knot. No loose loop. Just a nice, solid edge.
Why This Matters for Borders and Edging
If you’ve ever crocheted a border around a block, you know the struggle. You get to the corner, and you have to work into that messy knot area. The stitch feels loose. The knot might pop through to the front. It’s frustrating.
This trick solves that. Because the knot is on the back, it’s easily hidden when you weave in your ends. And if you’re doing a border, you can work your stitches right over that spot without any fuss. The corner stays tight and even.
I do a lot of projects that involve slip stitch edging followed by a single crochet border. Before this trick, I was constantly adjusting and fidgeting with the corner knot. Now, I just work up to the last two chains, do my final stitch, and move on. It’s one less thing to worry about.
A Quick Walkthrough
Let’s run through it one more time so you can see how simple it is.
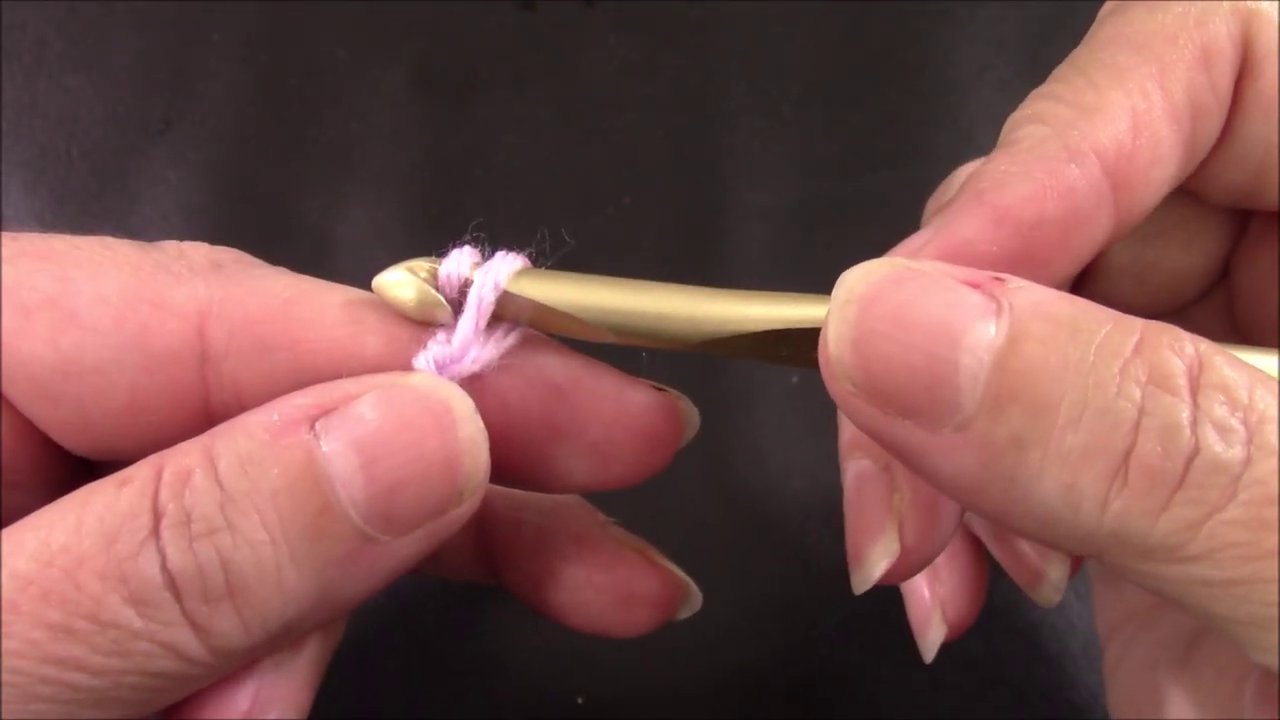
- Make your slip knot by pulling the loose end through.
- Chain your desired number, plus one extra.
- Work your row until you have two chains left.
- Insert your hook into the second-to-last chain, then into the last chain.
- Complete your stitch as normal.
- The knot will be at the back. Done.
That’s it. No complicated techniques, no special tools. Just one extra chain and a slight change in where you place your final stitch.
Give It a Try
I’ve been using this method for a while now, and I honestly can’t go back to the old way. It’s one of those small tweaks that makes a big difference in how your finished project looks and feels. If you’re working on a project with visible corners, like a blanket, a scarf, or even a set of dishcloths, this trick will give you a much cleaner finish.
You might find that the first time you try it, it feels a little awkward. That’s normal. Just remember to add that extra chain, and stop when you have two left. Before long, it’ll feel like second nature.
Happy crocheting. I’ll be back with more soon.