Scrunchies are back, and making your own is way more satisfying than buying a pack at the drugstore. With just a bit of yarn, a hook, and a hair elastic, you can whip up a custom accessory in under an hour. And the best part? You don’t need to know much to get started.
This guide walks you through exactly what you saw in that quick video tutorial — from the basic single crochet scrunchie to a few fun stitch variations that give your hair ties some real texture. Whether you’ve never picked up a hook before or you’re just looking for a fast, satisfying project, this one’s for you.
What You’ll Need Before You Start
The beauty of crochet scrunchies is the short materials list. You probably already have most of this stuff.
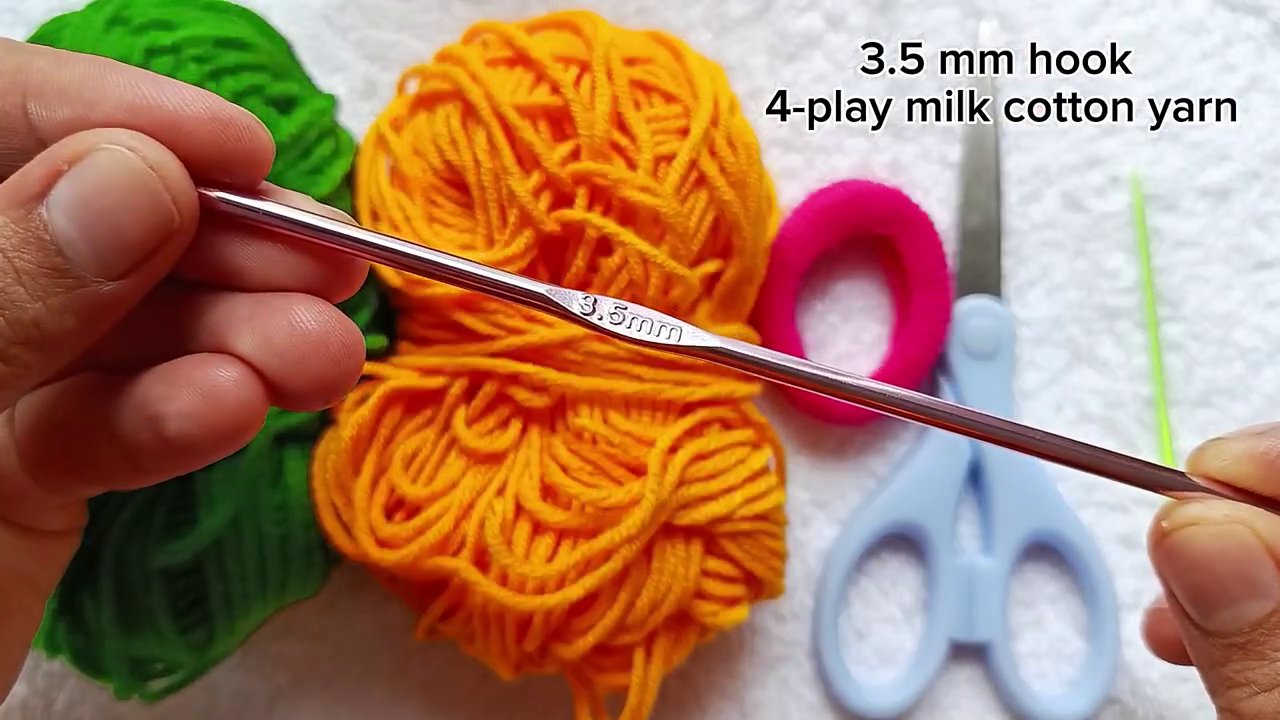
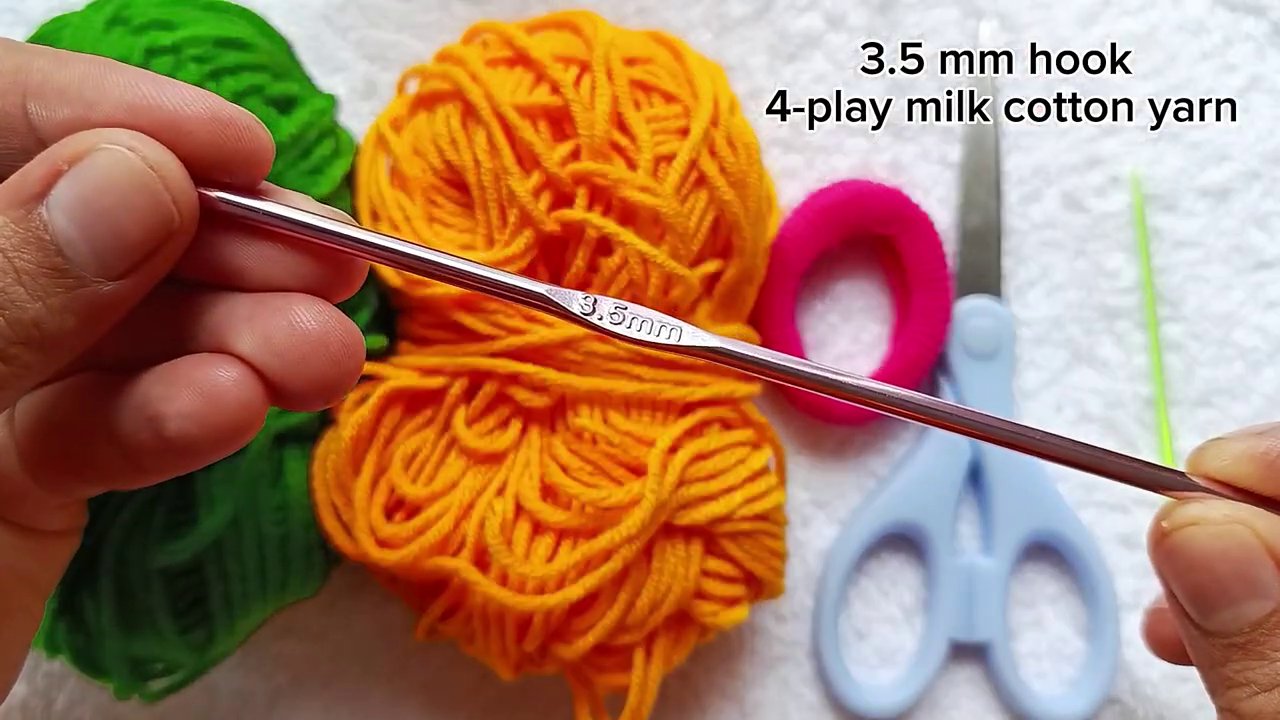
Yarn. Medium-weight (worsted) cotton or acrylic yarn works best. Cotton has a nice grip that holds the scrunchie’s shape, but acrylic gives you more color options and a softer feel against hair. Go with whatever you have on hand.
Crochet hook. A 4mm or 5mm hook is the sweet spot for worsted-weight yarn. If your yarn is a little thicker, bump up to a 5.5mm. The goal is a tight enough stitch that the elastic doesn’t peek through, but loose enough that you’re not fighting every loop.
Hair elastic. Standard thick hair ties work fine. You want one that’s sturdy — the thin ones can snap under the weight of the yarn. Black or clear elastics are invisible under most yarn colors, but if you’re working with a light shade, go with a clear or white elastic.
Scissors and a yarn needle. Nothing fancy here. You just need to weave in a few ends when you’re done.
The Basic Technique: Single Crochet Around an Elastic
This is the foundation of almost every crochet scrunchie pattern. Once you get this down, you can experiment with fancier stitches.
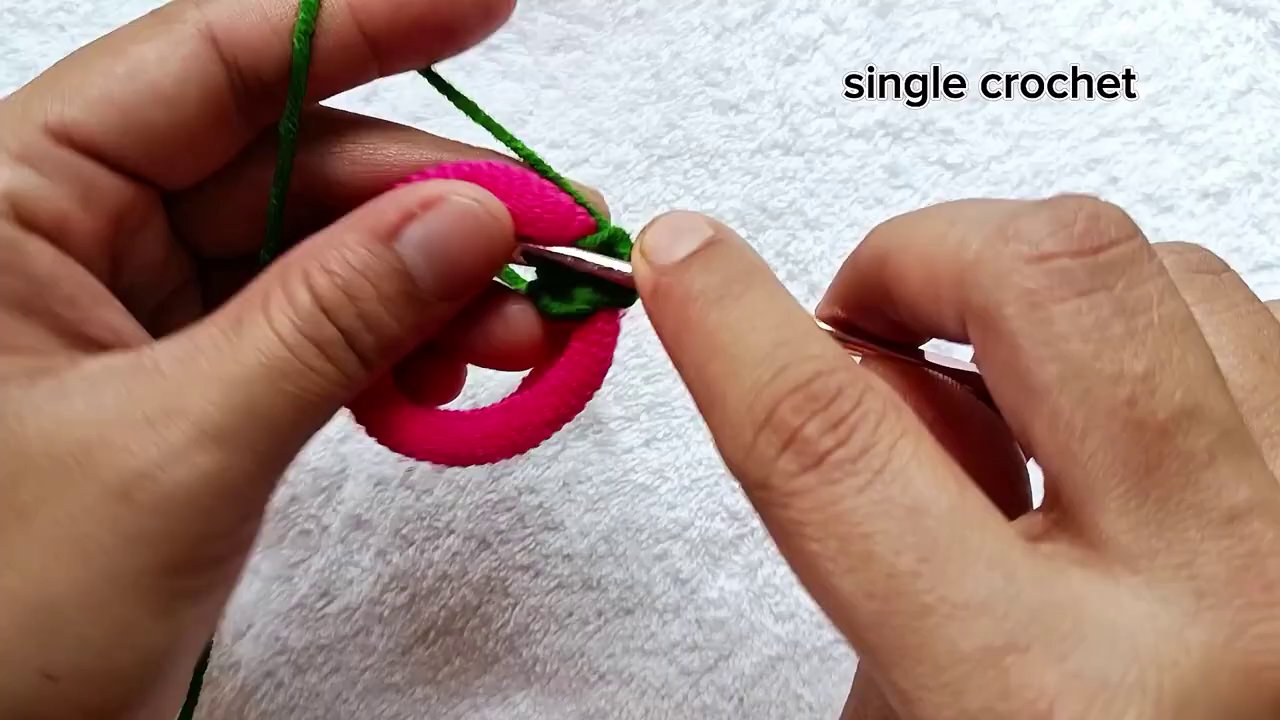
Start by holding your hair elastic in your non-dominant hand. Insert your hook through the center of the elastic, yarn over, and pull up a loop. Chain one — this counts as your first single crochet.
Now work single crochet stitches all the way around the elastic. The trick is to keep your stitches close together so no elastic shows. You’ll fit roughly 30 to 40 single crochets around a standard-sized hair tie, depending on your yarn weight and tension.
Don’t stress about counting perfectly. Just fill the elastic until it looks fully covered and the stitches are snug against each other. When you reach the starting point, slip stitch into the first stitch to join the round.
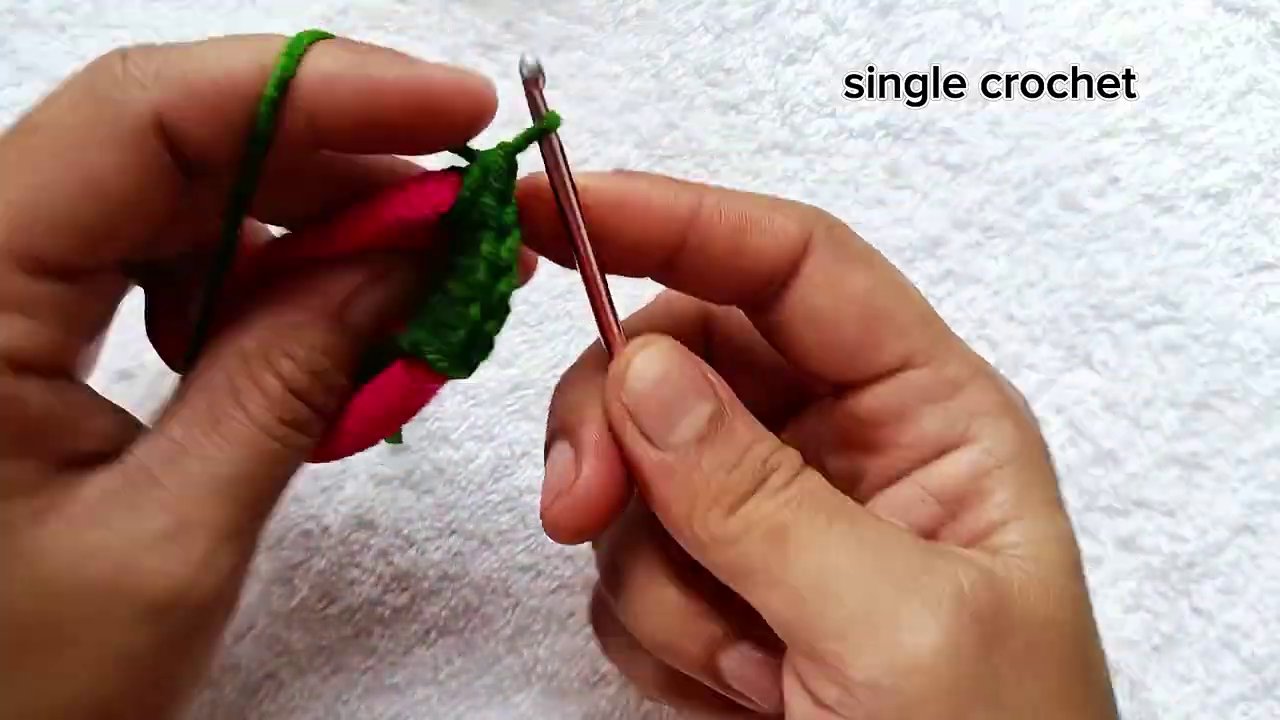
This is where things get interesting. You’ve got a covered elastic, but it doesn’t look like a scrunchie yet. The ruffled, gathered look comes from what you do next.
Building the Ruffle: Where the Magic Happens
A plain round of single crochet is just a covered elastic. To get that scrunchie puffiness, you need to add stitches — lots of them.
The simplest ruffle is two single crochets in every stitch around. Work your way around the circle, putting two stitches into each single crochet from the previous round. By the time you finish, the piece will start to ruffle naturally. Slip stitch to join, fasten off, and weave in your ends.
That’s it. You’ve made a scrunchie.
But if you want something with a little more visual interest, there are plenty of ways to change things up.
Try a Double Crochet Ruffle
For a looser, more dramatic ruffle, switch to double crochet. Instead of working two single crochets in each stitch, work two double crochets. The taller stitches create more volume and a lacier look. Just keep in mind that double crochet uses more yarn and makes a slightly bigger scrunchie.
The Chain-and-Double Crochet Combo
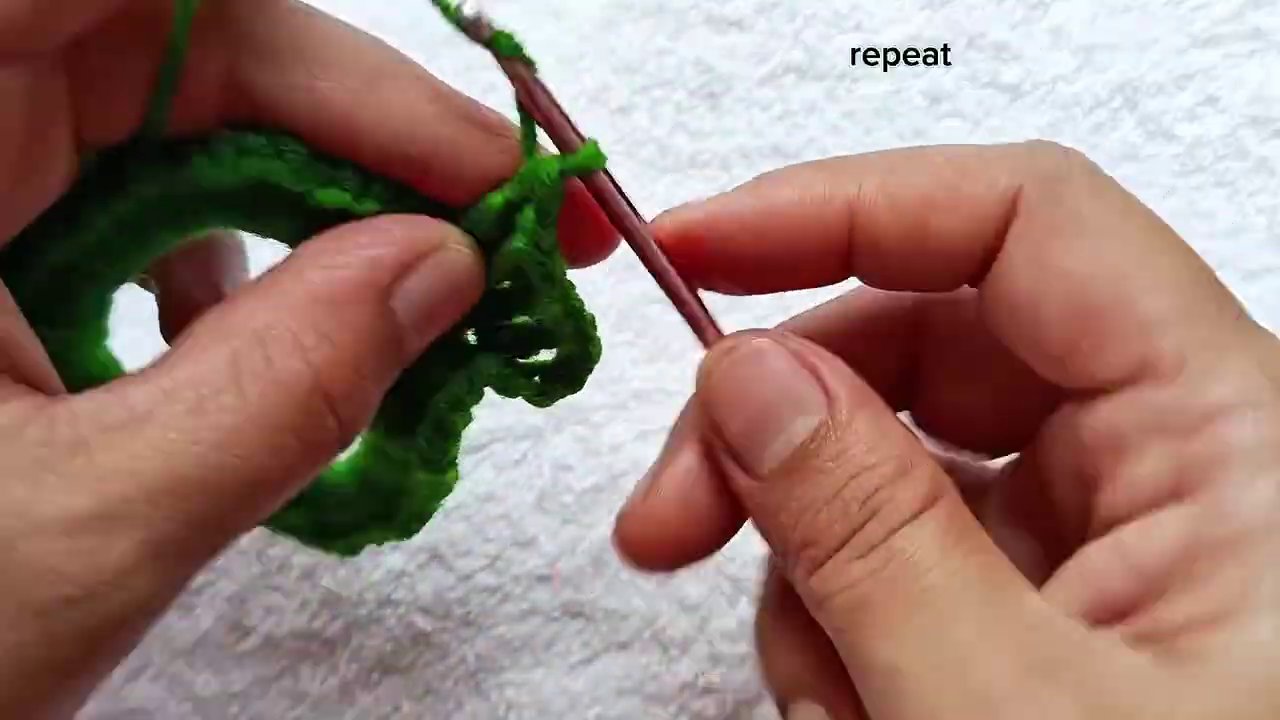
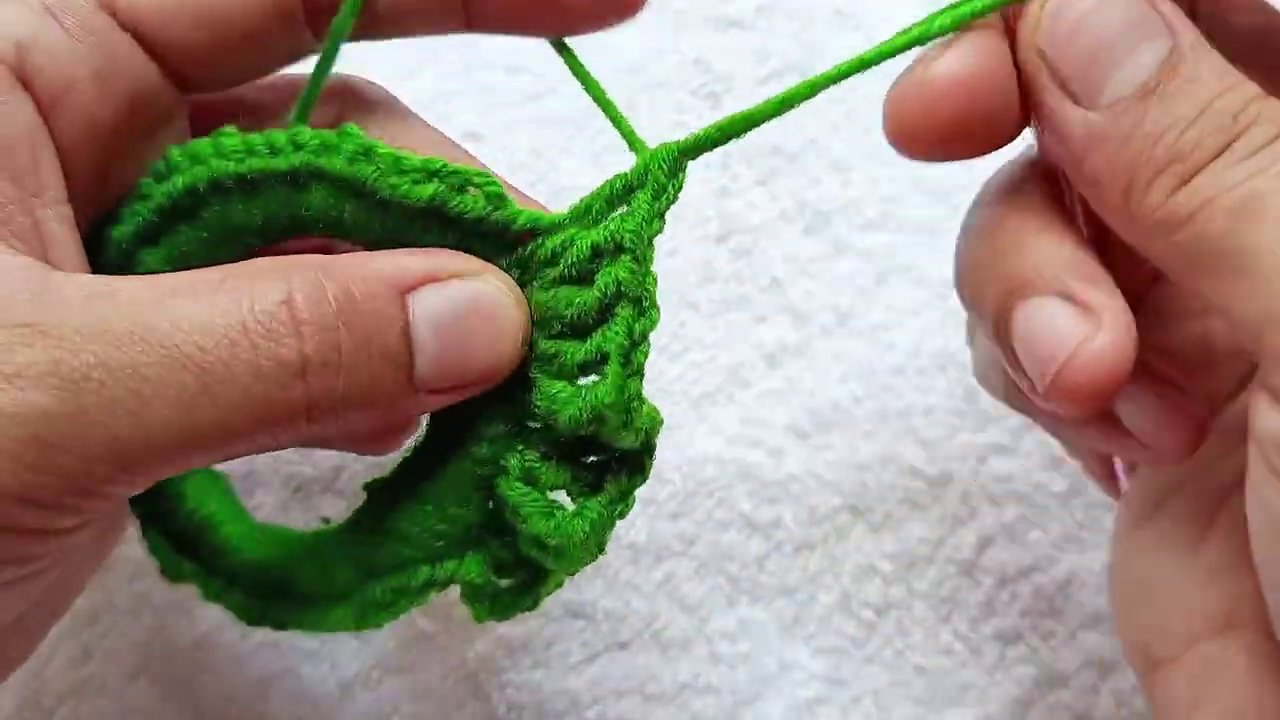
Here’s a pattern that shows up in a lot of video tutorials: chain 3 (which counts as your first double crochet plus one chain), then double crochet into the same stitch. Skip the next stitch, and repeat — chain 3, double crochet into the next stitch. This creates a series of little loops around the scrunchie. It’s quick, repetitive, and produces a really pretty scalloped edge.
Adding Color and Texture
Once you’re comfortable with the basic scrunchie, color changes are an easy way to level up.
You can stripe your scrunchie by switching yarn colors after the first round around the elastic. Work one round in pink, then join green and work the ruffle round. Or do the opposite — keep the elastic cover neutral and make the ruffle pop with a bright contrast color.
Stripes work especially well with the chain-and-double crochet pattern because each loop stands out clearly.
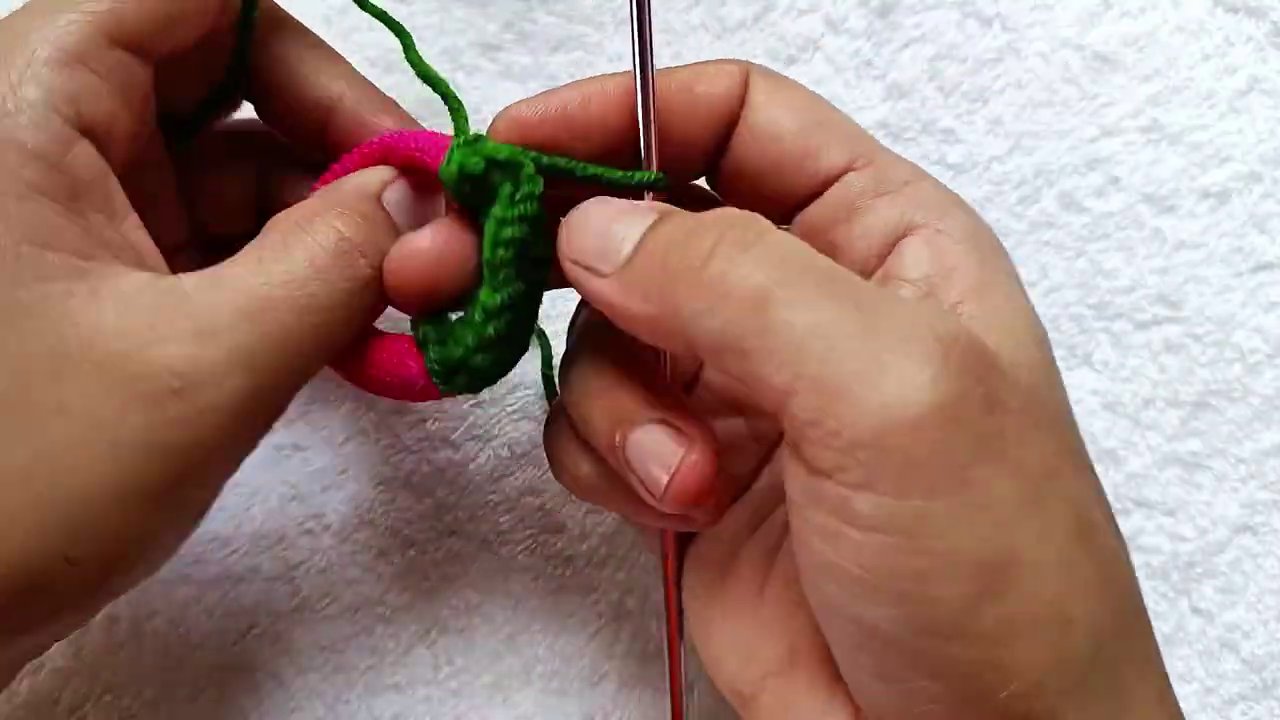
If you want something even more textured, try a cluster stitch. The video tutorial shows a “4 half double crochet cluster” — which sounds fancy but is really just a group of half-double crochets worked into the same stitch and joined at the top. Clusters create a bumpy, almost floral texture that looks great in solid colors or variegated yarn.
Common Mistakes and How to Avoid Them
Scrunchies are forgiving, but a few things can trip you up.
Too tight. If your stitches are too tight, the scrunchie won’t stretch properly. You’ll struggle to get it around a ponytail, and the elastic might snap over time. Keep your tension relaxed. If you’re a naturally tight crocheter, go up a hook size.
Too loose. On the flip side, loose stitches leave gaps where the elastic shows through. Aim for stitches that sit close together without puckering the elastic.
Skipping the slip stitch join. It’s tempting to just spiral around without joining, but a slip stitch at the end of each round gives you a cleaner finish. It also makes it easier to keep track of where your round ends.
Not weaving in ends securely. Scrunchies get pulled and stretched. If your yarn tails aren’t woven in well, they’ll work their way out. Weave them through at least four or five stitches in opposite directions, then snip close to the surface.
Beyond the Basics: What to Try Next
Once you’ve made a few basic scrunchies, the possibilities open up.
Thinner yarn, smaller hook. Use sport-weight or fingering yarn with a 3mm hook for a delicate, dainty scrunchie that’s more about texture than volume.
Bulky yarn for a chunky look. Super-bulky yarn and a 6mm hook make a thick, cozy scrunchie perfect for winter. Just be aware that bulky scrunchies eat up yarn fast.
Add a border. Work a round of slip stitches or picot stitches around the edge of your ruffle for a finished, polished look.
Mix stitch patterns. Combine single crochet, half-double crochet, and double crochet in the same ruffle round for an uneven, organic texture.
If you’re looking for another quick project to practice your stitches, try a crochet dishcloth — same basic techniques, but flat and practical. Or if amigurumi is on your list, a monster keychain is a fun way to practice working in the round with small pieces.
Why Scrunchies Are the Perfect Beginner Project
There’s a reason scrunchies show up in so many crochet tutorials. They’re small enough to finish in one sitting. They use minimal yarn. They make great gifts. And they let you practice stitches without the pressure of a big blanket or garment.
You’ll learn tension control, working in the round, joining, and color changes — all in a project that takes maybe 20 minutes once you know what you’re doing.
Plus, there’s something satisfying about wearing something you made yourself. Every time you pull your hair back, you’ll remember that you crocheted that scrunchie. It’s a small win, but it sticks with you.
So grab a hook, pick a yarn color that makes you happy, and give it a try. By the time you finish reading this, you could already have a scrunchie half done.