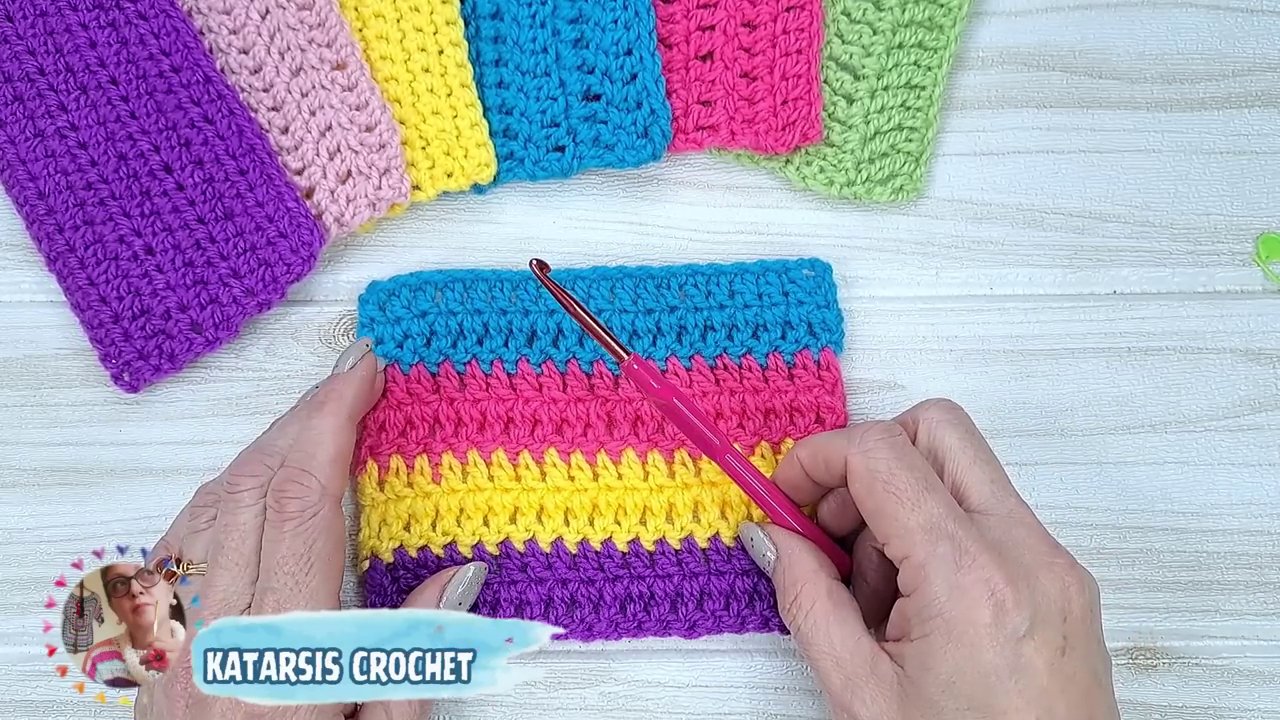
Every crocheter knows the frustration. You finish a row, chain the required number of stitches, turn your work, and start the next row. And there it is — that little gap. That tiny hole at the edge that you just know is going to bother you for the rest of the project. It might not seem like a big deal at first, but when you’re joining pieces together, or working on something like a scarf where the edges are front and center, those holes become glaring problems.
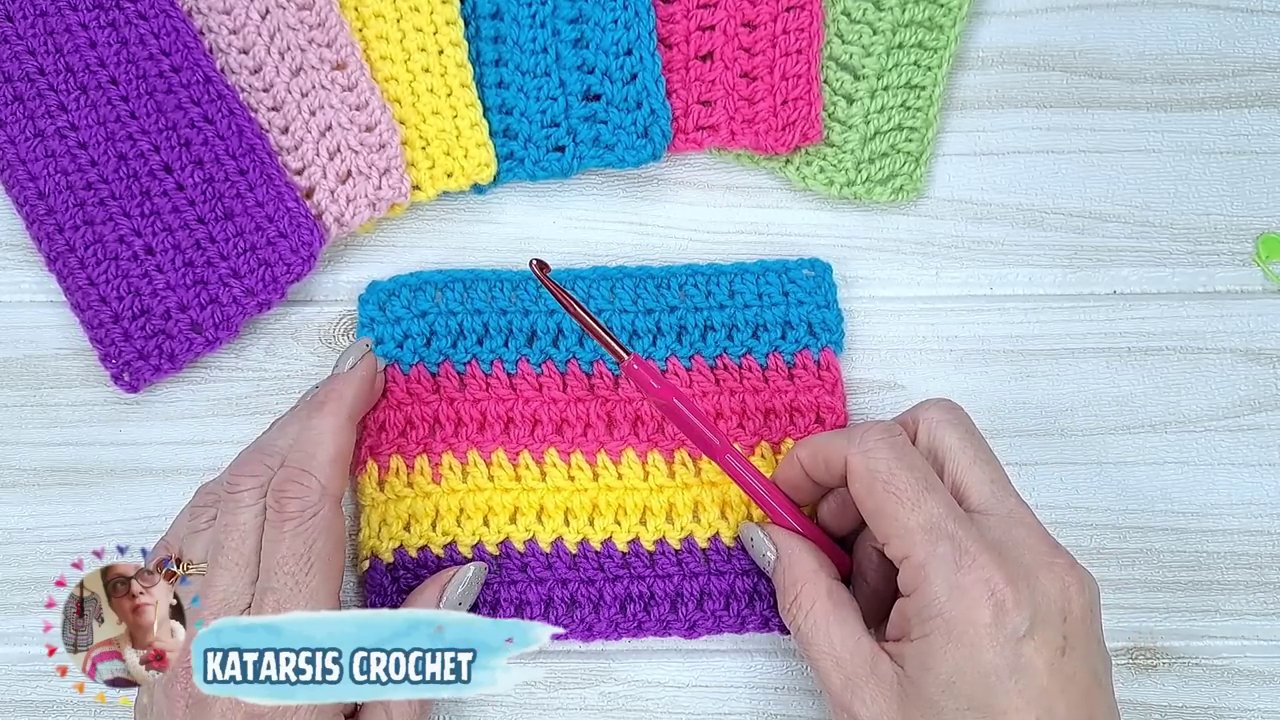
I’ve been there more times than I can count. The good news? You don’t have to live with them. There are simple techniques that completely eliminate those gaps, and they work with the most common stitches you probably use every single day. Let me walk you through them.
Why Those Holes Happen
When you start a new row with a chain — say, chain 3 for a double crochet — you’re creating a little loop that stands in for your first stitch. The problem is that this chain doesn’t sit perfectly flush against the previous row. It leaves a small opening on either side. If you’re joining two pieces together later, those openings stretch out even more as you work through them. Suddenly, your neat edge looks like Swiss cheese.
The fix isn’t complicated. It just requires a slightly different approach to how you handle the beginning and end of each row. And the method changes depending on the stitch you’re using.
Single Crochet: The One-Extra-Chain Trick
Single crochet is the foundation of so many projects, and it’s also the easiest to fix. Here’s what you do.
Start by making one extra chain at the beginning of your row. So if your pattern normally says to chain 1 and turn, you’ll chain 2 instead. Then, instead of working into the first stitch from the previous row, insert your hook into the second chain from your hook and work a single crochet there.
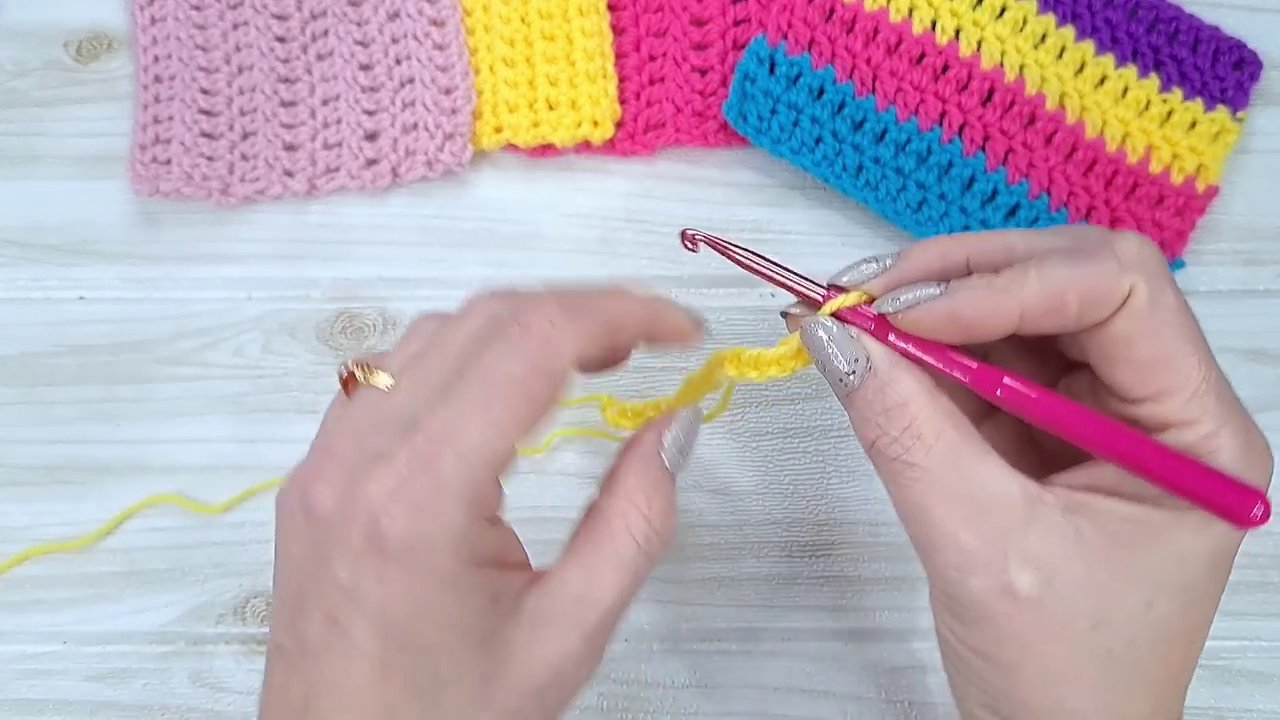
Continue working single crochets across the row as usual. When you get to the end, here’s the key: work a single crochet directly into that extra chain you made at the start of the previous row. That chain, which looked like it was just floating there, now becomes a solid stitch. The result? A perfectly clean edge with no visible holes at the beginning or end of the row.
This works because you’re not leaving any chain loops exposed. Every chain gets a stitch worked into it, creating a solid, continuous edge.
Half Double Crochet: Same Principle, Slightly Different Execution
Half double crochet behaves a little differently than single crochet, but the same basic idea applies. You want to eliminate those exposed chains.
Start by chaining one extra. Yarn over, insert your hook into the second chain from the hook, and work a half double crochet. Continue across the row. When you reach the end, turn your work. Now, instead of chaining and starting fresh, you’re going to yarn over and insert your hook directly into the same stitch where the last loop of the previous row came from. Work a half double crochet there.
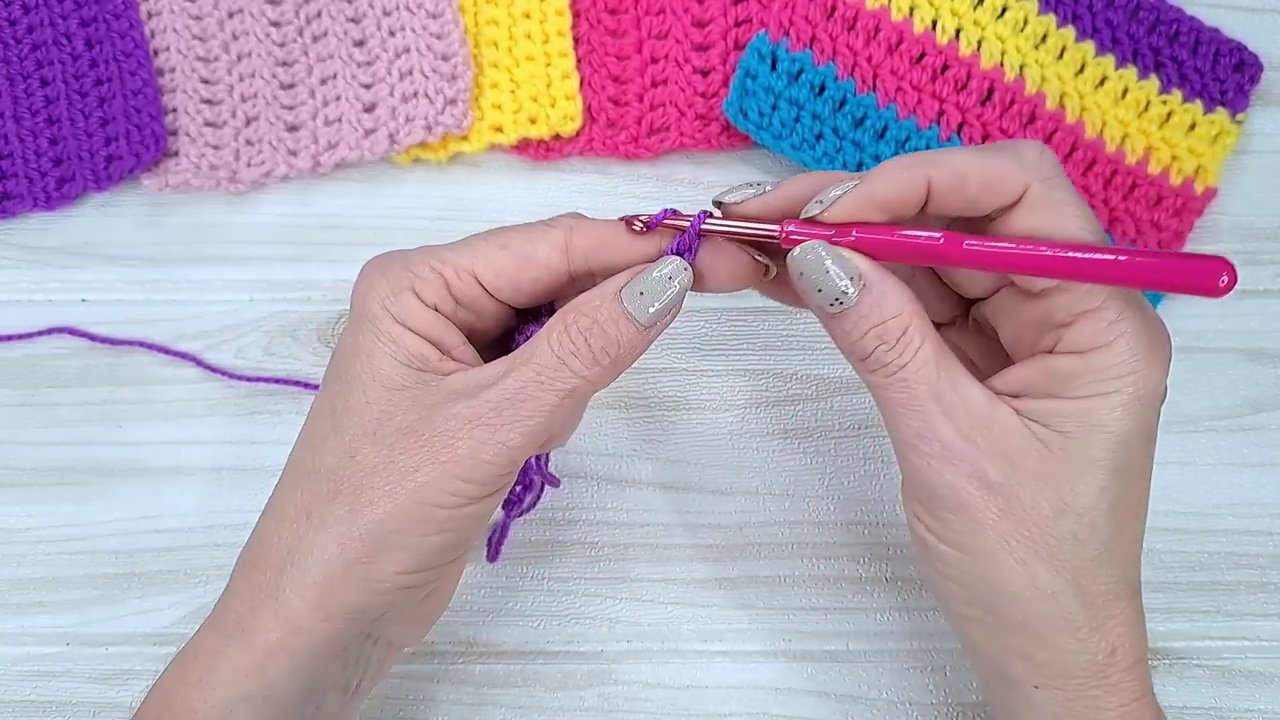
Repeat this process at the beginning of every row. You’re essentially creating a seamless transition between rows. The edge stays straight, and there are no gaps to worry about. It takes a little getting used to, but once you do it a few times, it becomes second nature.
Double Crochet: Three Methods, One Clear Winner
Double crochet is the stitch most of us use the most, and it’s also the one that tends to leave the ugliest holes. A standard chain-3 turning chain creates two noticeable gaps — one on each side. If you’re making a scarf, a blanket, or any garment where edges are visible, those gaps are hard to ignore.
I’ve tested three different methods for fixing this. They all work, but one of them stands out as the best.
Method 1: The Yarn-Over Twist
This method takes a little practice, but it produces a very clean edge. Start by pulling up a loop to the height of a double crochet. Then, give your hook a full twist to the right — a full rotation — before inserting it into the same stitch. Yarn over, pull through, and then complete the stitch as normal.
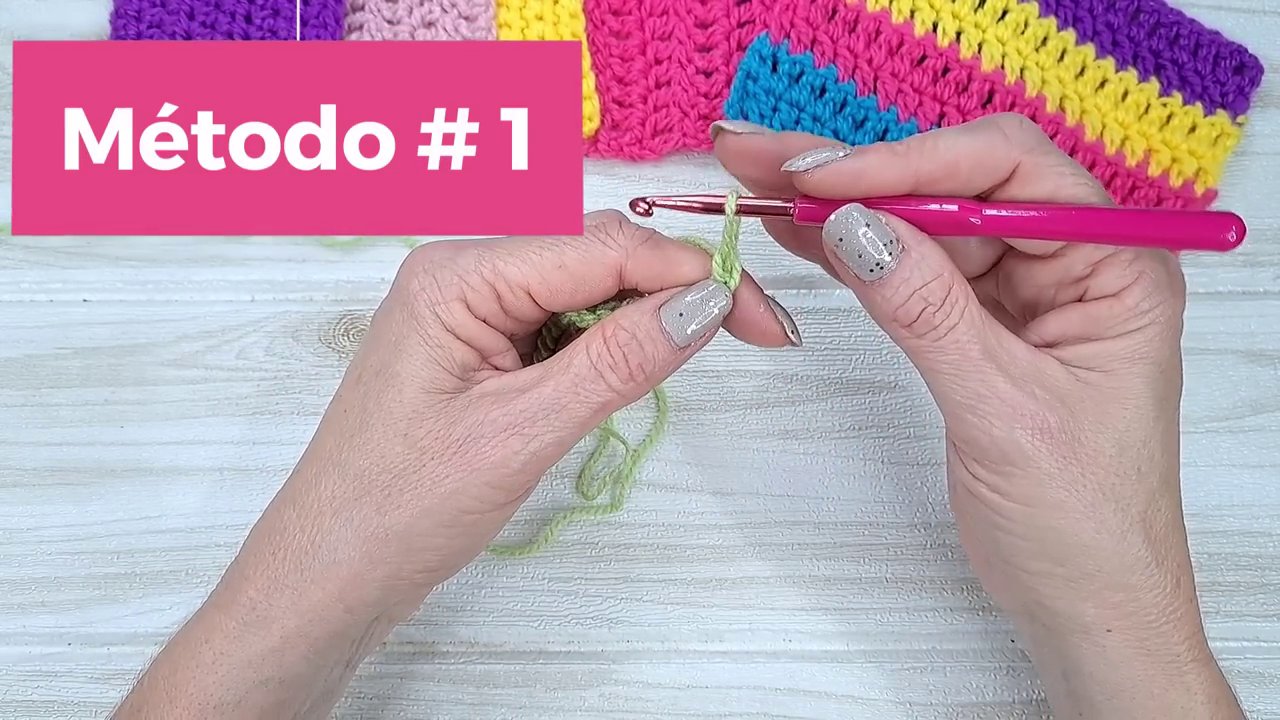
This twist creates a tighter, more stable stitch that doesn’t leave a gap. At the end of the row, you’ll work into the chain that formed at the beginning, pulling through both loops to close it up. The result is a straight, professional-looking edge.
The downside? It’s a bit fiddly. The twist can feel awkward until you’ve done it a dozen times. But the result is worth the effort.
Method 2: The Chain-and-Insert Method
This one is slightly more complex but gives the same result. You start by making a loop at the height of a double crochet, holding it with your finger. Then, insert your hook into the first chain of the previous row, yarn over, and pull through. Complete the stitch as normal.
You repeat this at the beginning of every row. It works, and it produces a clean edge, but it’s slower and more cumbersome than the first method. If you’re looking for speed and efficiency, this probably isn’t your best bet.
Method 3: The One-Extra-Chain Method (The Winner)
This is the method I come back to every single time. It’s simple, fast, and produces the best results.
Chain one extra at the start of your row. So if you normally chain 3, chain 4 instead. Skip the first chain from your hook and work a double crochet into the second chain. Continue working double crochets across the row.
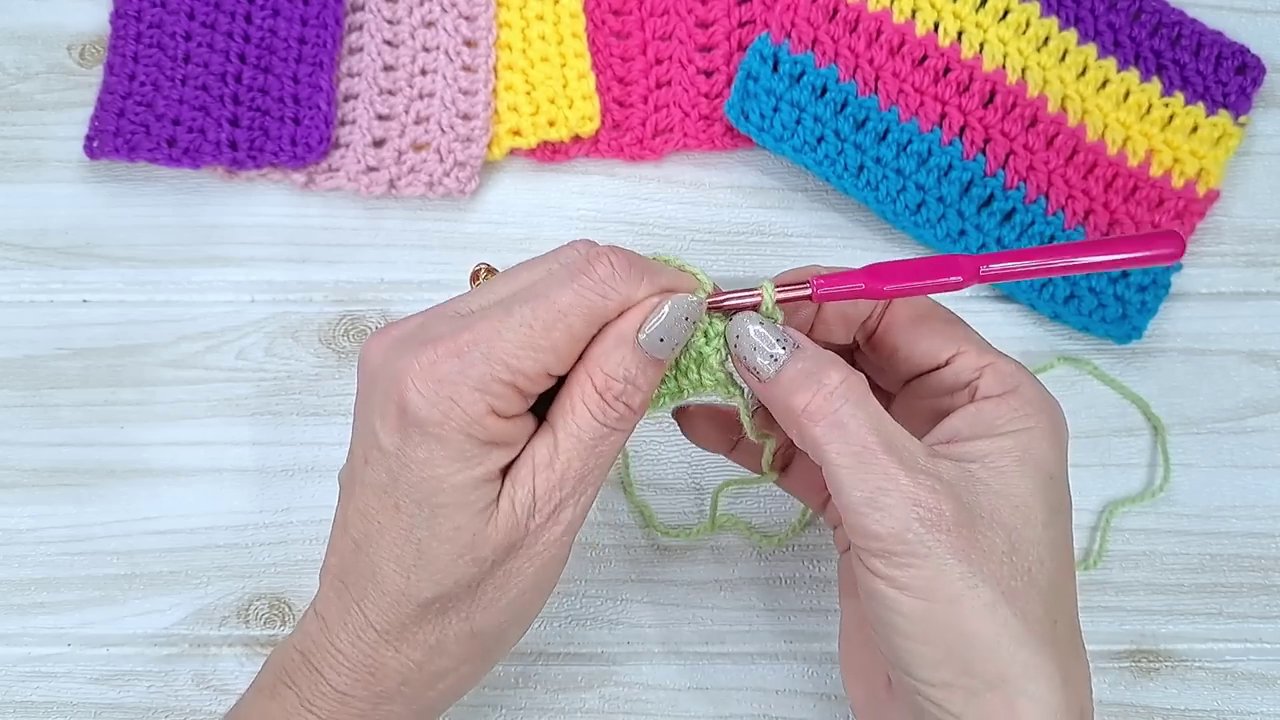
At the end of the row, turn your work. Insert your hook into the same stitch where the last loop of the previous row came from, and work a double crochet there. Then work another double crochet into that same stitch. You’re essentially creating a stacked increase at the end of the row, but it’s not an increase — it’s the way you close the edge.
Do this at the beginning of every row. The edge stays straight, there are no holes, and the stitch pattern remains consistent. It’s the most reliable method I’ve found, and it works beautifully on scarves, blankets, and anything else where edge appearance matters.
Double Treble Crochet: Adapting the Technique
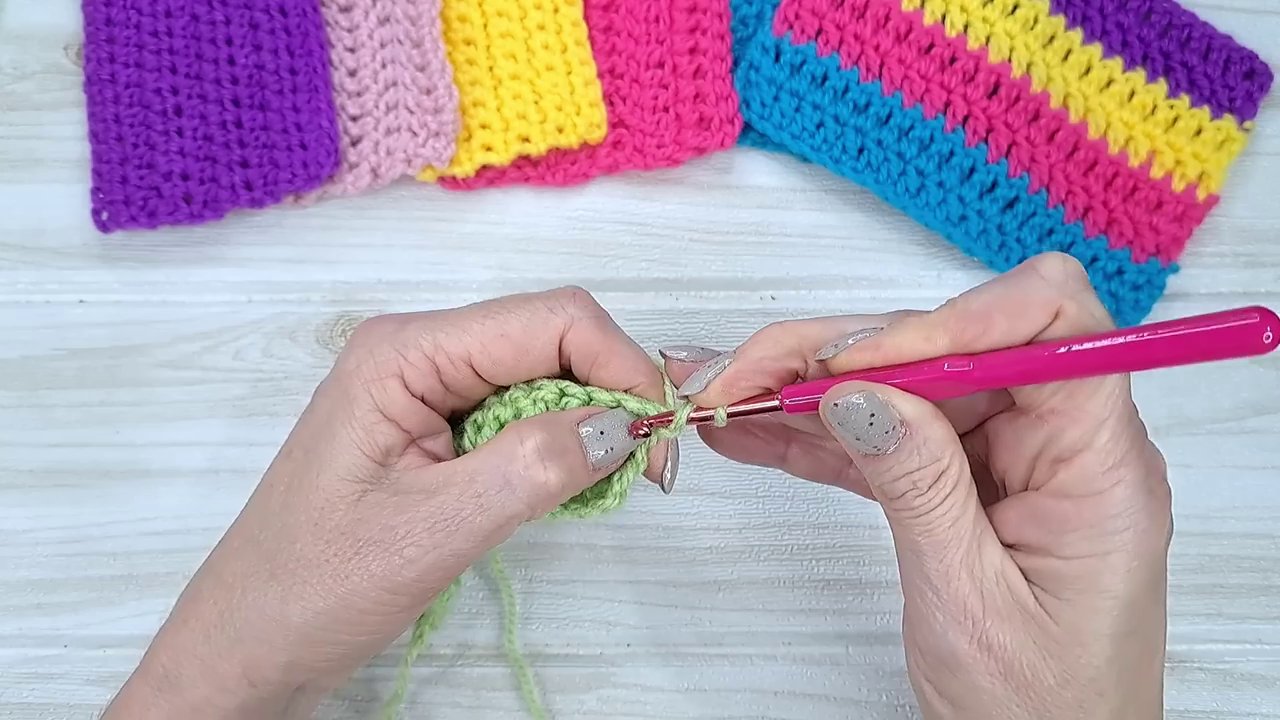
The same principle works for taller stitches like double treble crochet. You just need to adjust the number of times you repeat the process. Instead of doing it once, you do it three times — once for each yarn over.
Chain one extra, then work the stitch as you normally would, but repeat the closing step three times at the end of the row. It sounds more complicated than it is. Once you’ve done it a few times, it becomes automatic.
Why This Matters for Your Projects
If you mostly make amigurumi or closed pieces where edges are hidden in seams, you might not care about this. But if you make scarves, shawls, blankets, or garments, edge quality is everything. A scarf with uneven, hole-ridden edges looks unfinished. A blanket with gaps along the sides looks sloppy. These techniques take almost no extra time, but they transform the final look of your work.
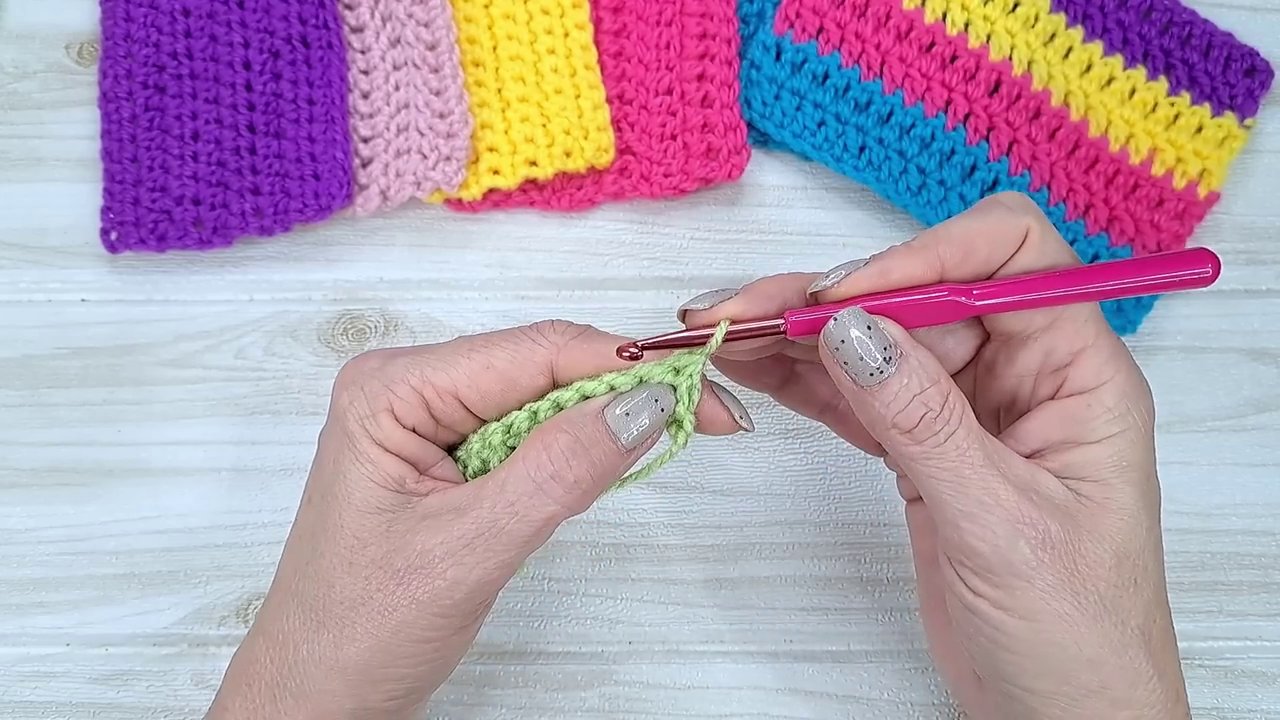
I’ve been using the one-extra-chain method for double crochet for years, and I’ve never looked back. It’s one of those small adjustments that makes a huge difference. Once you see how clean your edges can be, you won’t want to go back to the old way.
If you’re working on a project where edge quality matters — like a scarf or a blanket — give these techniques a try. They’re easy to learn, they work with the stitches you already know, and they’ll make your finished pieces look like you spent hours more on them than you actually did.
And if you’re looking for a fun project to practice these edge techniques on, something like this crochet dishcloth pattern is perfect. It’s small, works up quickly, and the edges are on full display. You’ll see your improvement row by row.
For something a bit more playful, this monster keychain pattern is a great way to practice clean edges on a small scale. And if you’re in the mood for something cozy, this double diamond blanket pattern will give you plenty of rows to master the technique.
Pick a method, practice it on a swatch, and see which one feels best to you. Your edges will thank you.