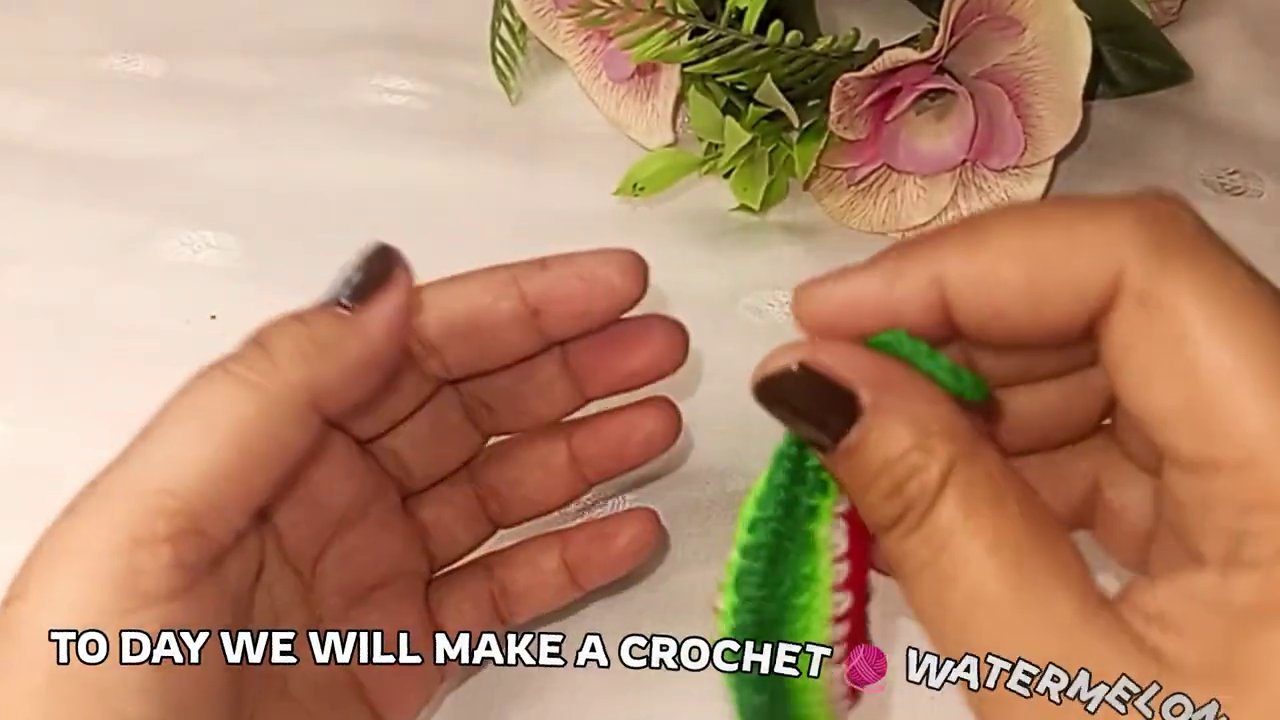
There’s something about food-shaped crochet that just makes people smile. Maybe it’s the playful mismatch — a soft, cozy object that looks like something you’d bite into. And a watermelon slice? That’s practically the poster child of cute amigurumi projects. It’s simple enough for a beginner to tackle in an evening, but satisfying enough that even experienced crocheters will enjoy the quick payoff.
I watched a tutorial recently where a maker with dark-painted nails and a tattoo reading “Se@sap” on her right hand walked through the entire process. Her setup was straightforward — a white tablecloth, a ball of green yarn, a small bouquet of flowers, and that unmistakable red yarn that would become the center of the slice. No fuss, no overproduction. Just hands, hook, and yarn doing exactly what they’re supposed to do.
Let’s break down how to make your own.
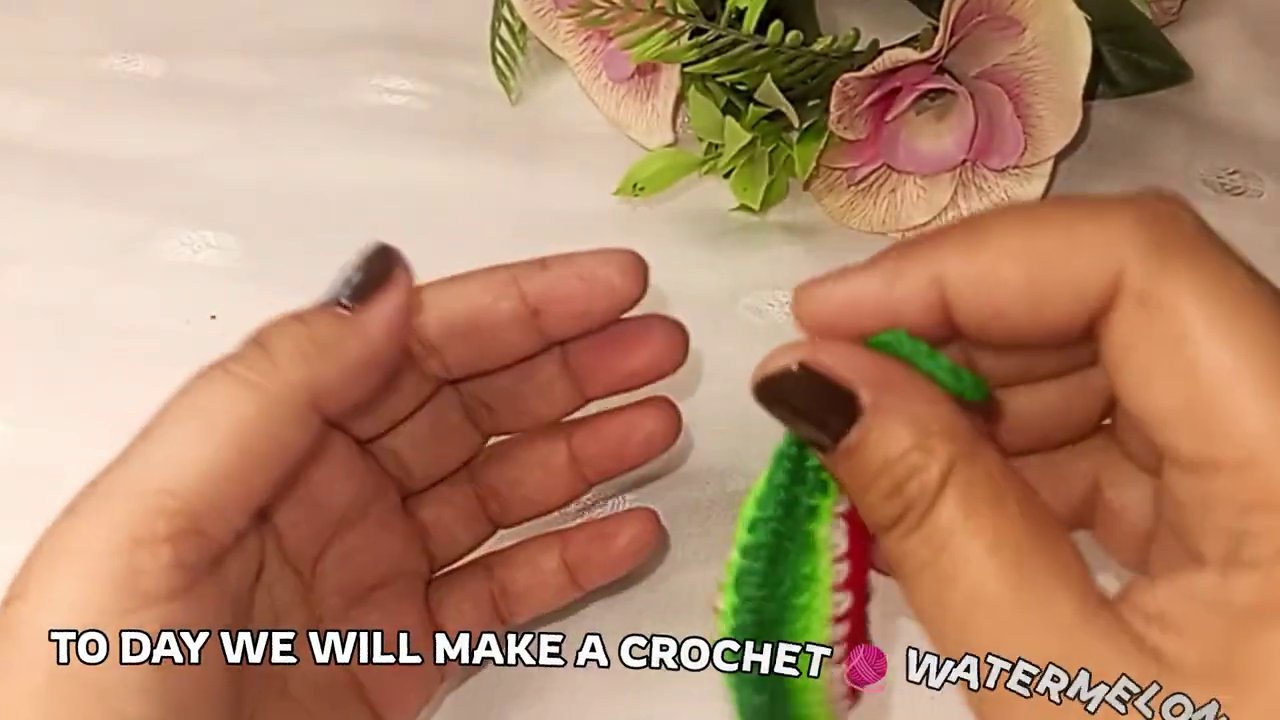
What You’ll Need
Before you start, gather a few basics. You don’t need anything fancy, but having the right materials makes a real difference.
- Worsted weight yarn in red and green. A small amount of each — you won’t use much.
- A 4.0 mm crochet hook (or whatever size matches your yarn’s recommended gauge).
- Yarn needle for weaving in ends.
- Scissors.
- Stitch marker (optional, but helpful for keeping track of rounds).
That’s it. This is a two-color project that works up fast. If you’ve got leftover yarn from other projects, this is a perfect stash-buster.
Starting the Red Center
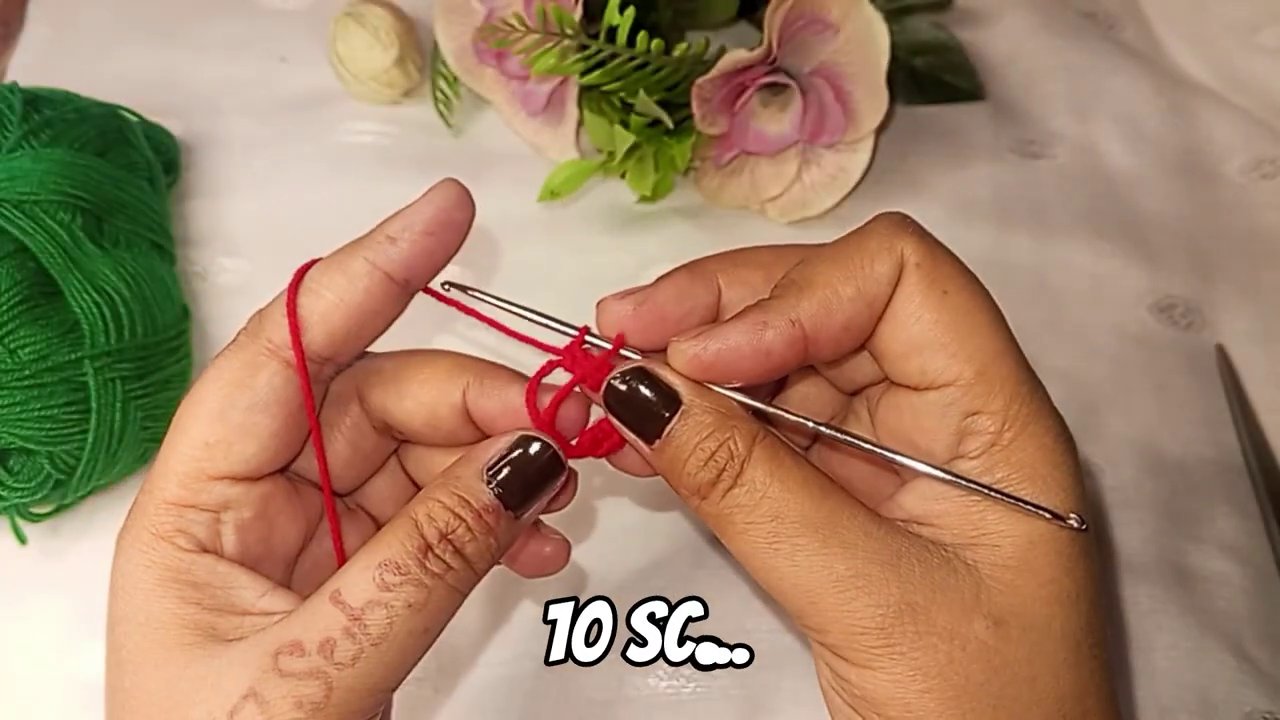
The tutorial begins with the red circle. The maker’s hands work steadily, the hook moving through loops with practiced ease. Text overlays appear on screen — “10sc…” — giving viewers the stitch counts as she goes.
You start with a magic ring. If you’ve never done one, it’s a technique that lets you pull the center tight so there’s no hole. Some people prefer chaining and joining, but for a solid circle like a watermelon center, the magic ring is cleaner.
Work 6 single crochet stitches into the ring. Pull the tail to close it tight. Then join with a slip stitch to the first stitch.
From there, you increase evenly each round. The standard formula for a flat circle works perfectly here:
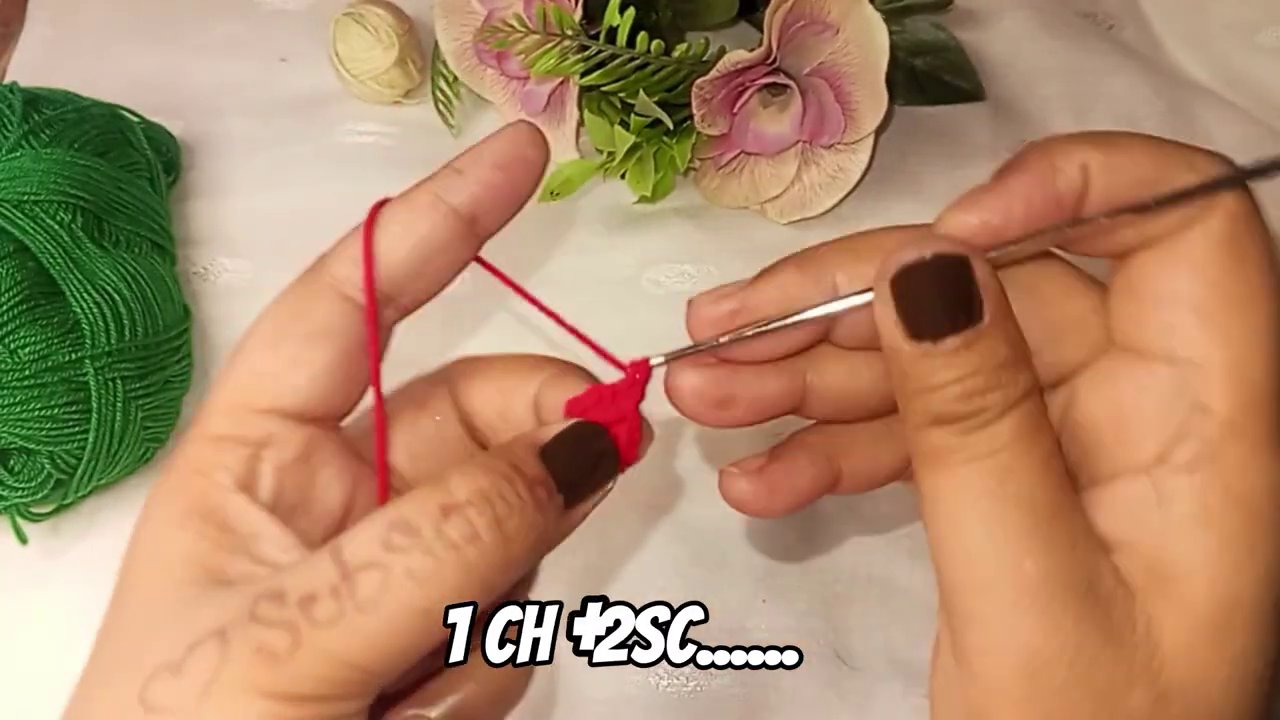
- Round 2: 2 sc in each stitch (12 stitches)
- Round 3: 1 sc, 2 sc in next stitch — repeat around (18 stitches)
- Round 4: 1 sc, 1 sc, 2 sc — repeat (24 stitches)
- Continue until the circle is the size you want
The text overlay in the video — “1,1,1,1,2, SINGLE CROCHET” — is shorthand for this pattern of increases. You work several single crochets, then two in the next stitch. It’s the kind of notation that makes sense once you’ve seen it a few times.
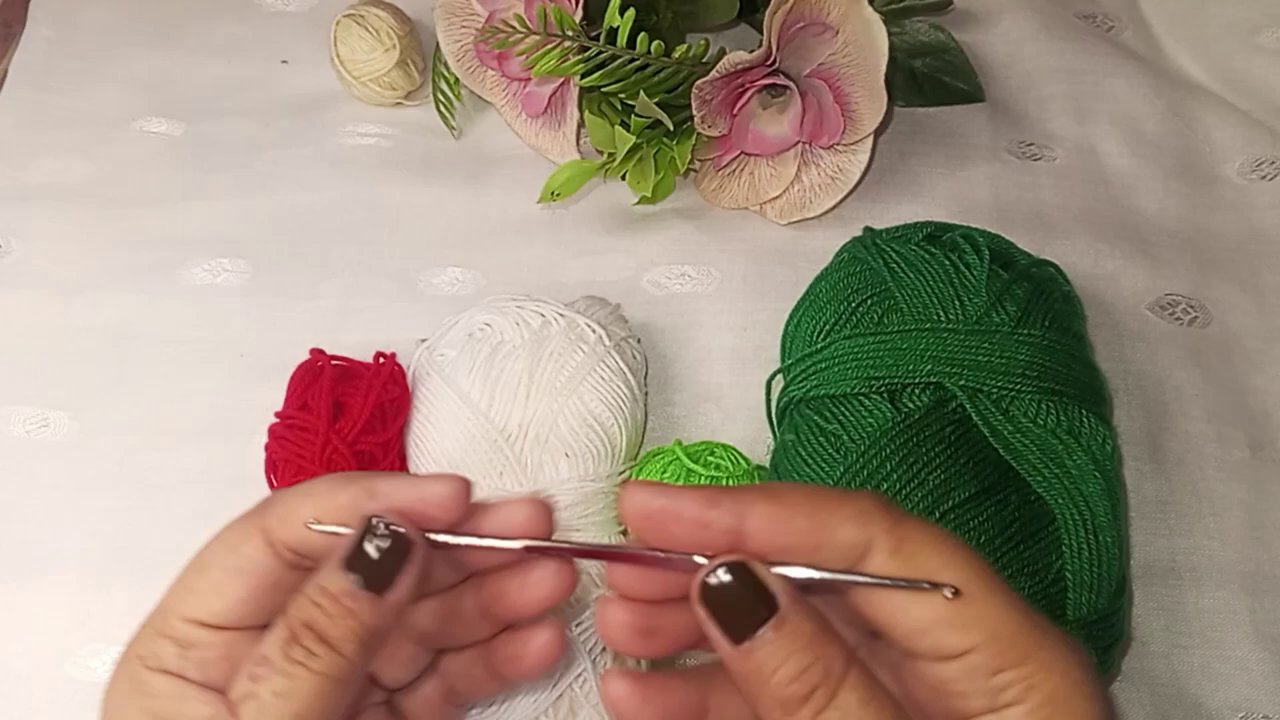
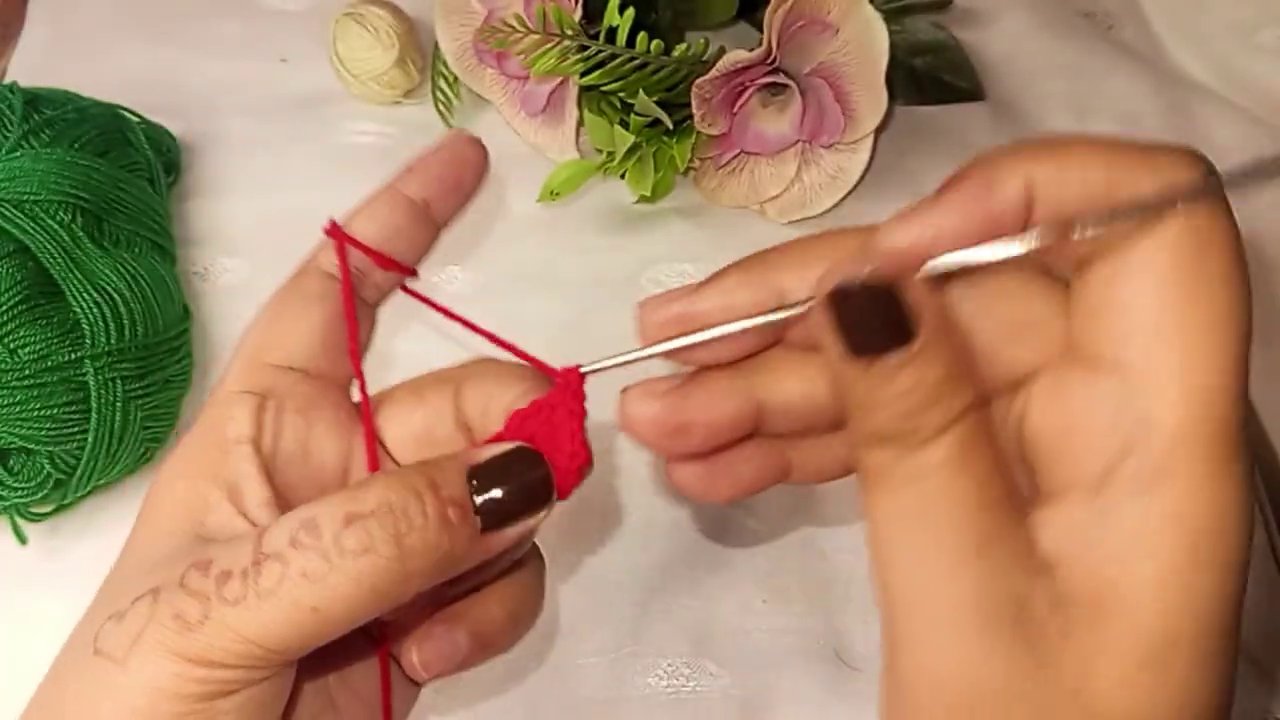
The maker’s red circle grows steadily. Each round gets slightly wider, the familiar shape of a watermelon cross-section emerging from the yarn. If you’ve ever made a crochet plush frog pattern, you’ll recognize the same basic increase structure. Amigurumi skills transfer beautifully between projects.
When to Switch Colors
This is where things get interesting. The red center is essentially a flat circle of single crochet. But a watermelon slice isn’t just red — it has that pale green rind around the edge, sometimes with a thin white line between the red and the green.
The tutorial handles this simply. Once the red circle reaches the desired diameter, the maker doesn’t continue increasing. She just stops and prepares to switch yarns.
You have a couple of options here:
- Work the last round of red, then join green and work one or two rounds of single crochet around the edge. This gives you a clean color change and a visible rind.
- Add a round of white between the red and green if you want that extra layer of realism. It’s not strictly necessary, but it looks nice.
The video shows the maker switching directly to green. Her hands pick up the new yarn, and the hook starts working single crochet stitches into the edge of the red circle. The green border forms quickly, each stitch sitting neatly next to the last.
Crocheting the Green Rind
The green border is where the watermelon slice really takes shape. Without it, you just have a red circle. With it, you have something recognizable.
The maker works single crochet stitches all the way around the edge. For a flat circle that’s been increased evenly, the edge should be relatively smooth. You’re essentially creating a border that wraps around the entire piece.
A few things to keep in mind:
- Don’t increase in the border round unless you want the rind to ripple. Single crochet evenly around, one stitch per stitch.
- If your circle has a slight curve, you can work 2 sc in some stitches to help it lie flat. But generally, a properly increased circle won’t need that.
- Consider doing two rounds of green for a thicker rind. The tutorial shows one round, but two gives a more substantial look.
The maker holds the finished piece up at the end of the video. It’s a perfect little watermelon slice — red center, green border, small enough to fit in the palm of your hand. The white tablecloth and flowers in the background make it feel almost like a still life.
Variations and Ideas
Once you’ve got the basic technique down, you can run with it. Here are a few ways to make this project your own.
Add Seeds
A watermelon slice without seeds feels incomplete. You can embroider small black or dark brown seeds onto the red section using a yarn needle and a bit of black yarn. French knots work well, or you can just make small straight stitches. Space them unevenly for a natural look.
Make It a Coaster
Use cotton yarn, and this becomes a functional coaster. Cotton absorbs moisture better than acrylic and holds its shape through washes. A set of four watermelon coasters would make a great gift.
Turn It Into a Keychain or Ornament
Attach a small keyring or a loop of yarn at the top, and you’ve got a cute accessory. The size is perfect for a backpack zipper pull or a holiday ornament. If you’ve made a monster keychain before, you know how satisfying quick projects like this can be.
Make a Whole Watermelon
If you scale up the pattern and work in the round without flattening, you can create a sphere. Stuff it firmly, and you’ve got a mini watermelon. Add stripes with surface crochet or embroidery.
Common Mistakes and How to Avoid Them
Even a simple project can go sideways. Here’s what to watch for.
The circle doesn’t lie flat. This usually means your increases are off. Either you’re not increasing enough (the edges curl up) or you’re increasing too much (the edges ruffle). The standard flat circle formula works, but yarn thickness and tension matter. If it’s not flat, adjust your increase rate.
The color change looks messy. When switching from red to green, finish the last stitch of red by pulling through the green yarn. That way, the green is already in place for the next stitch. Weave the ends in securely so the join doesn’t gap.
The rind is too narrow or too wide. One round of green gives a thin border. Two rounds give a thicker rind. Neither is wrong — it’s a matter of preference. Just be consistent so your slice looks intentional.
Why This Project Works
There’s a reason food-themed crochet is so popular. It’s recognizable. It’s nostalgic. And it’s usually simple enough that you don’t need to stare at a pattern for an hour before you start.
A watermelon slice hits all those notes. The shape is familiar. The colors are bright. And the construction is about as straightforward as it gets — a circle with a border. You don’t need to know complex stitches or shaping techniques. Just single crochet, increases, and a color change.
It’s also a great confidence builder. If you’re new to amigurumi or working in the round, this project gives you a quick win. You’ll have something finished in an evening that actually looks like what it’s supposed to be. That’s not always true with crochet. Sometimes you spend hours on something and it looks like a lumpy blob. Not this.
Finishing Touches
Weave in your ends. If you’re using acrylic yarn, you can melt the tails slightly with a lighter to keep them from unraveling — but be careful, and don’t try this with natural fibers. Cotton and wool will just burn.
Block the piece if you want it to lie perfectly flat. A quick steam or a spritz of water and a press under a book will do the trick. For something this small, blocking takes about five minutes.
You can also add a hanging loop if you plan to use it as an ornament. Just chain about 10 stitches, slip stitch back to the base, and weave in the ends. Attach it at the top of the slice so it hangs evenly.
What You’ll Take Away
By the end of this project, you’ll have practiced working in the round, increasing evenly, changing colors cleanly, and creating a border. Those are core skills that apply to dozens of other projects. The baby crabs pattern uses the same round construction. So do many amigurumi animals and accessories.
More than that, you’ll have something cute to show for your time. Stick it on your fridge with a magnet. Give it to a friend who loves watermelon. Sew a few together to make a garland. Or just keep it on your desk as a reminder that you can make things with your hands that look exactly like you imagined them.
That’s the real payoff. Not the finished object itself, but the fact that you made it.