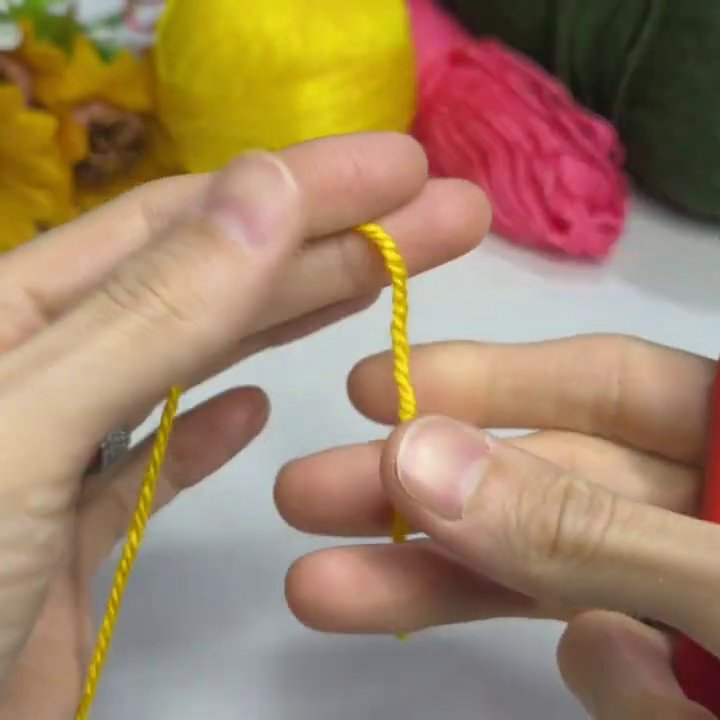
There’s something quietly satisfying about watching a ball of yarn transform into a flower. You start with a simple loop, and within minutes, you’re holding a little petaled bloom that looks like it could have been plucked from a garden. The video tutorial we’re looking at captures exactly that process — hands working steadily, a red-handled hook moving through yellow and pink threads, and a finished flower emerging on a sunlit white table.
If you’ve ever wanted to crochet a flower motif but weren’t sure where to start, this walkthrough breaks it down in a way that’s easy to follow. No jargon overload. No skipping steps. Just clear, close-up shots of the hands doing the work.
Getting Started: What You’ll Need
Before the hook touches the yarn, it helps to have your materials ready. The video shows a simple setup: a white table with balls of yellow, pink, and green yarn, plus a crochet hook with a bright red handle. The red handle isn’t just for looks — it makes the hook easy to spot against lighter yarns, which is a small but real help when you’re filming or learning.
You don’t need fancy equipment. A medium-weight yarn in your chosen colors and a hook that matches the yarn weight will do the job. For a flower motif, you’ll typically want:
- Worsted weight yarn (or any yarn you have on hand)
- A 4mm or 5mm crochet hook (adjust to match your yarn)
- Scissors for cutting ends
- A yarn needle for weaving in loose ends
The video uses yellow for the center, pink for the petals, and green for leaves or stems later on. You can pick any color combination you like — that’s the fun part.
Starting the Center: The Yellow Loop
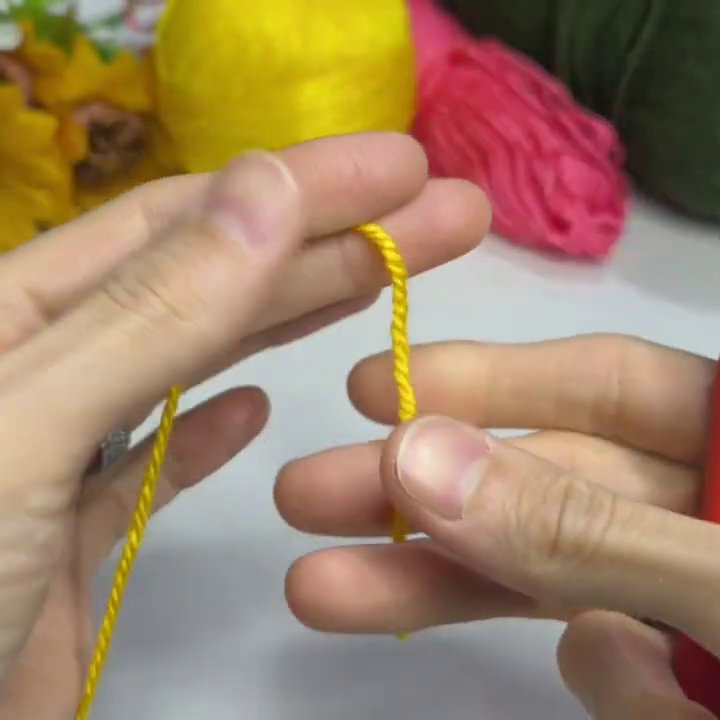
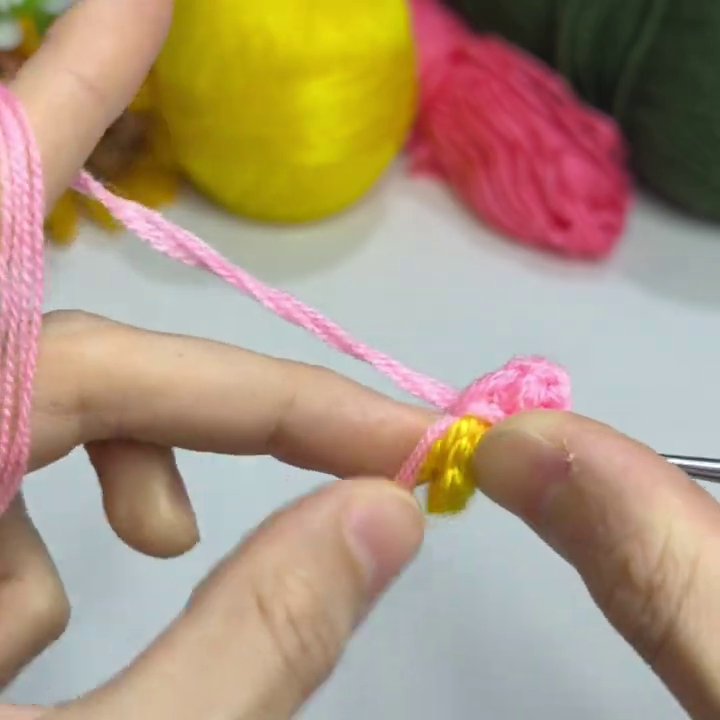
The first step is deceptively simple: creating a loop with the yellow yarn. This becomes the foundation of the flower’s center. The hands in the video work slowly, wrapping the yarn around the hook and pulling through to form a slip knot.
From there, it’s a series of chain stitches and slip stitches. The video doesn’t rush through this part, which is smart — getting the tension right at the beginning makes everything else easier. Too tight, and you’ll struggle to insert the hook later. Too loose, and the center won’t hold its shape.
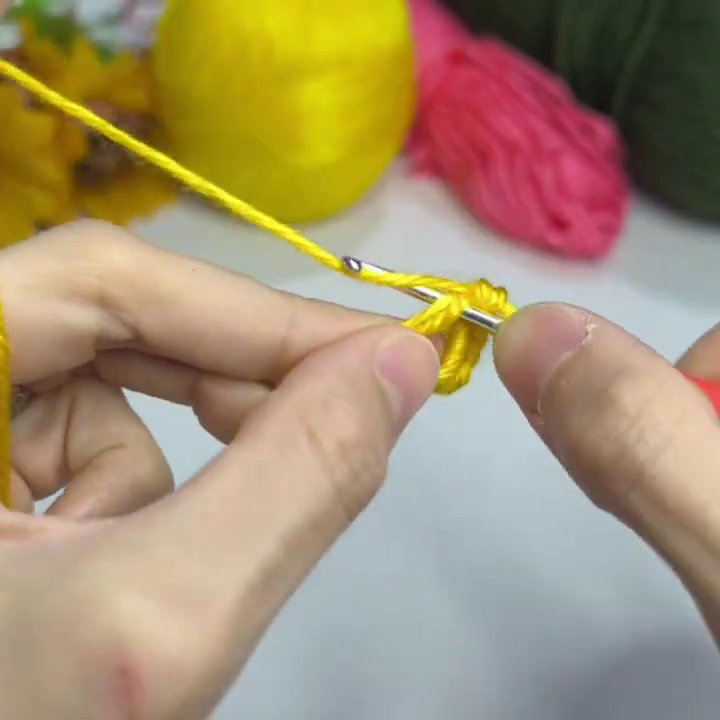
If you’re new to crochet, this is where you might want to pause the video and practice the loop a few times. It’s the kind of motion that clicks once you’ve done it a handful of times.
Adding the Petals: Switching to Pink
Once the yellow center is secure, the video shows a smooth transition to pink yarn. This is where the flower starts to take shape. The hands attach the new color by pulling it through an existing loop, then work a series of stitches around the center.
The petals are built in rounds. Each round adds height and width, creating that classic layered look. The hook moves in and out of the same central ring, and with each stitch, the petals fan out evenly.
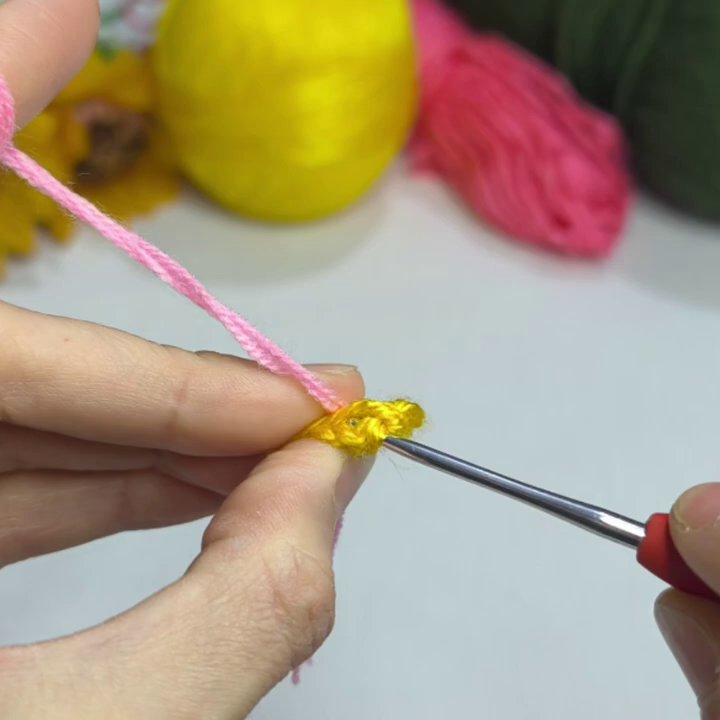
Here’s a small tip that the video demonstrates well: keep your tension consistent. If you pull the yarn too tight on one petal and too loose on the next, the flower will look lopsided. The hands in the video work at a steady pace, and the petals come out uniform because of that.
If you want to try a similar project that builds skills step by step, you might enjoy working on a crochet plush frog pattern — it uses the same basic stitch techniques but in a different shape.
The Lilac Center Detail
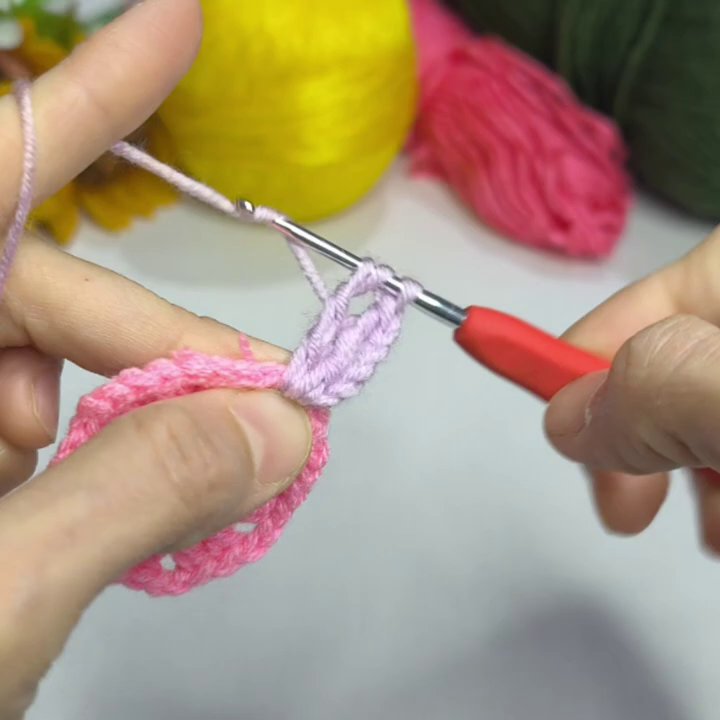
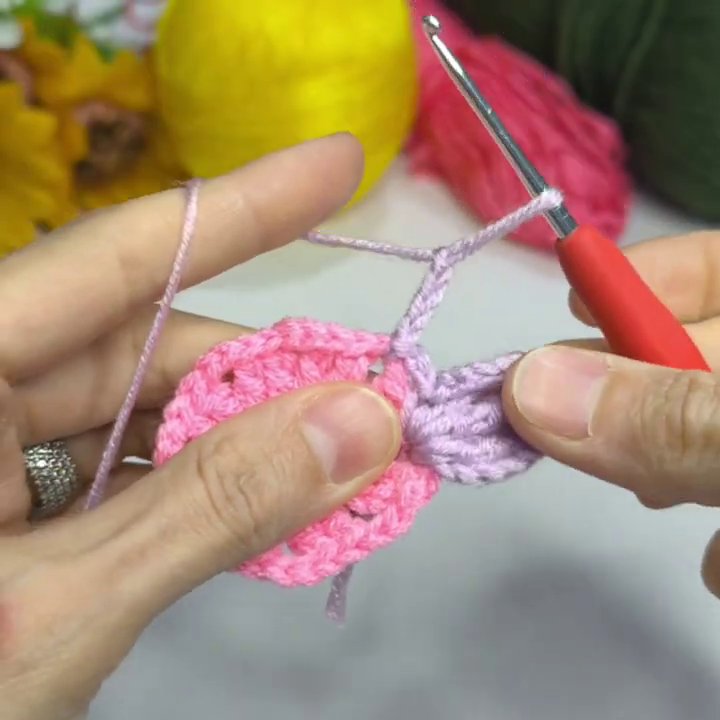
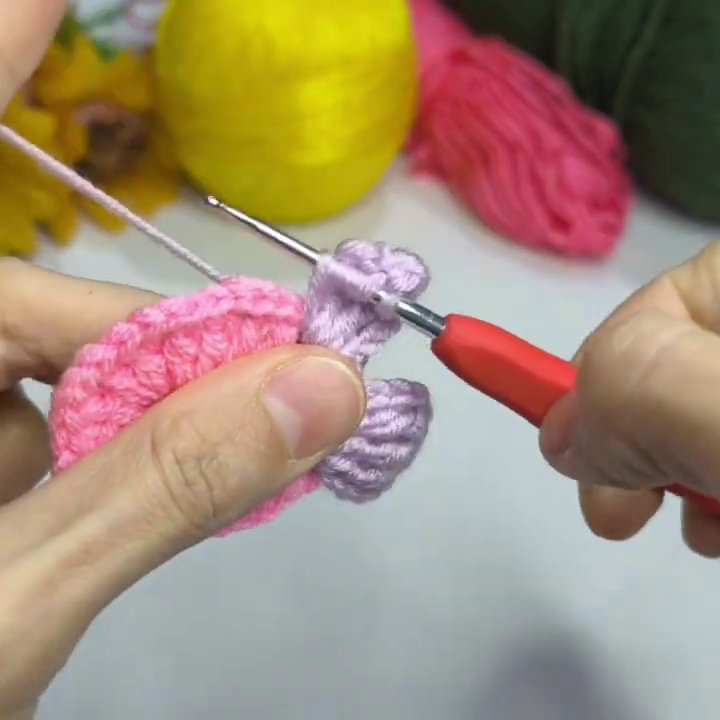
This is where things get interesting. After the pink petals are established, the video introduces a lilac-colored center. It’s a small detail, but it changes the whole look of the flower. Instead of a plain yellow middle, the flower now has a contrasting center that adds depth.
The hands work the lilac yarn into the very center of the flower, stitching a few tight rounds that sit slightly raised. This gives the flower a more realistic look — like the stamen of a real bloom.
If you’re making this flower for a project like a blanket or a bag, the lilac center is optional. But if you want the flower to stand out, that extra color makes a noticeable difference.
Building the Petals Layer by Layer
The video spends the most time on the petals, and for good reason. This is the part that requires the most attention. Each petal is worked individually, with the hook inserting into specific stitches from the previous round.
The hands in the video show a clear pattern: chain a few stitches, then work double crochets into the same space to create the petal’s width. Then slip stitch to the next point and repeat. It’s repetitive in a meditative way — the kind of rhythm that makes crochet relaxing once you get the hang of it.
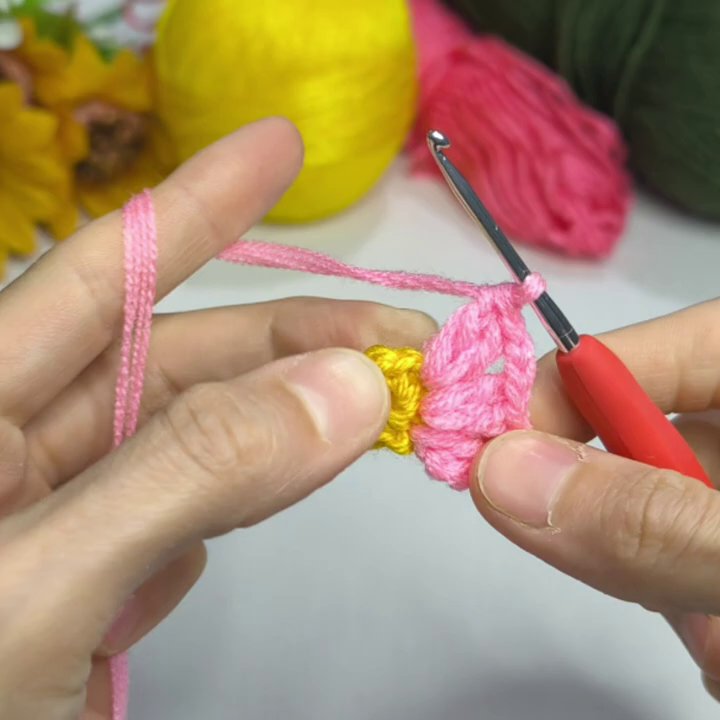
One thing the video does well is keeping the camera focused on the hands. You can see exactly where the hook goes, how the yarn wraps, and how the finished stitch looks before moving on. There’s no confusing camera angle changes or cuts that skip important steps.
For beginners, here’s a practical note: count your stitches. The video doesn’t explicitly say this, but you can see the hands pausing to count. It’s easy to lose track, especially when you’re working in a circle. Marking the first stitch of each round with a piece of scrap yarn or a stitch marker helps a lot.
Adding Green Leaves
The video doesn’t stop at the flower itself. After the petals are complete, the hands pick up the green yarn and attach it to the base of the flower. This is where the motif starts to look like something you’d sew onto a hat or a scarf.
The leaves are worked in short rows, increasing at the center and decreasing toward the tip. The hands show a simple leaf shape — nothing too complex, but enough to give the flower a finished look.
If you’re planning to use this flower as an appliqué, you can leave the leaves off. But if you want to attach it to a stem or use it as a standalone decoration, the leaves add a nice touch.
Finishing Touches: Weaving in Ends
The video ends with a clear view of the finished flower motif. The hands cut the yarn and weave the loose ends into the back of the work using a yarn needle. This step is easy to skip, but it’s what keeps your project from unraveling later.
Weaving in ends isn’t glamorous, but it’s the difference between a project that looks handmade and one that looks unfinished. The video shows the needle sliding through the back loops, securing everything in place.
If you enjoy projects that come together quickly, you might also like making a monster keychain — it’s another small project that uses similar stitches and gives you a finished piece in an afternoon.
What This Flower Motif Can Be Used For
Once you’ve made one flower, you’ll probably want to make more. They’re small, fast, and satisfying. Here are a few ways to use them:
- Sew onto a plain beanie for instant decoration
- Attach to a hair clip or headband
- String together as a garland for room decor
- Use as a brooch by adding a pin back
- Combine into a larger blanket by sewing multiple motifs together
The motif in the video is about two to three inches across, depending on your yarn and hook size. That makes it versatile enough for most small projects.
A Few Things the Video Doesn’t Tell You
The tutorial is clear and well-shot, but there are a couple of things worth knowing that aren’t obvious from watching:
- Tension matters more than speed. The hands move slowly and deliberately. That’s not because the person is a beginner — it’s because consistent tension creates a better-looking flower. Don’t rush.
- Blocking helps. After you finish the flower, you can pin it to a flat surface and spray it lightly with water. Let it dry, and the petals will lie flatter and more evenly.
- Practice with scrap yarn first. If you’re unsure about the stitch pattern, try it with leftover yarn before using your good supplies.
Final Thoughts
The video does exactly what a good crochet tutorial should do: it shows the process clearly, keeps the distractions out of frame, and lets the work speak for itself. By the end, you’ve watched a simple loop of yellow yarn become a finished flower with petals, a center, and leaves.
Whether you’re making this for a gift, for a larger project, or just because you want to see if you can, the steps are straightforward enough to follow along. And once you’ve made one, you’ll know the pattern well enough to experiment with colors, sizes, and stitch variations.
Crochet flowers have been around for decades, but they never really go out of style. They’re quick, portable, and endlessly customizable. Grab a hook, pick your colors, and see where the first loop takes you.