You follow the pattern. You watch the tutorial. You finish the piece. And then it sits in your closet — or worse, the trash. I’ve been there more times than I want to admit. The thing is, making wearable crochet isn’t just about following instructions. It’s about understanding the little choices that turn a stiff rectangle of yarn into something you actually want to leave the house in.
Let’s fix that.
Measure Yourself — Not Just the Pattern
Here’s the thing most tutorials skip: your body is not the same as the designer’s body. Not even close. So when you follow a pattern that says “chain 70 for the sweater width,” that number means nothing until you hold that chain up against yourself.
Grab a tape measure. Find your actual waist — it’s the smallest part of your torso, usually right above your belly button. Your hips? The widest part around your bottom. These aren’t guesses. They’re specific points, and getting them right is the difference between a top that fits and one that slides around all day.
You’ve got a few ways to measure. The tape measure is the obvious one, but there’s another trick I use constantly: grab a top or sweater you already love the fit of. Lay it flat, measure half the width, and compare your starting chain against that. Want an oversized sweater? Measure your favorite hoodie the same way. It’s fast, it’s visual, and it saves you from frogging half a project later.
Hook Size and Yarn Weight Matter More Than You Think
This is where most wearable crochet goes wrong. You pick a hook because it’s what the pattern says, or because it’s what you have handy. But hook size directly controls how your fabric behaves.
Let’s break it down simply.
A 3.5mm hook or smaller with worsted weight yarn? That gives you tight, dense stitches. Great if you don’t want your top to be see-through. Not great if you want drape and movement.
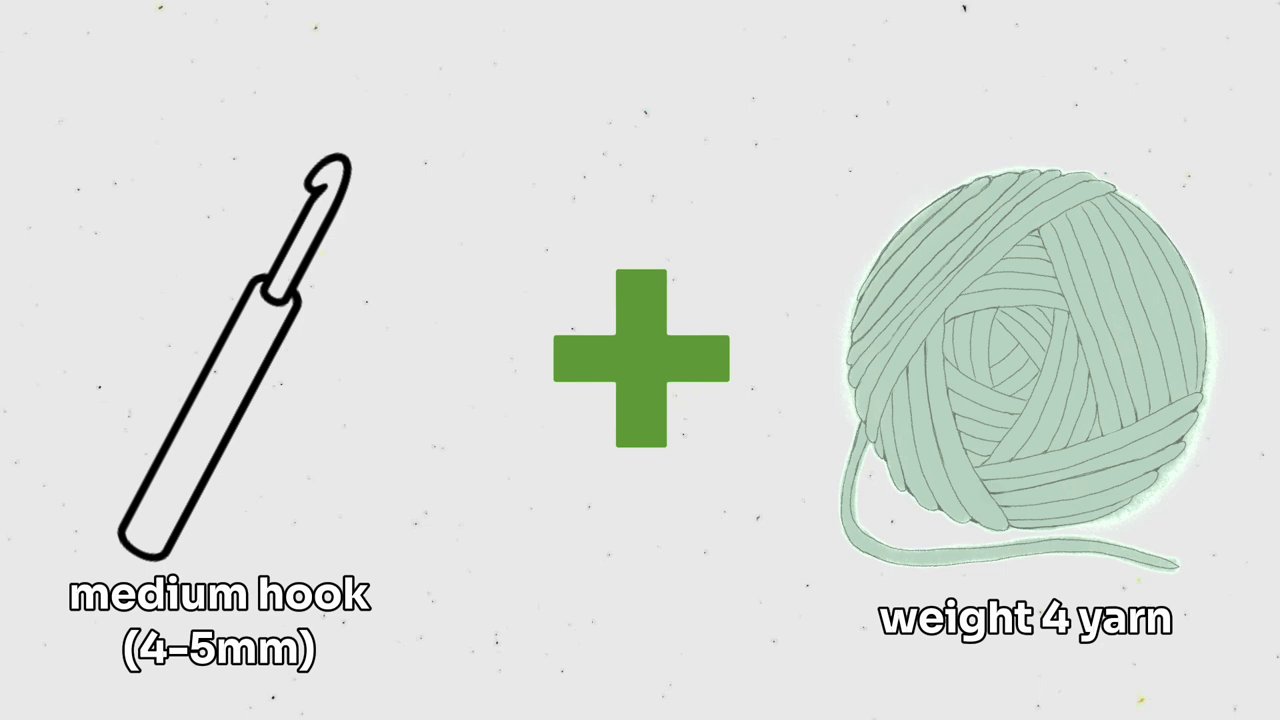
A 4mm to 5mm hook is the sweet spot for most garments. It’s medium — not too tight, not too loose. You can get away with this for most tops, though you’ll still want to wear something underneath if you’re using lighter colors or open stitches.
Then there’s the big stuff. 5.5mm and above. I use a 6.5mm for sweaters all the time. I’ve gone up to 8mm. But here’s the catch: those big hooks create loose, airy fabric. You can see your skin through it. That’s perfect for a beach cover-up or a sweater you’ll wear over a tank top. It’s not so great for a standalone top unless you’re ready to layer.
The yarn itself matters too. Worsted weight is your workhorse — it’s what most patterns call for, and it works for almost everything. But if you want something lighter or drapier, you might need to experiment with different weights or fibers.
Stitch Choice Controls See-Through Factor
Not all stitches are created equal when it comes to opacity. Single crochet is your safest bet — it’s dense, it’s sturdy, and you won’t be showing anything you don’t want to show. But it’s slow, and it doesn’t have the prettiest texture on its own.
If you want something with a bit more visual interest that still covers you up, try the moss stitch or the linen stitch. Both are beautiful, both are opaque, and both work great for tops, pants, and sweaters. I’ve made a cardigan for my grandmother using double crochet, and it doubled in size from the starting chain — the stitch itself stretched everything out way more than I expected. So keep an eye on that as you go. Check your width every few rows. It’s easier to adjust early than to finish a piece that’s two sizes too big.
Blocking and Steaming Will Change Your Life
I used to skip this step. Every time. And every time, I’d finish a sweater, try it on, and hate it. It felt stiff. It looked lumpy. It didn’t move like real clothing.
Then I started steaming my pieces.
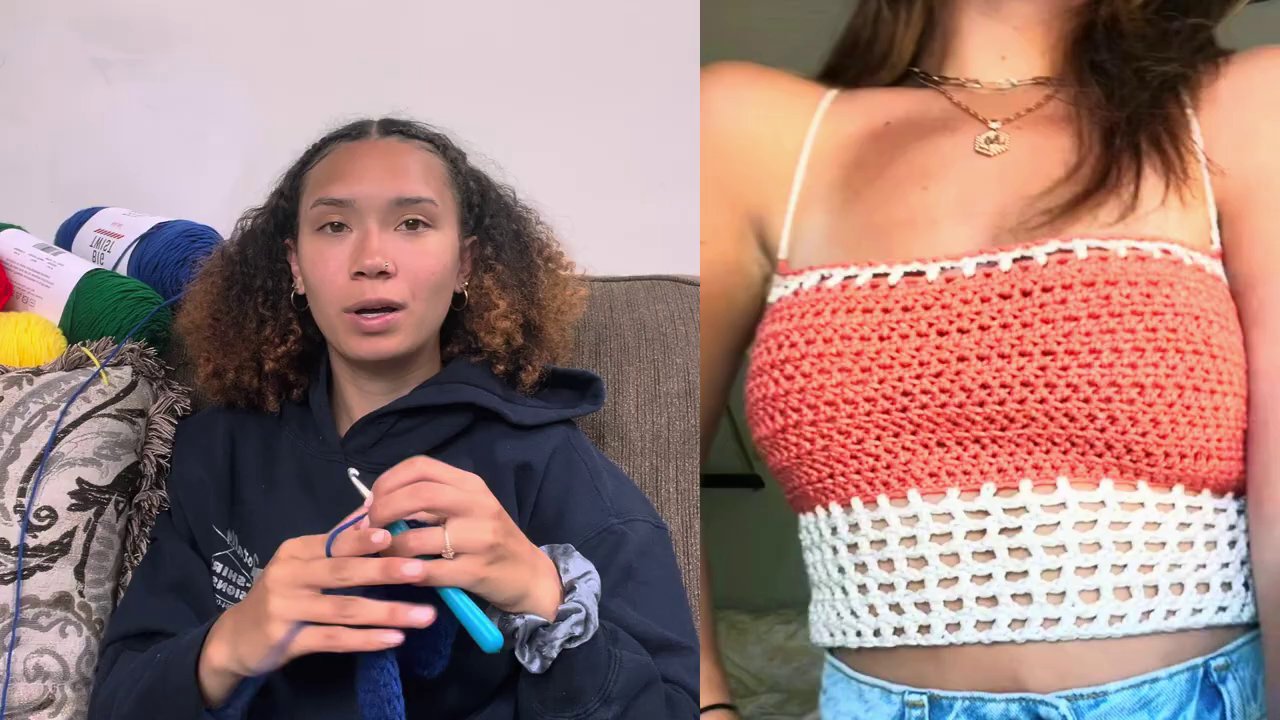
Blocking — or steaming, which is faster and doesn’t require a blocking board — loosens the fibers. For acrylic yarn especially, heat relaxes the stitches. The fabric softens. It gets flowy. It starts to behave like something you’d actually buy at a store.
I bought a cheap steamer off Amazon and hung my pieces in my room. A few minutes of steaming, and suddenly that stiff cardigan felt like a real garment. But here’s the warning: steaming can also stretch your piece. I once steamed a cardigan that fit perfectly, and the sleeves grew so much they looked comically oversized. So if you know you’re going to block or steam, consider making your piece slightly smaller than you think you need. The fibers will relax into the right size.
You can also toss a finished piece in the dryer on low heat for a few minutes. Same effect — softer, drapier fabric. Just don’t do it every time you wash it, or the yarn will start to fray and look fuzzy.
Sewing Pieces Together Without It Looking Like a Mess
I’ll be honest: I hate visible seams. I want my crochet to look like one continuous piece of fabric. That’s why most of my tutorials are one-panel designs — no sewing required. But sometimes you have to sew. Sweaters, cardigans, anything with sleeves — you’re joining pieces eventually.
Take your time. Use stitch markers to line everything up. Don’t pull your yarn too tight — you’ll get puckered seams that bunch up weirdly. And don’t grab random loops. Work methodically, matching stitch to stitch.
If you want that hidden seam look, sew with the right side facing out so you can see exactly where your needle is going. I’ve learned the hard way that rushing through sewing ruins all the work you put into the crochet itself. You spent twenty hours on that sweater. Spend the extra twenty minutes to sew it nicely.
Weaving in Ends — The Part Everyone Hates
I would rather crochet a blanket from scratch than weave in ends. It’s tedious. It’s fiddly. But it’s also what separates a piece you’d wear in public from one that looks like a practice project.
Cut your yarn tails long — a few inches at least. Thread them onto a yarn needle and weave them back through the stitches in at least three directions. Go in, come back, change direction. Then snip close. If you just knot and cut short, those ends will work their way out over time. You’ll be wearing your top and suddenly a loose strand appears at your shoulder.

You can also crochet over your ends as you go. It takes a little practice, but it saves you the weaving step later. Either way, don’t skip it. It’s the finishing touch that makes your piece look intentional.
Caring for Your Finished Pieces
You put hours into this. Don’t ruin it by treating it like regular laundry.
Don’t hang your crochet garments. The weight of the yarn will stretch them out over time — shoulders get droopy, hems get longer. Fold them and store them on a shelf. If you must hang something, use a padded hanger and don’t leave it there for months.
When you wash, be gentle. Hand wash if you can. If you use a machine, put the piece in a mesh laundry bag and use cold water on a delicate cycle. Skip the dryer most of the time — air dry flat instead. A quick tumble on low heat can refresh the fibers, but doing it every wash will make the yarn frizzy and worn.
You want these pieces to last. You put love into them. Treat them like the handmade garments they are.
The Real Goal
The whole point of crocheting your own clothes is to make something that’s yours. Something that fits you, suits your style, and feels good to wear. That means thinking beyond the pattern — measuring yourself, choosing your hook and stitch for the fabric you want, blocking for drape, and finishing neatly.
It’s not about being perfect. It’s about making pieces you actually want to put on. And when you get it right — when that sweater flows instead of fights you, when that top covers what you want it to cover and shows off the stitchwork — it’s worth every hour you spent.
If you’re new to making wearables, start simple. A one-panel top or a basic cardigan. Measure as you go. Steam when you’re done. And for the love of yarn, weave in your ends.
You’ve got this. Now go make something you’ll actually wear.