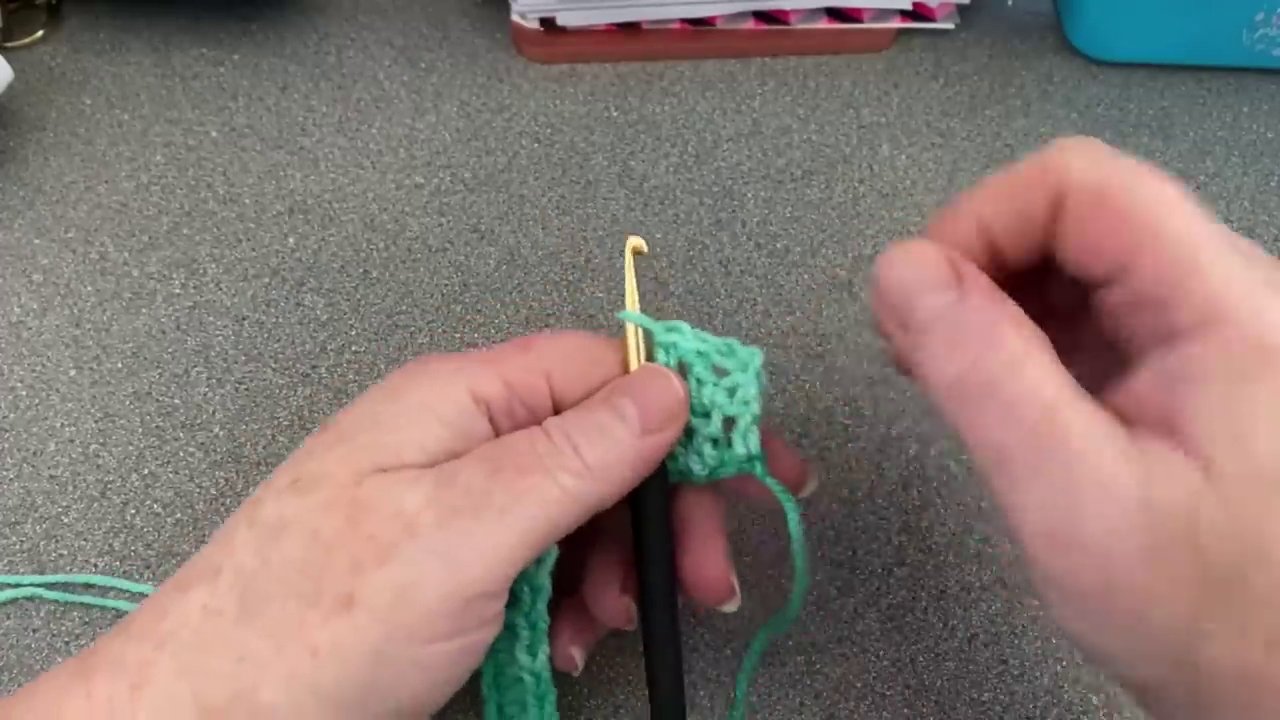
If you’ve ever finished a row of UK trebles or US double crochet and stared at that uneven, gap-toothed edge, wondering why it never looks as clean as the rest of your work, you’re not alone. For years, I did what most patterns tell you: chain two (or three, depending on who you ask), turn, and then try to wrestle my hook into that tiny, tight turning chain at the end of the next row. It was fiddly, the edge never matched the stitch height, and honestly, it drove me a bit mad. Then I found a different way. And I will never, ever go back.
This isn’t some complicated new stitch or a fancy technique that requires special hooks. It’s a simple adjustment to how you start and end your rows. Once you see it, you’ll wonder why you didn’t think of it yourself.
The Old Way and Its Little Annoyances
Let’s be honest: the traditional turning chain works. You finish a row, you chain two or three, you turn your work, and you skip the first stitch (the one at the base of the chain) and work into the next one. For UK trebles or US doubles, that chain is supposed to act as your first stitch.
But here’s the problem. That chain is thinner than a real stitch. It doesn’t have the same bulk, so your edge ends up looking a bit skinny and inconsistent. And if you’re like me and your stitches are on the shorter side, a chain of three can make the edge bulge out. Chain two is better, but it’s still not a stitch. It’s a compromise.
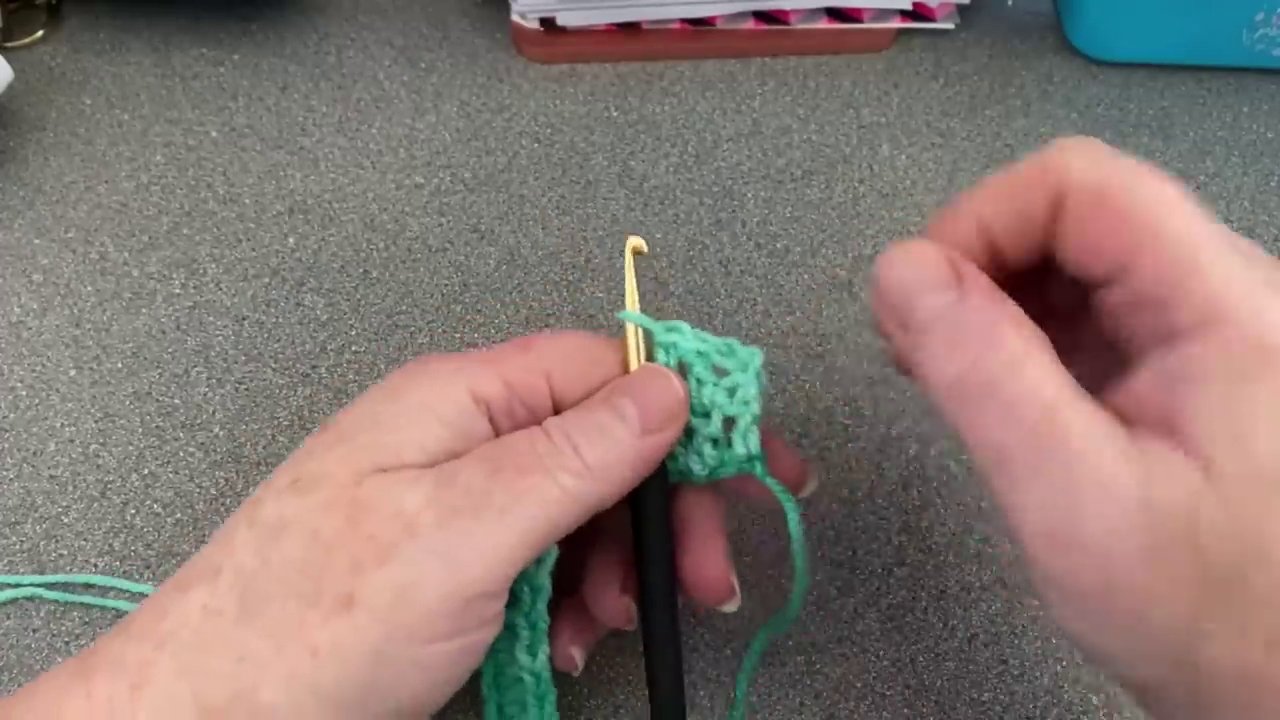
The real frustration comes at the end of the next row. You’ve worked all the way across, and now you need to put your final stitch into the top of that turning chain. But that chain is often tight, hard to see, and even harder to get your hook into cleanly. You end up wrestling with it, stretching it out, and your edge gets all lumpy. It’s a small thing, but when you’re working on a blanket or a garment, those small things add up.
The Trick: No Chain, Just a Stitch
So here’s what I do now. I finish my row, and I turn my work. Then, I do not make any chains. None. Zero.
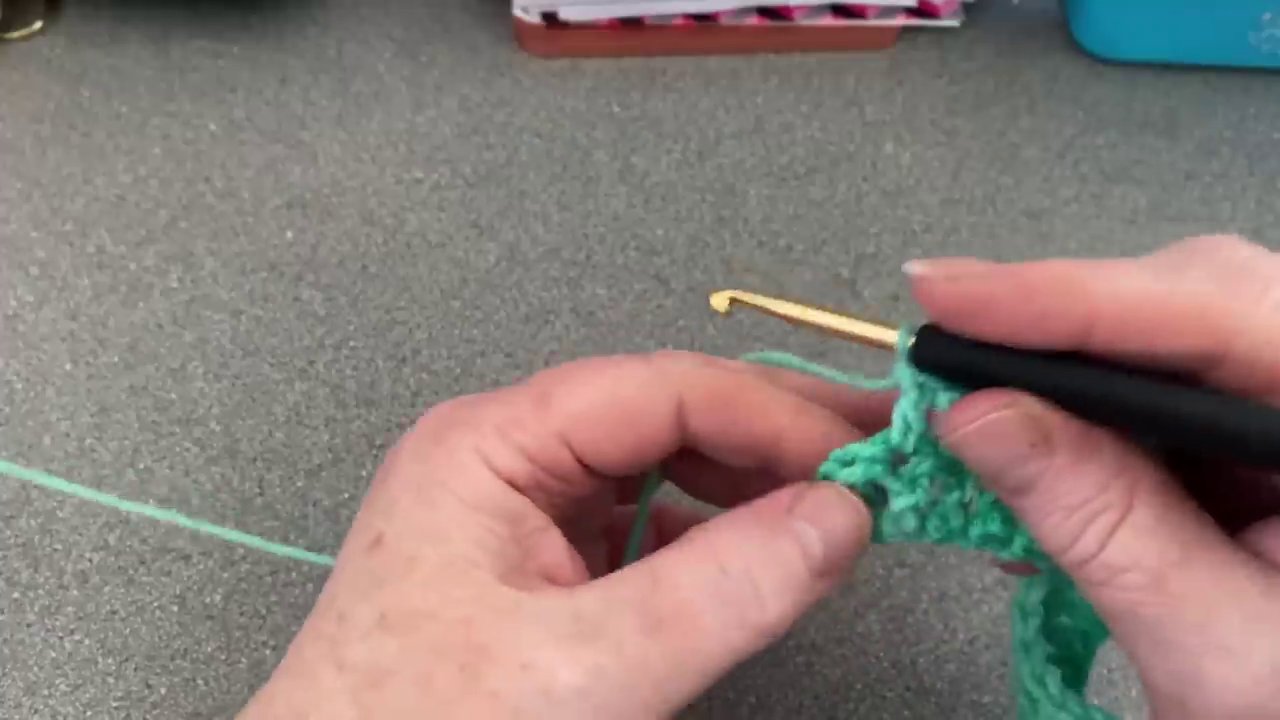
Instead, I go straight into the very first stitch of the row — the one that the old method tells you to ignore. I insert my hook into that whole stitch, yarn over, and pull up a loop. Now I have two loops on my hook. I yarn over again and pull through both loops. That’s a UK double crochet (US single crochet). It’s a short, solid stitch.
But I’m not done yet. Now, I look at the side of that stitch I just made. See that one loop on the left side, the front loop? I insert my hook into that loop only. I yarn over, pull up a loop (two on hook), yarn over, and pull through both. Now I have a nice, full-height stitch. It’s the same height as a UK treble or US double. And it’s a real stitch, not a skinny chain.
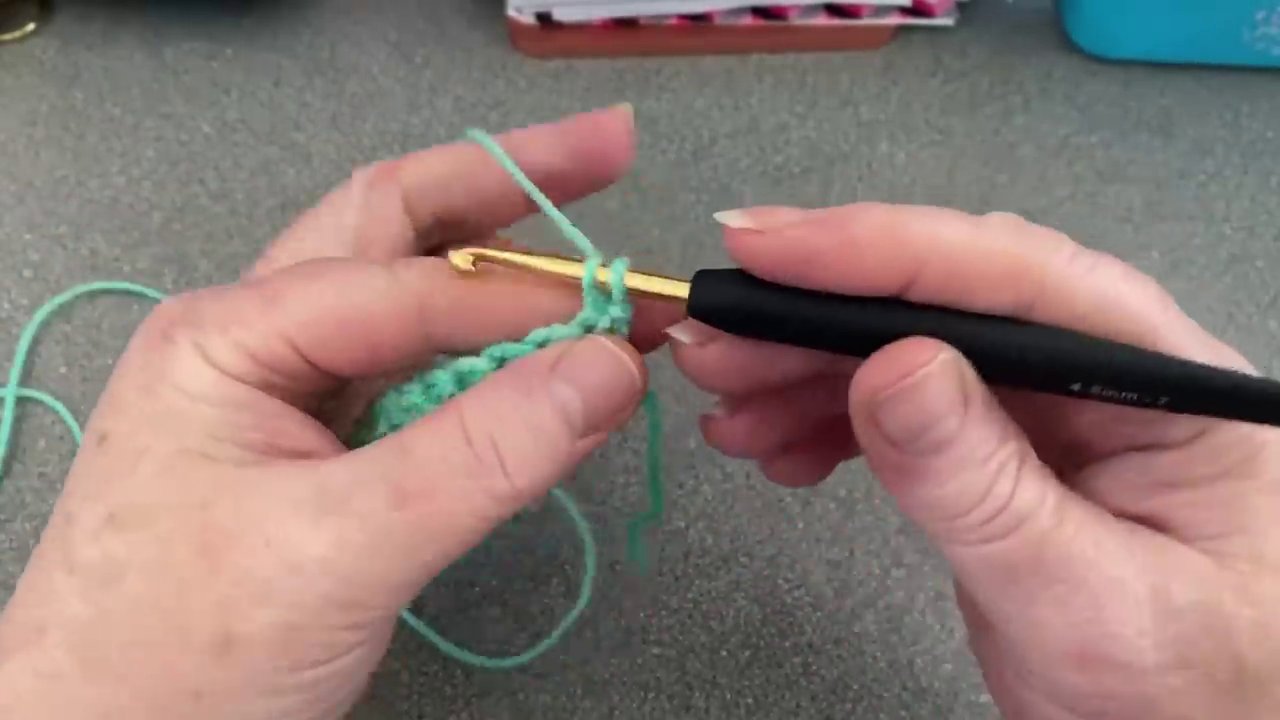
That’s it. You’ve created your first stitch of the new row without a single chain. The edge is now a solid column of real stitches, all the same thickness. And when you get to the end of this row, you won’t be hunting for a tight chain. You’ll have two clear loops waiting for you, just like any other stitch.
Why This Works So Well
The beauty of this method is that it adapts to your personal tension. Everyone crochets a little differently. Some people have tall stitches, some have short ones. A chain of three might be perfect for someone with loose, tall stitches, but for someone tighter, it’s too much. This method solves that because you’re building the height into the stitch itself, not guessing with a chain.
Think about it: a UK treble (US double) involves pulling through the yarn twice. You yarn over, insert, pull up, yarn over, pull through two, yarn over, pull through two. That’s two pulls. My old rule of thumb was to chain the same number of times you pull through — so two chain for a treble. That worked okay, but it still left a chain edge.
This new way gives you a stitch that is exactly the right height for your hands. It’s not too tall, not too short. It’s just right. And because it’s a real stitch, it sits flush with the rest of the fabric. No bulging, no gaping.
The Real Payoff: A Perfect Straight Edge
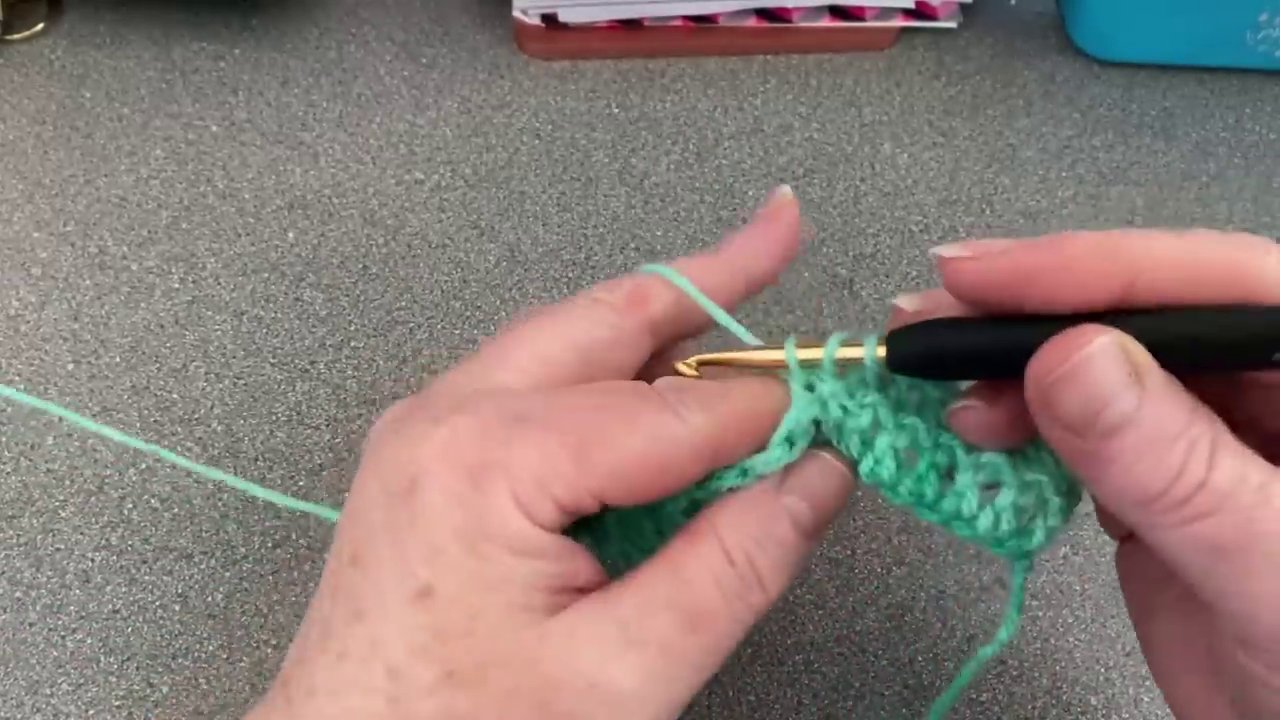
The moment you finish a few rows with this technique, you’ll see the difference. The edge is straight. Not wavy, not bumpy, not full of little chain bumps. Just a clean, vertical line of stitches that looks like it was done by machine.
And the end of the row becomes a joy instead of a chore. When you work your way back across, you’ll reach the last stitch and find two perfect loops waiting for you. No pushing, no prying, no stretching. You just insert your hook and work your stitch. It’s smooth, fast, and satisfying.
I’ve started using this for granny squares too, at the beginning of a half-corner. It works just as well. The stitch blends in perfectly — you can’t tell it’s not a regular stitch. No more spindle little chains at the edges of your squares. Everything looks cohesive.
A Quick Step-by-Step Recap
If you want to try it, here’s the process in plain terms. It takes a couple of rows to get the rhythm, but once you do, it’s automatic.
- Work your row to the end.
- Turn your work. Do not chain.
- Insert your hook into the very first stitch of the row (the one at the base where you would normally skip).
- Yarn over, pull up a loop. Yarn over, pull through both loops. You now have a short stitch.
- Look at the left side of that short stitch. Insert your hook into that single front loop only.
- Yarn over, pull up a loop. Yarn over, pull through both loops. You now have a full-height stitch.
- Continue across the row as normal.
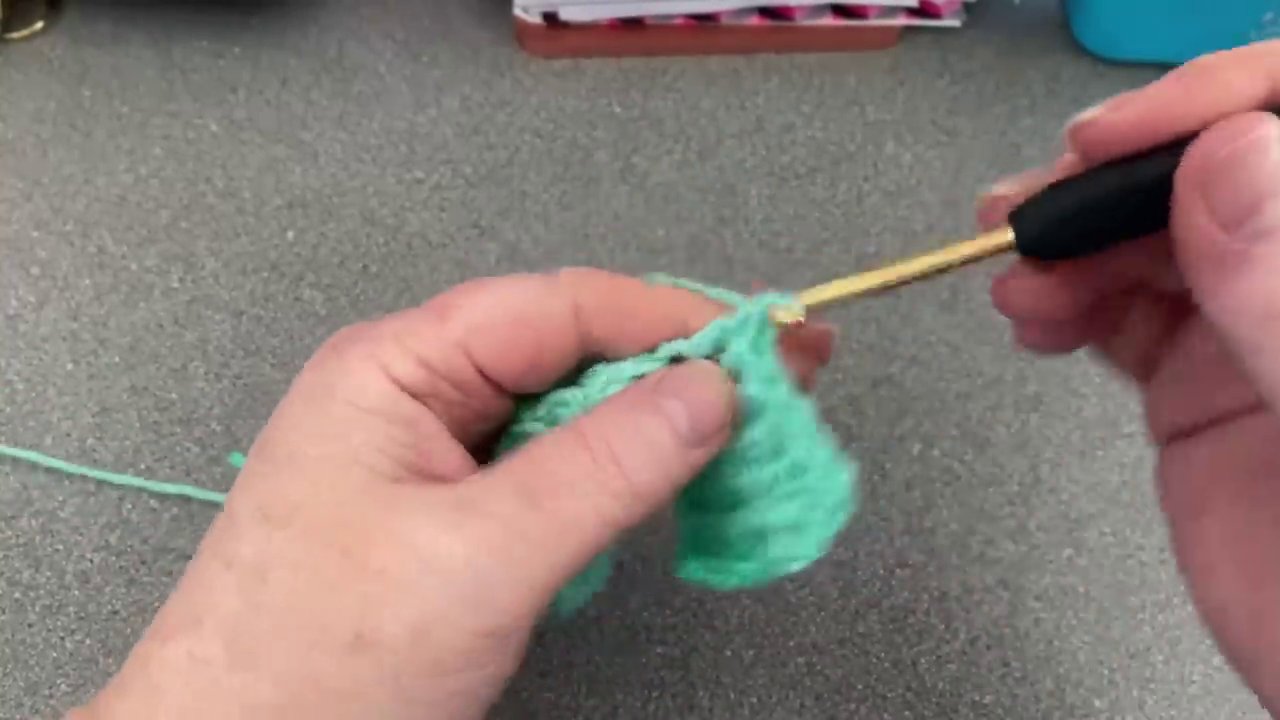
That’s all there is to it. The first time you do it, it might feel a little awkward. You might think the stitch looks too big or bulgy at the start. Don’t worry. It evens out. By the time you’ve worked a few more rows, it settles into the fabric and looks completely natural.
Give It a Try
I know how it is — you see a new technique and you think, “Yeah, maybe I’ll try that someday.” But this one is worth doing right now. Grab a scrap of yarn and a hook, and work ten rows of UK trebles (US doubles) using this method. Then hold it next to a piece worked the old way. You’ll see the difference immediately.
The edge is cleaner. The end of the row is easier. And your work looks more professional. For something so simple, it’s a huge improvement. I honestly can’t imagine going back to chaining at the start of a row. This is the new way, and it’s here to stay.
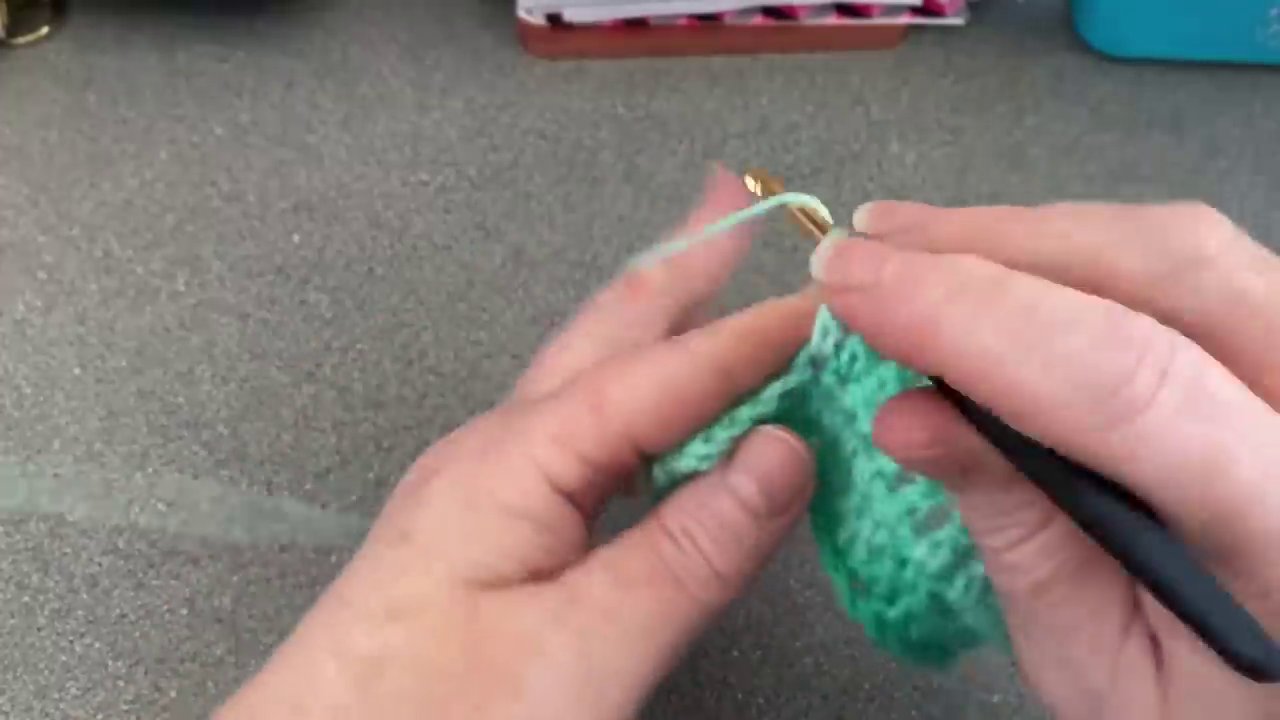
If you’re working on a project that uses this stitch, like a crochet dishcloth or a baby blanket, this trick will make the edges look so much better. And if you’re making something like a monster keychain where the edges are visible, it’s a game-changer for the finished look.
So go ahead. Have a little play with it. See what you think. I’m pretty sure you’ll be as hooked as I am.