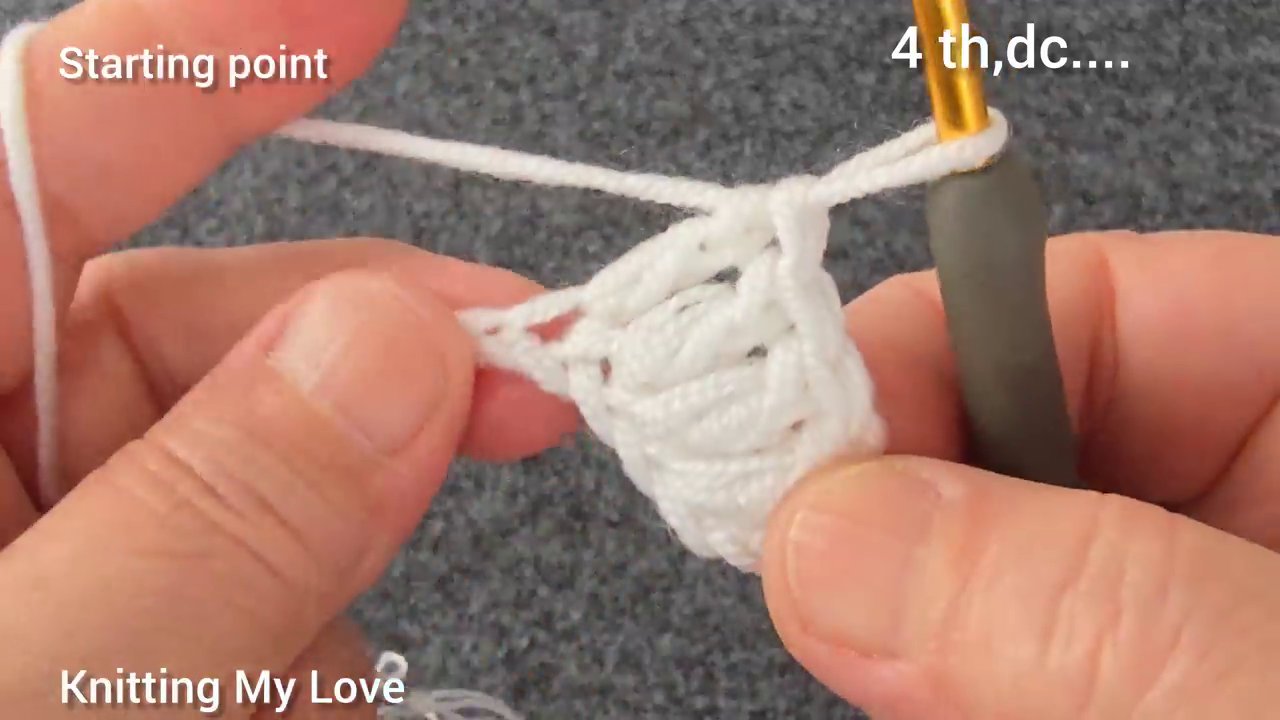
You know that moment when someone walks past your project, does a double-take, and asks, “Wait — is that knitted?” It’s a small victory every crocheter secretly loves. There’s a particular stitch that pulls off this illusion better than most, and honestly, it deserves more attention than it gets.
The technique shown in this tutorial creates a dense, textured fabric that mimics the V-shaped columns of stockinette knitting. But here’s the thing — it’s not quite as simple as a basic single crochet or double crochet. The pattern alternates between two rows that combine treble crochet, double crochet, and a few clever placement tricks. Let me walk you through how it works, because once you get this down, you’ll start seeing possibilities everywhere.
What Makes This Stitch Different
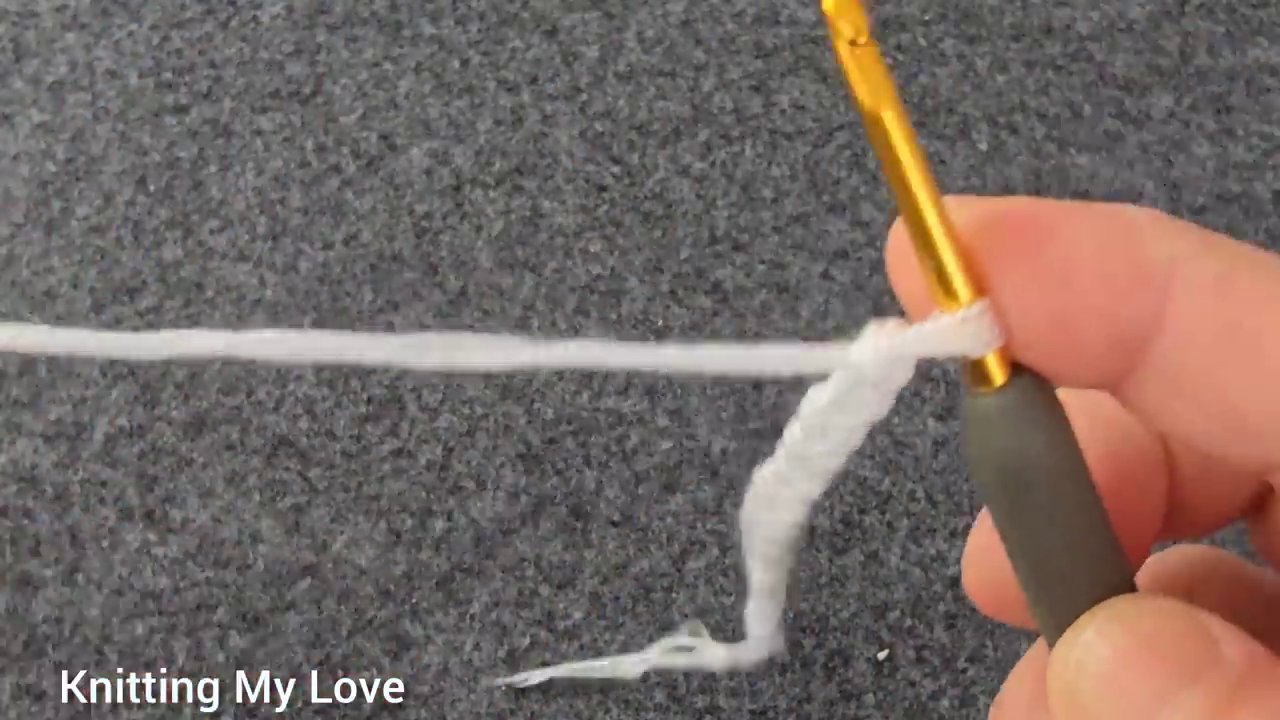
Most crochet stitches are built on the idea of pulling loops through loops in a predictable rhythm. This one throws a small curveball into the mix. The pattern starts with a foundation chain, then immediately jumps into a combination of stitches that don’t look like they belong together at first glance.
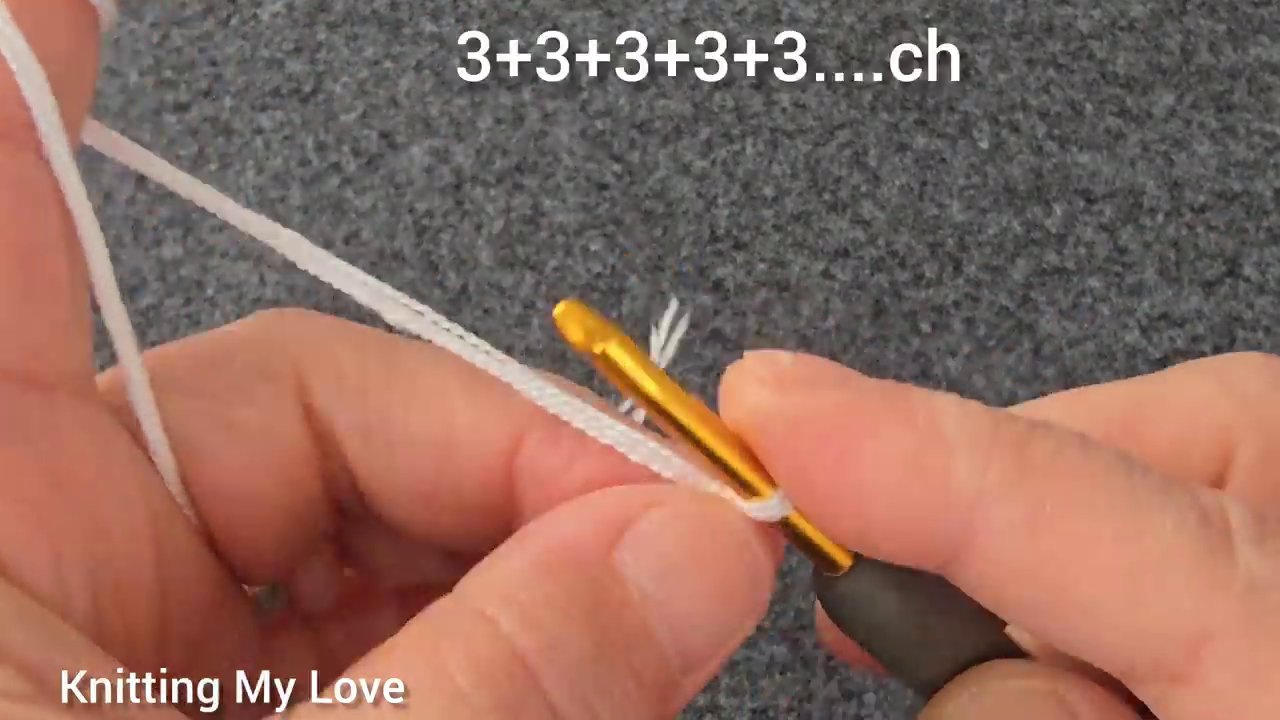
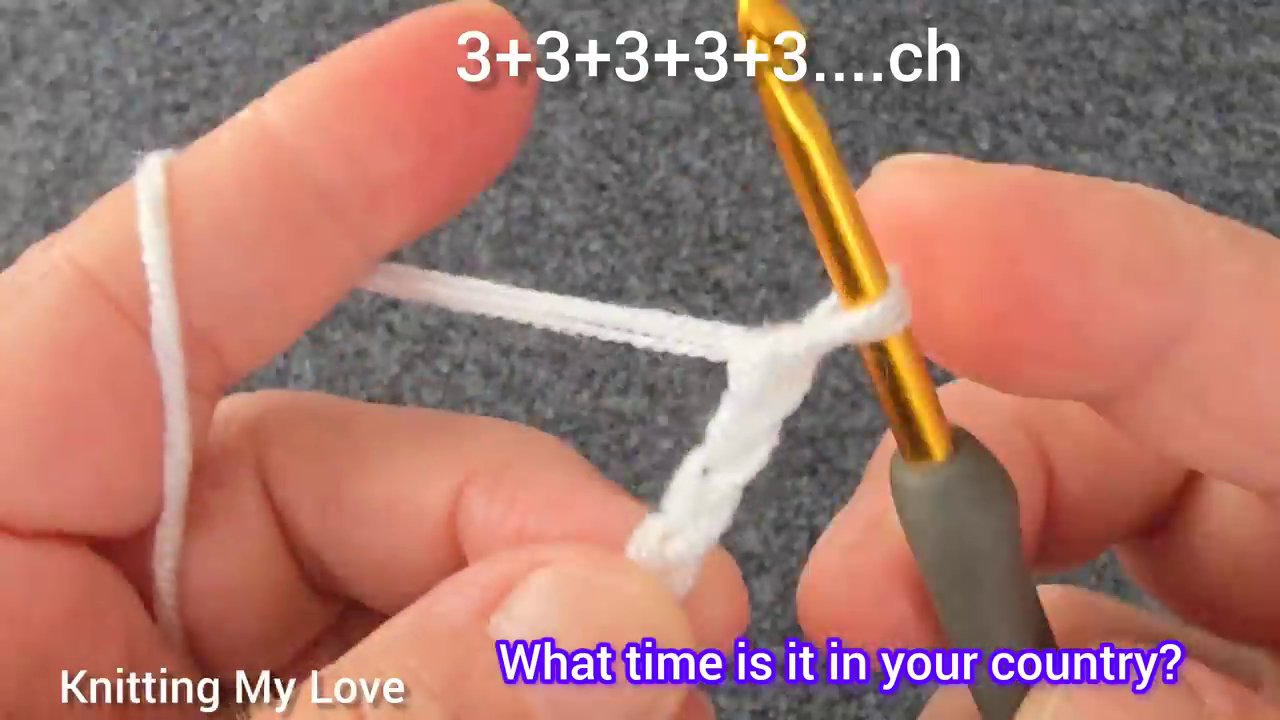
The first row uses a chain 4 followed by a double crochet. That chain 4 acts as a substitute for a double treble crochet — a stitch that’s taller than what most crocheters work with daily. Right away, you’re establishing a staggered height that creates the elongated, vertical lines characteristic of knitted fabric.
Then comes the second row, and this is where things get interesting. The pattern calls for “1 double tr + 1 dc” repeated across the row. If you’ve never worked a double treble before, don’t let the name intimidate you. It’s just a taller stitch: yarn over three times, insert your hook, pull through, and then work off two loops at a time, four times total. Once you’ve done it a few times, it becomes muscle memory.
Breaking Down the Row Structure
The tutorial shows the work progressing through clearly marked rows. Let’s trace the logic.
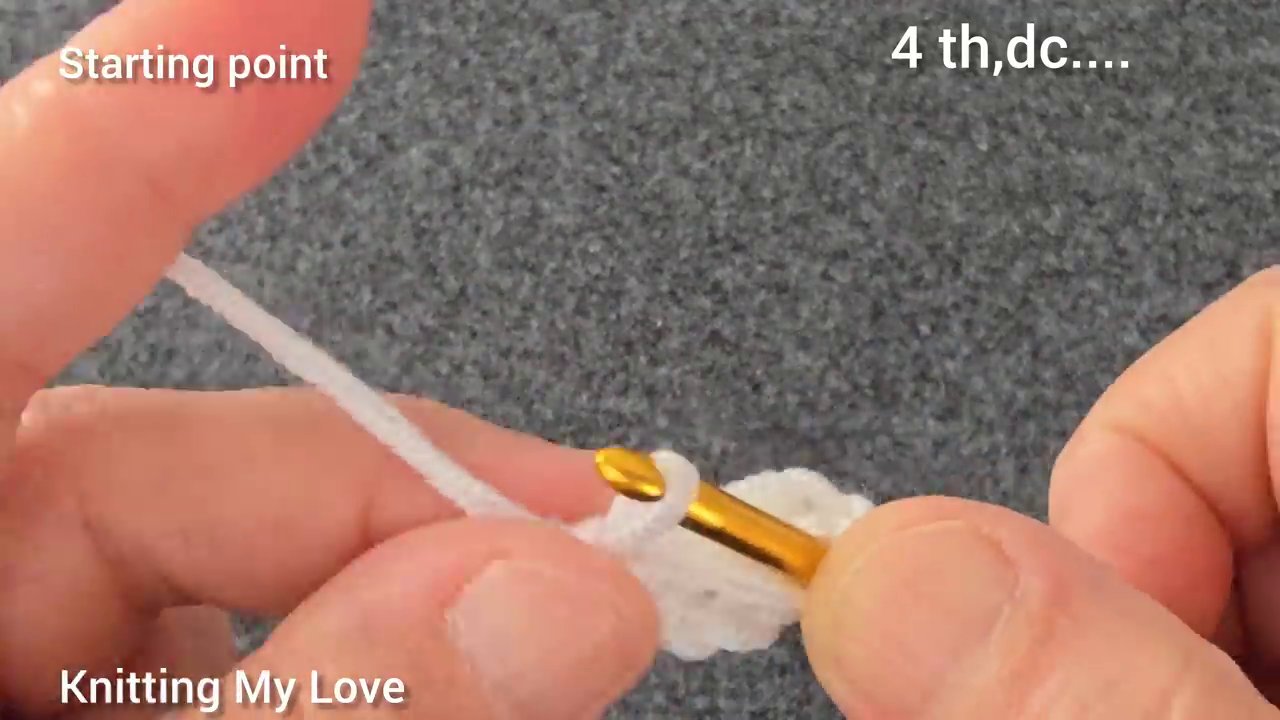
Row 1 starts with the chain 4 and double crochet combination. The chain 4 acts as the first stitch, and the double crochet follows into the same space or stitch. This creates a paired grouping that repeats across the row. The effect is subtle at first — just a few stitches on the hook — but as you build the row, you’ll see the fabric start to take on that distinct, vertical ribbing.
Row 2 flips the script. Instead of the tall-and-short pairing from Row 1, you work a double treble into the double crochet from the previous row, then a regular double crochet into the chain space. This alternation is what gives the stitch its knitted appearance. The taller stitches push forward, while the shorter ones recede, creating the V-shaped columns that fool the eye.
Here’s the part that trips up most people: the stitch placement. You’re not working into the top loops the way you would with a standard double crochet. Instead, you’re inserting your hook into the body of the stitch below — sometimes into the post, sometimes into the chain space. If you’re used to mindless crocheting while watching TV, this pattern will force you to pay attention.
Pattern Repeat Rows — Where the Magic Happens
After the first two rows are established, the video shows the “Pattern Repeat Row 1” and “Pattern Repeat Row 2” labels. This is when the rhythm clicks into place.
The repeat rows are identical in structure to Rows 1 and 2, but they’re worked into the established fabric rather than the foundation chain. This is critical. The foundation row sets the spacing, but the repeat rows determine the final look. If your tension is too tight in the first two rows, the repeats will feel cramped. If it’s too loose, the fabric will look holey rather than dense.
I’ve found that keeping a slightly looser tension on the double treble stitches helps the fabric lie flat. The double treble is a tall stitch by nature, and if you pull it tight, it tends to pucker. Let the hook do the work — insert smoothly, pull through gently, and maintain even tension across all four loops.
One trick worth sharing: mark the right side of your work. Because the stitch pattern alternates rows, it’s easy to lose track of which row you’re on, especially if you set the project down mid-repeat. A simple stitch marker on the front of the work saves you from having to count back through rows to figure out where you left off.
Why You’d Choose This Stitch Over Actual Knitting
Let’s be honest — some crocheters avoid this stitch because it feels like cheating. “If you want it to look knitted, just knit,” they say. But that misses the point entirely.
Crochet offers something knitting doesn’t: the ability to create structured, stable fabric that won’t unravel if a stitch drops. Knitted fabric has give and drape, but it also has weaknesses. A snag in a knitted sweater can turn into a ladder of dropped stitches. With this crochet stitch, you get the visual appeal of knitting with the structural integrity of crochet.
This makes it ideal for projects that need to hold their shape. Think cardigans, structured bags, or even baby blankets where parents appreciate durability. The fabric is dense enough to feel substantial without being stiff, and the stitch pattern creates a subtle texture that catches light differently than standard crochet.
Another advantage: this stitch works beautifully with variegated yarn. Because the double treble stitches create longer floats, the color changes in the yarn get stretched across the fabric in a way that mimics the long color runs of knitted stripes. Solid colors work too, but if you have a skein of self-striping yarn sitting in your stash, this is the pattern to use it with.
Common Mistakes and How to Fix Them
I’ve taught this stitch to a handful of crocheters, and the same issues keep popping up. Here’s what to watch for.
The fabric curls at the edges. This happens when your tension on the chain 4 is too tight. The chain 4 acts as a stitch, and if it’s shorter than the double crochet next to it, the edge will pull inward. Solution: chain loosely, or use a larger hook for the foundation row only.
You lose count of the repeats. The pattern repeat rows are simple — just two rows — but when you’re working a large project, it’s easy to zone out and accidentally work Row 1 twice in a row. Use a row counter or a piece of paper to mark off each completed repeat.
The double treble feels awkward. Your hands aren’t used to the motion yet. Practice on a small swatch before starting your actual project. Work ten stitches, pull them out, and work them again. After a few rounds, the motion will feel natural.
If you’re coming from a knitting background and want to try crochet, this stitch is a surprisingly gentle bridge between the two crafts. The vertical motion of the double treble feels more like a knit stitch than the horizontal loops of a single crochet. Several knitters I know have picked up crochet specifically because of this stitch — they wanted the portability of a single hook without giving up the familiar look of stockinette.
What to Make With This Stitch
The dense, warm fabric produced by this pattern is perfect for cold-weather accessories. A scarf worked in this stitch will be thick and cozy, with enough structure to hold its shape even after hours of wear. Hats work well too, though you’ll want to adjust the stitch count to account for the fabric’s limited stretch — this isn’t a pattern that naturally hugs the head the way ribbing does.
For home decor, consider pillow covers or a throw blanket. The stitch pattern creates a fabric that’s heavy enough to stay in place on a couch, and the textured surface adds visual interest without needing complicated colorwork. If you’re working with cotton yarn, this stitch makes excellent dishcloths — the dense weave is scrubby enough to handle stuck-on food while still looking polished enough to leave on the counter.
I’ve even seen this stitch used for amigurumi, though I’ll admit it’s an unconventional choice. The fabric’s density makes it harder to stuff and shape, but for larger creatures where you want a smooth, knitted appearance, it can work. Just be prepared to size up your hook to keep the fabric from becoming too stiff.
Final Thoughts on Mastering the Stitch
The beauty of this technique is that it rewards patience. The first few rows will feel clumsy. You’ll second-guess your stitch placement. You might even pull out Row 1 and start over. That’s normal — every crocheter I’ve watched learn this stitch goes through that phase.
But somewhere around the third or fourth pattern repeat, something clicks. Your hands find the rhythm. The fabric starts to look like the tutorial. And when you hold it up and see those neat vertical columns, you’ll understand why this stitch has a devoted following.
If you’re looking for a project that pushes your skills without requiring a pattern book’s worth of new techniques, this is it. One stitch combination, two rows, infinite possibilities. Give it a try on a small swatch first, then decide where you want to take it.