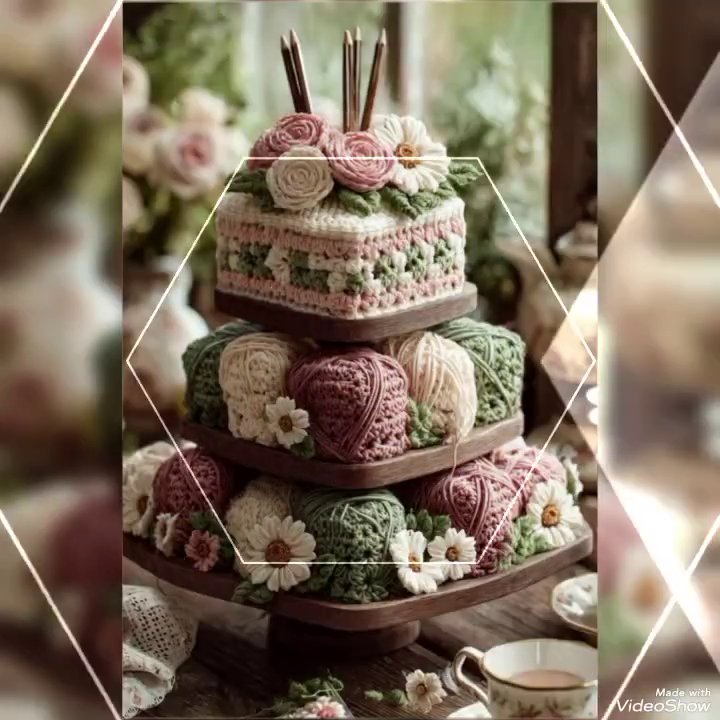
There’s something special about picking up a fresh ball of chunky yarn and wondering what it wants to become. Maybe you’ve got a skein of that thick, textured stuff sitting around, waiting for the right idea. Today, I’m walking you through a new project using a beautiful chunky yarn — the kind that works up fast and feels incredibly satisfying to hold.
This isn’t just another scarf or blanket. We’re making a trendy, textured design that looks great draped over furniture or worn as a statement piece. The best part? It’s beginner-friendly but looks like you spent hours planning it.
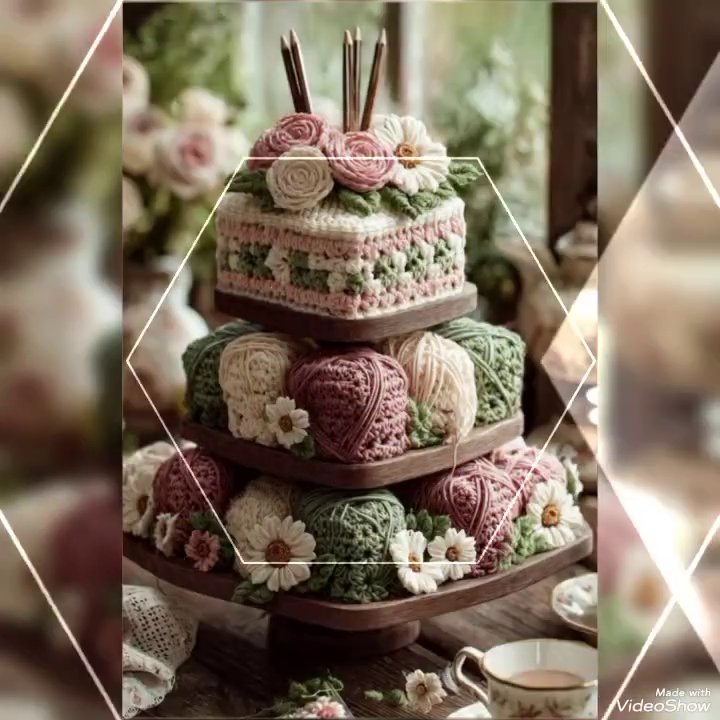
What You’ll Need to Get Started
Before you dive in, grab your materials. For this project, you’ll want a chunky weight yarn — something with a bit of heft that holds its shape. A size 8mm or 9mm crochet hook works perfectly. If you’re using a different yarn weight, just adjust your hook size accordingly. A yarn needle for weaving in ends and a pair of scissors round out your toolkit.
I always recommend starting with a small test swatch. It helps you check your tension and see how the pattern behaves. Trust me, it saves frustration later.
Getting the Foundation Right
Start by making a slip knot and chaining a length that matches your desired width. For a scarf or wrap, aim for about 20 to 25 chains. For a smaller piece like a headband, 10 to 12 chains will do. Remember, you can always add more rows later if you want it wider.
Once your chain is ready, you’ll work your first row into the back bumps of the chain. This gives a cleaner edge. Insert your hook into the second chain from the hook, yarn over, and pull through. You’ll have two loops on your hook. Yarn over again and pull through both loops — that’s your basic single crochet.
Repeat across the row. Count your stitches as you go. It’s easy to miss the last one, so double-check before you turn your work.
The Pattern That Makes It Pop
Here’s where it gets interesting. Instead of plain rows, we’re using a simple repeat that creates a lovely textured fabric. After your foundation row, chain one and turn. For the next row, you’ll work a single crochet in the front loop only of each stitch. This creates a ribbed effect that’s both stretchy and sturdy.
On the following row, chain one and turn. Now work a single crochet through the back loop only. Alternate between front-loop and back-loop rows. That’s it — two rows repeated gives you a beautiful, dimensional texture.
If you want a more open, lacy look, you can substitute double crochets instead of singles. The rhythm stays the same: front loop one row, back loop the next.
Keeping Your Edges Neat
Nothing screams “beginner” like wavy edges. To keep them straight, always chain one at the start of each row — but don’t count that chain as a stitch. Work your first stitch into the first real stitch of the row. At the end of the row, make sure you crochet into the last stitch, which is the top of the turning chain from the previous row.
If your edges are still uneven, check your tension. Are you pulling the yarn too tight on the first stitch? Loosen up a bit. Practice makes perfect, and even experienced crocheters have to redo a row now and then.
Adding Length and Finishing Touches
Continue repeating the front-loop/back-loop pattern until your piece reaches the length you want. For a scarf, that might be 60 to 70 inches. For a wrap, 50 to 60 inches. A headband only needs about 20 inches.
When you’re satisfied, cut the yarn leaving a 6-inch tail. Yarn over and pull through the last loop to fasten off. Weave in the ends using your yarn needle, going back and forth through the stitches to secure them. Trim any excess.
Variations to Try
This basic pattern is a springboard. You can change the look by switching colors every few rows for stripes. Or add a border of single crochets around the entire piece for a polished finish. If you’re feeling adventurous, try working in the round to make a cowl — just join your foundation chain into a circle and work continuously.
For a more advanced twist, incorporate a simple shell stitch or puff stitch every few rows. The chunky yarn makes those stitches pop beautifully.
Common Mistakes and How to Fix Them
One issue I see often is losing stitches at the beginning or end of rows. Count your stitches after every row until you get the hang of it. If you end up with one too many or one too few, frog back (rip it out) and redo that row. It’s faster than trying to fudge it.
Another mistake is using the wrong hook size for your yarn. If your fabric is stiff and hard to work, size up your hook. If it’s floppy and loose, size down. The yarn label usually gives a recommended range, but your personal tension matters more.
Why This Project Works for Beginners and Beyond
This pattern is forgiving. You don’t need to count complex stitch patterns or follow a multi-page chart. It’s just two rows repeated. Yet the result looks intentional and modern. It’s the kind of project you can pick up during a TV show and finish in a weekend.
If you’re new to crochet, this is a great confidence builder. You’ll practice maintaining even tension, working into different loops, and finishing neatly. If you’ve been crocheting for a while, it’s a relaxing, meditative make.
Final Thoughts
Grab that chunky yarn and give this a try. The rhythm of front-loop, back-loop rows is almost hypnotic. Before you know it, you’ll have a beautiful handmade piece you can wear, gift, or keep for yourself.
If you want to explore more patterns, check out this guide on mastering the double crochet for a different texture. Or if you’re looking for a smaller project, the chunky little bag pattern uses similar techniques and works up just as fast.
Happy crocheting — and don’t forget to enjoy the process.