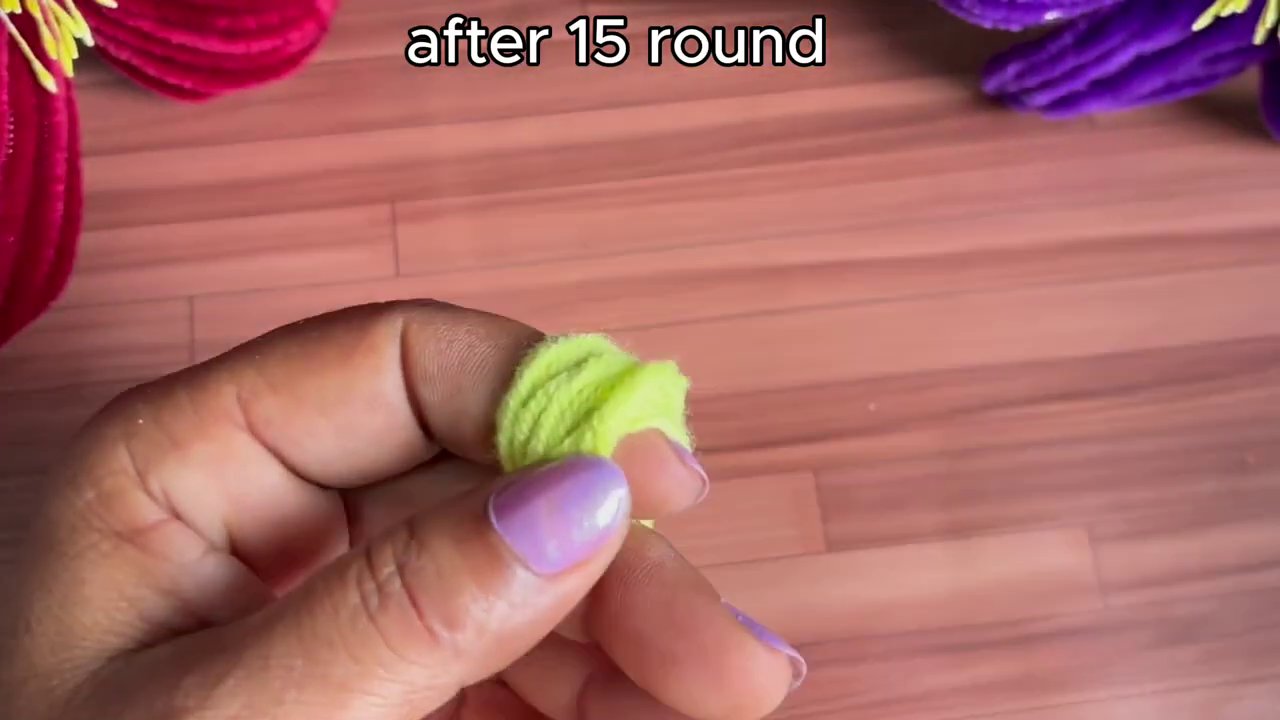
There’s something deeply satisfying about turning a simple strand of yarn into a three-dimensional flower. It’s the kind of project that looks like it took hours of painstaking work, but once you know the basic moves, the petals practically bloom under your fingers. This quick tutorial walks through a beautiful crochet flower design that works for everything from hair accessories to bag embellishments.
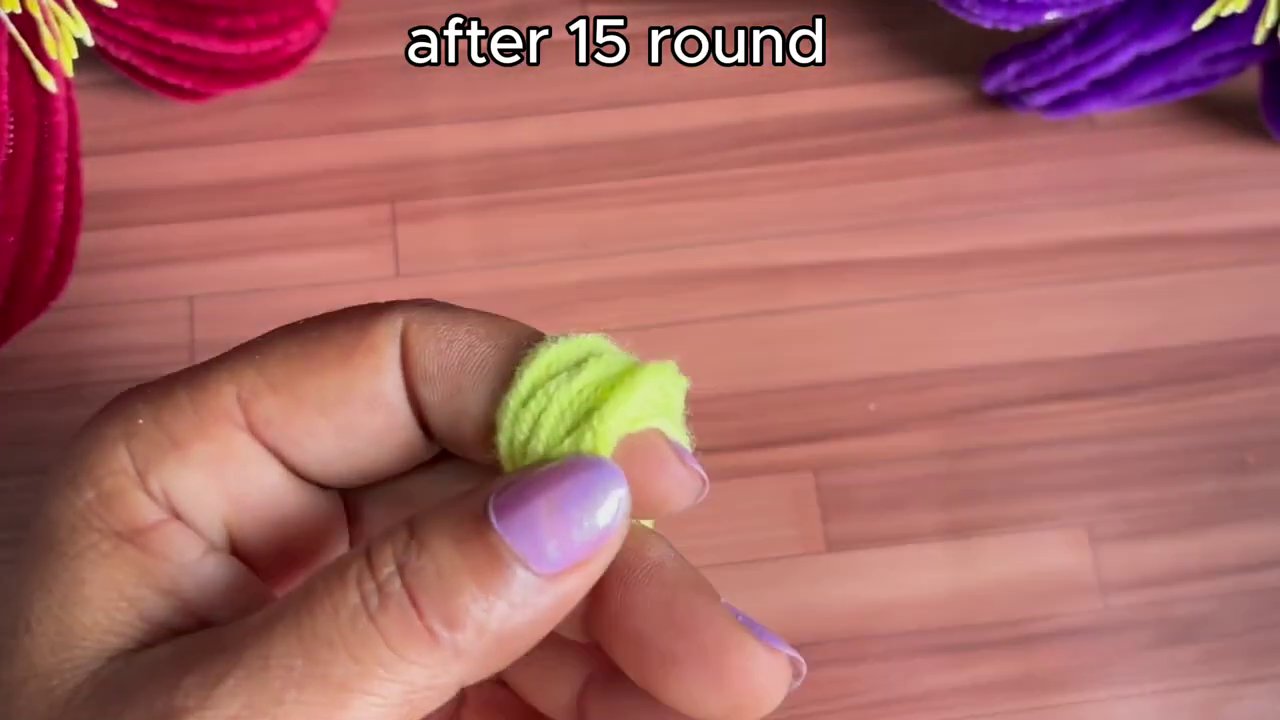
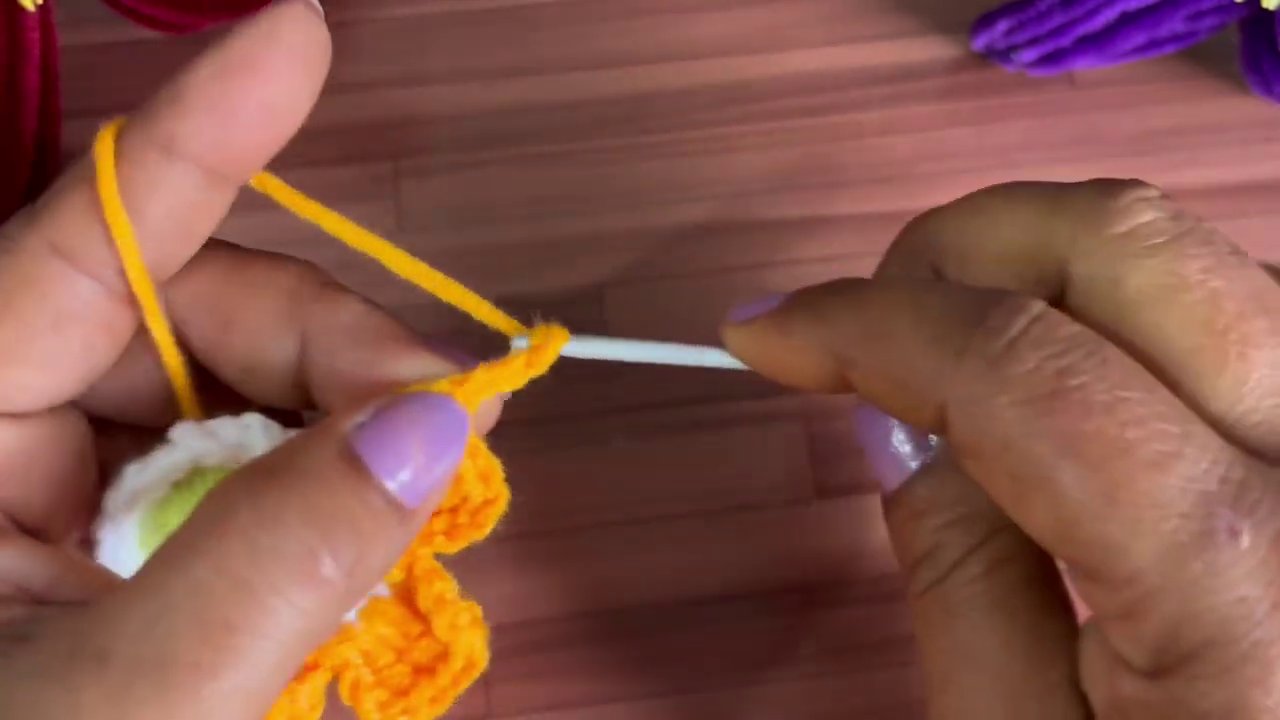
The video starts with a close-up view of the work in progress. The creator’s hands move with practiced ease, light purple nail polish catching the light against a warm wooden table. In the background, you can spot a couple of finished flowers in red and purple — a nice preview of what’s possible once you master the technique.
Getting Started: What You’ll Need
Before jumping into stitches, it helps to have everything laid out. The tutorial uses a small white crochet hook — likely a 3mm or 3.5mm, based on the yarn weight shown — and three colors of yarn: yellow, white, and orange. The yellow forms the flower’s center, white builds the base layer, and orange creates the petal detail.
If you’re new to crochet, take a moment to check your tension with your hook and yarn before starting. Loose tension makes petals floppy; too tight and the flower won’t have any give. The goal is a firm, even fabric that holds its shape.
Working the Center: Starting with Yellow
The first few frames show the yellow yarn being worked into a small circular base. This is the heart of the flower — everything else builds outward from here.
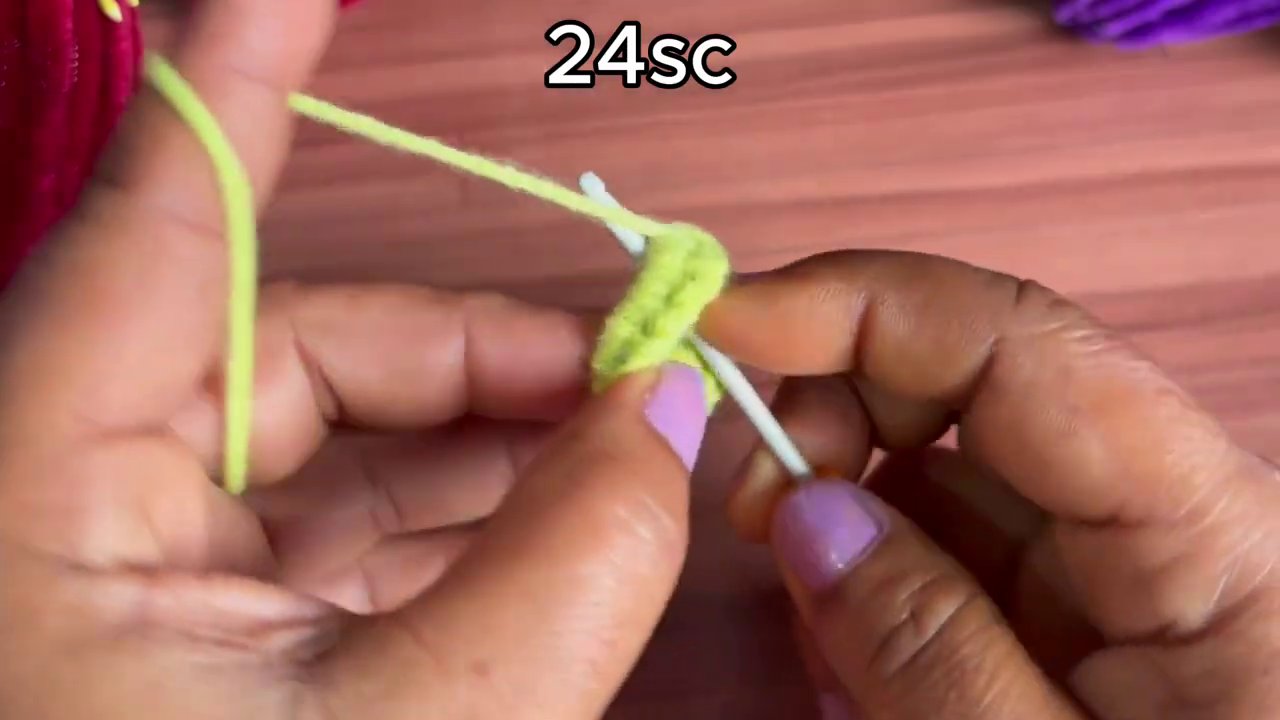
Here’s where the tutorial gets clever. Rather than showing every single stitch from the very beginning, an on-screen note reads “skip to 2:52 for next step.” That’s a thoughtful touch for anyone who already knows how to start a magic ring or chain loop. If you’re brand new, don’t skip it — those first few rounds establish the foundation.
The yellow section is small, usually about four to six stitches worked into a ring. Keep this tight. A loose center makes the whole flower wobble, and nobody wants a floppy flower.
Building the Base with White
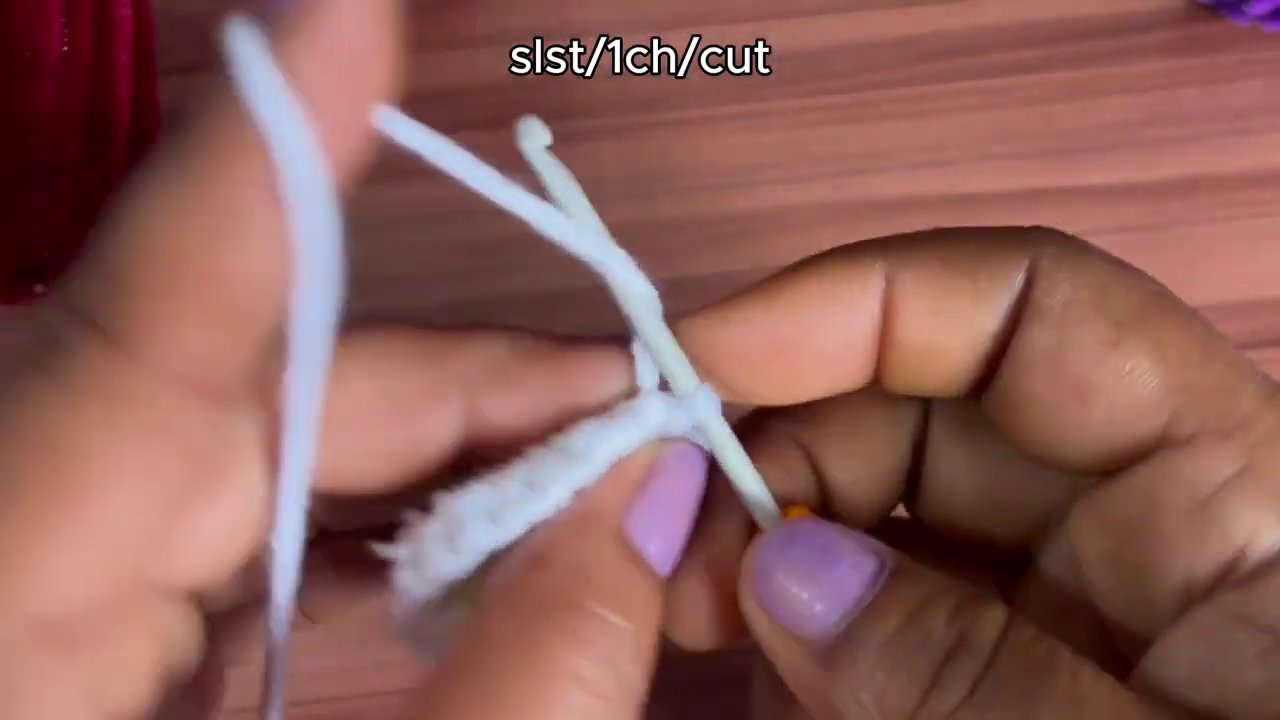
Once the yellow center is secure, the video switches to white yarn. This layer expands the flower’s diameter and creates the canvas for the colored petals.
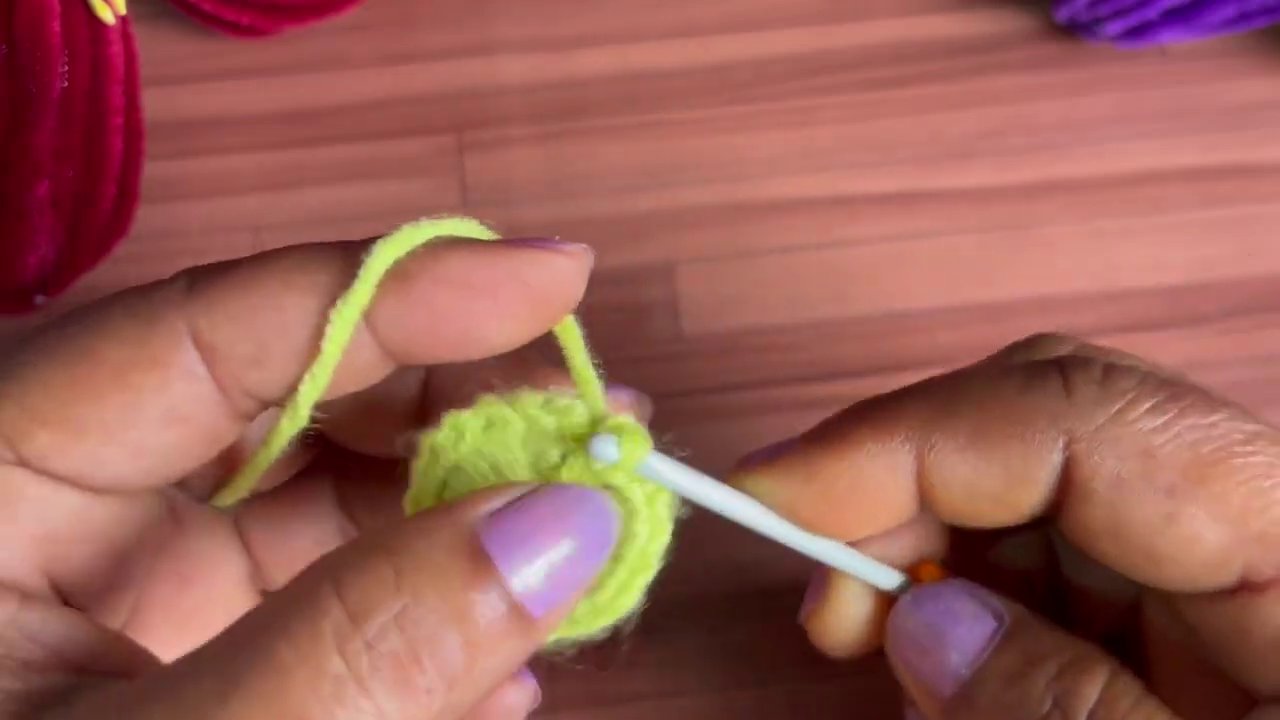
The white section uses basic increases — likely single crochet or half-double crochet stitches worked into each stitch around. The key here is consistency. Each round needs the same number of increases so the circle stays flat. If it starts ruffling, you’re adding too many stitches. If it cups upward, you’re not adding enough.
This is also the moment to check your stitch count. Count after each round. It sounds tedious, but it saves a lot of frustration later. Nothing throws off a flower’s symmetry like a missed increase.
Adding the Petals: Orange Yarn Takes Over
This is where the flower really comes to life. The hands switch to orange yarn, and the stitches change from flat rounds into something with dimension.
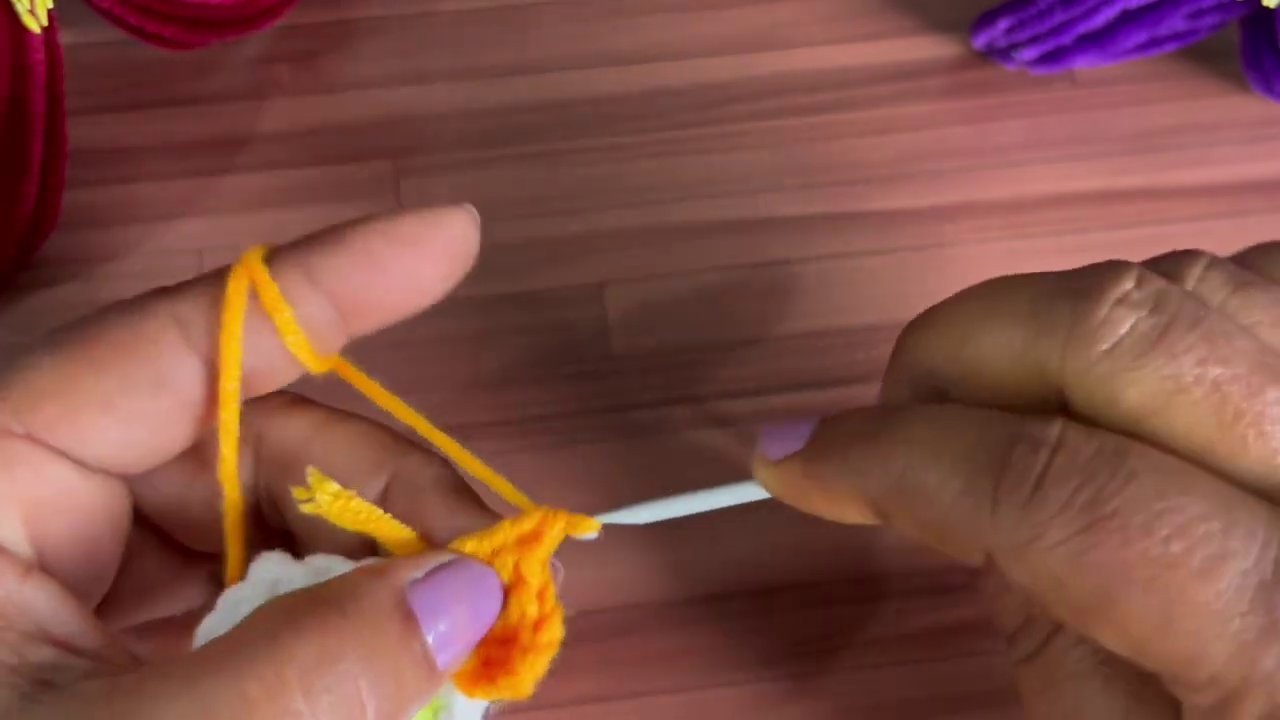
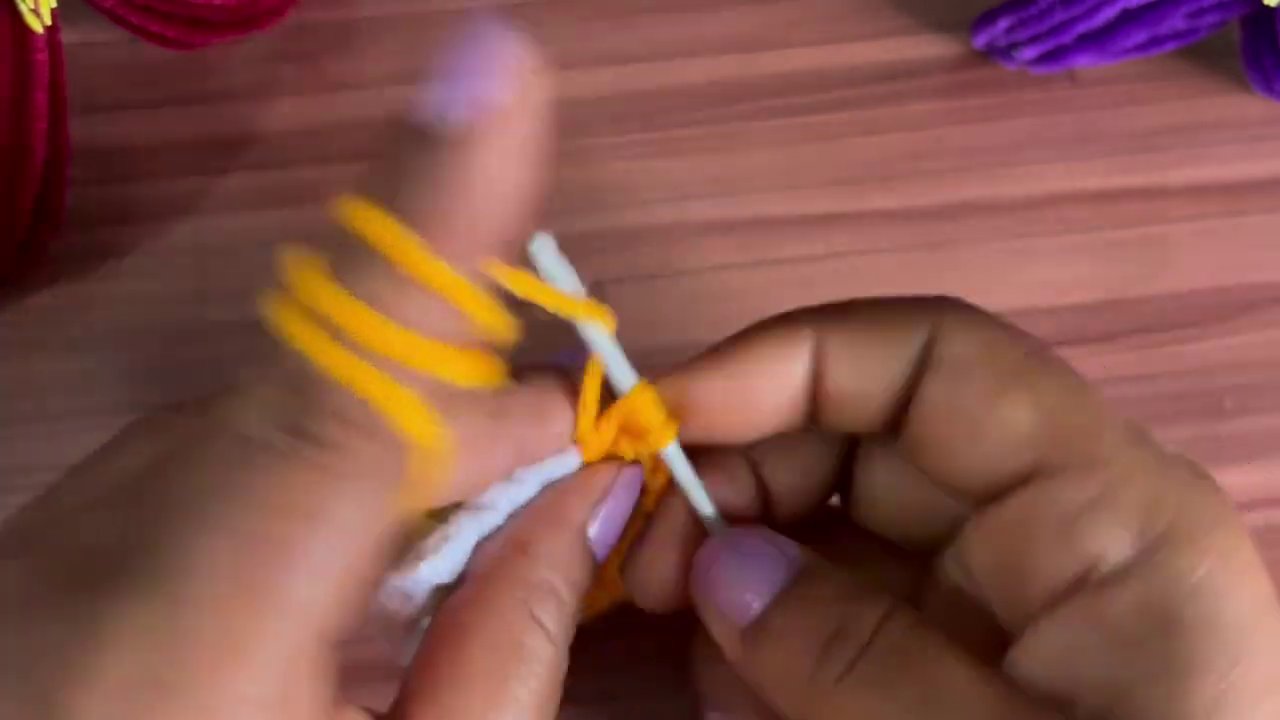
The orange section appears to use a combination of chain stitches and taller stitches — likely double crochet or treble crochet — worked into specific stitches of the white base. This creates the petal shapes that fan outward from the center.
Pay close attention to where each stitch is placed. The petals need even spacing to look natural. If you crowd them on one side, the flower looks lopsided. The tutorial shows the hook entering the work at precise points — replicate that placement carefully.
A common mistake here is pulling the yarn too tight on the chain stitches between petals. Those chains provide the arch that gives each petal its shape. Keep them loose enough to curve, but not so loose they sag. It’s a balance, and it might take a practice flower or two to get it right.
Refining the Details
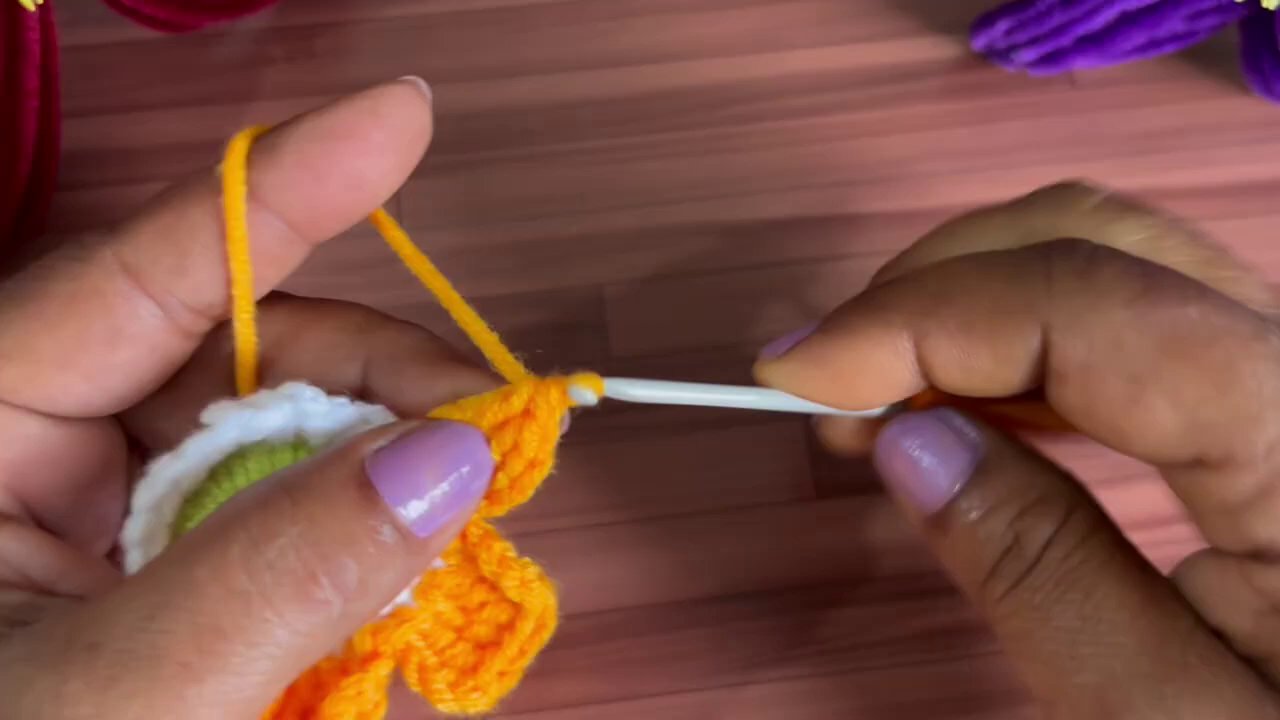
The final frame of the tutorial shows the hands adding finishing touches with orange yarn. This is the detail work — possibly a small French knot or a few extra stitches in the very center to give the flower depth.
Don’t rush this part. The difference between a good flower and a great one is often just a few well-placed stitches. The video’s creator takes their time here, and it shows in the finished piece.
If you want to experiment, try varying the petal size. Make some petals with double crochet and others with treble crochet for a more organic, wildflower look. Or switch up the color order — a white center with yellow petals, or a gradient from light to dark.
Putting Your Flower to Use
Once you’ve got a flower you’re proud of, the possibilities open up. Sew it onto a beanie or a headband. Attach a pin back and wear it as a brooch. String several together for a garland. Glue a magnet on the back for a fridge decoration.
The tutorial’s background flowers in red and purple prove this pattern works in any color scheme. Make a batch in autumn tones for a fall wreath, or pastels for Easter gifts. The pattern scales, too — use thicker yarn and a bigger hook for a statement flower, or thread and a tiny hook for delicate miniature blooms.
If you’re looking to expand your skills beyond this flower, the same basic techniques apply to double stitch crochet patterns and other dimensional projects. The muscle memory you build here carries over.
Key Takeaways for Your Own Crochet Flower
- Start tight. A loose center makes the whole flower unstable. Pull that first ring snug.
- Count your stitches. Each round needs the right number to stay flat and even.
- Watch your tension on chains. Petals need flexible arches, not stiff loops.
- Take your time on details. The final few stitches make the flower look polished.
- Experiment with color. This pattern works in any combination you can imagine.
Crochet flowers are one of those projects that feel like magic the first time you finish one. You start with a knot and a hook, and twenty minutes later you’re holding something that looks like it grew. The tutorial keeps it simple enough for beginners but leaves room for more experienced crocheters to add their own flair. Grab your hook, pick your colors, and give it a try — you might surprise yourself with what you can make.