Hướng dẫn
How to Make and Measure a Crochet Gauge Swatch
A practical guide to counting stitches and rows, washing your swatch, and using the numbers to predict fit before you crochet a whole project.
Crochet.Digital · · 12 phút đọc
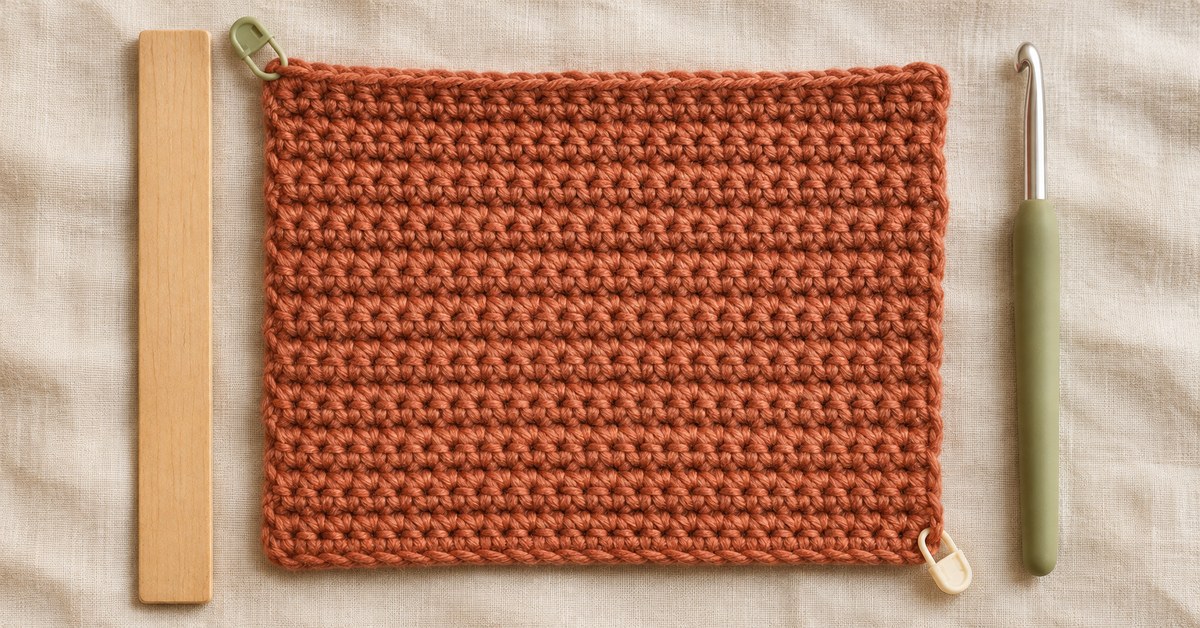
A crochet gauge swatch answers a question that the hook size on a pattern cannot answer on its own: how large will your stitches be in this yarn, in this stitch pattern, after the fabric is washed? Make a sample larger than the measuring window, wash it the way you will wash the project, and count stitches across and rows up the center. If you get too many stitches in the same width, try a larger hook. If you get too few, try a smaller one. Then check the new swatch for both size and fabric feel.
This guide uses US crochet terms and a 4-inch measuring window in the examples. If your pattern specifies 10 cm, measure over 10 cm instead. Those units are close, but they are not identical. Using the stated unit consistently matters more than converting the ruler every time you count.
Read the entire gauge line before you chain
Copy the gauge line onto your project notes, including the stitch pattern, hook, measuring window, and any instructions about washing or blocking. A line like 16 stitches and 12 rows = 4 inches in half double crochet after blocking gives you two independent targets. It also tells you that a square of single crochet in the same yarn cannot answer the question. Different stitches and stitch combinations use different amounts of yarn and produce different fabric.
Check the pattern notes for anything that changes the sample. A cardigan panel might use alternating rows of two stitch patterns. A hat worked in a continuous spiral might give gauge in rounds. A blanket may use a cluster repeat, and the designer may count clusters or repeats instead of individual stitches. In all of these cases, copy the stated measuring method as closely as you can. If the pattern includes special swatch instructions, follow those ahead of the general method here.
Gather the actual project yarn, the suggested hook size, a ruler with clear markings, two removable stitch markers, and a piece of paper for recording results. Choose the hook by its millimeter marking when you have a choice. Letter and number labels can vary across brands, while millimeters tell you the size printed on the tool. The Craft Yarn Council hook guide is useful when a pattern lists an unfamiliar label.
Make the sample large enough to measure the center
For a 4-inch measurement, aim for a swatch about 6 inches wide and 6 inches tall. The extra space gives you a representative area away from the foundation chain, the top row, and both turning edges. Those edges can be tighter or more open than the rest of the fabric. A sample that measures exactly 4 inches from edge to edge gives you no way to avoid them.
Suppose your target is 16 stitches over 4 inches in plain half double crochet. That is 4 stitches per inch, so 24 working stitches are a sensible starting point for a sample around 6 inches wide. Use the pattern's foundation instructions to get 24 working stitches. If a stitch repeat requires a multiple plus edge stitches, round up to a valid starting count. The extra width is useful. For example, if your repeat occupies six stitches, use four whole repeats and add the pattern's edge stitches.
Work several rows before judging how the swatch feels. Use the same yarn grip and hook hold you would use while watching a show or working on the couch. If you deliberately tighten up because you are making an important measurement, the swatch will be more precise than it is representative. A too-tight foundation chain is another common source of distortion. If the bottom edge pulls in while the rest of the swatch lies flat, set the ruler higher up rather than counting across the chain.
For a project worked in the round, make a sample in the round when the designer's instructions call for it. Mark the start of each round and use the same joining or spiral method. A flat sample worked back and forth can behave differently because you turn and work into the opposite face of the stitches. For a big lace motif, make enough whole repeats to see how the open spaces sit. With granny-square patterns, use the blocked square size or the dimensions the pattern provides instead of forcing an individual stitch count across chain spaces.
Measure both directions without stretching the fabric
Let the swatch rest on a flat surface. If it is newly finished, take a quick unwashed reading for your records, but wait for the final measurement if the project gauge is specified after blocking. Lay a stiff ruler across the middle of a row, parallel to the foundation edge. Begin at a recognizable stitch boundary. Count full stitches and any fraction that fits within the required distance. Move the ruler slightly and repeat if the stitch boundary is hard to see.
Turn the ruler a quarter turn to count rows. Pick a place where the row structure is easy to read. In turned crochet, two rows may look like a single raised ridge, depending on the stitch. Trace a turning edge with a finger to identify the corresponding rows, then move back toward the center to count. With a repeat that alternates different stitches, count a full repeat from its first row to the next occurrence of that same row. If a four-row repeat measures 1.4 inches, it is easier to compare several repeats than to guess at a partial ridge.
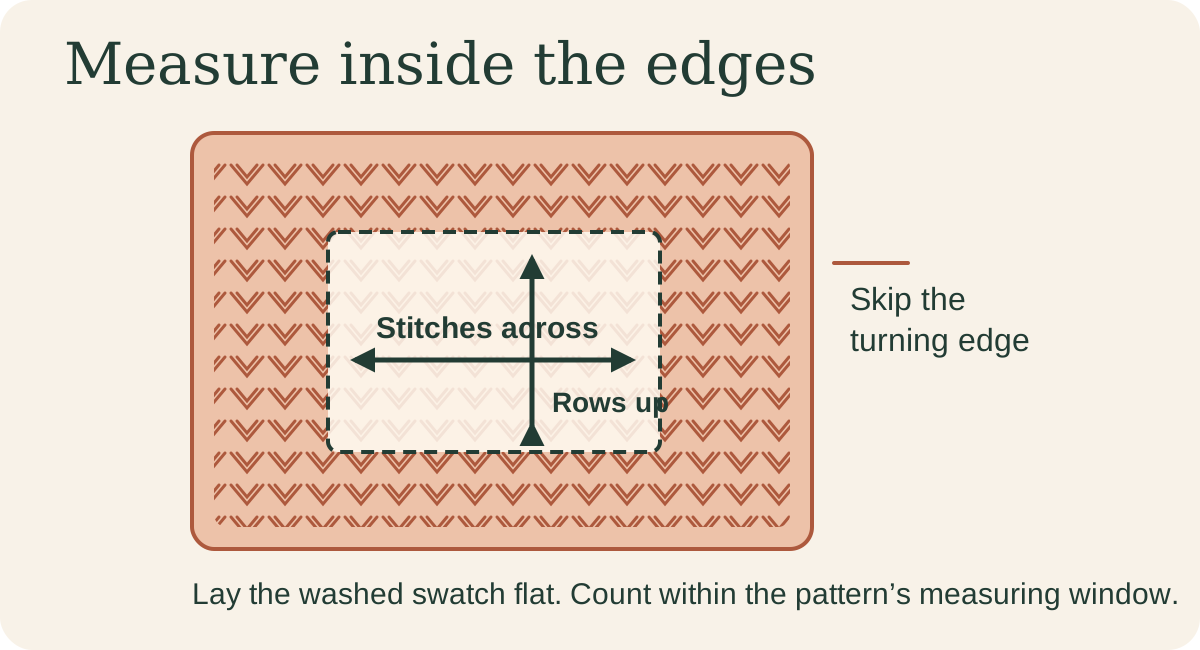
Write the results as two lines, such as 17.5 stitches per 4 inches and 12 rows per 4 inches. Keep the half stitch in your notes. At garment scale it matters. You can also check a longer span when the sample is wide enough. If 25.5 stitches occupy 6 inches in the center, multiply 25.5 by 4 and divide by 6 to get 17 stitches per 4 inches. A longer span can make one ambiguous edge stitch less influential.
Wash and dry the swatch the way the project will be washed
Use the care instructions of the yarn you are actually using. If you plan to hand-wash a garment, hand-wash the swatch. If you plan to machine-wash and lay the finished object flat to dry, do the same with the sample if the label allows it. This is the easiest time to discover bleeding dye, a scratchy texture after drying, or more growth than you expected. If you are using several colors, include each in the sample and check whether the lighter color picks up dye.
After washing, remove excess water gently. Pressing the swatch in a towel can help before laying it flat. Arrange it in the shape the fabric naturally takes unless your pattern instructs you to block to a specific measurement. Pulling a square hard enough to hit the target and pinning it there will tell you how far the fabric can stretch. It will not tell you the size it prefers after the pins come out. Let the sample dry completely before measuring again, including the parts underneath the edges.
Keep the before and after numbers together. For instance, 18 stitches and 14 rows per 4 inches before washing, followed by 17 stitches and 13 rows afterward, means the same group of stitches takes up more space after washing. A fabric made from the same yarn may change in both directions, or it may grow mainly in length. For a drapey sweater or a large shawl, you can also hang the dry swatch briefly and measure what happens under its own weight. Treat this as an observation about drape, since a full garment weighs more than the swatch.
Decide whether to change hook size
If the pattern calls for 16 stitches per 4 inches and you count 18, your stitches are narrower than the designer's. Try a larger hook and make another swatch. If you count 14, your stitches are wider and a smaller hook is the place to start. Change one variable at a time and write down what you changed. Otherwise you may not know whether a better result came from your hook, your grip, or a different part of the skein.
A hook change is a starting point. It may affect width and height by different amounts. When width matches but row gauge is off, check the construction before changing hooks again. For a straight panel worked to a stated length, you can often stop at the correct physical length if the design permits it. For a fitted sleeve, yoke, or raglan that places increases on specific rows, row gauge controls where shaping happens. Altering the number of rows between increases changes the finished shape and may affect where pieces join. Ask the designer for guidance or use a closer yarn and hook combination if those changes would be substantial.
If changing hooks gives you the target count but the fabric becomes unpleasant, treat that result as a poor match. A stiff shell is a poor choice for a floaty cardigan, even at the right gauge. Fabric with clear gaps may expose stuffing in an amigurumi or stretch under a bag's contents. Try a yarn whose thickness and structure give you both the right gauge and the right surface. If you would rather choose a different project for that fabric, see the guide to choosing a crochet pattern.
Use the numbers to see how far off a project would be
Take a sweater body with 160 stitches around the chest. At the pattern gauge of 16 stitches per 4 inches, the body measures 160 divided by 4 stitches per inch, which is 40 inches before any separate finishing. At 18 stitches per 4 inches, your 160 stitches would measure about 35.6 inches. The sample only differed by two stitches across a hand-sized square. On the garment, that becomes more than four inches.
Run the same calculation with your own numbers. Divide the number of stitches in the garment section by the stitches in your measured sample, then multiply by the sample width. Use the stitch count for the actual body or panel rather than the foundation chain if turning chains or set-up rows make those numbers different. For pieced garments, account for the construction notes about seams and edgings. The calculation predicts the width of the measured stitch pattern. It cannot decide how much wearing ease you prefer.
For length, suppose the pattern gives 12 rows per 4 inches and a panel must be 20 inches before shaping. At pattern gauge, 60 rows occupy those 20 inches. If your sample gives 13 rows per 4 inches, 60 rows will instead be about 18.5 inches. You would need roughly 65 rows to reach 20 inches in the same fabric. This adjustment is straightforward for a plain rectangular section if the repeat permits it. Write the change down before starting a second panel or sleeve.
Handle four common swatch problems
The edges curl or lean
Measure away from the curled edge. A foundation chain that is too tight can make the bottom narrow. A row of slip stitches can pull the top in. If the whole swatch twists, make a larger sample or check whether the yarn is unusually lively. When the pattern is built from motifs that naturally change shape after finishing, test that finishing step before deciding whether the swatch is suitable.
The stitch pattern is hard to count
Try counting complete motifs or working with the pattern's chart. Clip a marker through a stitch on one side of a repeat and another through the matching stitch at the beginning of a later repeat. Measure the distance between them. If your measured distance includes four repeats, divide it by four. Use the count the designer supplies when a stitch pattern has spaces, clusters, or uneven groups. Counting every visible loop as a stitch is unreliable in openwork.
Two samples made on the same hook are different
Compare how and when you made the samples. Did you work one quickly in your lap and the other slowly while checking a new stitch? Did one sample get pinned tightly while the other dried loose? Did you measure the same place? Use the more representative fabric and check again during the early rows of the project. The site has a separate guide on what to try when crochet tension varies if your grip changes from row to row.
The yarn is too dark to read clearly
Lay the sample on a pale towel and aim a lamp across its surface. Side light makes ridges easier to see. Mark a few stitch boundaries before placing the ruler. If you need to learn the structure first, make a small practice piece in a light yarn, then use the original yarn for the actual gauge check. Yarn texture, color, and manufacturing lot can affect what you can see, so count a second window if the first one feels uncertain.
Know when gauge matters most
A fitted garment, a hat with a fixed circumference, a pair of slippers, and a group of pieces meant to seam together all benefit from a careful swatch. The time cost of the sample is small compared with undoing a project after the first fitting. For a scarf or a simple blanket, the exact count may be more flexible, but gauge still controls final size, fabric density, and how much yarn you need. A small sample is useful if you want to use up a limited stash and cannot buy a matching dye lot later.
Before starting the project, write the yarn name, shade and dye lot, hook in millimeters, stitch pattern, washed width gauge, and washed row gauge on a card. Keep the dry sample with the card. After you work several inches of the main project, measure a representative part again. If your hands have relaxed as the pattern becomes familiar, this second check gives you time to adjust. You now have enough information to choose a size, decide whether the fabric suits the project, and explain any changes you make.
Đọc tiếp
Hướng dẫn
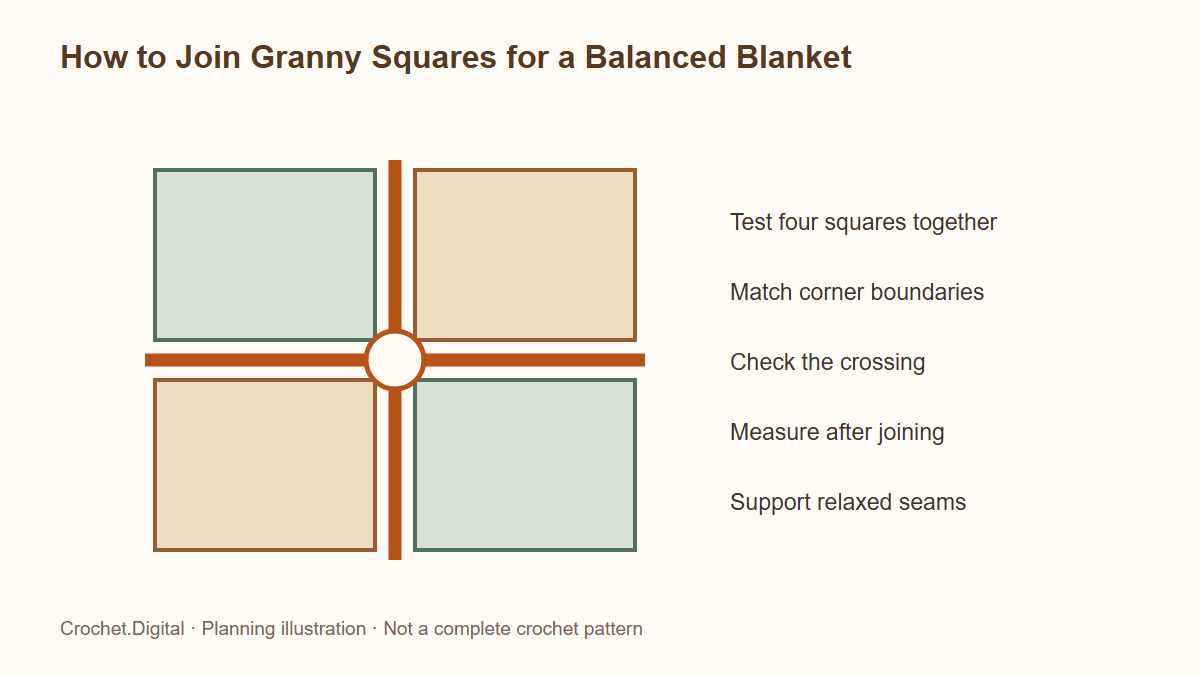
How to Join Granny Squares for a Balanced Blanket
Compare sewn and crocheted granny-square joins, align corners and stitch counts, test finished dimensions, and assemble a blanket without pulling its seams tight.
· 11 phút đọc
Hướng dẫn
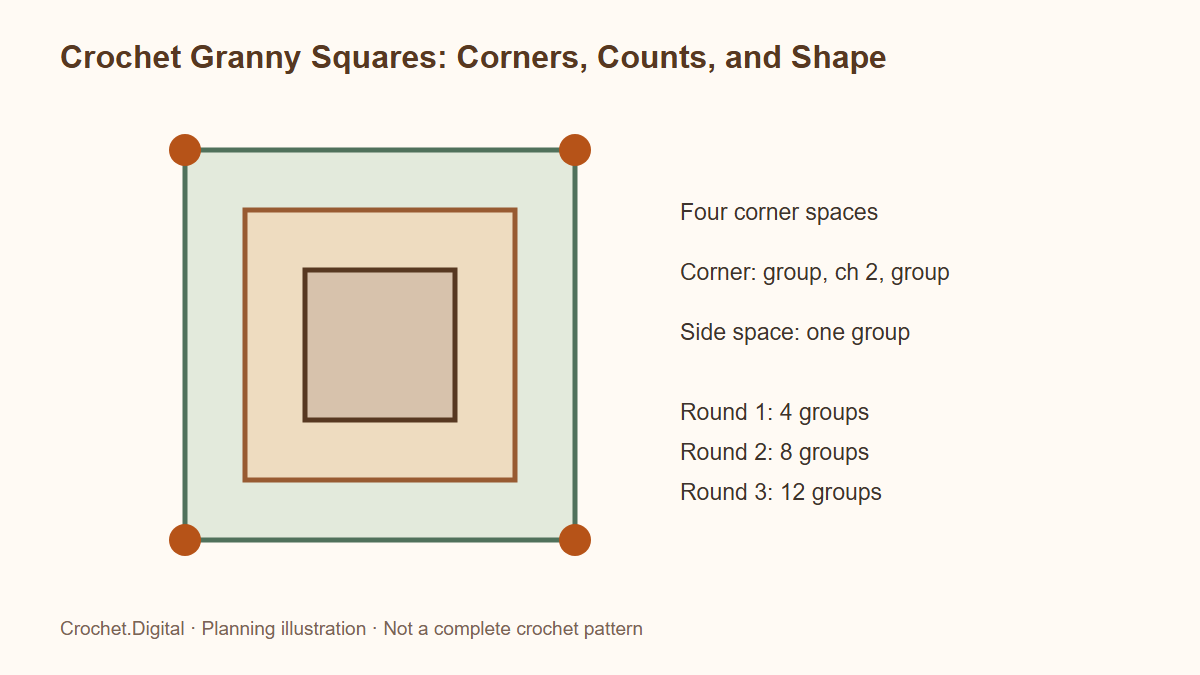
Crochet Granny Squares: Corners, Counts, and Shape
Understand a classic crochet granny square with clear corner placement, stitch-group counts, joining choices, color changes, and practical checks for flatness.
· 11 phút đọc
Hướng dẫn
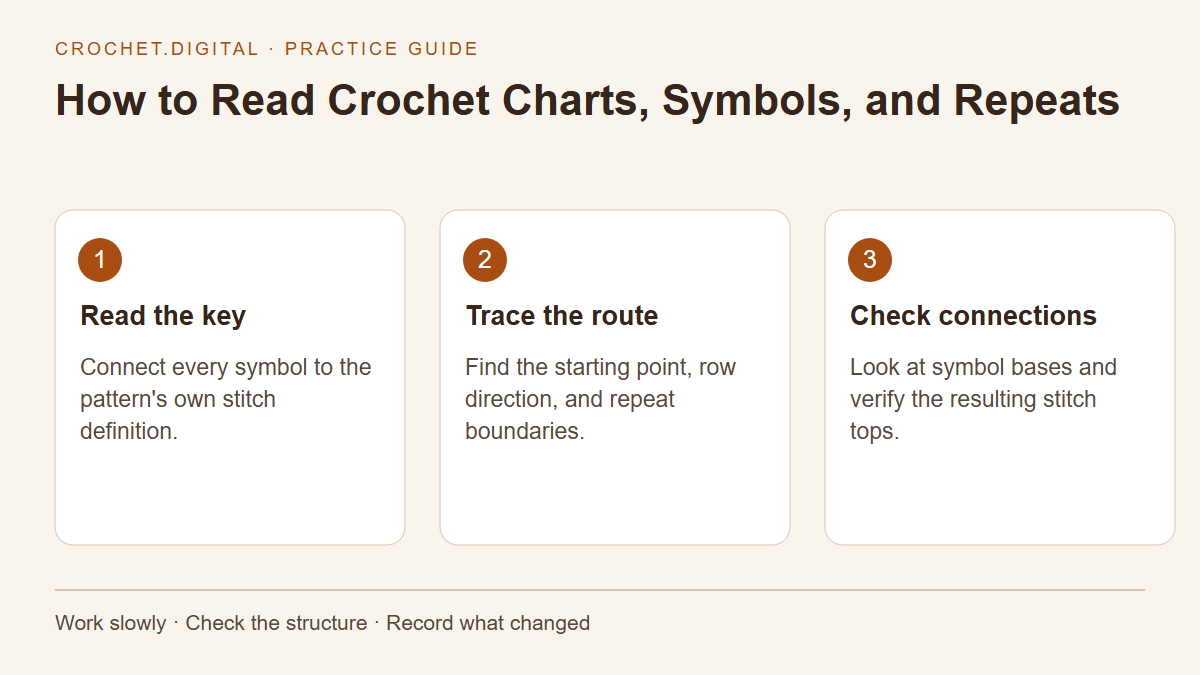
How to Read Crochet Charts, Symbols, and Repeats
Follow a crochet chart by finding its key, working direction, insertion points, and repeat boundaries before checking the fabric.
· 12 phút đọc