Some projects just make you smile the moment you finish them. This rose pouch bag is one of those. It’s small, charming, and works up fast once you get the hang of the rounds. Whether you want a cute coin purse, a gift for a friend, or just something pretty to practice your stitches on, this pattern hits the spot.
I used three colors for mine — white for the base, then pink and green for the rose detail. But honestly, you could go wild here. A deep red with cream? A soft lavender with mint? The structure stays the same, so the color play is where you get to make it your own.
Let’s walk through it step by step.
Getting Started: The Magic Ring and First Round
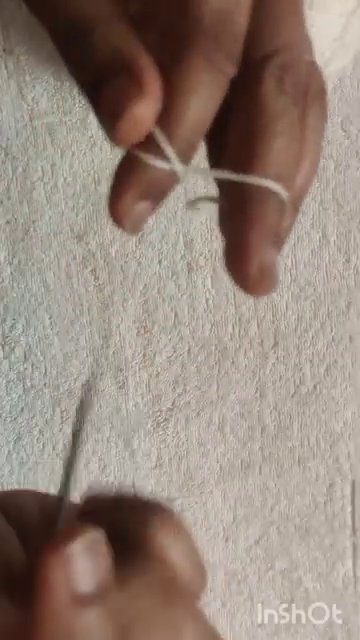
We begin with a magic ring. If you’ve never done one, don’t stress — it’s just a loop that you tighten after your first stitches, leaving no hole in the center. Start with your white yarn.
Make a magic ring, then chain 3. That chain 3 counts as your first double crochet. Now work 11 more double crochets into the ring. That gives you 12 double crochets total, including that first chain-3.
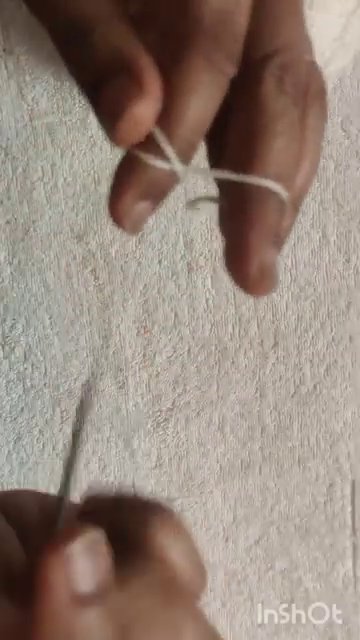
Pull the tail to close the ring. Slip stitch into the top of that first chain-3 to join the round. You’ve got a neat little circle now.
Round Two: Doubling Up
Chain 3 again — that’s your first double crochet. Now here’s the trick for this round: work 2 double crochets into each stitch around. Every single stitch from round one gets two.
That means you’ll end up with 24 stitches total. The math is simple: 12 stitches times 2 equals 24. Slip stitch to join at the end.
This is where the base starts to flatten out nicely. If your circle is curling up, your tension might be too tight. If it’s ruffling, you’re probably too loose. Aim for flat and even.
Round Three: Building the Shape
Now we start alternating increases. Chain 3, then work 2 double crochets into the next stitch. After that, it’s 1 double crochet in the following stitch, then 2 in the next. Repeat that pattern — 1, 2, 1, 2 — all the way around.
By the end of this round, you’ll have 36 stitches. Slip stitch to join.
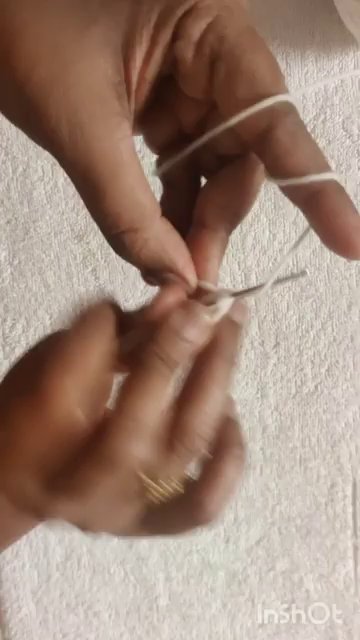
This is a good moment to check your work. Does it look like a flat disc? Great. If not, adjust your tension on the next round.
Round Four: The Pattern Shifts
Chain 3. This time, work 1 double crochet in the next stitch, then 2 double crochets in the following stitch. Then 1 double crochet in each of the next 2 stitches, followed by 2 double crochets in the next. The pattern becomes: 1, 1, 2, 1, 1, 2 — repeating around.
You’ll finish with 48 stitches. Slip stitch to join.
See the pattern emerging? Each round adds one more single stitch between the increases. That’s how you get a smooth, gradual circle instead of a lumpy mess.
Rounds Five Through Nine: Growing the Body
Keep going with the same logic. For round five, chain 3, then work 1 double crochet in each of the next 3 stitches, then 2 in the next. Repeat: 1, 1, 1, 2 around. That gives you 60 stitches.
Round six: 1, 1, 1, 1, 2 — 72 stitches total.
Round seven: 1, 1, 1, 1, 1, 2 — 84 stitches.
Round eight: 1, 1, 1, 1, 1, 1, 2 — 96 stitches.
By round nine, you’ll have a nice wide base. This is the bottom of your pouch. If you want a bigger bag, keep increasing. For a small coin purse size, nine rounds is perfect.
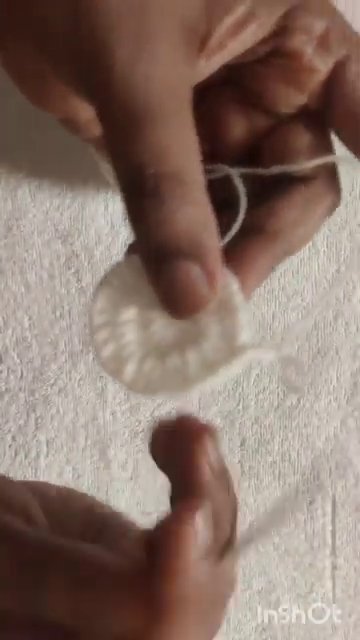
Starting the Sides: Single Crochet Rounds
Once the base is done, we stop increasing. Now we build the walls.
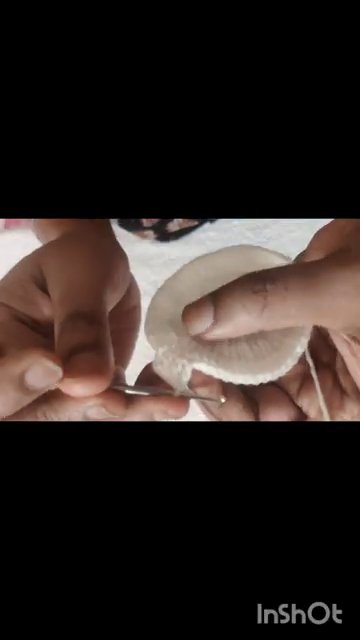
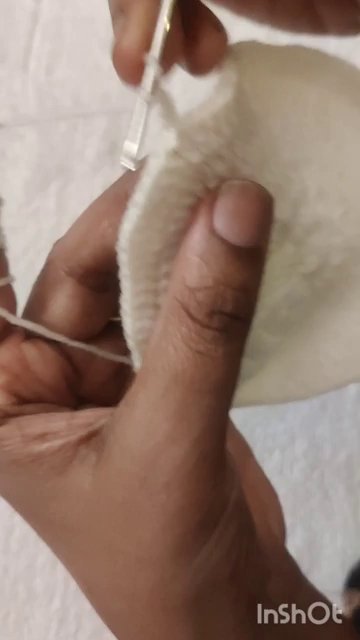
Switch to single crochet for the next several rounds. Work 1 single crochet in every stitch around — no increases, no decreases. Just straight up.
I did about 6 rounds of single crochet for the sides. That gives enough depth to hold coins, lip balm, or a small notebook. You can do more if you want a deeper pouch. Just keep going until it looks right to you.
Slip stitch to join at the end of each round. Chain 1 before starting the next.
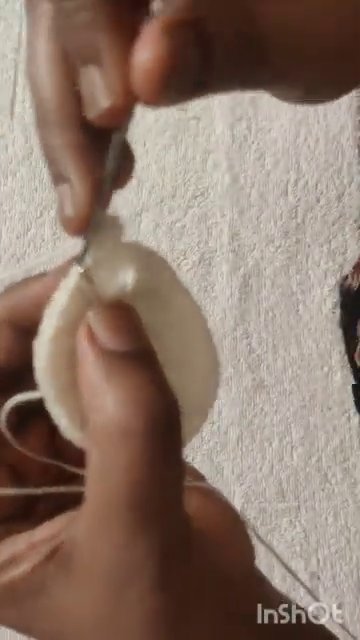
This part is meditative. No counting increases, no pattern memorization. Just stitch after stitch. Good TV-watching crochet.
The Rose Detail: Adding Color
Now for the fun part. Switch to your pink yarn (or whatever color you want the rose to be).
This is where you create the rose motif on the front of the bag. The exact stitch pattern for the rose can vary — some people do a series of chain loops, others work petals with double crochet clusters. The key is to create a layered, spiral effect that looks like a blooming rose.
A simple approach: work a round of chain-3 loops around a central point on the front of the bag, then in the next round, work 5-6 double crochets into each loop. That gives you ruffled petals. Stack a smaller set of loops and petals on top for the center.
If you want a more structured rose, you can crochet a separate rose motif and sew it on. I prefer working directly into the bag — it feels more integrated and less likely to fall off.
The Leaves: Green Accents
Switch to green yarn for the leaves. Work 2-3 small leaves next to the rose. A simple leaf is just a chain of 6-8 stitches, then single crochet back along the chain, with a cluster of 3 stitches at the tip to create the point.
Attach the leaves with slip stitches or sew them on afterward. Position them so they frame the rose naturally — one on each side, or both on one side like a stem.
Finishing the Bag
Once your rose and leaves are done, you can add a drawstring closure if you want. Chain a long cord — about 40-50 chains — and weave it through the top round of single crochets. Thread it in and out of the stitches, then tie the ends together.
Alternatively, sew on a button and make a small loop closure. Or just leave it open as a simple pouch. Your call.
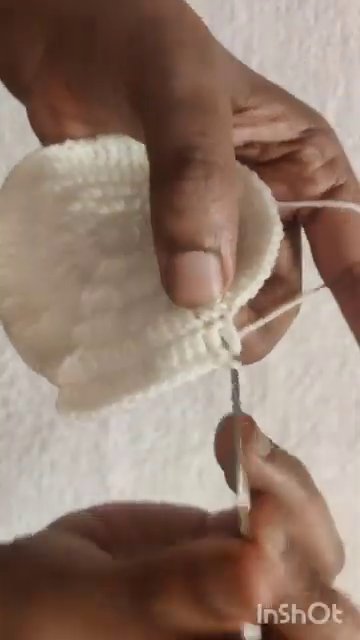
Weave in all your ends. Snip the tails close. Give the bag a gentle block if the edges are curling — a quick steam iron or a spritz of water and some pins will flatten it right out.
Why This Pattern Works
This bag is a great confidence builder. You practice the magic ring, double crochet increases, single crochet rounds, and a bit of colorwork — all in one small project. It’s not overwhelming, but it teaches real skills.
Plus, it’s useful. I keep mine in my everyday bag for loose change. A friend of mine uses hers as a jewelry pouch when she travels. Another person I know made a bunch as party favors for a bridal shower.
If you want to try other small projects that build similar skills, check out this crochet plush frog pattern for more practice with the magic ring and shaping. Or if you’re in the mood for something even quicker, these monster keychain patterns are perfect for using up scrap yarn.
A Few Tips Before You Start
- Use a smooth, worsted-weight yarn for the first attempt. Fuzzy or textured yarns hide mistakes but also hide your stitches, which makes learning harder.
- Keep your tension consistent. If you tend to crochet tight, go up a hook size. If you’re loose, go down. The goal is a fabric that’s firm but not stiff.
- Count your stitches at the end of each round. It takes ten seconds and saves you from ripping out rows later.
- Don’t stress about the rose being perfect. Handmade things are supposed to look handmade. Slight asymmetry adds character.
This pattern is forgiving. You can adjust the size, change the colors, add or skip the drawstring. The rose detail can be as simple or as elaborate as you want. There’s no wrong way to do it.
So grab your hook, pick your colors, and make something pretty. You’ve got this.