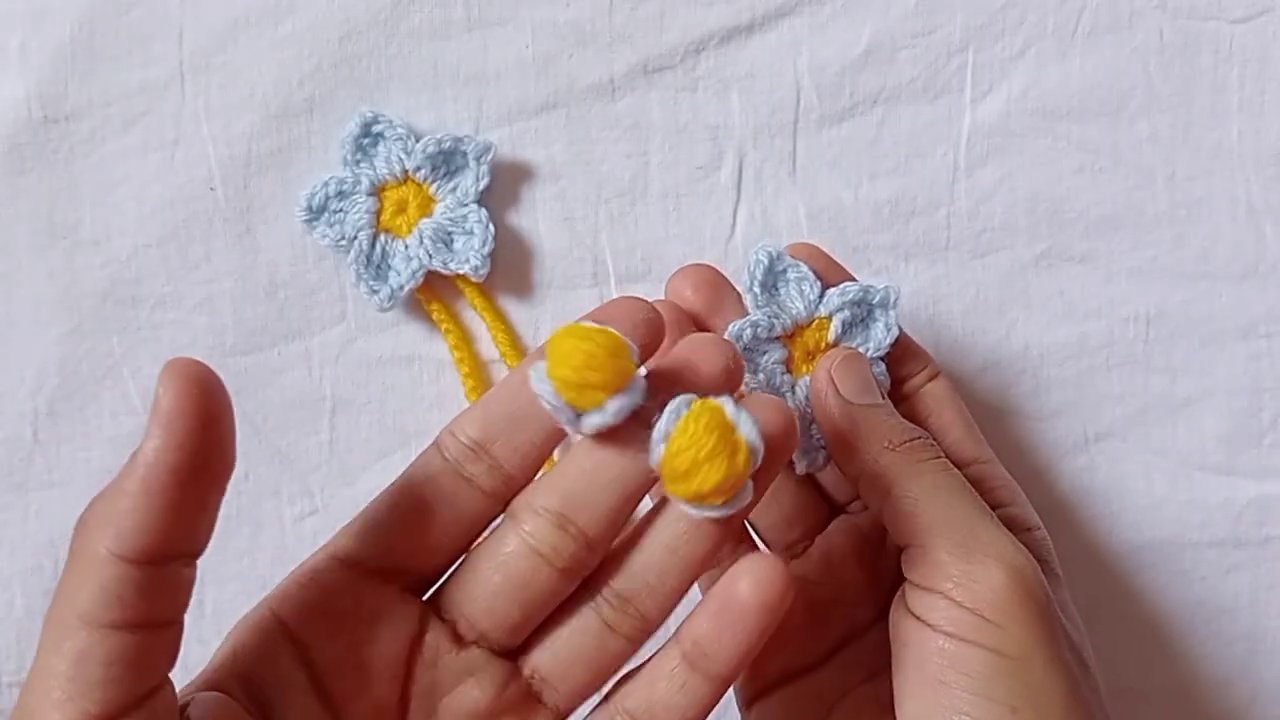
You know those little crochet flowers that look impossibly delicate, the kind you see pinned to a jacket or tucked into someone’s hair and think, I could never make that? Well, you can. And it’s actually simpler than it looks.
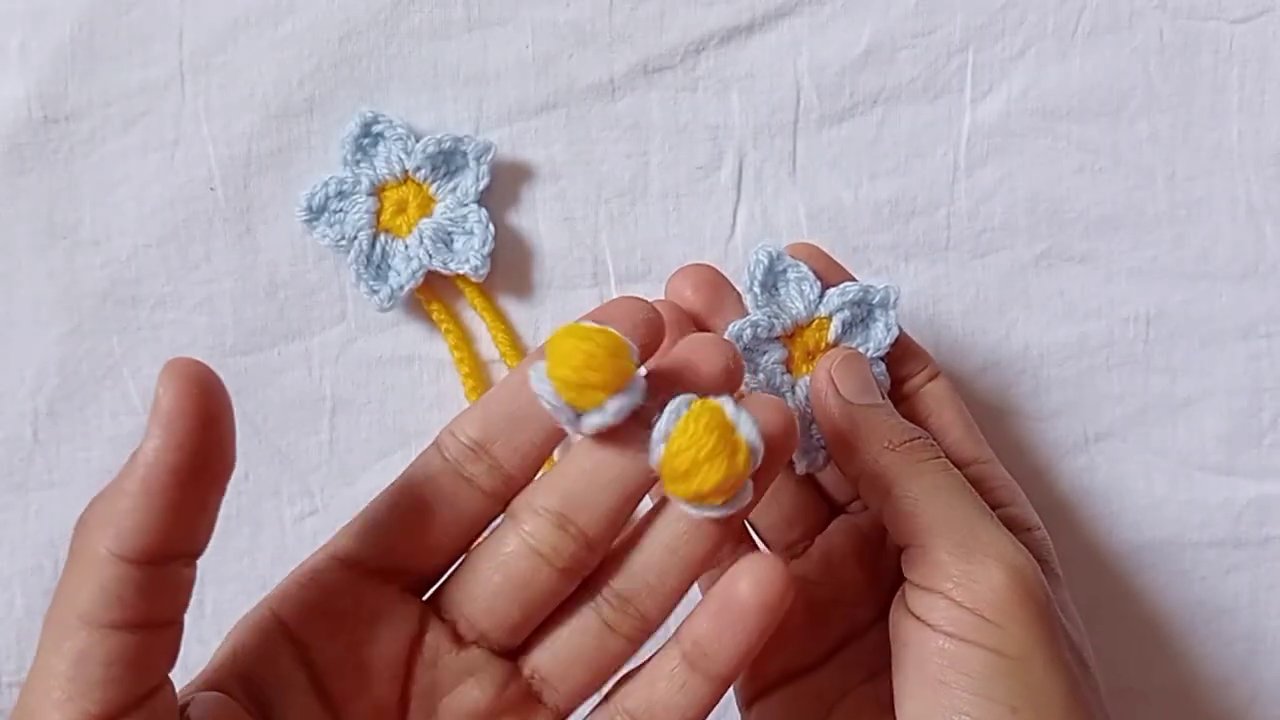
I’ve been playing around with a new flower pattern lately, and what I love most is how versatile the finished piece turns out. You can turn it into a brooch, clip it onto a headband, or even stitch it onto a pear tie for a gift that feels personal without being fussy. The whole thing works up fast, too — perfect for an afternoon project when you want something satisfying but not overwhelming.
Let me walk you through the process. I’ll include the stitch breakdown, some assembly tips, and a few ideas for turning your flower into something you’ll actually wear or use.
Getting Started: What You’ll Need
Before we jump into the stitches, let’s talk materials. You don’t need anything fancy here. A worsted-weight cotton or acrylic yarn works beautifully — something with good stitch definition so the petals pop. I used a solid color for the flower body, but you could easily do a variegated yarn for a more playful look.
You’ll also need:
– A 3.5mm or 4mm hook (depending on your yarn weight)
– Stitch markers (or scrap yarn) to keep your place
– A tapestry needle for weaving ends
– Scissors
– A brooch pin, hair clip base, or ribbon for finishing
The Magic Ring and First Petals
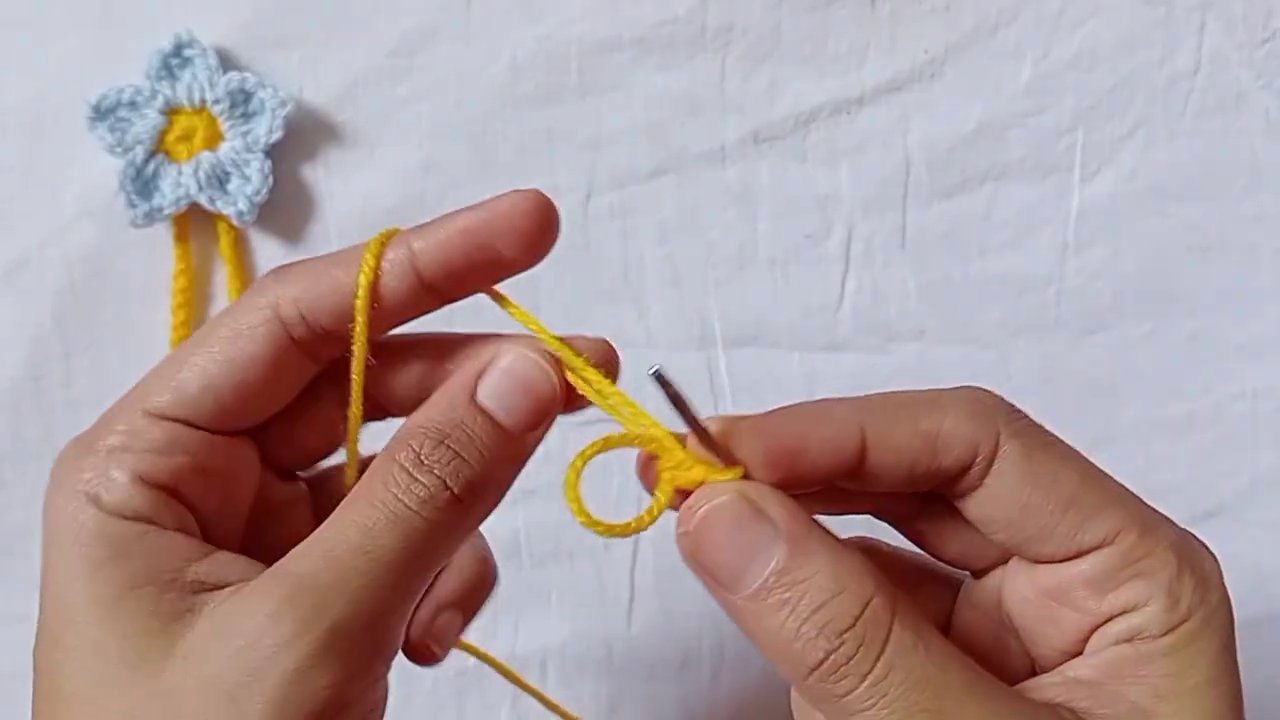
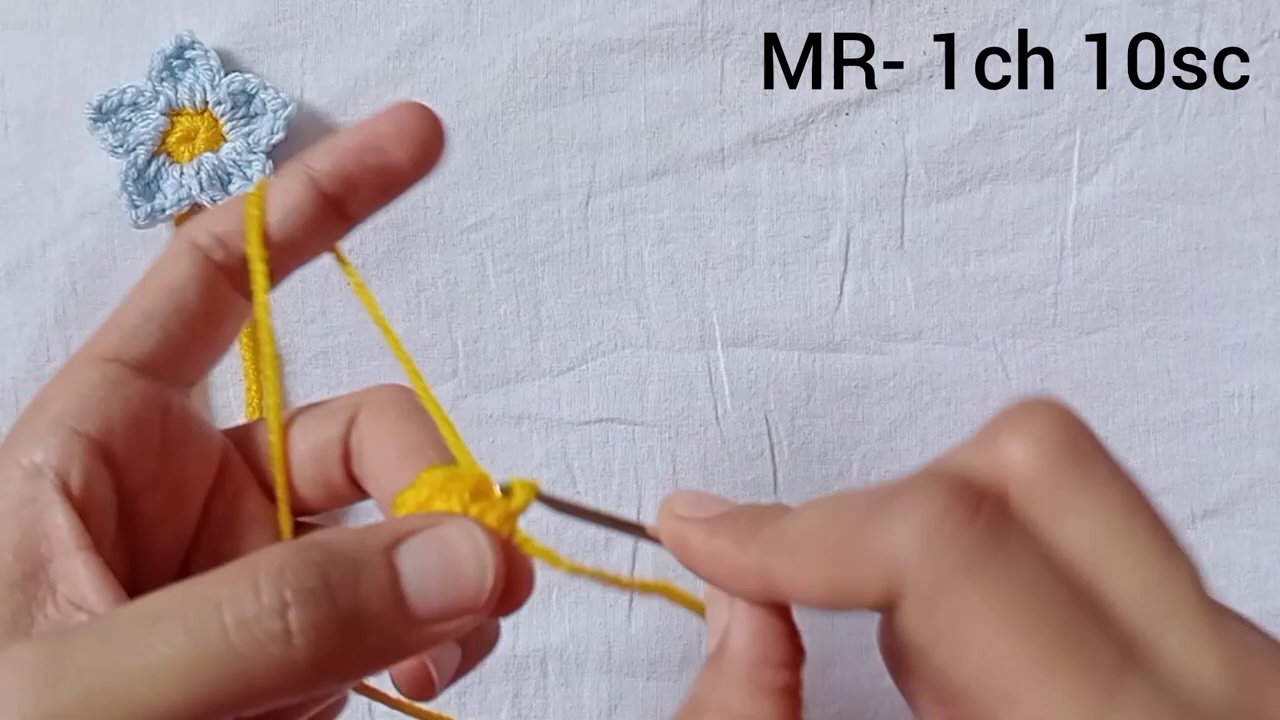
Everything starts with a magic ring. If you’ve never done one, it’s worth practicing — it gives you a tight, adjustable center that won’t leave a gap. Pull it snug, then slip stitch to close.
Chain 3 — that counts as your first double crochet. Then work 1 double crochet into the ring. Chain 3 again. This creates the first little loop that will form the base of your petals.
You’ll repeat this sequence: double crochet, chain 3, slip stitch into the ring. Do that three more times. When you’re done, you should have four loops radiating from the center. That’s your first round.
Now, here’s where it gets interesting. You’re going to work into those chain loops to build the petals. Into each loop, do: 1 single crochet, 1 half double crochet, 3 double crochet, 1 half double crochet, 1 single crochet. That makes one petal. Repeat for each loop.
When you finish the fourth petal, slip stitch into the first stitch and fasten off. You’ve got a simple four-petal flower.
Building the Second Layer
A single layer is nice, but adding a second layer gives the flower real presence. To start, you’ll work behind the first layer. Flip your flower over so the back is facing you. Find the space between two petals — you’ll see a small horizontal bar from the magic ring.
Attach your yarn there with a slip stitch. Chain 3, then work a slip stitch into the next space between petals. Repeat until you have four chain loops sitting behind the first layer.
Now work petals into those loops, but make them slightly taller. Into each loop: 1 single crochet, 1 half double crochet, 4 double crochet, 1 half double crochet, 1 single crochet. This gives the back petals a bit more height, creating that layered, dimensional look.
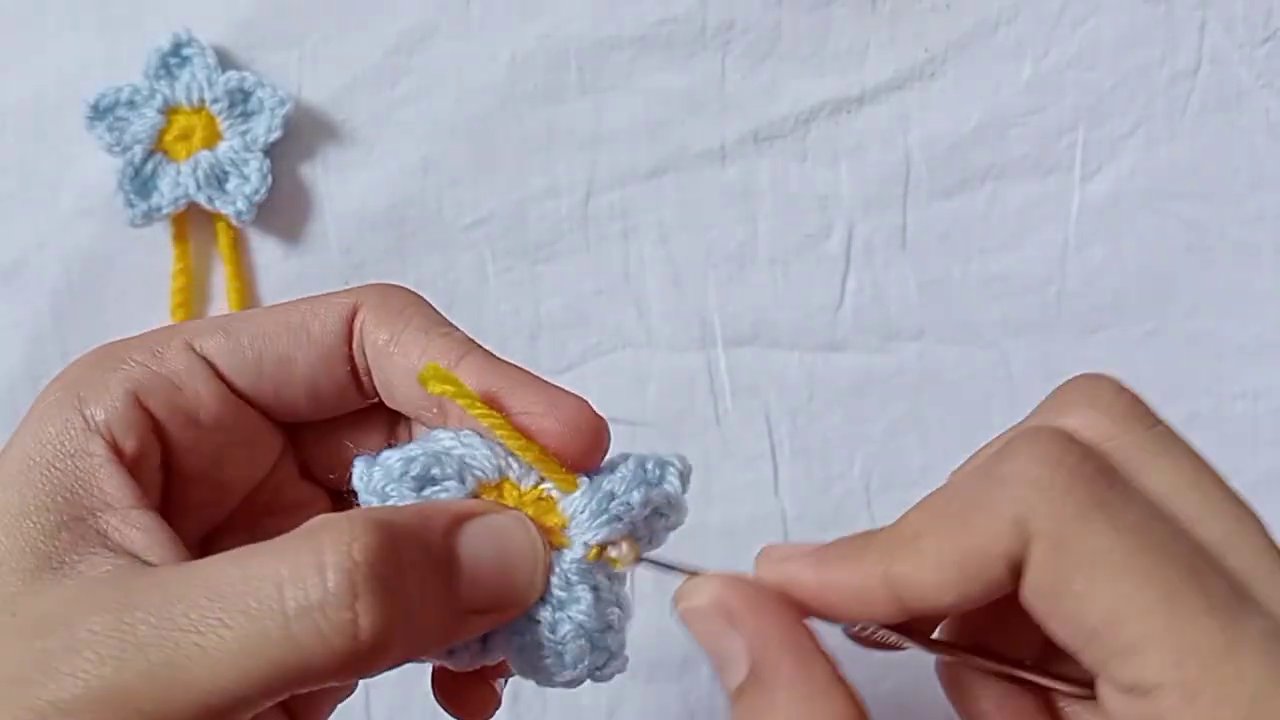
Slip stitch to close, cut your yarn, and weave in the ends. You now have an eight-petal flower — four small petals in front, four larger petals behind.
Adding a Leaf (Optional But Lovely)
If you want to attach a leaf, now’s the time. Make a separate leaf using a small magic ring, then chain 3, work 1 double crochet into the ring, chain 3, and slip stitch. Do that three times for three small leaves, or just once if you want a single leaf.
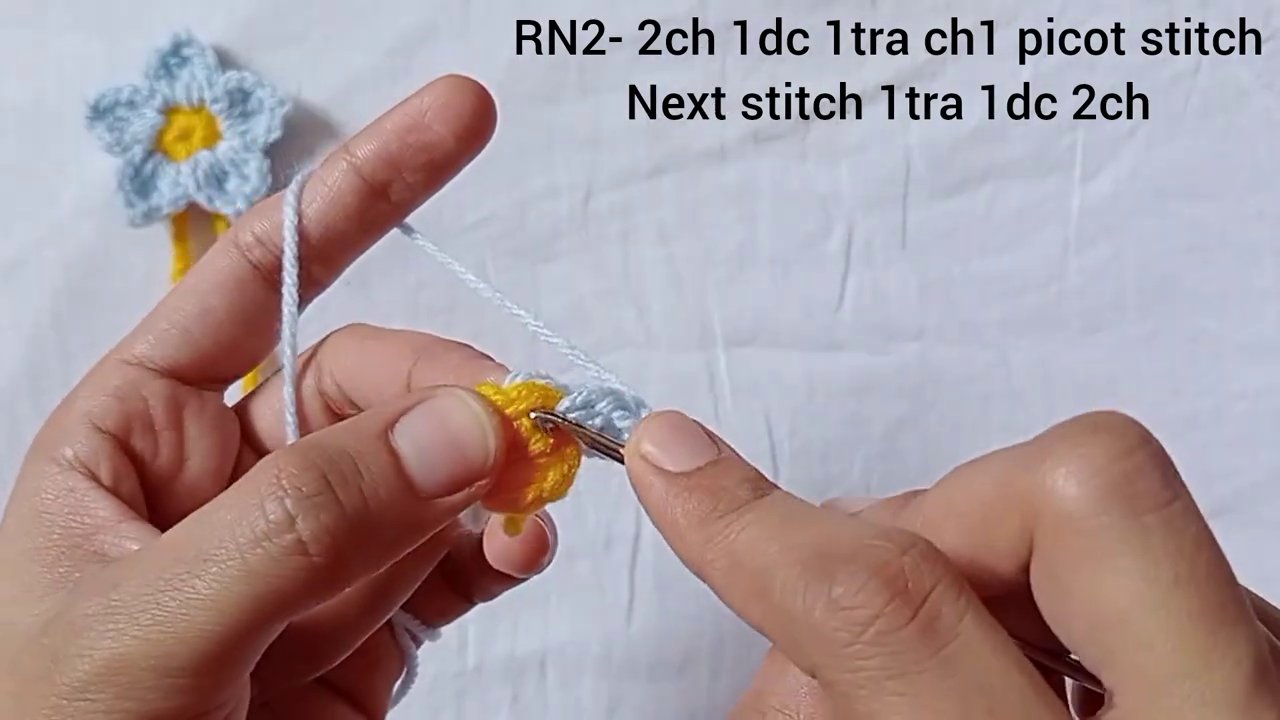
Attach the leaf to the back of your flower using the yarn tails. Position it wherever looks balanced — usually between two petals on the back layer.
Turning Your Flower Into Something Wearable
Here’s the fun part. That little flower can become almost anything.
Brooch: Sew a brooch pin onto the back using strong thread or extra yarn. Make sure it’s centered so the flower doesn’t flop to one side when pinned.
Hair clip: Glue or stitch the flower onto a plain alligator clip or snap clip. Let it dry completely before handling.
Pear tie: If you’re making a gift, stitch the flower onto a ribbon or a thin crochet chain. Tie it around the neck of a jar, a wine bottle, or even a stuffed animal. It’s a small detail that makes the whole thing feel handmade and thoughtful.
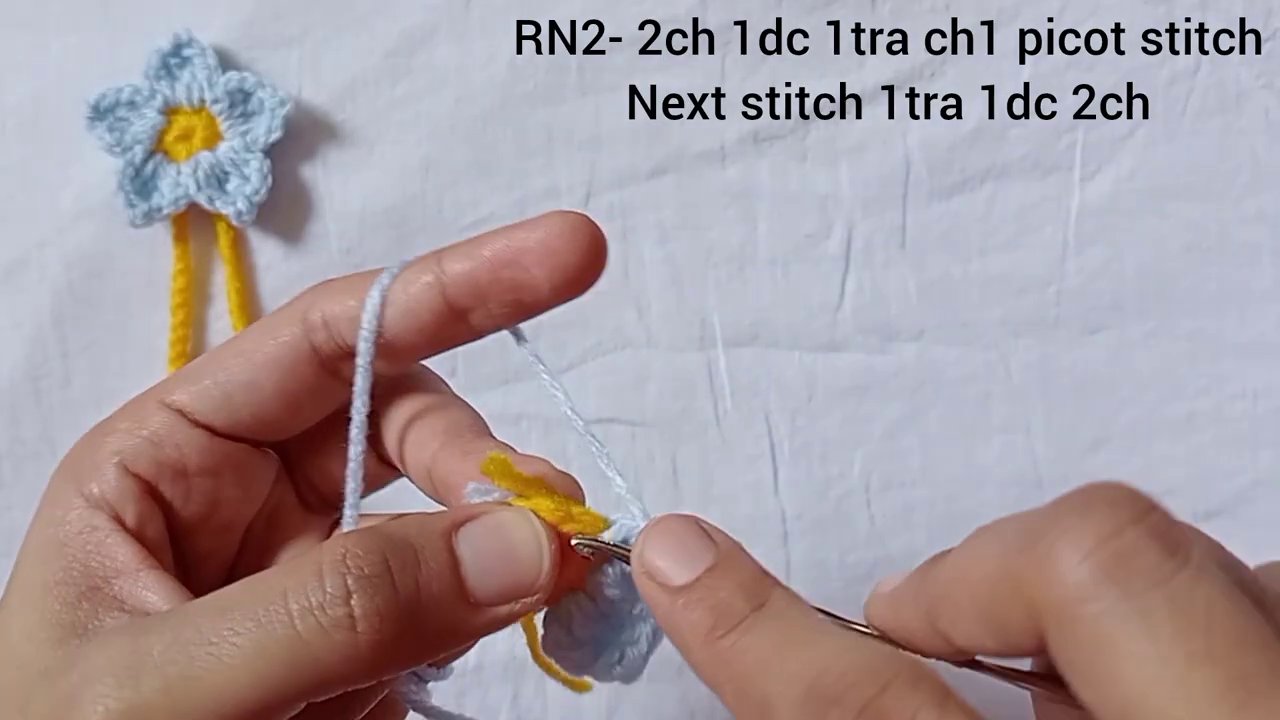
I’ve also seen people attach these flowers to headbands, keychains, and even the center of a larger granny square blanket. Once you know the basic pattern, you can scale it up or down by changing your hook size or yarn weight.
Stitch Notes and Troubleshooting
A few things I learned while testing this pattern:
- Tension matters. If your petals curl, your tension might be too tight. Try going up a hook size for the petal rounds.
- Counting stitches. It’s easy to lose track when you’re working into chain loops. Use stitch markers between petals if you need to.
- Weaving ends. Weave as you go. Nothing’s worse than a pile of tails at the end. Weave each one in after you finish that round.
If you’re newer to crochet and want to practice the stitches used here, you might enjoy working through a simpler project first — something like a monster keychain or a set of baby crabs to build muscle memory. Both use similar basic stitches but in a more forgiving shape.
Variations to Try
Once you’ve got the basic flower down, here are a few ways to change it up:
- Color blocking. Use a different color for the back petals. The contrast makes the flower look more complex than it is.
- Fringe or beads. Add a bead to the center of each petal, or stitch a few strands of yarn into the middle for a fringe effect.
- Smaller flowers. Use a lighter weight yarn and a smaller hook. These make great earrings or tiny accents on a baby hat.
Why This Pattern Works
There’s something satisfying about a project that looks impressive but doesn’t require hours of concentration. This flower works up in about 20 minutes once you’ve got the rhythm. It’s portable — you can stuff the yarn and hook in a bag and work on it during a commute or while waiting for coffee.
And because it’s modular, you can make a bunch of them in an afternoon. I keep a small basket of finished flowers on my desk. When I need a last-minute gift, I grab one, attach a pin or clip, and wrap it in tissue paper. People love them.
If you’re looking for another small, giftable project, the jellyfish babies pattern follows a similar logic — small parts worked in rounds, then assembled into something adorable. It’s a good next step if you want to move from flat flowers to 3D amigurumi.
Final Thoughts
The best projects are the ones you can actually use. This flower isn’t just a decorative swatch — it’s a brooch, a hair accessory, a gift topper, a badge of honor for finishing something with your own hands.
So pick your yarn, make a magic ring, and see where the stitches take you. You might end up with a flower on your jacket by dinner.