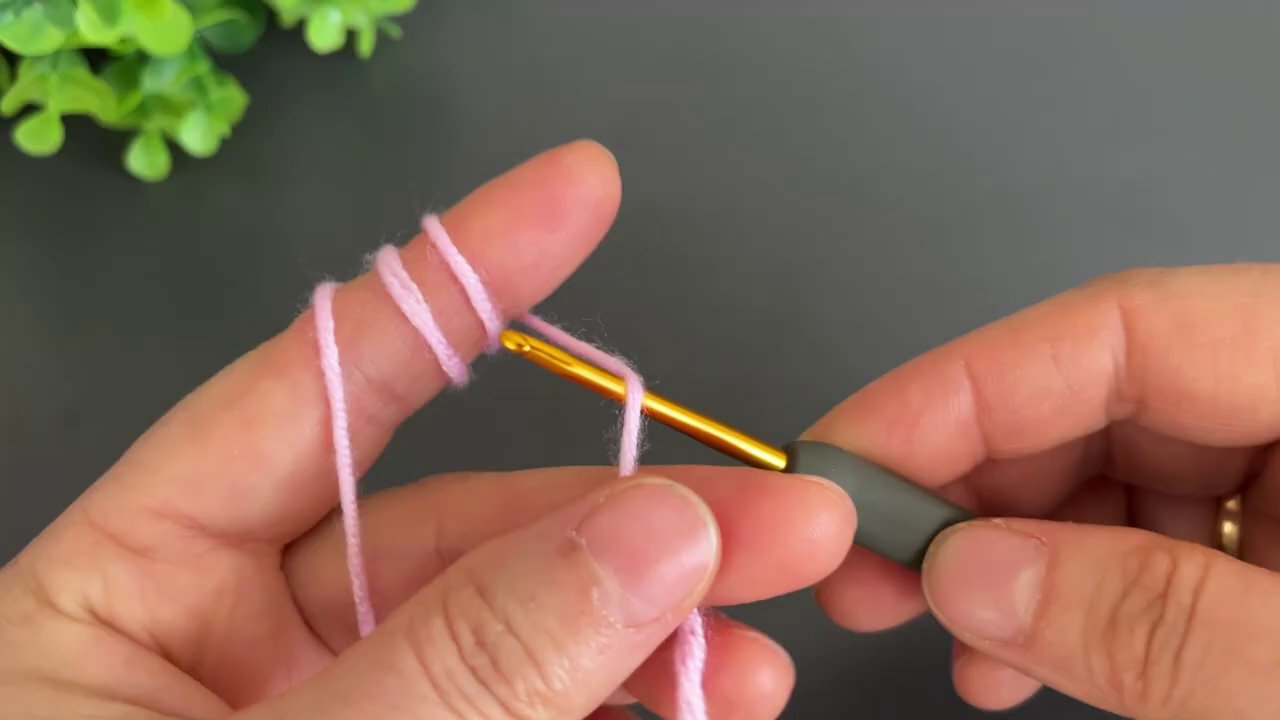
There’s something deeply satisfying about watching a ball of yarn transform into a real, usable blanket. The hook moves, the stitches stack, and pretty soon you’ve got something warm and soft that didn’t exist an hour ago. This pink V-stitch baby throw is exactly that kind of project — simple enough to keep your hands moving while you watch TV, but structured enough that the finished piece looks like it came from a boutique.
The pattern itself builds on a classic shell stitch variation, using double crochet clusters separated by chain spaces to create that open, airy fabric. It’s a great choice for baby blankets because the drape stays soft and the gaps keep it breathable. No stiff, heavy fabric here — just a gentle throw that feels light in your hands.
What You’re Actually Making
Before we get into the hook-and-yarn mechanics, let’s talk about what this blanket looks like in person. The video shows a pink blanket worked up in what appears to be a medium-weight yarn — likely a worsted or aran weight, given how clearly the stitches show. The color is a soft, warm pink that reads as gender-neutral enough for most nurseries but also works beautifully as a gift for toddlers or even as a lap blanket for adults who appreciate a little color.
The V-stitch pattern creates a subtle zigzag effect along the rows. Each V is formed by working two double crochets into the same stitch or space, separated by a chain or two, then skipping a few stitches before repeating. The result is a fabric with gentle texture and a lot of movement. It’s not flat and boring, but it’s also not so busy that it overwhelms a simple nursery theme.
Reading the Formula
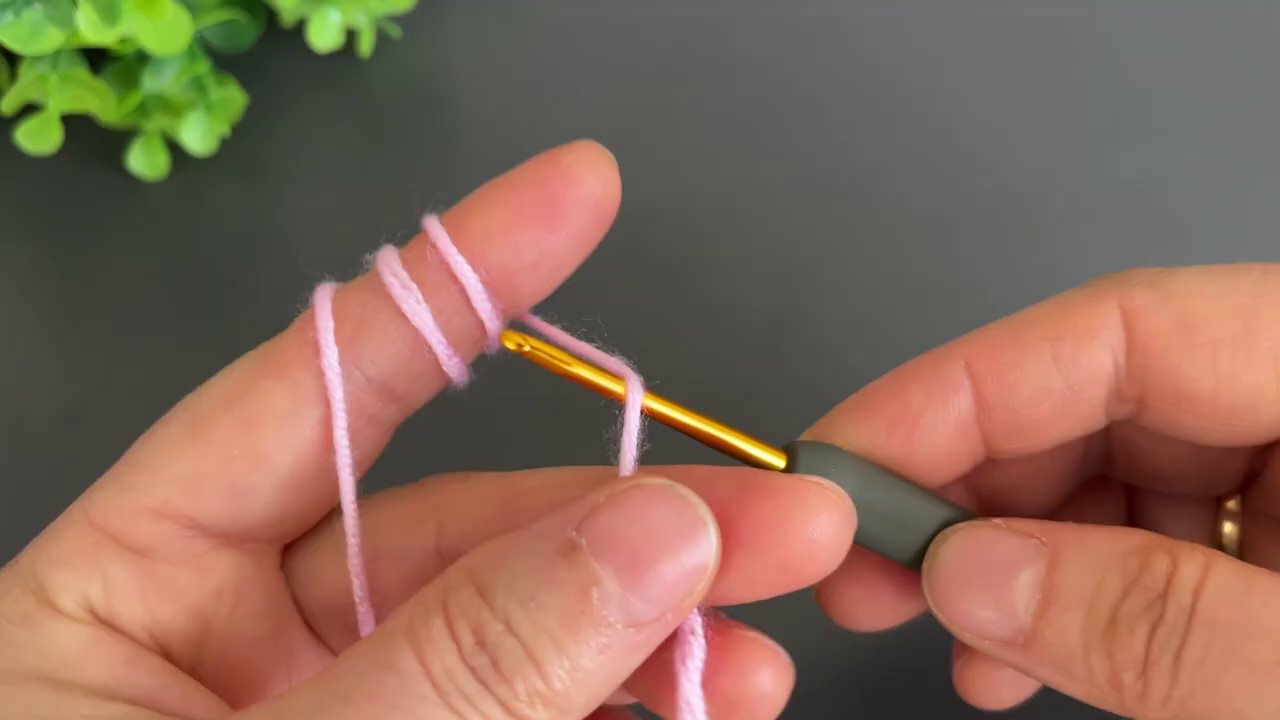
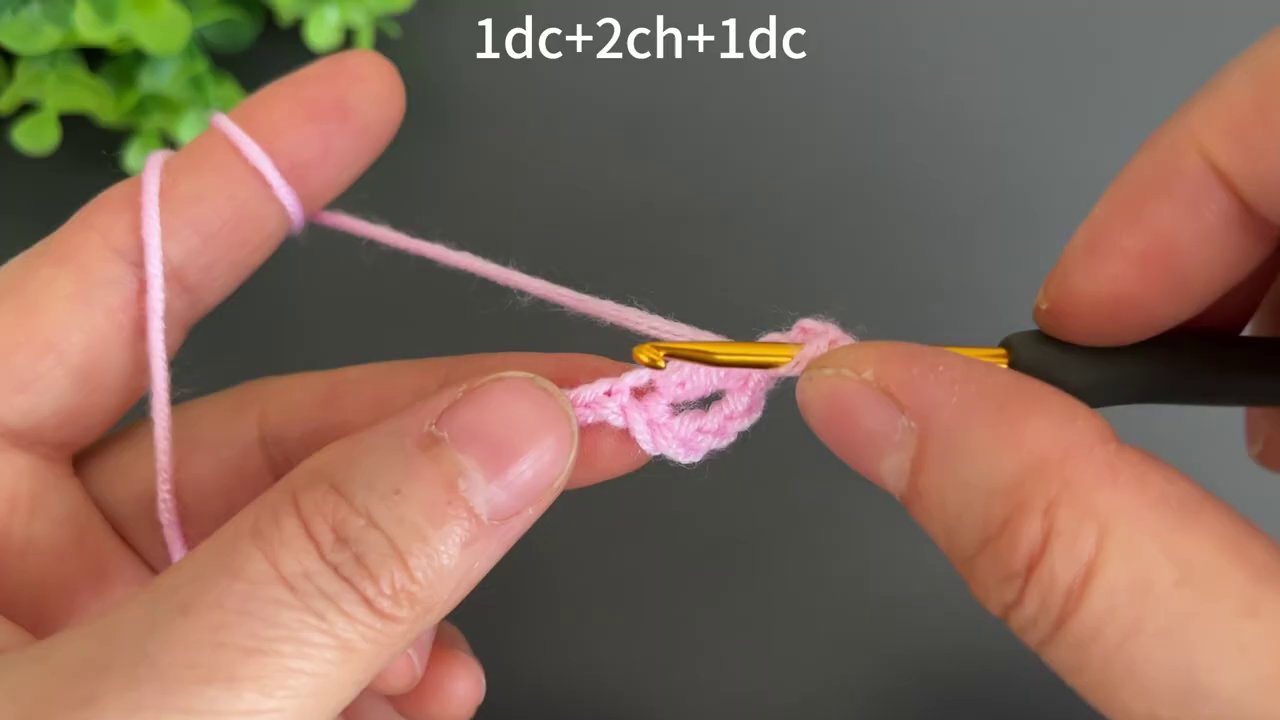
One of the first things you’ll notice in the video is a formula displayed right on screen: 1dc + (2dc + 2ch + 2dc) + 1dc. If that looks like algebra, don’t worry — it’s actually just shorthand for stitch placement.
Here’s what it means in plain English:
- You start with one double crochet in the first stitch.
- Then you work a shell: two double crochets, two chain stitches, and two more double crochets — all into the same stitch or space.
- Then you do one more double crochet in the next stitch.
That’s the repeating unit. The parentheses show you the part that gets repeated across the row. The single double crochets on either side act as spacers or edge stitches, keeping the pattern centered and the edges neat.
This kind of notation is common in written crochet patterns, but seeing it overlaid on the actual hands-on demonstration makes it click faster. You don’t have to imagine what “2dc, 2ch, 2dc in same stitch” looks like — you can watch the hook go in and out, forming each stitch in real time.
Starting Chain and Foundation
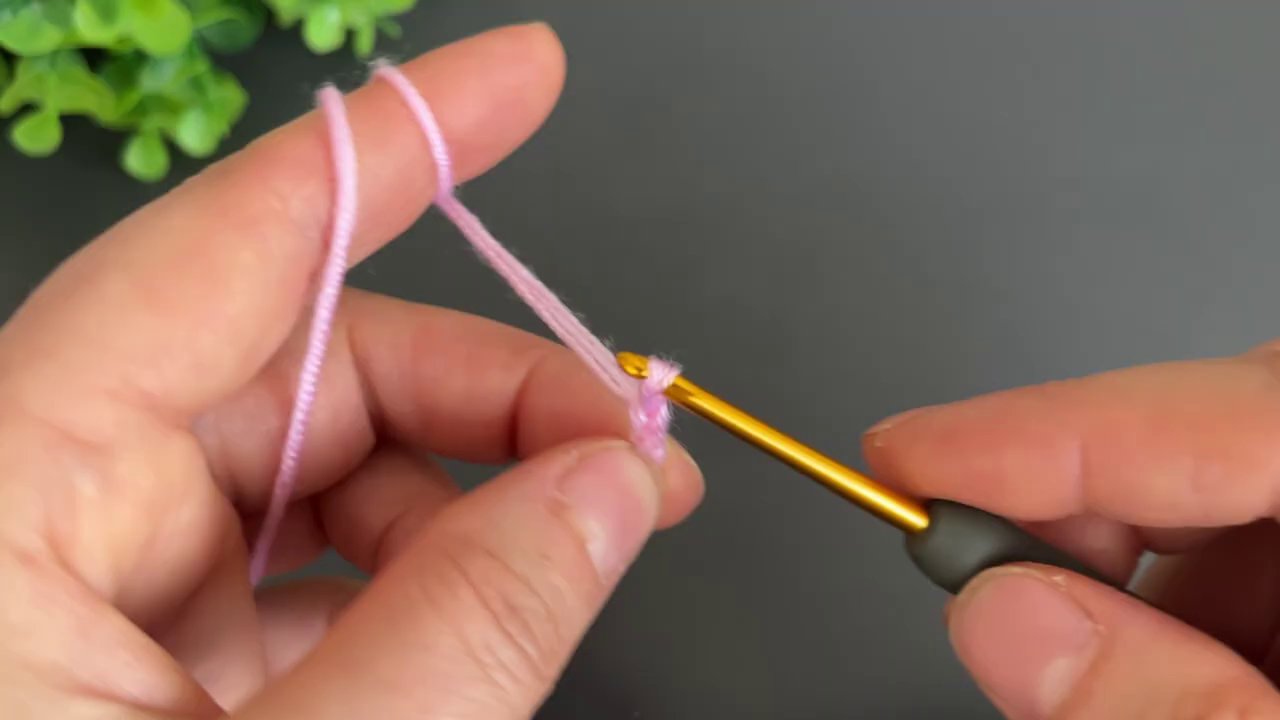
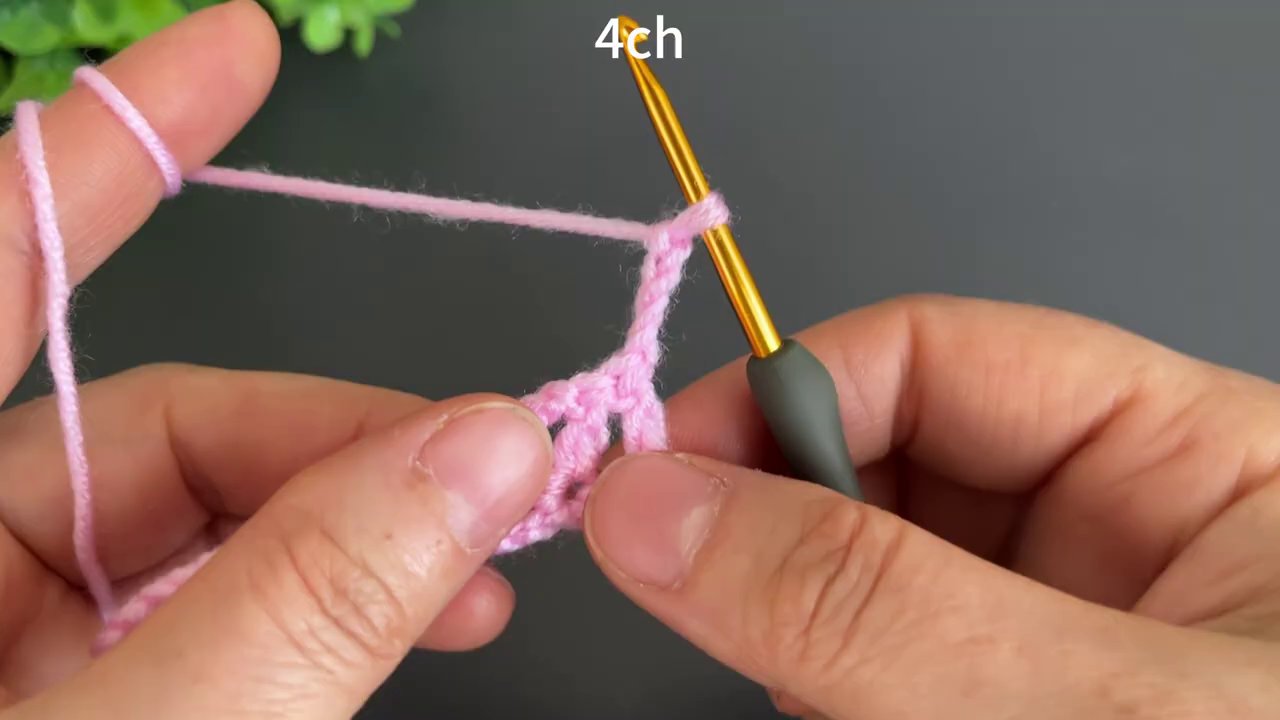
The video shows 4ch as the next text overlay, which is your starting chain for the first V-stitch shell. In many V-stitch patterns, the chain 4 counts as a double crochet plus a chain-1 space. So when you see “4ch,” think of it as setting up the first V.
If you’re following a written pattern for a full blanket, you’ll chain a multiple of something — usually a multiple of 3 plus a few extra for turning. But for this tutorial, the focus is on getting the stitch itself right. Once you understand the repeat, scaling it up to a full blanket is just a matter of chaining the right number to match your desired width.
The key is to keep your starting chain loose. Tight chains make the bottom edge pucker, and nobody wants a wavy blanket that won’t lie flat. If you tend to chain tight, go up a hook size just for the foundation row, then switch back to your regular hook for the rest.
Working the First Row
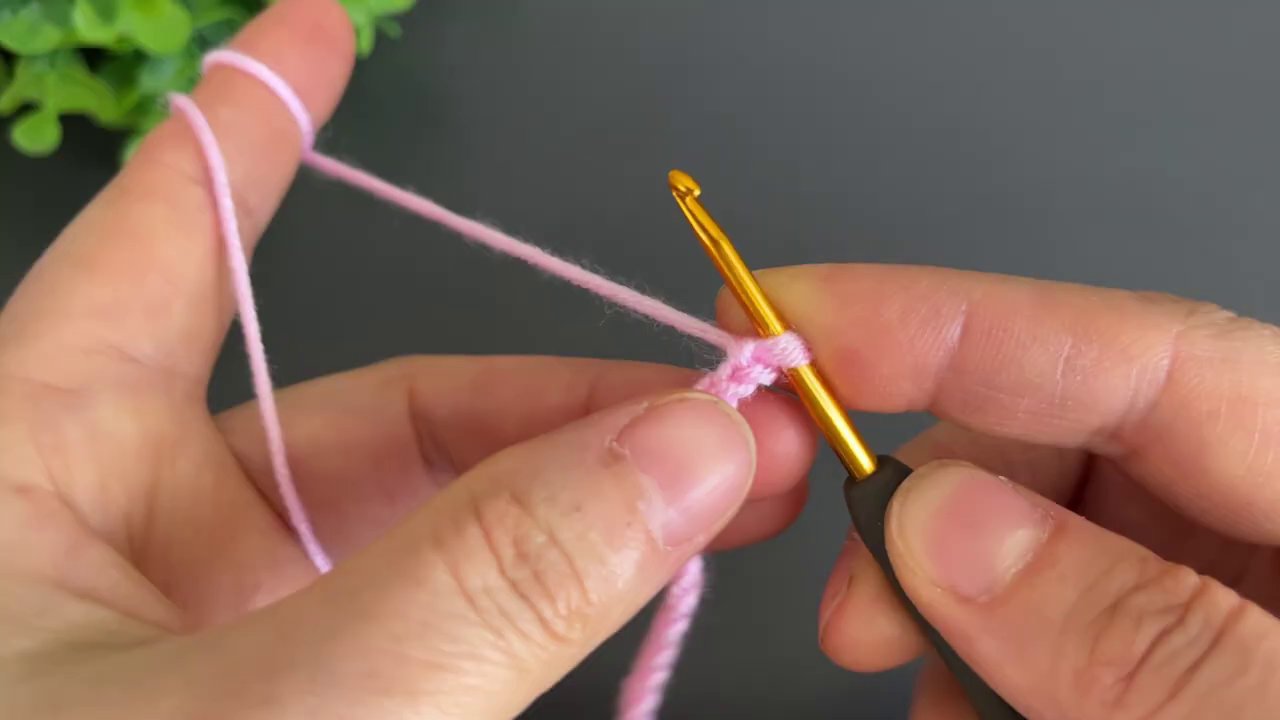
After the starting chain, you’ll work into the chain to establish the first row of V-stitches. The video shows the hook inserting into specific chain links, pulling up loops, and completing double crochets in sequence.
Here’s the rhythm:
- Double crochet into the fourth chain from the hook (this counts as your first dc plus the turning chain).
- Skip a couple of chains, then work (2dc, 2ch, 2dc) into the next chain.
- Skip a couple more chains, then work a single double crochet into the next chain.
- Repeat the shell and spacer pattern across the row.
It sounds more complicated than it is. After the first two repeats, your hands start to memorize the pattern. You stop counting and start feeling it. That’s the magic of repetitive stitch patterns — they become muscle memory pretty fast.
If you’ve ever made a baby crab amigurumi or another small project, you know how satisfying it is when the pattern clicks. This blanket is the same way, just scaled up.
Turning and Building Rows
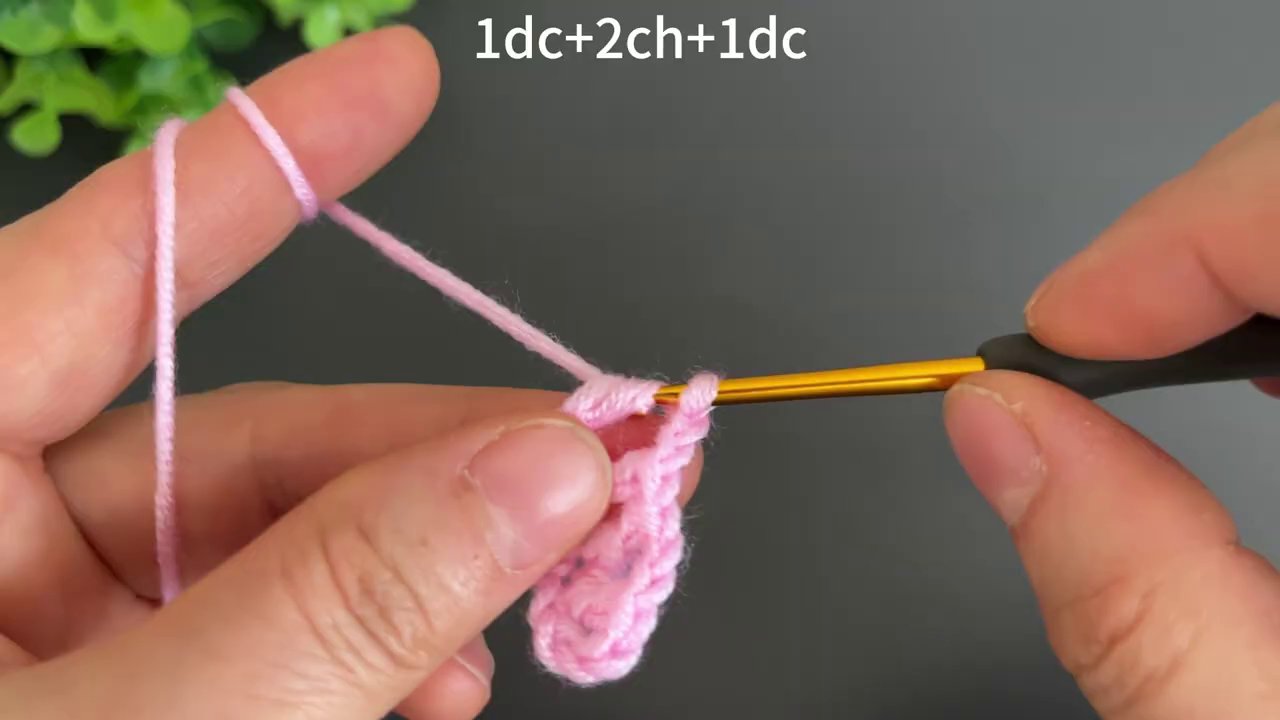
Once you finish the first row, you’ll chain 3 or 4 to turn, depending on whether you want the turning chain to count as a double crochet or as a chain space. The video shows the hands flipping the work and starting the next row without much pause — which is exactly how it should feel.
On subsequent rows, you’ll work the V-stitch shells into the chain spaces from the row below. That’s the beauty of this pattern: you’re not trying to find the right stitch post or wrestling with hard-to-see loops. You just work into the obvious holes left by the chain-2 spaces. It’s forgiving, fast, and nearly impossible to mess up once you get the hang of it.
The single double crochets on either side of the shells get worked into the top of the single double crochets from the previous row. That keeps the columns straight and the edges tidy. If you ever feel like your blanket is getting narrower or wider, check those edge stitches — they’re your alignment markers.
Yarn and Hook Choices
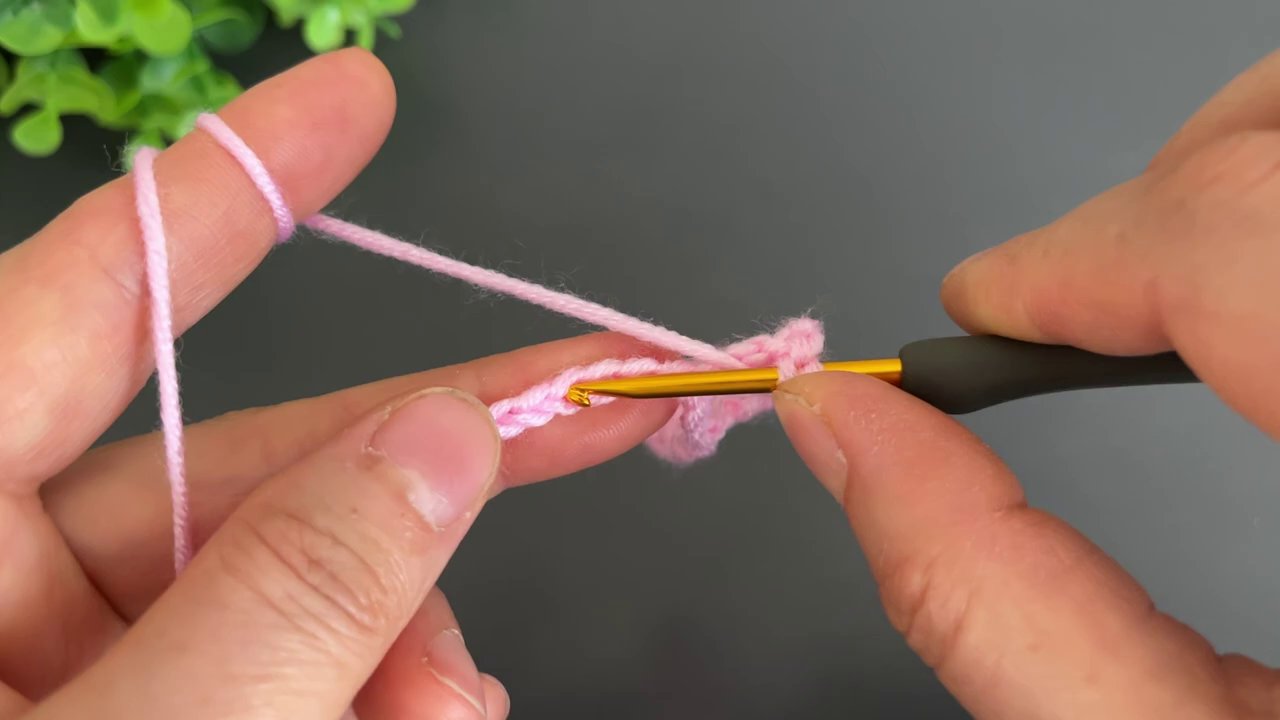
The video doesn’t specify exact yarn brand or hook size, but you can infer a few things from what’s shown. The pink yarn looks like a smooth, plied worsted weight — something like Lion Brand Babysoft or Bernat Softee Baby. Both of those are soft enough for baby skin and hold stitch definition well.
The hook appears to be a gold-colored aluminum hook, likely a size H (5.0mm) or I (5.5mm), which pairs well with worsted weight yarn. If you’re substituting yarn, aim for a similar weight and fiber content. Acrylic is fine for baby blankets — it’s washable, durable, and affordable. Cotton blends work too, but they’re heavier and have less stretch.
For a true baby throw in the same style, check out the Pink V-Stitch Baby Throw in Lion Brand Babysoft Prints. It’s the same general idea but with a printed variegated yarn that adds another layer of visual interest.
Common Mistakes and Fixes
Even with a straightforward pattern, things can go sideways. Here are the most common hiccups and how to fix them:
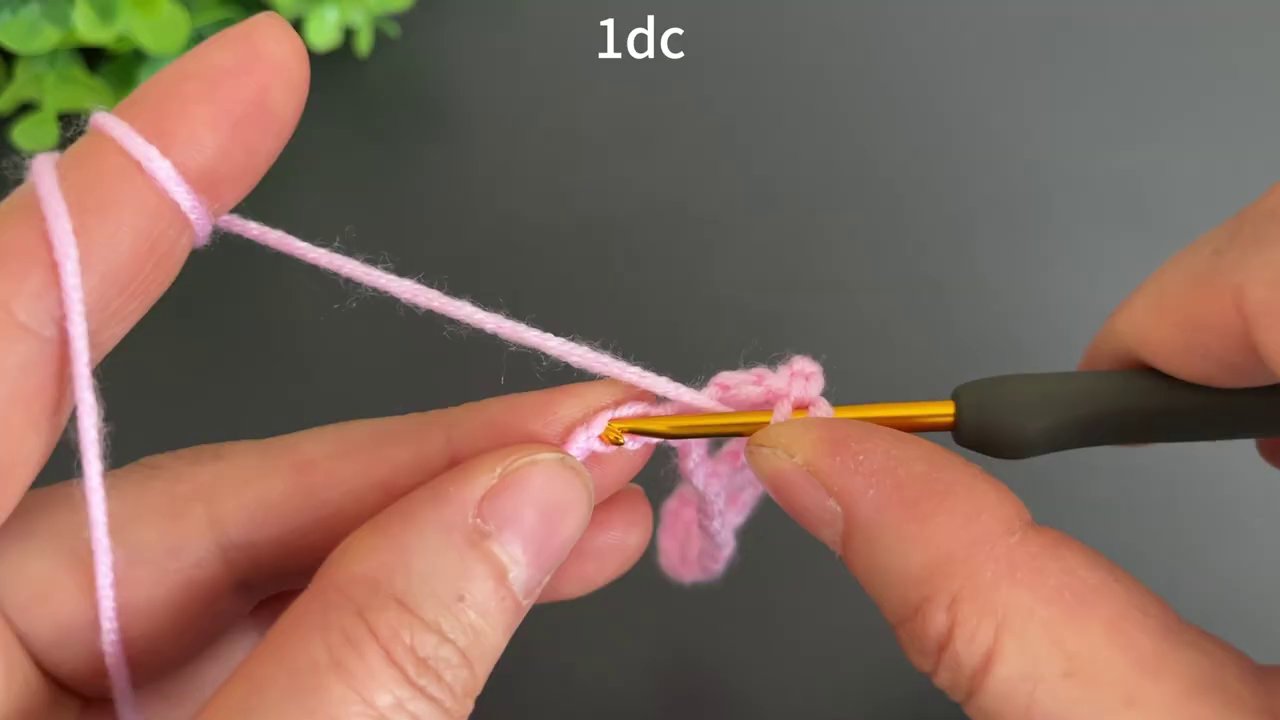
Dropping stitches at the edges. This happens when you forget to work the last single double crochet before turning. The fix is to count your stitches at the end of each row until the pattern becomes automatic. Place a stitch marker in the first and last stitch of each row if you need a visual reminder.
Adding extra stitches in the middle. Sometimes you accidentally work a shell into a space that already has one, or you miss a chain space and cram two shells too close together. The result is a lumpy, uneven fabric. If you notice it within a row or two, you can usually drop down and fix it with a crochet hook repair. If it’s deeper, rip back to the mistake and redo it. It’s frustrating, but a few minutes of frogging beats staring at a wonky blanket for years.
Tension changes between rows. This is the most common issue for newer crocheters. Your first row might be tight, the second row looser, the third row tight again. The fabric will ripple or cup as a result. The solution is to relax your grip and keep your rhythm steady. If you’re a tight crocheter by nature, go up a hook size. If you’re loose, go down. Consistency matters more than perfection.
Finishing and Edging
Once your blanket reaches the desired length, you’ll fasten off and weave in the ends. The video doesn’t show the finishing process in detail, but for a baby blanket, you have a few options.
A simple border of single crochet around the entire edge cleans up the look and prevents curling. Work one single crochet into each stitch along the top and bottom, and work an even number of single crochets along the sides — usually one per row or two per double crochet, depending on your tension.
If you want a more decorative edge, try a scalloped or picot border. Both work well with the V-stitch pattern because the open fabric gives the border room to breathe. A scalloped edge softens the lines and makes the blanket look more finished.
Weave in ends with a tapestry needle, splitting the yarn plies if needed to hide the tails. Trim close to the fabric, but leave a tiny bit so the end doesn’t pop out after washing.
Why This Pattern Works for Beginners and Beyond
The V-stitch baby throw is one of those rare patterns that hits a sweet spot. It’s simple enough for someone who knows basic double crochet and chain stitches, but it produces a fabric that looks like you put in more effort than you actually did. The openwork means it works up faster than a solid stitch blanket, and the repetitive nature makes it a great “mindless” project for evenings when you want to crochet without thinking too hard.
It also takes color changes well. You could stripe it, gradient it, or work the whole thing in one solid color. The pink shown in the video is lovely, but a soft mint green, pale yellow, or even a neutral cream would look just as good. For a more whimsical project, you could adapt the same stitch pattern into a crochet plush frog pattern or other amigurumi — the V-stitch isn’t just for blankets.
Final Thoughts
The best part about this pattern is how quickly you see progress. Within an hour, you’ll have a solid strip of fabric that already looks like a blanket. Within a few evenings, you’ll have a finished throw ready for gifting or keeping.
Crochet patterns like this one remind me why the craft endures. You don’t need complex stitches or expensive materials to make something beautiful. Just yarn, a hook, and a willingness to repeat the same small action over and over until it becomes a whole. That’s the quiet magic of it.