You know that moment when you’re scrolling through crochet projects and something stops you cold? For me, it was the sand flower. It looks like something you’d pick up on a beach vacation — delicate, layered, almost organic — except you made it with yarn and a hook. The best part? You can make it two different ways. One version is clean and structured. The other is fluffy and almost hyper-realistic, with petals that have real dimension.
I’ve been working through both techniques lately, and I want to walk you through what I’ve learned. Whether you’re making these for hair accessories, home decor, or just because you’re tired of making the same granny squares, this project is worth your time.
What You’ll Need Before You Start
The materials are pretty straightforward. You’ll want a crochet hook that matches your yarn weight — I used a standard size that worked well with worsted weight yarn. For the sand flower itself, you can use any color, but green and brown give it that natural, earthy feel. If you’ve got a simple bun stitch tutorial bookmarked somewhere, you can adapt that technique here too.
You’ll also need:
– Yarn in your chosen colors (I used two shades for contrast)
– A crochet hook
– Scissors
– A yarn needle for weaving in ends
– Optional: fabric stiffener or glue for shaping
Getting Started: The Center Ring
Every sand flower begins with a center ring. This is the anchor point for everything else, so take your time here.
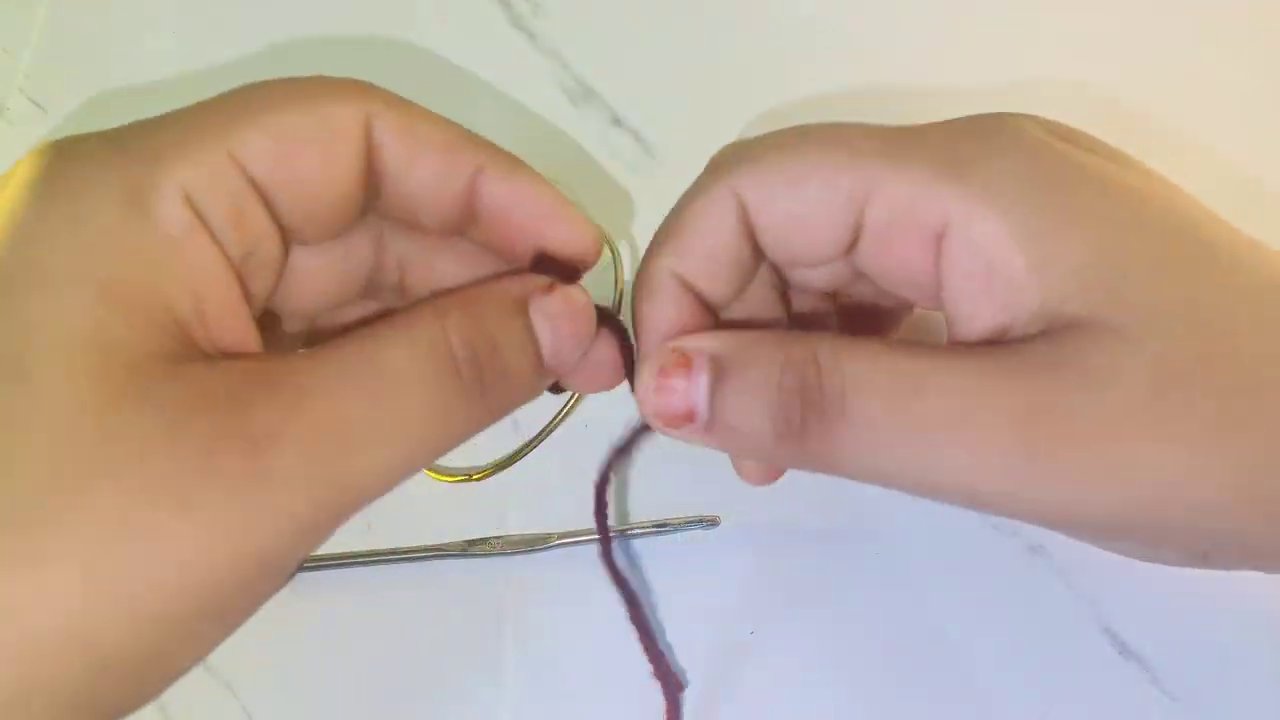
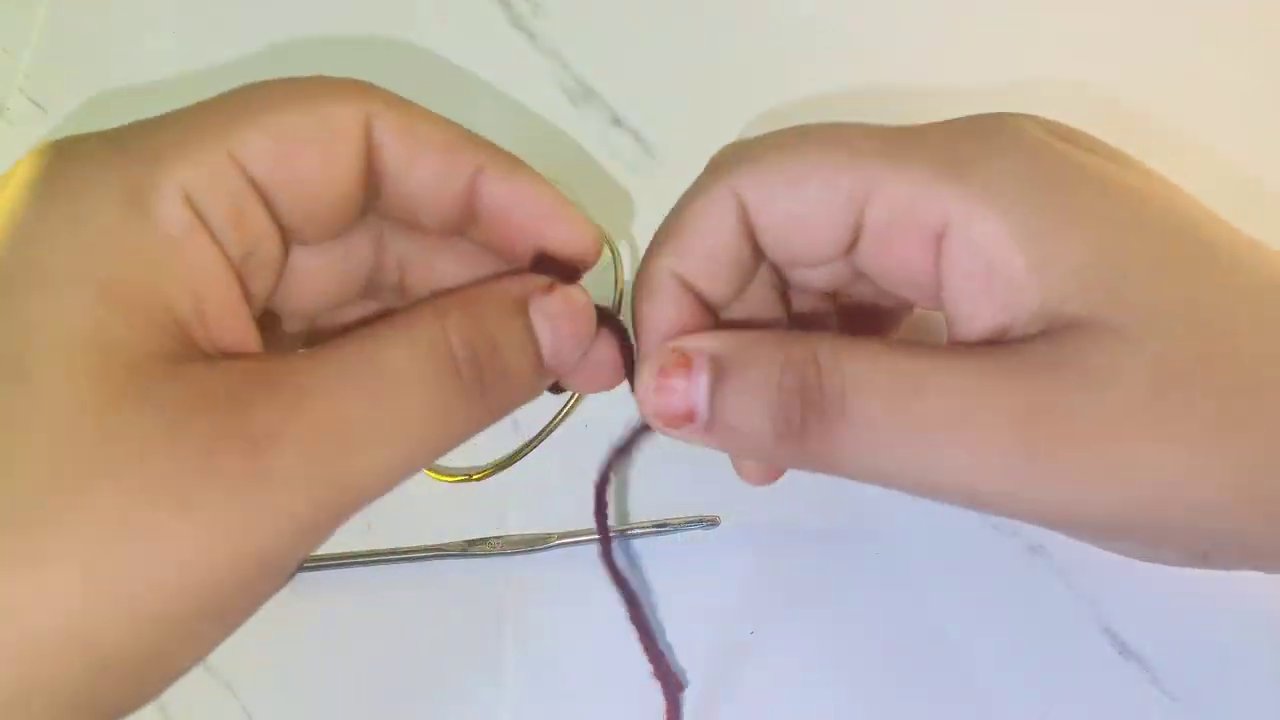
Start by making a slip knot and creating a ring. Insert your hook into the ring, pull the yarn through, and then pull through the loop on your hook. That’s your first chain. From here, you’ll work stitches directly into the ring itself.
The key is to work evenly around. You’re essentially covering the entire ring with stitches — think of it like wrapping a present, except the present is made of yarn and you’re the one creating the wrapping. Insert your hook into the ring, pull up a loop, then pull through both loops on your hook. Repeat this until the ring is fully covered.
Don’t pull too tight. You want the stitches to sit comfortably against each other, not squished. If you’re used to making amigurumi, this is a looser, more relaxed tension.
Once you’ve covered the ring, make a chain and cut your yarn, leaving a tail. Pull that tail tight to close everything up. Then tie it off securely — you don’t want this coming undone later.
Making the Petals: Pattern One
This is where the flower starts to look like something. The first pattern creates a more traditional petal shape — pointed, structured, with clear edges.
Understanding the Stitch Pattern
The pattern repeats across the ring, with each petal taking up a few stitches. Here’s the basic idea:
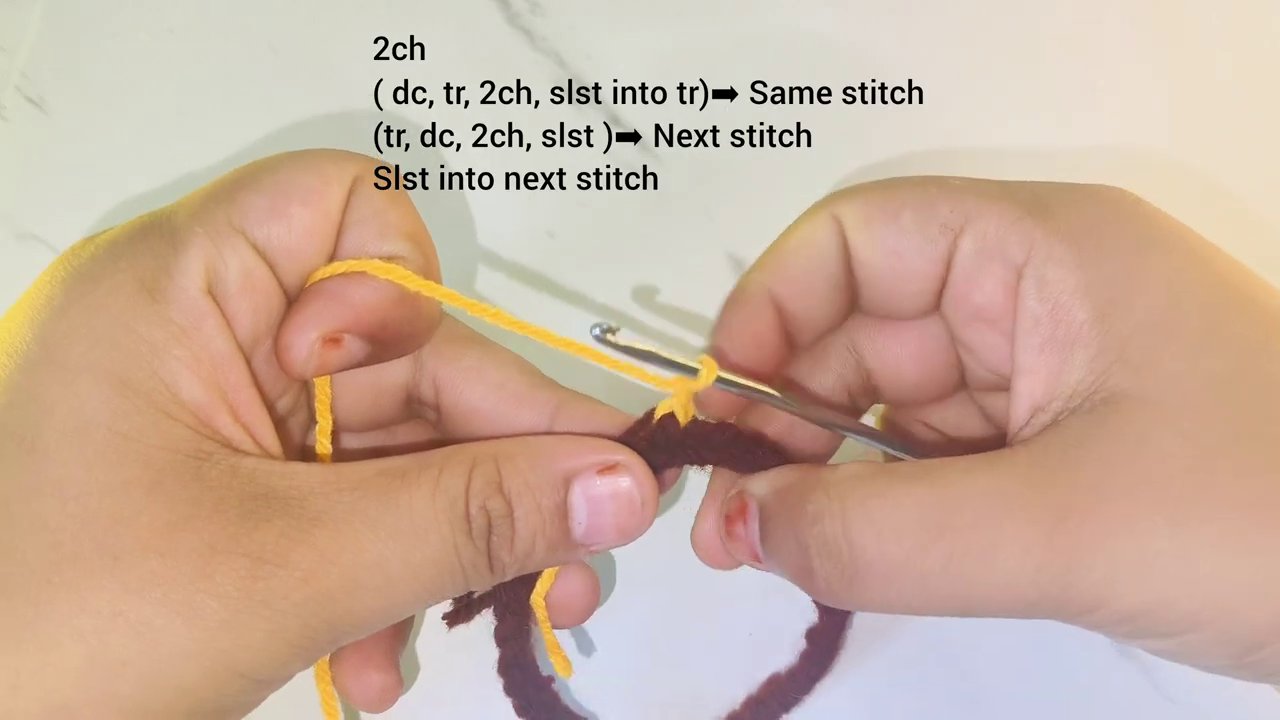
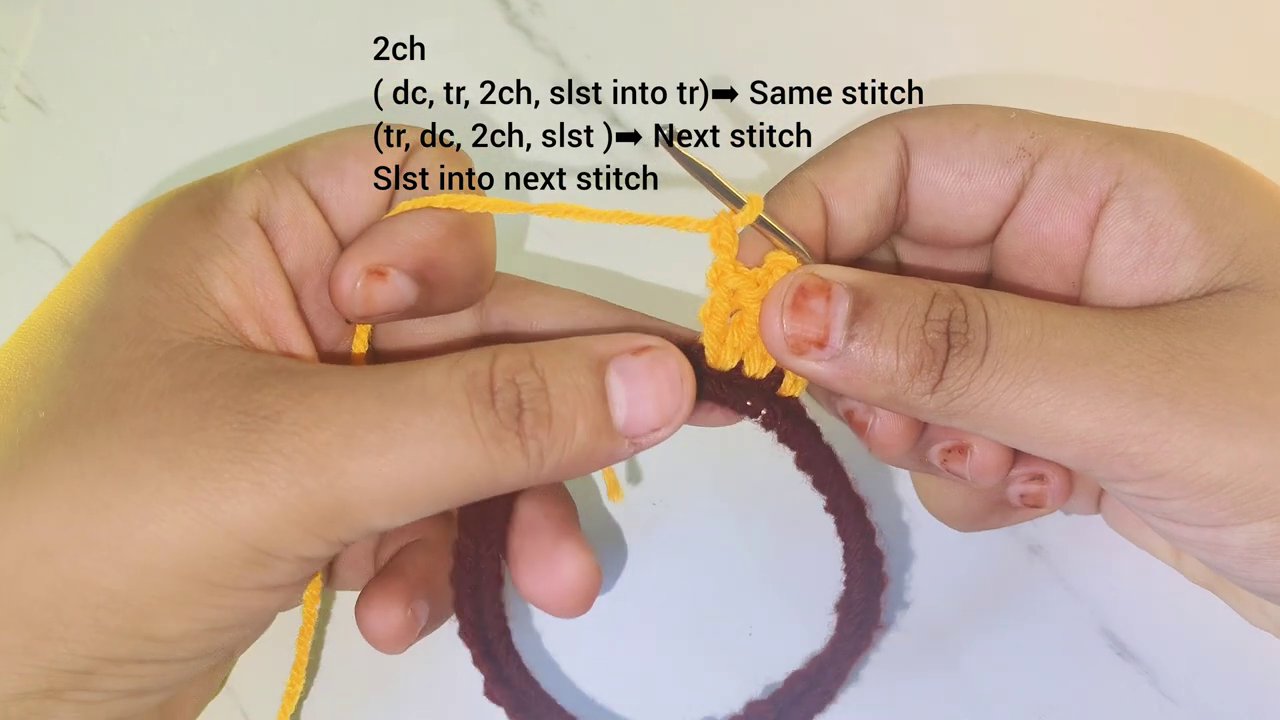
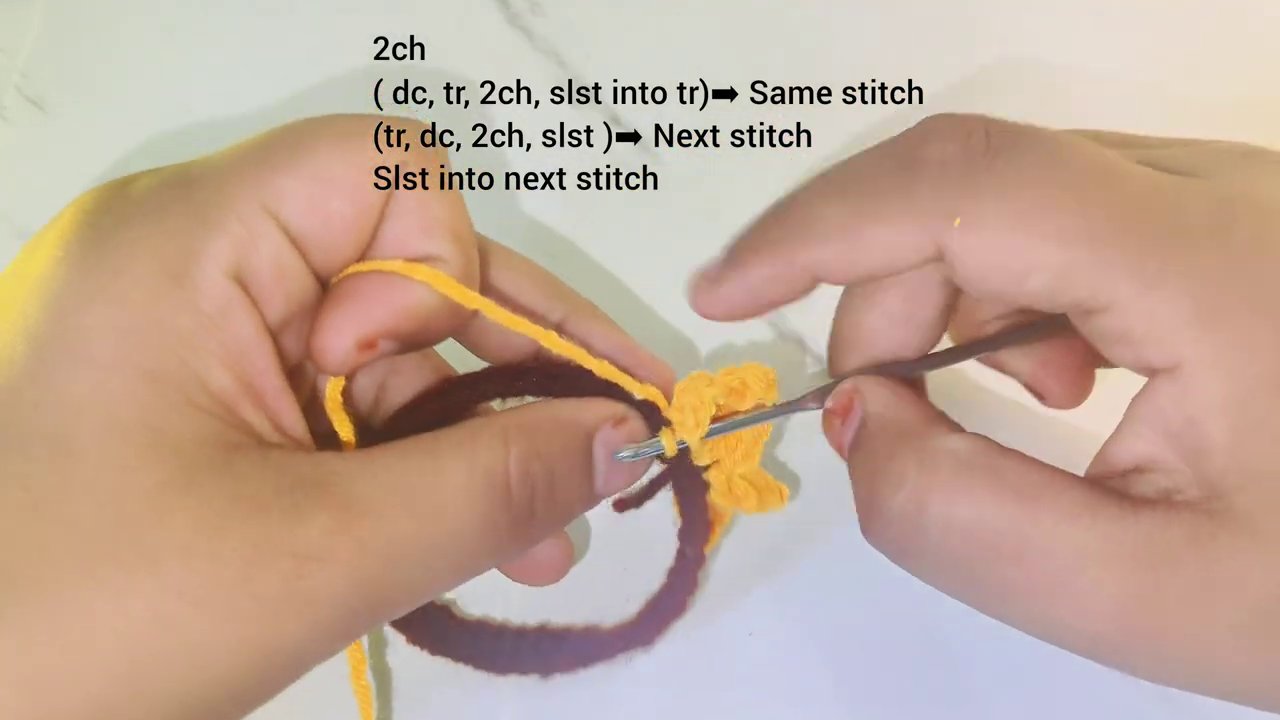
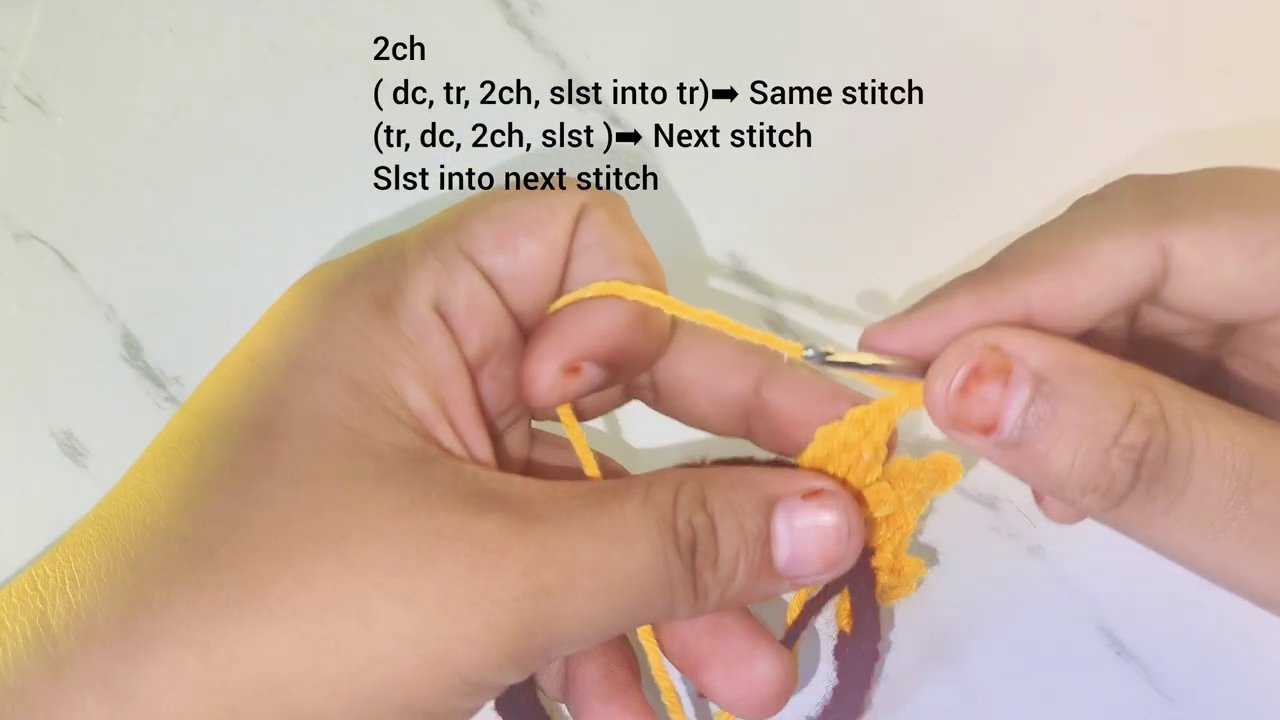
For each petal, you’ll work into a single stitch. Start with two chains. Then, in the next stitch, make a double crochet. In that same stitch, make a treble crochet. Then another double crochet, followed by another treble crochet. Finally, make two chains and slip stitch into that same stitch.
Yes, that’s a lot going on in one stitch. That’s what gives the petal its shape — the varying heights of the stitches create a natural curve.
Working Around the Ring
After completing one petal, slip stitch into the next stitch to move to the next section. Then repeat the pattern: chain two, double crochet, treble crochet, double crochet, treble crochet, chain two, slip stitch.
You’ll work your way around the entire ring this way. The number of petals depends on how many stitches you have in your ring. I ended up with six petals, which felt balanced and full.
One thing I learned the hard way: keep your tension consistent. If some petals are tighter than others, the flower will look lopsided. Take a breath between each petal. Check your work. It’s not a race.
Making the Petals: Pattern Two (Fluffy Variation)
This is where things get interesting. The second variation uses the same basic structure but adds more stitches to each petal, making them fuller and softer. The result is a flower that looks almost like a real dandelion or sea anemone — all those layers of texture.
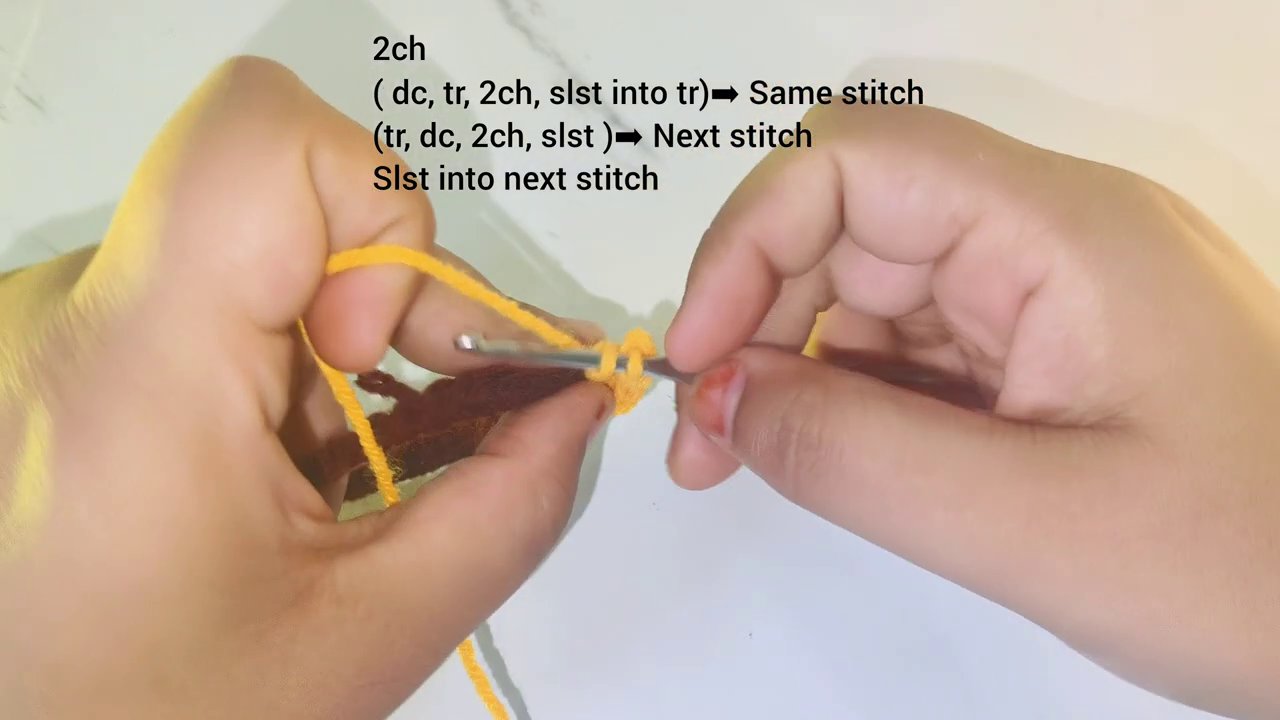
The pattern is similar, but instead of one double crochet and one treble crochet, you’ll work multiple treble crochets into the same stitch. The exact number depends on how fluffy you want the petal to be. I found that three treble crochets, followed by a double crochet, then another three treble crochets created a nice, rounded petal.
The chain spaces remain the same — two chains at the start and end of each petal. But the increased stitch count means each petal has more body. It stands up instead of lying flat.
If you’re making a set of these for a project, mixing the two variations creates a really lovely contrast. Use the structured petals for the outer layer and the fluffy ones for the center, or vice versa. There’s no wrong way to do it.
Finishing the Petals
Once all your petals are complete, you’ll have a ring of them surrounding the center. The final step is to secure everything.
Make one last chain, cut your yarn, and pull it through. Pull tight. Then use your yarn needle to weave the tail through the back of the petals. This hides the ends and reinforces the flower’s shape.
If you want the petals to hold their shape permanently — especially the fluffy variation — you can apply a fabric stiffener or a diluted glue solution. I mixed a small amount of white glue with water and brushed it onto the petals, then let the flower dry overnight on a flat surface. The petals held their curve beautifully.
Attaching the Flower and Final Touches
You can use your sand flower as a standalone piece or attach it to something else. Hair clips, headbands, brooches, bag charms — it works for all of them. I sewed mine onto a plain headband and suddenly had an accessory that looked like it cost forty dollars.
To attach, simply sew through the back of the flower and into your base item. Use matching thread or yarn. Make sure it’s secure — you don’t want to lose a petal halfway through your day.
If you’re making multiple flowers for a project, consider checking out something like the Crochet plush Frog pattern for inspiration on how to combine small motifs into a larger piece. The same principles apply.
Why You Should Try Both Variations
The structured version is great for beginners or anyone who wants a clean, modern look. It’s predictable. You know exactly what you’re getting.
The fluffy version is for when you want to play. It’s less uniform, more organic. Each petal has its own personality. And because you’re packing more stitches into the same space, it works up faster — always a win.
I keep both in my repertoire now. The structured one goes on gifts and items I want to look polished. The fluffy one is for me — for hats, bags, and anything where I want a little extra texture.
A Few Tips I Wish I’d Known
- Count your stitches before starting the petals. If your ring has an odd number of stitches, the petals won’t space evenly.
- Use a stitch marker to mark the start of each round. It’s easy to lose your place when you’re working in the round.
- If your petals curl, don’t panic. That’s normal. A light blocking with steam or a damp cloth will flatten them right out.
- The fluffy variation eats more yarn. If you’re working from a limited stash, plan accordingly.
Keep Experimenting
The great thing about this pattern is how adaptable it is. Change the yarn weight and you get a completely different flower. Use a variegated yarn and the petals shift color as they grow. Add a bead or a button to the center for a little sparkle.
I’ve made about a dozen of these now, and no two look exactly alike. That’s the point. You’re not just following instructions — you’re making something that belongs to you.
So pick up your hook. Choose your colors. And give both variations a try. The first one might be a little wobbly. The second one might surprise you. Either way, you’ll end up with a flower that didn’t exist before you sat down to make it. That’s still the best part of this craft.