There’s something about sunflowers that just makes you smile. Big, bright, and impossible to ignore — they’re basically the extroverts of the flower world. So turning one into a granny square? That’s pure genius. Whether you’re planning a sunflower-themed blanket, a set of cheery coasters, or just want to use up some yellow yarn, this square is a perfect project. And I promise, it’s easier than it looks.
I’m using a size H (5 mm) hook for this tutorial, with dark brown, bright yellow, and green yarn. You can absolutely play with colors — maybe a cream center instead of brown, or a navy border instead of green. But for today, we’re keeping it classic.
What You’ll Need
Before we get into the stitches, let’s talk materials. Nothing fancy here — just the basics.
- Yarn: Worsted weight in dark brown, yellow, and green
- Hook: Size H (5 mm)
- Scissors
- Yarn needle for weaving ends
- Blocking board and pins (optional, but highly recommended for a professional finish)
The whole square works up in the round, starting from the center and building outward. It’s a granny square with a twist — literally, since the petals fan out in a way that feels more organic than your typical square.
Round 1: The Center (Dark Brown)
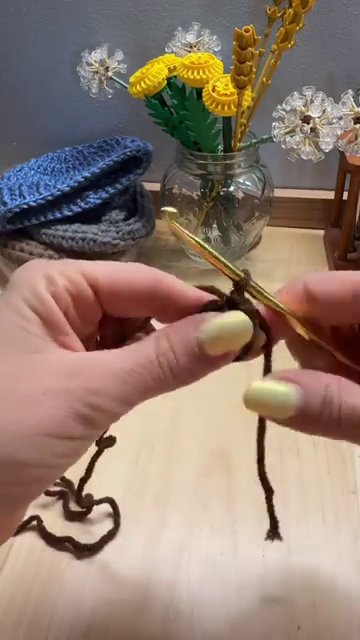
Start with your dark brown yarn. Make a slip knot and chain 2.
Into the first chain you made (the one farthest from your hook), work 6 single crochets. That’s your first round done — tiny, but it’s the seed of everything to come.
Slip stitch into the top of that first single crochet to close the ring. Pull the yarn tail gently to tighten the center. You want it snug but not puckered.
Now chain 3. This counts as your first double crochet. Work one more double crochet into the same stitch, then put 2 double crochets into every stitch around. By the end, you’ll have 12 double crochets total.
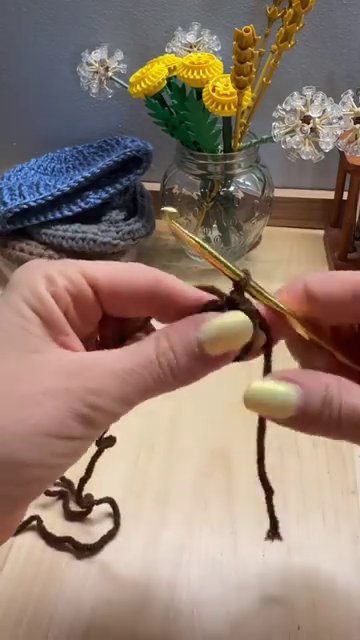
Slip stitch into the top of your starting chain 3, then fasten off the brown. You can cut the yarn, leaving a tail to weave in later.
Round 2: The Petals (Yellow)
Here’s where this square really wakes up. Grab your yellow yarn and make a slip knot.
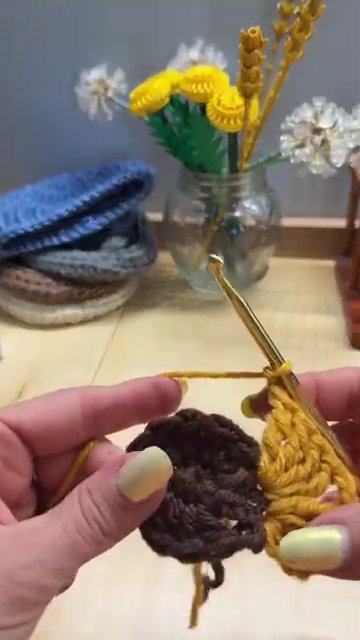
Insert your hook into any stitch from the previous round and pull the yellow loop through. Chain 3 — this counts as one triple crochet. Then work 3 more triple crochets into the same stitch. So you’ve got 4 triple crochets in one spot.
Chain 2.
In the next stitch, work 4 triple crochets again. Chain 2. Repeat this all the way around — 4 triple crochets, chain 2, into each of the 12 stitches.
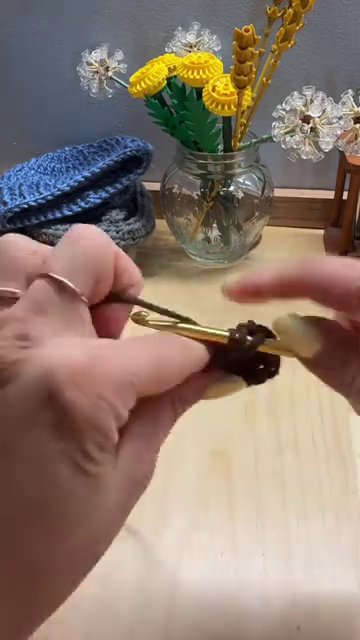
By the end, you’ll have 12 petals. Slip stitch into the top of your starting chain 3 to close the round. Fasten off the yellow and weave in the ends.
One thing I love about this pattern is how the petals naturally curl just a little. It gives the flower some life. If you want a tighter look, you can chain only 1 between petals instead of 2. But for a classic sunflower, the chain-2 space gives the petals room to breathe.
Round 3: The Border (Green)
Now we turn that flower into a square. This is the part that feels like magic.
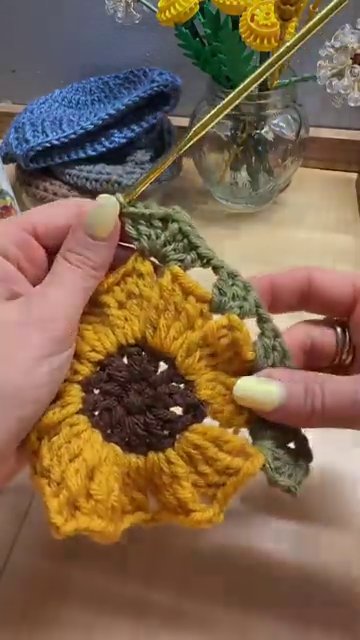
Attach your green yarn with a slip knot into any chain-2 space between two petals. Chain 3 — this counts as a double crochet. Work 2 more double crochets into the same space.
Chain 2, then work 3 more double crochets into that same space. That’s your first corner.
Chain 1.
Move to the next chain-2 space. Work 3 double crochets into it. Chain 1.
Next chain-2 space: 3 double crochets. Chain 1.
Now you’ve reached the space where you’ll make your second corner. Work 3 double crochets, chain 2, and 3 more double crochets. That’s corner number two.
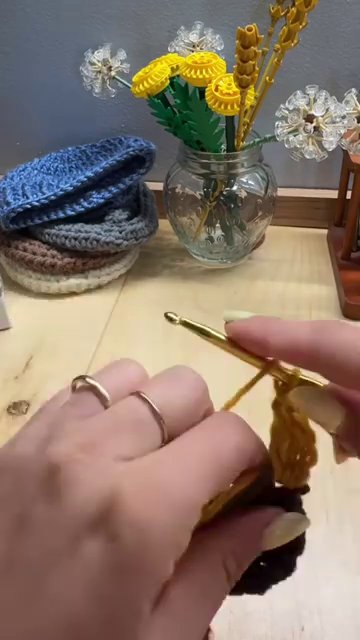
Continue this pattern all the way around. For each corner: 3 double crochets, chain 2, 3 double crochets. For each side space: 3 double crochets, chain 1.
When you get back to the start, slip stitch into the top of your chain 3. Fasten off.
You should have 4 corners and 8 clusters along the sides. That’s the basic sunflower granny square.
Blocking Makes All the Difference
If you want your squares to look uniform — especially if you’re joining them into a blanket — blocking is non-negotiable. I know, it’s an extra step. But it’s the difference between “nice” and “wow.”
I use a blocking board with pegs. I stretch each square so the corners are sharp and the petals lie flat. Then I spritz the square with water — just damp, not soaking wet — and let it dry completely.
Once it’s dry, the shape holds. All your squares will be the same size, which makes sewing them together infinitely easier. If you don’t have a blocking board, you can pin the square to a foam mat or even an ironing board. Just make sure it’s pinned evenly.
Customizing Your Square
One of the best things about this pattern is how easy it is to tweak.
- Petals: You can chain 1 instead of 2 between petals for a denser look.
- Border: Add an extra round of single crochet or shell stitches around the edge for a fancier finish.
- Colors: Swap the brown center for black or rust. Use a variegated yellow for petals with depth. Make the border white for a more modern feel.
The foundation — that brown center with 6 single crochets and then 12 double crochets — stays the same. From there, you can experiment as much as you want.
If you’re new to granny squares, this pattern is a great place to start. It’s not complicated, but it teaches you how to work in the round, how to increase, and how to shape a square from a circle. Plus, you end up with something that actually looks like a sunflower. That’s pretty satisfying.
Putting It All Together
Once you’ve made a stack of these squares, you can join them however you like. Whip stitch, slip stitch, or single crochet join — all work well. I usually go with a slip stitch join on the wrong side for a nearly invisible seam.
You can also add a border around the entire blanket to tie everything together. A simple round of single crochet in green, then a round of shell stitches in yellow, would look amazing.
And if you’re in the mood for more cute projects, check out this crochet plush frog pattern — it’s another quick make that uses similar basic stitches. Or try these monster keychains for a fun, small gift idea.
Final Thoughts
This sunflower granny square is one of those patterns that feels rewarding from the very first round. It’s quick enough for an afternoon, but beautiful enough to become part of something bigger — a blanket, a pillow, a bag, or even a wall hanging.
The best part? Once you know the formula, you can experiment endlessly. Change the colors. Adjust the stitch counts. Add more rounds. It’s your square now.
So grab your hook, pick your favorite yellow, and make something that brings a little sunshine indoors.