If you’ve been scrolling through crochet projects and wondering how to get that perfect, gentle ripple without all the complicated increases and decreases, the wave stitch is exactly what you need. It creates a soft, undulating fabric that looks like it took serious skill, but the secret is almost absurdly simple: you’re just alternating slip stitches and half double crochets. That’s it. No counting to thirteen, no tricky yarn overs. Just five of one stitch, five of the other, repeated over and over until magic happens.
The version I’m walking through today is the beginner-friendly take on the wave stitch. There are fancier variations out there — some use double crochets, some throw in front-post stitches — but this one keeps things straightforward so you can nail the rhythm before you start experimenting.
What You’ll Need
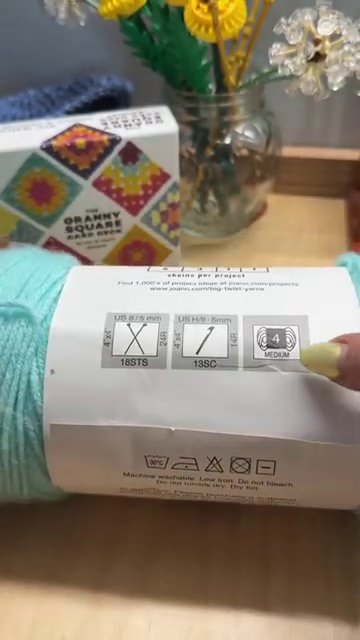
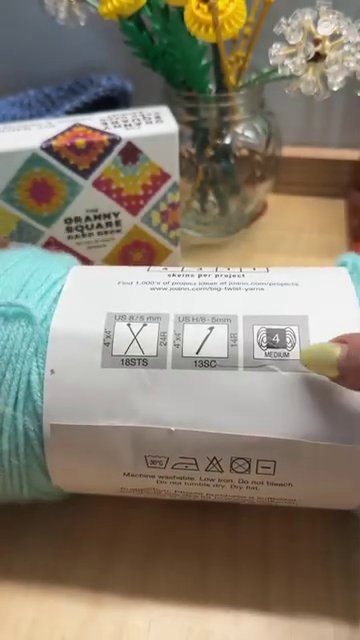
For this tutorial, I’m using two contrasting colors of Big Twist 100% acrylic yarn, which is a medium weight (size 4, or worsted weight). You’ll also want a 5 mm hook (that’s a size H/8 in US terms). The two-color approach is what really makes the waves pop, but you could absolutely work this in a single solid color if that’s your vibe.
The foundation chain runs in multiples of 10 plus 6. For practice, I’m chaining 36 — that gives you a nice wide swatch to see the pattern develop. If you’re making something specific like a baby blanket or a scarf, you’ll just adjust your starting chain to fit that formula.
Getting Started: The Foundation Row
Make a slipknot and chain 36. Keep your slipknot loop roughly the size of your hook head — not too tight, not too loose. You’ll thank yourself later.
Now here’s where the pattern starts. Skip the first chain from your hook and slip stitch into the second chain. Then slip stitch into the next four chains. That gives you five slip stitches total. Then, in the next five chains, work one half double crochet into each. So you’ve got five slip stitches, then five half double crochets. Repeat that sequence all the way across your chain.
When you reach the end, you’ll have a row that alternates between those short, flat slip stitches and the slightly taller half doubles. It doesn’t look like much yet — trust the process.
Row Two: Where the Waves Start to Form
Here’s the first interesting twist. At the end of row one, do not chain before turning. Just flip your work. From this point forward, you’ll be working into the back loop only of every stitch. This is what gives the wave stitch its distinctive texture and that lovely ridged look on the right side.
Working into the back loop only can feel a little fiddly at first. You’ll need to tip your work toward you to see which loop is actually the back loop — it’s the one farther from you, not the one that looks like the front. Once you’ve got your bearings, slip stitch into the first stitch and the next four (five total), all in the back loops only. Then half double crochet into the next five back loops.
Repeat: five slip stitches, five half doubles, all the way across.
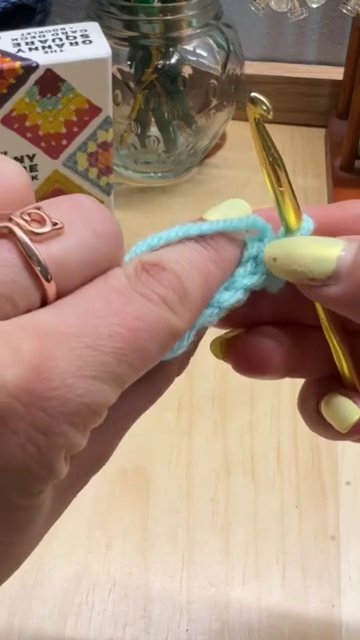
A quick note on tension: keep those slip stitches a little loose. If you pull them tight, the next row’s half doubles become a nightmare to work into. Loose slip stitches are your friend here.
Row Three: Introducing Color B
When you reach the end of row two, you’re going to switch colors. Don’t fasten off your first color — we’re going to carry it up the side so you can alternate without all that cutting and weaving.
To add the new color, make a loop with your second yarn and pull it through the last loop on your hook. Pull the old color tail tight to snug things up. Now chain two — this counts as your first double crochet for this row — and turn your work.
Work four more double crochets into the next four stitches (back loops only, always). That gives you five double crochets total, with the chain two standing in for the first one. Then slip stitch into the next five stitches. Repeat five doubles, five slip stitches all the way across.
Row Four: Back to Half Doubles
Chain two at the start of row four (this counts as a half double crochet this time), turn your work, and half double crochet into the next four stitches. Then slip stitch into the next five. Repeat that pattern across the row: five half doubles, five slip stitches, ending on a set of five half doubles.
When you get to the very last stitch — which is the chain two from the start of row three — you’re going to switch colors again. But instead of fastening off, just pick up your first color where you left it hanging. Pull it up through the last loop, and continue with that color for row five.
Row Five: The Pattern Repeats
Row five is identical to row two: no chain at the start, just turn your work and work five slip stitches into the back loops, then five half doubles, all the way across. Then you’re back to the beginning of the four-row repeat.
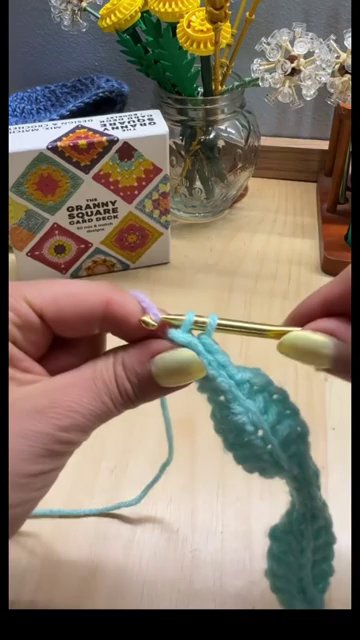
Your repeat sequence is rows two, three, four, and five — over and over. Row two is slip stitches and half doubles. Row three is double crochets and slip stitches. Row four is half doubles and slip stitches. Row five is back to slip stitches and half doubles. Every two rows, you switch colors.
Carrying Yarn Up the Side
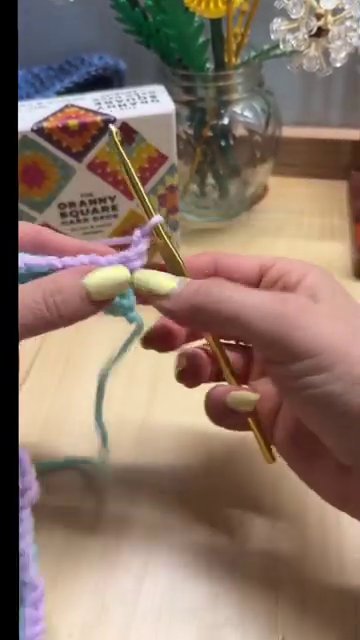
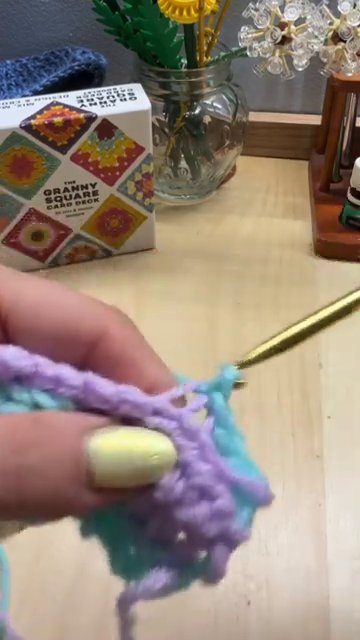
One of the neatest tricks in this tutorial is how the yarn colors are carried up the side without cutting. After you finish row four with color B, instead of fastening off, just drop it. Pick up color A (which you left attached at the end of row two) and pull it through your last loop. Work row five with color A. When you finish row five, drop color A again, pick up color B, and continue.
This keeps both yarns attached and ready to go. You’ll have a tidy little loop of unused yarn hanging at the edge of each row. It might look messy while you’re working, but it weaves in beautifully at the end. If you prefer, you can absolutely cut and weave in ends after each color change — but for a project with frequent stripes, carrying the yarn saves a ton of time.
How to Border the Wave Stitch
This is a question I get all the time. The wave stitch leaves those little scalloped edges — loops that stick out where the slip stitches and taller stitches meet. A standard straight border can look awkward if you just crochet into every stitch evenly.
Here’s what I do: work a half double crochet into the spots where the slip stitches are (the valleys), and a single crochet where the half doubles or doubles are (the peaks). You’re essentially matching the height of your border stitch to the height of the stitch below it. At the corners, throw in two, three, or even four half double crochets to round things off smoothly.
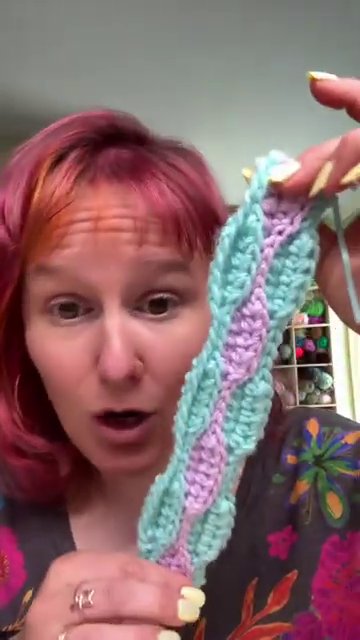
It’s not an exact science — you’ll want to adjust based on your tension and the look you’re going for. But that basic idea of using a taller stitch in the valleys and a shorter stitch on the peaks will give you a clean, finished edge that follows the natural rhythm of the wave.
Variations and Project Ideas
The tutorial I followed here switches colors every two rows, but you can change the pace however you like. Try every four rows for wider color bands, or every eight rows for dramatic stripes. You could even work the whole thing in one color — the texture alone is gorgeous, especially in a soft cotton or a heathered acrylic.
Because the stitch pattern is so rhythmic, it’s perfect for mindless crocheting while you watch a movie or listen to a podcast. Once you’ve got the hang of the five-and-five repeat, you barely need to look at your hands.
This stitch works beautifully for baby blankets, scarves, throws, and even dishcloths if you use cotton. The fabric has a nice drape — not too stiff, not too floppy — and the back-loop-only technique creates a subtle ribbing that adds structure without weight.
If you’re looking for a quick project to practice on, consider a Crochet Dishcloth — the wave stitch in cotton makes a surprisingly effective scrubber, and it’s small enough to finish in an evening. For something cozier, the Pink V-Stitch Baby Throw uses a similar alternating-stitch concept and would be a great next step once you’ve mastered the wave.
Final Thoughts
The wave stitch is one of those patterns that looks far more complicated than it actually is. It’s a fantastic confidence builder for beginners who want to move beyond basic scarves and dishcloths, and it’s satisfying enough to keep experienced crocheters engaged through a larger project.
The key takeaways: work in multiples of 10 plus 6, keep your slip stitches loose, always use the back loop only, and repeat rows two through five. Change colors every two rows (or whatever interval you prefer), and carry your yarn up the side to avoid endless ends to weave in.
Now grab your hook, pick two colors that make you happy, and give it a try. The waves will show up faster than you think.