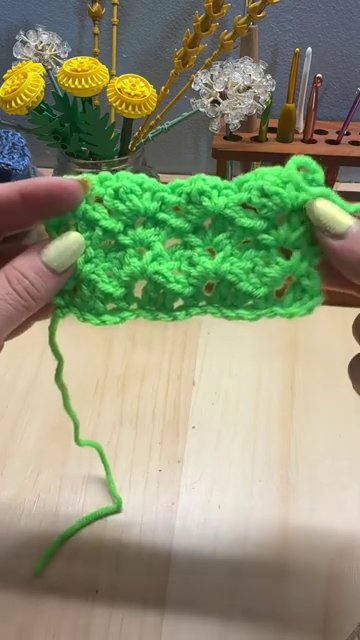
If you’ve been crocheting for a while, you’ve probably heard of the corner to corner (C2C) stitch. It’s everywhere — blankets, scarves, baby gifts — and for good reason. That diagonal texture is gorgeous. But if you’re new to crochet, C2C can feel intimidating. All those increases and decreases, the counting, the turning. It’s a lot.
Enter the tulip stitch. It gives you that same beautiful, textured look as corner to corner, but with a fraction of the complexity. It’s a one-row repeat that works up fast, looks lovely on both sides, and is genuinely beginner-friendly. Let me show you how it’s done.
What Makes the Tulip Stitch Special
The tulip stitch creates a fabric that’s airy, light, and delicately textured. It’s not quite lacy, but it has an open, breathable quality that makes it perfect for blankets and scarves. The finished piece looks remarkably similar to corner to corner crochet — that same staggered, tile-like effect — without requiring you to learn the increases and side stitches that trip up so many beginners.
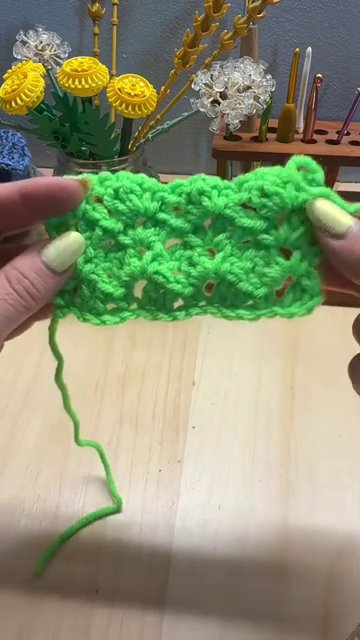
It’s also a one-row repeat. Once you complete your setup row, you’ll repeat the same simple pattern over and over until your project reaches the desired length. No complicated stitch patterns to memorize. No flipping back through a video every five minutes.
What You’ll Need
For this tutorial, you’ll need:
- Worsted weight yarn (size 4) — I’m using Loops & Threads Soft Classic Acrylic, but any medium-weight yarn will work.
- A 5mm (H) crochet hook
- Scissors and a yarn needle for finishing
The pattern requires a foundation chain in multiples of four. For a scarf or baby blanket, 100 chains is a common starting point, but you can adjust up or down as long as you keep it divisible by four.
Getting Started: The Foundation Chain
Start with a slip knot, making your loop slightly larger than the head of your hook. Chain 16 for a practice swatch — that’s four repeats of the pattern.
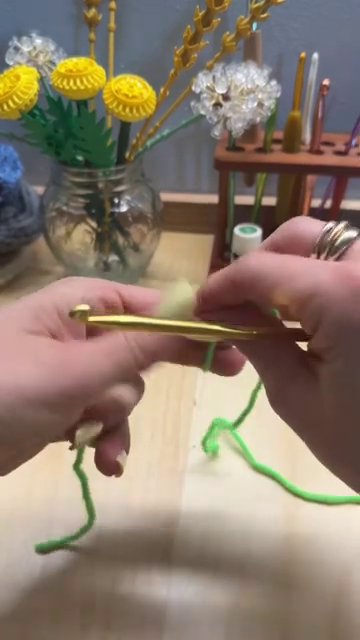
Count your chains carefully. It’s easy to lose track, especially when you’re just starting out. Take your time.
The Setup Row
This is the only row that’s different from the rest. Once it’s done, you’ll be in smooth sailing territory.
Working into the third chain from your hook, make a double crochet. That chain-2 at the start counts as your first double crochet, so you’ll have two double crochets right next to each other.
Chain 2, then work a single crochet into the next stitch.
Now skip two chains. Into the next chain, work two double crochets. Chain 2, then work a single crochet into the same space.
Repeat this pattern across the row: skip two chains, work two double crochets, chain 2, work a single crochet. When you reach the last stitch of the row, work a single crochet into it.
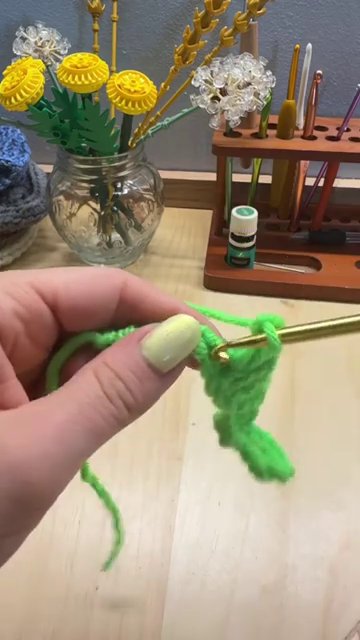
That’s your setup row. It’s not the repeat — it’s just the foundation that sets up the chain spaces you’ll work into from here on out.
The Repeat Row (Row 2)
Chain 2 and turn your work. Now look at your row — you’ll see a series of chain-2 spaces from the row below. These are where all your stitches will go from now on.
Into the first chain-2 space, work two double crochets. Then chain 2, and work a single crochet into the same chain-2 space. Yes — all of that goes into one space.
Move to the next chain-2 space. Two double crochets, chain 2, single crochet. Repeat across the row.
When you reach the last chain-2 space, do the same thing: two double crochets, chain 2, single crochet.
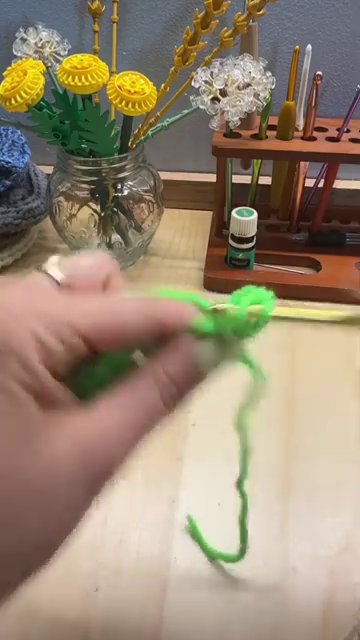
That’s row 2. And here’s the best part: this is your repeat row. Row 3, row 4, row 50 — they’re all the same as row 2.
Building Your Fabric
For row 3, chain 2 and turn. Work into the chain-2 spaces just like before. Two double crochets, chain 2, single crochet. Move to the next space. Repeat.
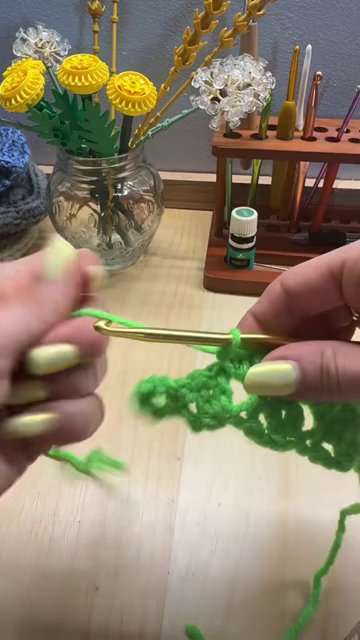
Every row creates new chain-2 spaces for the next row to work into. The fabric builds evenly and quickly. After a few rows, you’ll see the tulip stitch pattern emerge — those little clusters that look like, well, tulips.
Why This Works So Well for Beginners
The corner to corner stitch requires you to understand increases, decreases, and how to work into side spaces. It’s not impossible, but it can be frustrating when you’re still getting comfortable with basic stitches.
The tulip stitch sidesteps all of that. You only need to know three stitches: chain, double crochet, and single crochet. The pattern never changes. There’s no counting increases or figuring out where to place edge stitches. You just work into the spaces you can clearly see.
It’s also forgiving. If you miss a stitch or accidentally add an extra one, the pattern tends to hide small mistakes. That’s a huge confidence builder when you’re learning.
Project Ideas
The tulip stitch is incredibly versatile. Here are a few ways to use it:
- Baby blankets — The open, airy texture is perfect for lightweight blankets. Use a soft baby yarn in a pastel color.
- Scarves — Worked in a single color or stripes, this stitch makes a beautiful scarf that’s warm without being heavy.
- Washcloths and dishcloths — Cotton yarn and this stitch create a scrubby but gentle texture. If you’re looking for more home projects, check out this free crochet dishcloth pattern that uses a similar approachable stitch.
- Throw pillows — Work two panels and seam them together for a textured pillow cover.
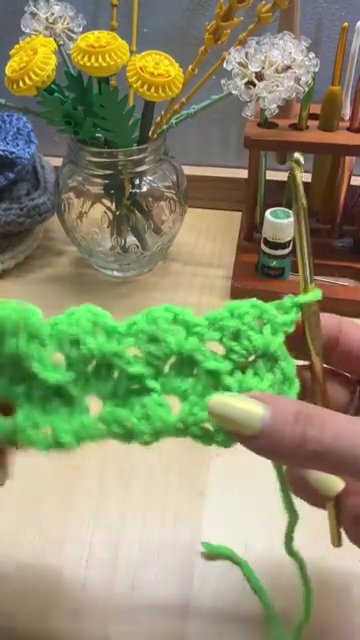
Because the stitch looks good on both sides, it’s ideal for projects where both sides will be visible — like scarves or open blankets.
Tips for Success
A few things to keep in mind as you work:
- Count your foundation chain carefully. Multiples of four. If you start with the wrong number, the pattern won’t line up.
- Keep your tension consistent. The chain-2 spaces should be loose enough to work into easily but not so loose that they create gaps.
- Don’t rush the setup row. It’s the trickiest part because you’re working into chains instead of spaces. Take it slow.
- Use stitch markers if you need to mark the first or last chain-2 space. It’s easy to lose your place, especially on longer rows.
Variations to Try
Once you’re comfortable with the basic tulip stitch, you can experiment:
- Color changes — Work two rows in one color, then switch. The staggered clusters handle color changes beautifully.
- Thicker yarn — Try a bulky weight yarn with a larger hook for a chunkier, cozier fabric.
- Border — Add a simple single crochet border around the finished piece to clean up the edges.
If you enjoy this stitch, you might also like the V-stitch, which has a similar open texture. There’s a great pattern for a Pink V-Stitch Baby Throw that would pair nicely with this technique.
Final Thoughts
The tulip stitch is one of those patterns that looks much more complicated than it actually is. It’s a great confidence builder for beginners, but even experienced crocheters will appreciate how fast it works up and how polished the finished fabric looks.
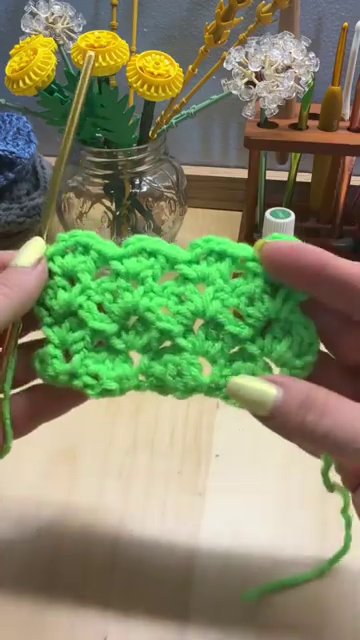
If you’ve been wanting to try something that looks like corner to corner but felt intimidated, this is your stitch. Grab your hook, chain a multiple of four, and give it a try. Once you see those little tulip clusters forming, you’ll be hooked.
Happy crocheting.