There’s nothing better than reading a comment where someone says a tip you shared completely transformed their crochet. Seriously — it’s the best feeling. So today, I want to pass along five methods that genuinely shifted how I work with yarn. These aren’t just clever tricks. They’re the kind of small discoveries that make you wonder why you didn’t figure them out sooner.
The Single Crochet Border That Set Me Free
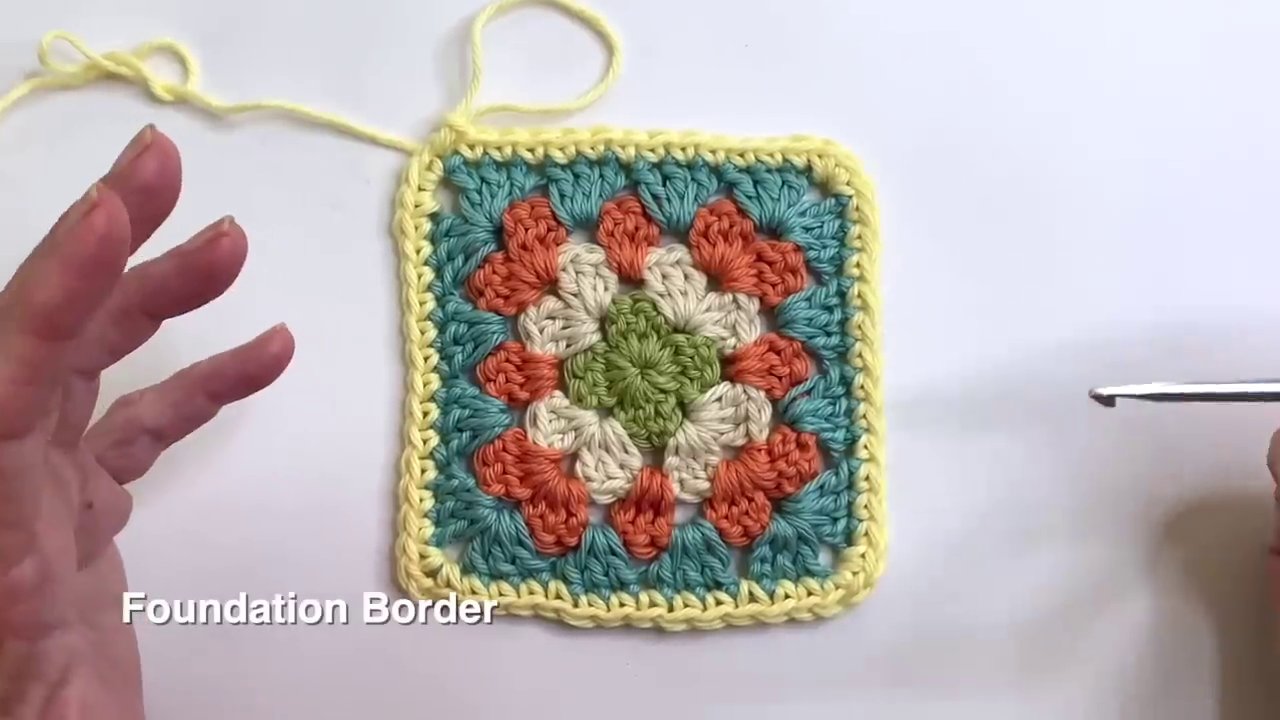
This first one sounds almost too simple to be a game changer. But for me, learning how to add a single crochet border — and more importantly, how to stop obsessing over stitch counts — was genuinely liberating.
I used to be a slave to the numbers. If a blanket side had 50 stitches, I’d cram 50 single crochets into it, whether that made the edge wavy or pulled it into a tight, sad little curve. I wasn’t looking at my work. I was just counting.
Then I realized: you can fudge it. You can add or subtract single crochets along the sides to make the border lie flat and even. The goal isn’t matching a number. It’s making it look right to your eye.
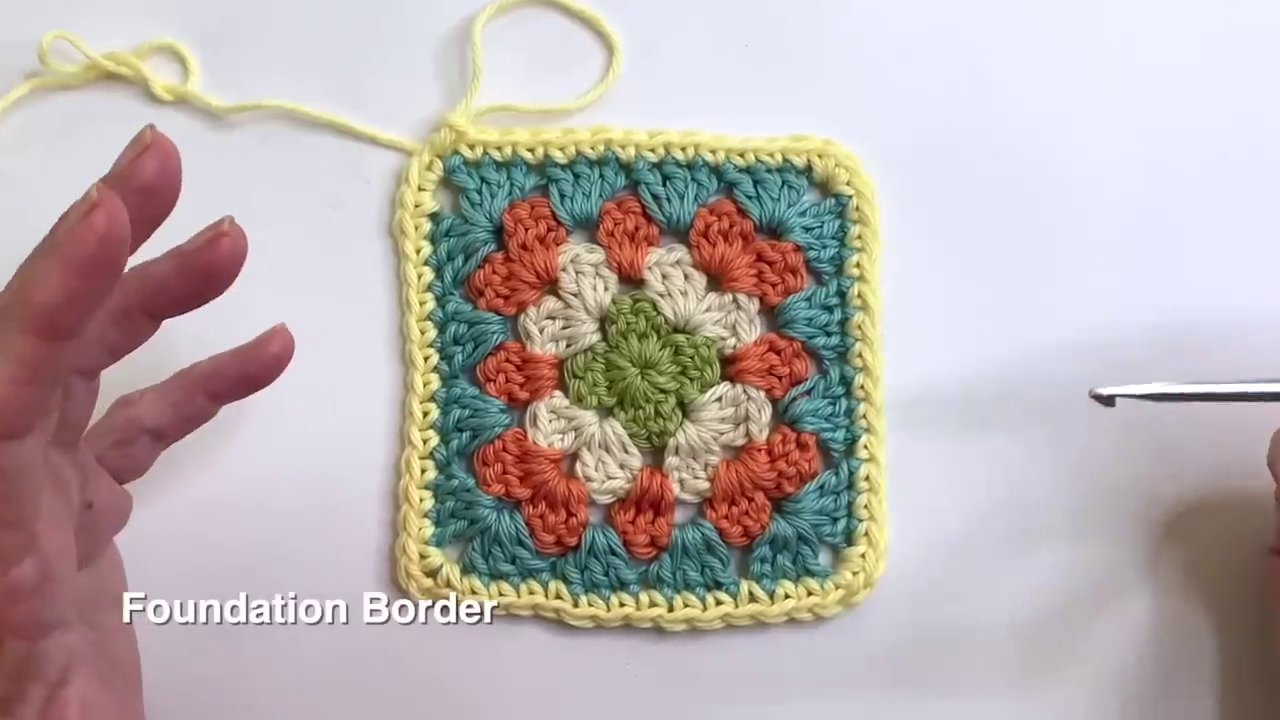
For corners, I do three single crochets into the corner space. That keeps your stitch count balanced on both sides. Some people prefer a chain-two, single-crochet-two approach — also fine, as long as the corners stay flat. If your border starts ruffling, you’ve added too many stitches. If it’s pulling inward, you need a few more.
And if you’re working on something with raw edges — like a granny square or a garment piece — look at the height of the stitches in that row. Use single crochets to match that height. There’s no universal formula. Just keep adjusting until it lies flat.
I also recommend running a slip stitch border along raw edges before you add single crochets. It makes a shocking difference in how clean the edge looks. Check out the detailed tutorial on that if you haven’t seen it yet.
The Invisible Seam That Feels Like Magic
A few years ago, I was working on a blanket with a ton of different color blocks. I wanted flat, invisible joins — the kind where you can’t tell where one piece ends and another begins. Back then, there weren’t as many tutorials on this as there are now.
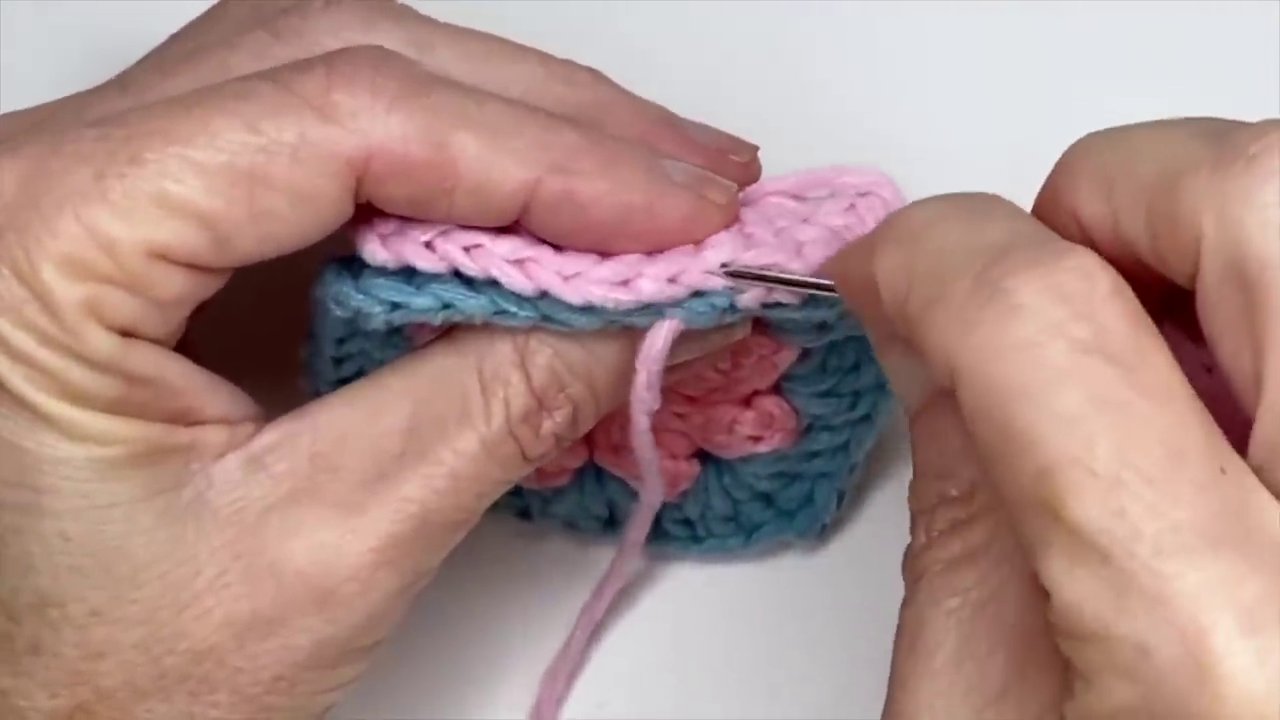
The invisible seam — also called the mattress stitch or ladder stitch — is exactly what it sounds like. You work through the middle of your stitches on both pieces, zigzagging back and forth. When you pull the yarn tight, the seam disappears.
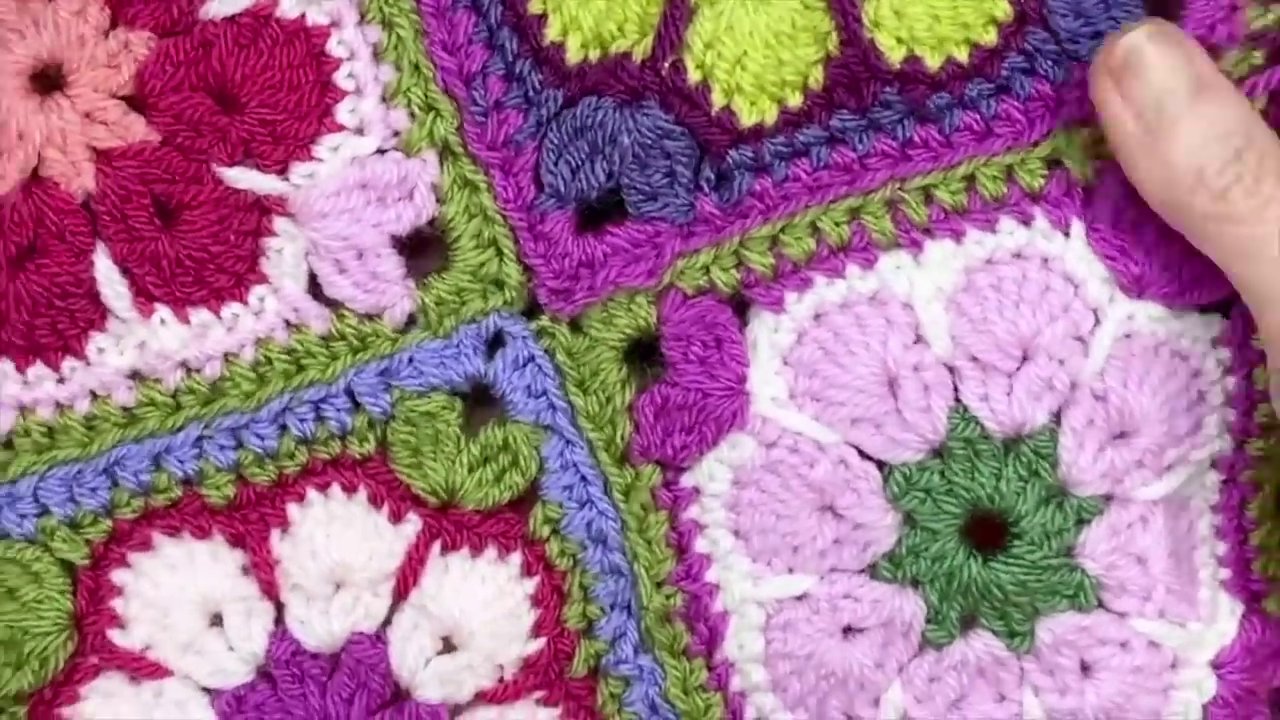
Here’s how it works: thread your yarn needle and go through the center of the first stitch on one piece. Then go through the center of the corresponding stitch on the other piece. Keep alternating in a zigzag pattern. You want to feel a little resistance when you pull — if it slides too easily, the seam will show. A sharp-tipped needle helps, because you’ll be piercing through the fibers of the stitches themselves. That’s actually a good thing. It helps the seam camouflage.
When you’re done, give it a firm pull. You’ll see the two pieces come together with no visible line. Flat on both sides. It’s one of those techniques that feels like sorcery the first time you do it right.
The Magic Knot That Actually Stays
I spent years trying knots that would come undone the second I cut the tails short. Then I found the magic knot. It’s the only knot I trust now. It holds tight, you can cut the ends close, and it won’t unravel.
The basic method: tie your old yarn to the new yarn like you’re starting to tie a shoelace. Pull it tight. Then tie the new yarn to the old yarn the same way. Pull both strands in opposite directions — the knots slide together and lock. Trim close.
But here’s where it gets really useful: you can use the magic knot for color changes in the middle of a row. Instead of weaving in ends later, you attach your new color right where you need it.
Here’s the trick. Work to the last stitch before your color change. Stop before completing that stitch. Use the magic knot to join the new yarn to the old yarn, positioning the knot right near your hook. Then finish that last stitch with the new color. The knot ends up on the side of your work, and you can easily cover it with a border later.
This technique eliminated so much stress for me. No more trying to figure out where to change colors. No more bulky joins. Just a clean, secure transition.
A Color Change That Doesn’t Make You Overthink
The classic way to change colors in crochet involves finishing the last stitch of the old color by pulling through the new color. That works fine. But there’s a slightly different approach that I’ve fallen in love with — and it’s all about timing.
Instead of thinking ahead, you just complete your stitch as normal. Then, when you’re ready to switch, you remove your hook from the loop, insert it into the front loop and the side bar of the stitch, and pull the new color through. Pull on the old color to tighten, and continue with your new color.
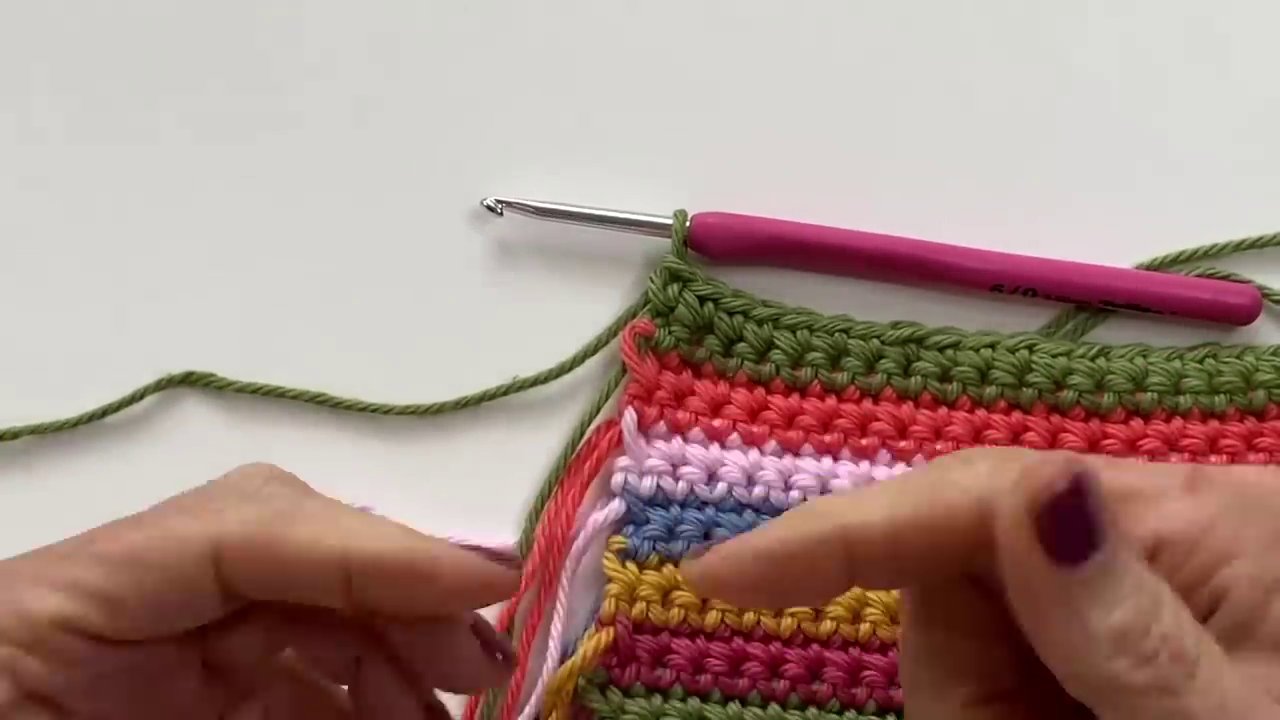
It works for single crochets, half double crochets, and double crochets. The only difference is which loops you go through. For a half double crochet, you go through three bands of yarn. For a single crochet, just two bars.
This little tweak removed so much mental load for me. I don’t have to plan ahead. I just change when I need to. Simple, but it makes a world of difference when you’re working on something with frequent color changes.
The Granny Square With One End to Weave In
I don’t mind weaving in ends, but I love finding ways to cut them down. This technique for multi-colored granny squares leaves you with exactly one tail to weave in per square. That’s it.
The key is tying your ends together in the corners so they’re hidden within the stitches. Here’s how it works.
After finishing a round, snip your yarn leaving a decent tail. Make a slip knot by pulling the end through the center of the loop and tightening. Then decide: do you want a reversible square, or do you want all rounds worked on the same side? For reversible, flip your square. For same-side, weave your tail across to a corner space.
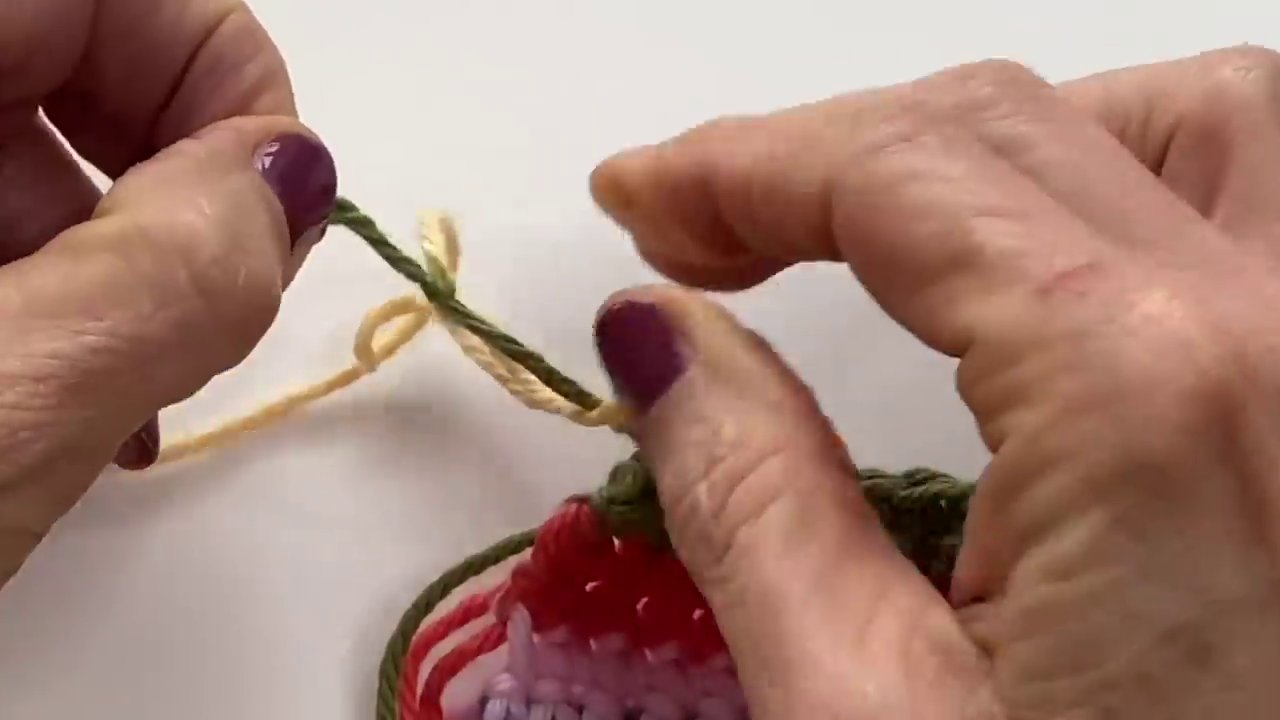
Bring in your new color and pull the tail through the corner space. Tie a double knot, making sure the tail from the previous color is sitting inside the knot. That’s the critical part. Then grab your hook, pull the working yarn through, and chain two or three to start your first cluster. Work your corner clusters as normal, making sure to crochet over both tails as you go. The clusters hold everything in place, and the tails are completely hidden.
When you finish the round, fasten off with a slip knot. Snip the two tails. For the next round, weave your yarn through the tops of the stitches to the nearest corner, and repeat.
By the time you reach your final round, you’ll have just one tail to weave in. I use the rule of three — weave the tail in three different directions to make sure it won’t come out. That’s it. One end per square.
What’s Changed Your Crochet?
These five techniques reshaped how I work. The single crochet border taught me to trust my eyes over the stitch count. The invisible seam gave me flat, professional joins. The magic knot solved my yarn-joining problems for good. The new color change removed the stress of planning ahead. And the granny square method cut my weaving-in time drastically.
But everyone’s crochet journey is different. I’d love to know what’s been a game changer for you. Is it a particular stitch? A method? A philosophy? Drop it in the comments — we all learn from each other.
Thanks for reading. I’ll see you in the next one.