Welcome to a delightful crochet journey where you’ll learn to create charming mini hearts in just two minutes! This tutorial is designed specifically for absolute beginners, offering the easiest method without requiring a magic ring. If you’re looking for a fast, satisfying project that builds confidence and yields adorable results, you’ve come to the right place. Let’s transform a simple strand of yarn into a symbol of love with minimal tools and maximum fun.
Getting Started: Your Toolkit and Setup
Before we dive into the stitches, let’s ensure you have everything you need for this swift project. The beauty of this pattern lies in its simplicity.
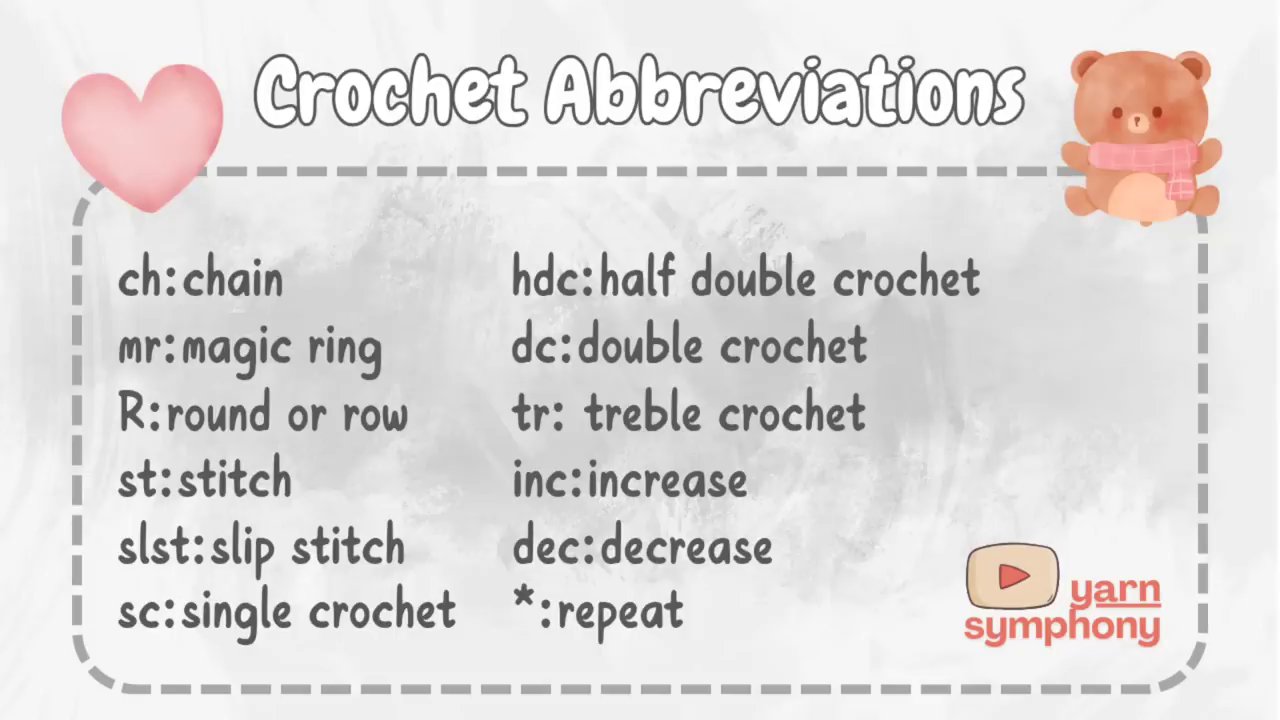
- Yarn: You can use any color you like! A medium-weight (worsted) yarn is ideal for beginners as it’s easy to see and handle.
- Crochet Hook: A 3mm hook is recommended, but using a hook size that corresponds to your yarn weight is key. The tutorial uses a 3mm hook for demonstration.
- Other Tools: You’ll also need a yarn needle for weaving in ends and a pair of scissors.

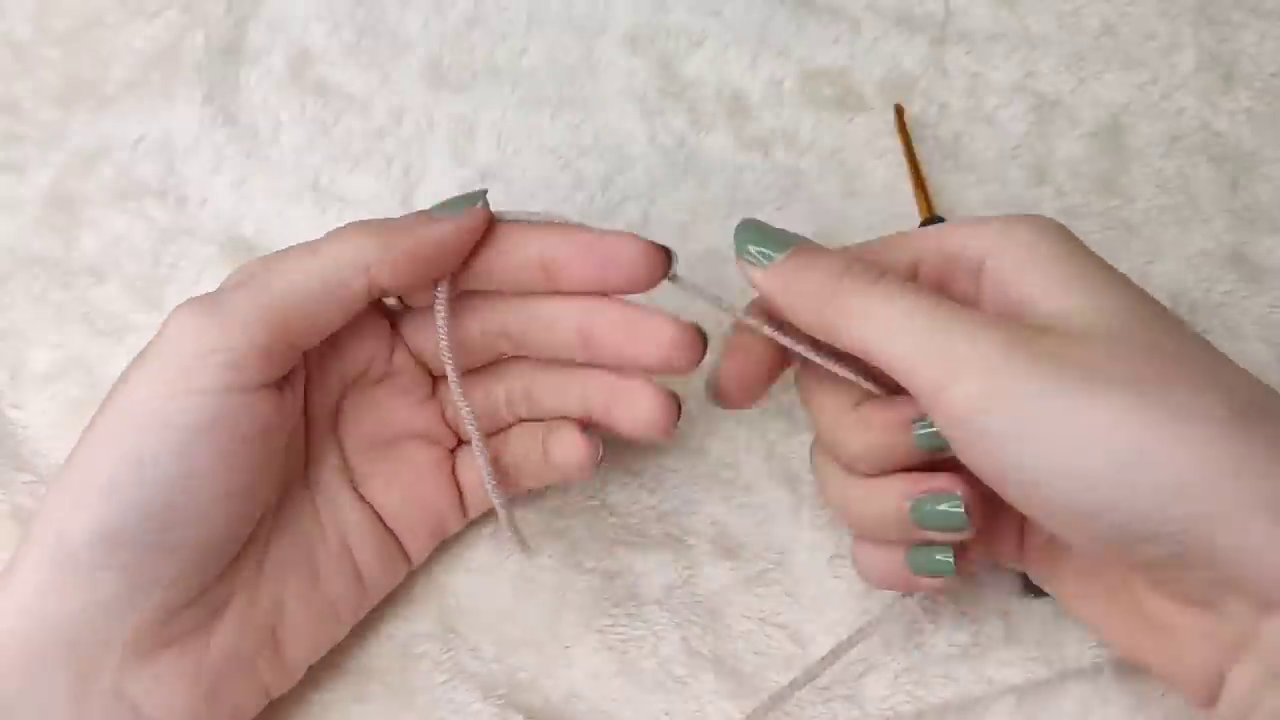
The first step is creating a slip knot, which is the foundation for almost all crochet work. Don’t worry if it feels awkward at first; it becomes second nature with practice.
- Form an “X” shape with the yarn, crossing the working yarn (the strand leading back to the skein) over the tail.
- Pinch the crossover point with your thumb and index finger.
- Reach through the loop you’ve created, grab the working yarn, and pull it through to form a new loop.
- Tighten by pulling on the short tail. You now have an adjustable loop on your hook.
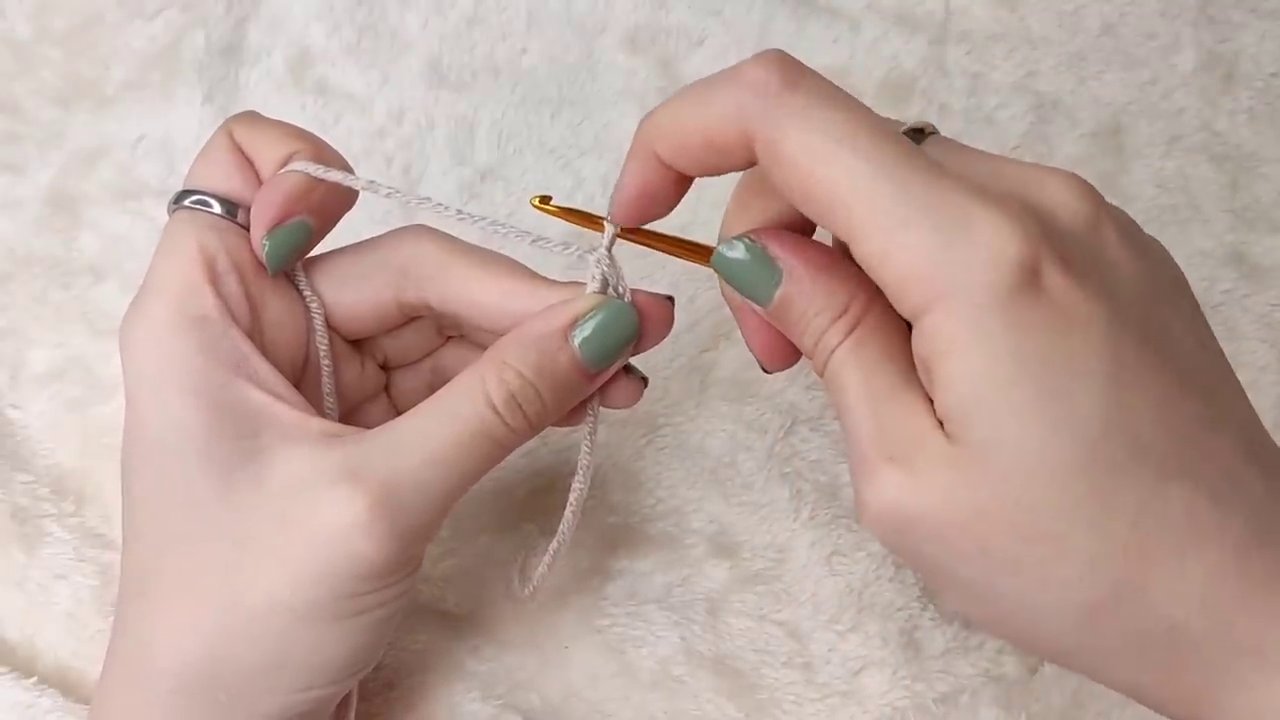
Holding your hook and yarn comfortably is crucial for maintaining consistent tension. You can hold the hook like a pencil or a knife—choose what feels most natural. For the yarn, many crafters find it easiest to weave the working yarn over their index finger for control, while using the thumb and middle finger to hold the project’s base. The right grip reduces hand fatigue and makes the yarn-over motion smoother.
Foundation and Basic Stitches: Chain and Yarn Over
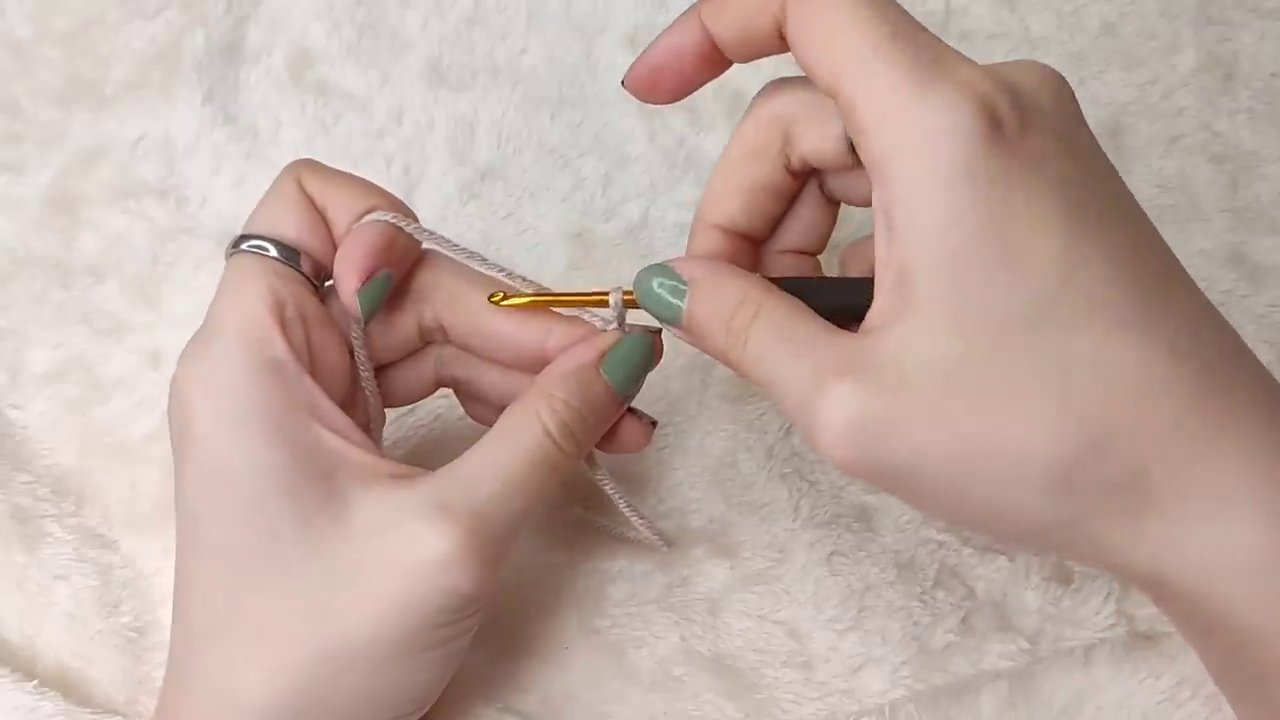
With your slip knot secured on the hook, we begin with the chain stitch (ch). This creates the foundation for your heart. The key to a good chain is mastering the yarn over (yo).
How to Yarn Over:
Guide your hook under the working yarn, then rotate (or “twist”) the hook to catch the yarn. This action wraps the yarn around your hook.
Creating a Chain Stitch:
1. Yarn over.
2. Pull this new loop through the loop already on your hook.
3. You’ve made one chain! Each chain looks like a “V” when viewed from the top.
For this heart, you will chain four. Count the “V”s to keep track: one, two, three, four.
Mistakes happen, especially when you’re learning. If you make an extra chain by accident, it’s simple to fix. Carefully remove your hook from the loop, gently pull the working yarn to undo the last stitch, then re-insert your hook into the correct loop. It’s a forgiving craft!
Now, you’ll work all subsequent stitches into the first chain you made. This can feel a bit tight, so take your time inserting the hook. This technique of working into the first chain creates a center ring without the need for a magic ring, making it perfect for beginners. If you enjoy mastering these foundational rings, you might find techniques in our Grundl Basic Socks Guide helpful for other projects.
Crafting the Heart: Treble and Double Crochet
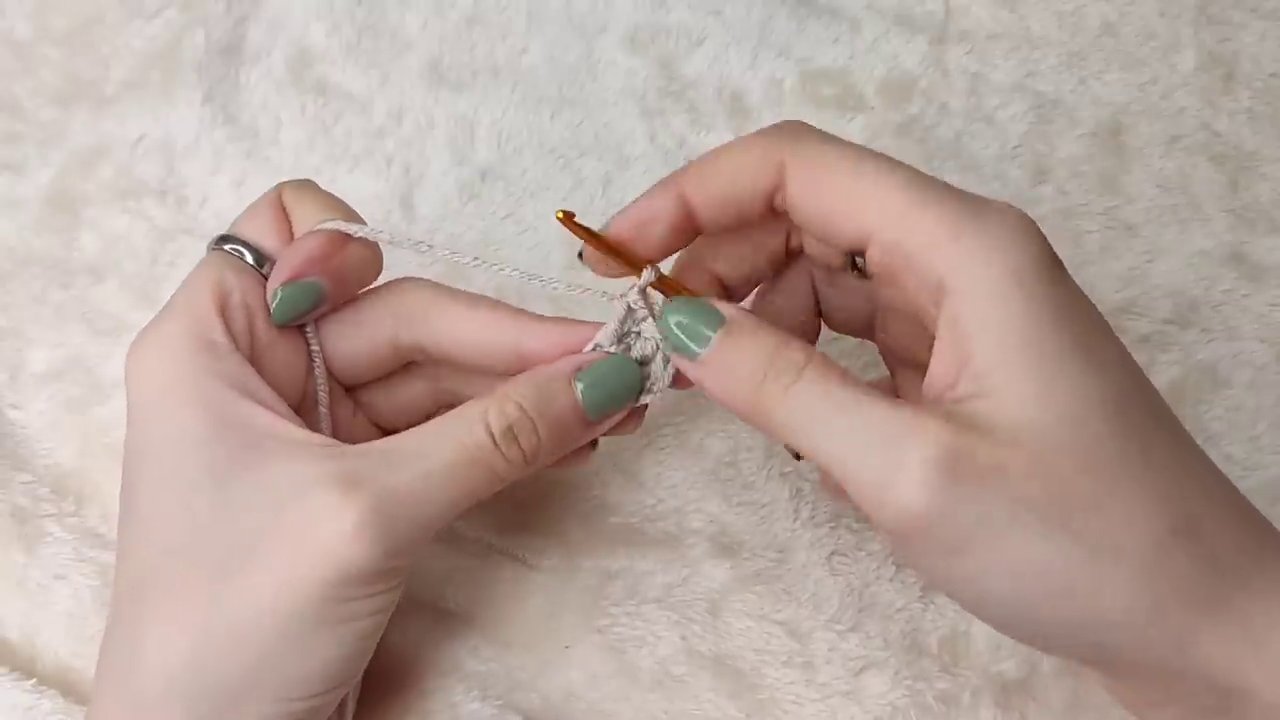
This heart is formed by creating a symmetrical shape using treble crochet (tr) and double crochet (dc) stitches all into that same first chain. Let’s break down these essential stitches.
Treble Crochet (tr):
1. Yarn over twice. You will now have three loops on your hook.
2. Insert your hook into the first chain.
3. Yarn over and pull up a loop. You now have four loops on the hook.
4. Yarn over and pull through the first two loops. (3 loops remain)
5. Yarn over and pull through the next two loops. (2 loops remain)
6. Yarn over and pull through the final two loops. (1 loop remains)
7. You’ve completed one treble crochet!
Make a second treble crochet in the exact same spot. You will now have two treble crochets side-by-side.
Double Crochet (dc):
Next, you’ll work four double crochets into the same central space.
1. Yarn over once.
2. Insert your hook into the same space.
3. Yarn over and pull up a loop. (3 loops on hook)
4. Yarn over and pull through two loops. (2 loops remain)
5. Yarn over and pull through the last two loops. (1 loop remains)
Repeat this three more times until you have a total of four double crochets next to your two treble crochets. This cluster starts to form the top curve of one side of the heart.
Shaping and Finishing: Symmetry and Closure
To create the bottom point and the second lobe of the heart, you’ll now build the mirror image on the other side.
- Chain 2. This creates a small gap that helps form the heart’s distinctive dip.
- Make 4 Double Crochets into the same central space. This forms the second lobe.
- Make 2 Treble Crochets into the same space, following the same steps as before. This completes the outer curve of the second lobe.
- Chain 3. This creates the final foundation for closing the shape.

To close the heart and secure the shape, you will make a slip stitch (sl st) into the same central space.
1. Insert your hook into the space.
2. Yarn over.
3. Pull this new loop directly through the loop on your hook in one motion.
Pull the yarn tail to tighten this final stitch. You now have a complete, albeit loose, heart shape. Fasten off by cutting the yarn, leaving a tail, and pulling it through the final loop.
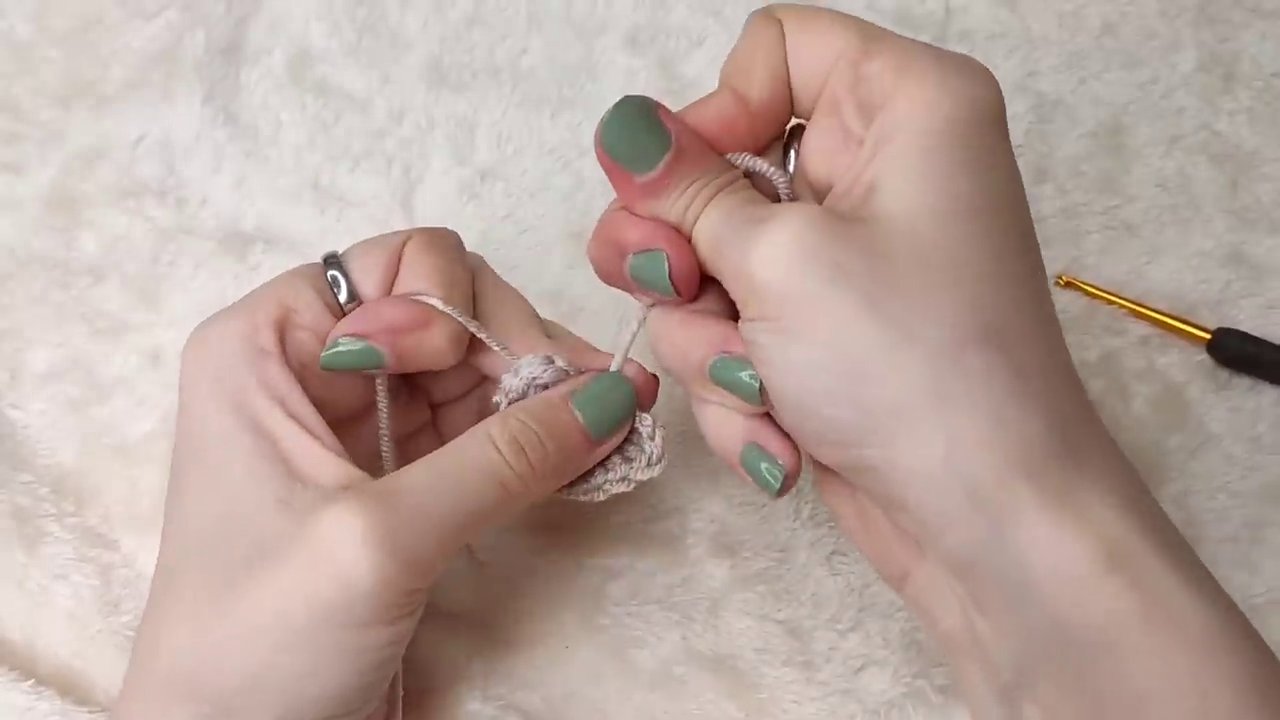
The Final Touch: Sewing for a Polished Look
The last step transforms your crocheted piece into a neat, stand-alone heart. Thread the yarn tail onto a yarn needle.
- From the back of the heart, insert the needle through the center of the starting ring you created.
- Gently pull the yarn to gather the center hole closed. You may need to stitch through the center a couple of times to secure it.
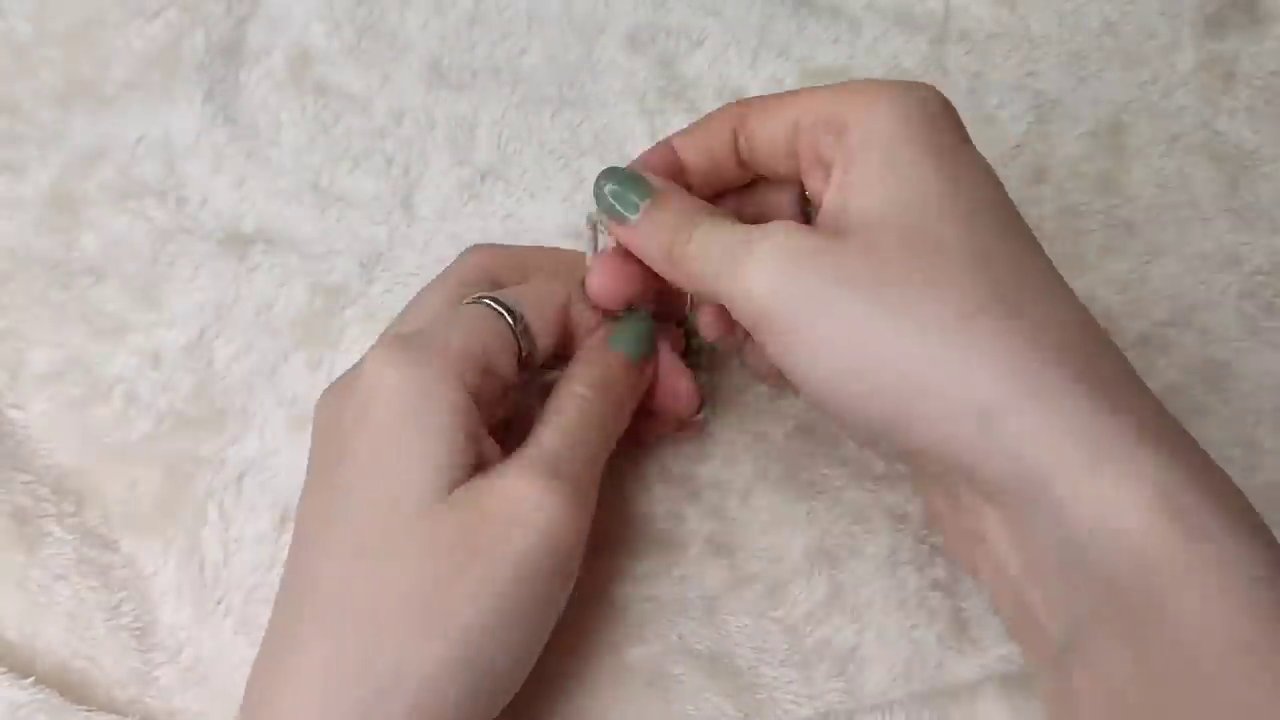
- Tie a small, secure knot on the back of the heart.
- Weave in the remaining yarn tail (and the starting tail) through the backs of the stitches to hide them, then trim any excess.
And there you have it! A beautiful, handmade crochet heart created in just a couple of minutes. These little hearts are incredibly versatile—use them as appliques for hats and Baby Cardigans, as charming additions to keychains, or scattered as festive decor. Once you’ve mastered this quick project, you can explore other small, satisfying makes like these Cuddly Caterpillars to continue building your skills.
Conclusion: Your Crochet Journey Begins with a Heart
This two-minute heart pattern is more than just a cute project; it’s a confidence-building gateway into the world of crochet. You’ve successfully learned foundational skills: making a slip knot, chaining, and executing both double and treble crochet stitches. The simplicity and speed of this pattern make it the perfect practice tool for muscle memory and tension control.
Remember, the goal is progress, not perfection. Your first heart might be a little quirky, and that’s part of its charm. Make a dozen in different colors—each one will be faster and more uniform than the last. This project proves that you don’t need complex patterns or hours of time to create something special with your own hands. So grab your hook, choose your favorite color, and start spreading a little handmade love, one tiny heart at a time. For your next quick and adorable project, consider trying this FREE Strawberry Crochet Pattern to add another sweet item to your growing collection.