
Welcome to a quick and satisfying crochet project! Today, we’re diving into a tutorial for a beautiful mesh hairband that’s not only fashionable but also incredibly fast to make. Perfect for beginners and seasoned crafters alike, this project requires minimal materials and can be completed in about the time it takes to enjoy a cup of coffee. You can find the free written pattern at vifcrochetes.com, and if you enjoy this guide, your likes and comments are always appreciated. Let’s get started on creating a versatile accessory that’s perfect for keeping hair stylishly in place.
Materials and Getting Started
For this project, the creator uses approximately 10 grams of Red Heart Super Saver yarn in the color Light Sage. This is a medium-weight (worsted) yarn, but the beauty of this pattern is its flexibility—you can use any yarn you want to match your personal style or stash. The corresponding hook size used is a 5.5mm, along with a pair of scissors.
Before we begin the stitches, it’s helpful to have a few other quick crochet accessories on hand. If you’re looking for more fast and fun projects, consider the FREE Strawberry Crochet Pattern for another delightful quick make.
Step-by-Step Crochet Instructions
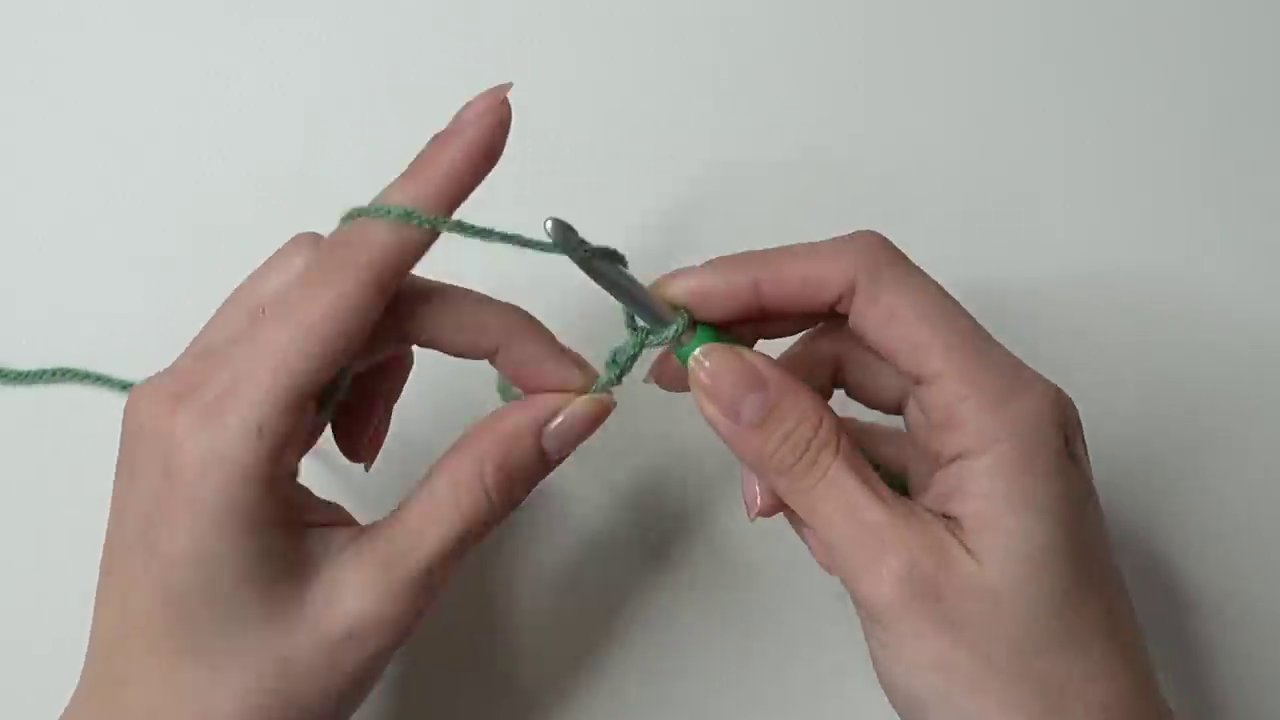
Creating the Foundation Chain
The first step is to create the foundation chain that will form one strap of the hairband.
1. Make a slip knot and place it on your hook.
2. Chain 40 stitches. This number is a guideline. The key measurement is to chain until your work reaches 26 cm (about 10 inches) in length. This forms one strap, so you can adjust the chain count to make the straps shorter or longer based on your head size and desired fit.
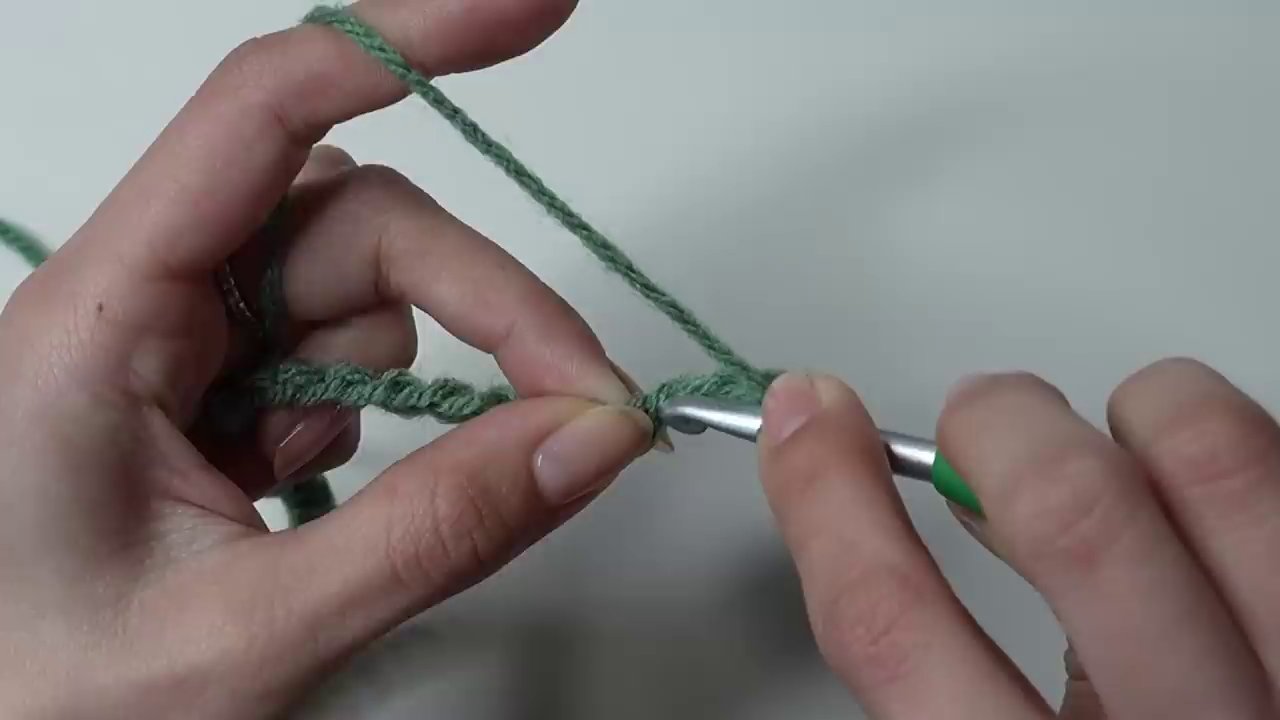
3. After completing your chains, you’ll perform a crucial step to create a neat starting point. Tighten the very last chain you made by pulling on the yarn tail, but keep your thumb on that chain so you don’t lose it. This makes it very small.
4. While holding that small chain with your thumb, chain three more stitches (1, 2, 3).
Forming the First Row of Mesh
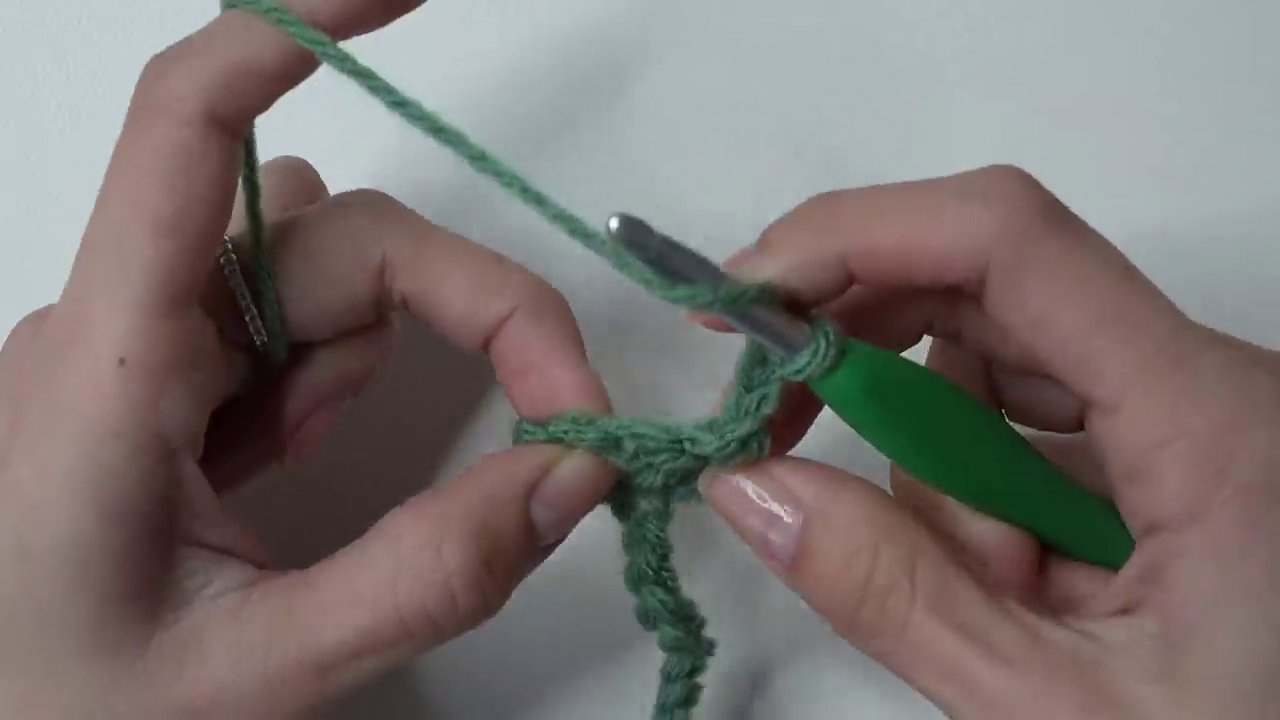
Now, we’ll work into that small, tightened chain to create the first cluster of stitches that begins the mesh pattern.
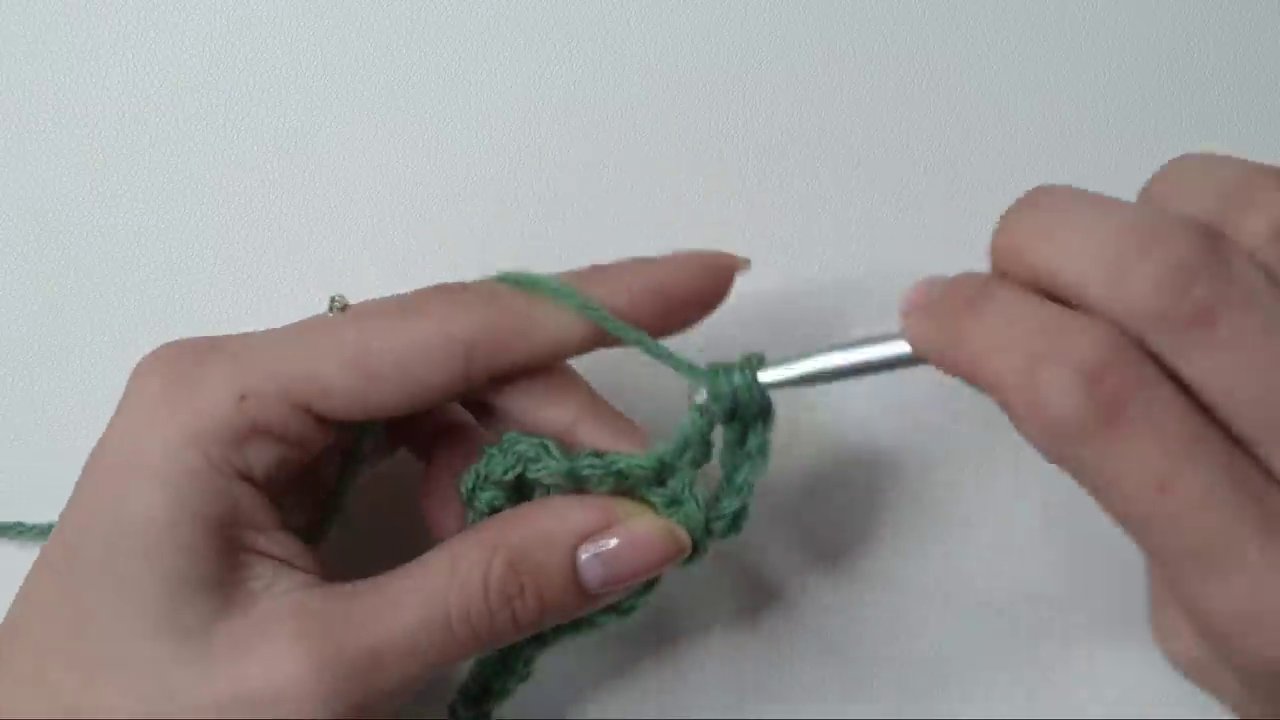
1. Your first stitch will be a double crochet (dc) into that small chain. To do a double crochet: yarn over, insert your hook into the chain, yarn over and pull up a loop (you’ll have three loops on the hook), yarn over and pull through two loops, then yarn over and pull through the remaining two loops.
2. You will work a total of three double crochets into that same small chain. The reason we tightened it first was to prevent the hole from becoming too large.
3. This completes your first row. To start the next row, chain three and turn your work.
Building the Mesh Body
This section forms the main, open-work body of the hairband that will sit over the head. The pattern creates a lovely mesh with consistent gaps.
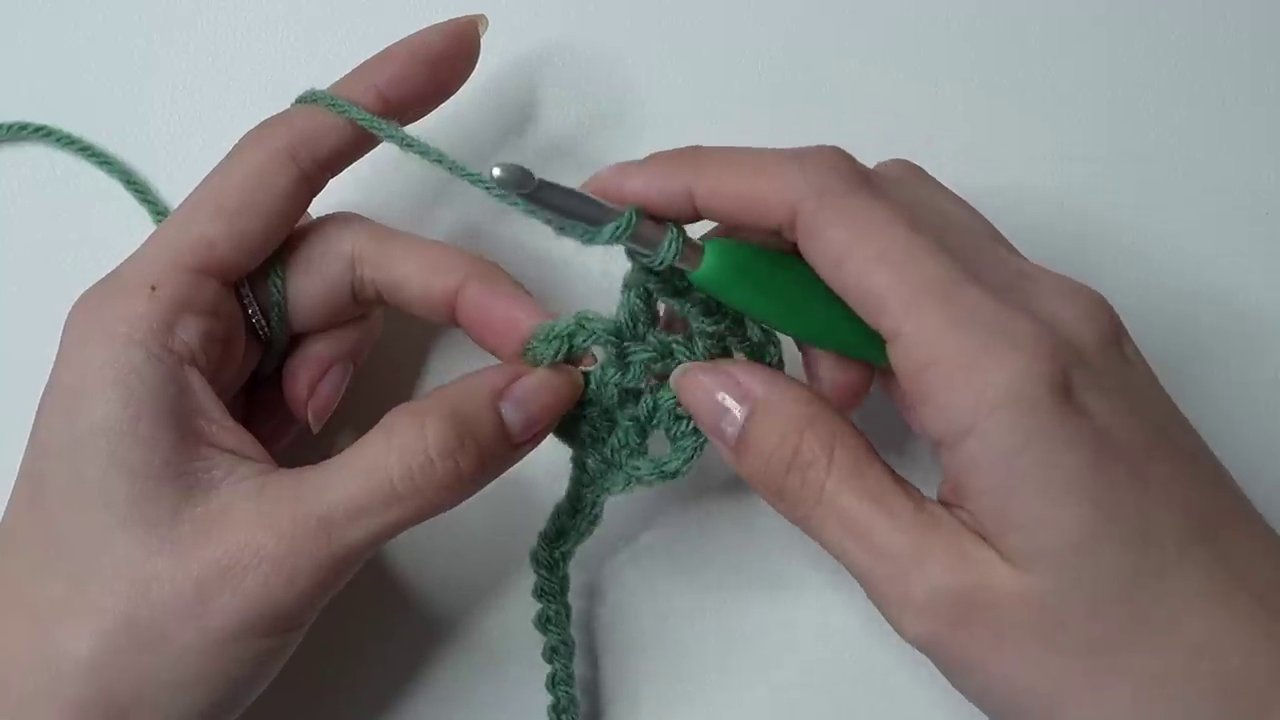
1. After turning, the chain-three you just made counts as your first double crochet. Therefore, skip the first actual stitch and work a double crochet into the next stitch (under the “V” at the top).
2. Chain one.
3. Work a double crochet into the following stitch.
4. Chain one.
5. For the final stitch of the row, instead of working into a stitch, work a double crochet into the chain space at the very end (the space created by the turning chains). A pro tip for straighter edges: when you insert your hook into this space, go a bit further out to the side rather than right next to the last stitch. This creates a consistent one-chain gap and gives a cleaner finish.
6. This sequence (chain three, turn, dc in next stitch, ch 1, dc in next stitch, ch 1, dc in end chain space) is repeated to build the mesh.
Continue repeating this row until the piece reaches your desired length. The hairband should span from ear to ear. Remember to account for stretching—make it slightly shorter than your exact head measurement. The creator’s piece, after 22 rows, was about 24 cm long, not including the straps.
Finishing the Mesh Section
When you are about two rows away from your desired total length, you will change the pattern to create a tapered finish that mirrors the starting point.
1. Second-to-Last Row: Chain two and turn. Work a double crochet into the next stitch, but do not chain one. Work a double crochet into the following stitch (again, no chain one). Finally, work a double crochet into the end chain space. This row closes up the mesh.
2. Final Row (Creating the Point): Chain two and turn. Skip the first stitch. You will now work a double crochet three together (dc3tog) over the last three stitches/spaces.
– Yarn over, insert hook into the next stitch, yarn over and pull up a loop, yarn over and pull through two loops (2 loops remain on hook).
– Yarn over, insert hook into the next stitch, yarn over and pull up a loop, yarn over and pull through two loops (3 loops remain on hook).
– Yarn over, insert hook into the final chain space, yarn over and pull up a loop, yarn over and pull through two loops (4 loops remain on hook).
– Yarn over and pull through all four loops on the hook. This decrease creates a neat point that matches the other end.
Completing the Second Strap and Finishing Off
- Just as you began, now chain 40 (or the same number you started with) to create the second strap.
- To fasten off, cut the yarn, leaving a short tail, and pull it through the loop on your hook to secure it.
- Take both yarn tails (from the beginning and the end) and line up the two straps. Trim the tails so they are even and neat.
Conclusion and Final Thoughts
And there you have it—a beautiful, handmade mesh hairband completed in roughly 10 minutes! This project perfectly demonstrates how a simple pattern can yield a stunning and practical accessory. Its customizable nature means you can make it with any yarn weight or color, adjusting the strap and mesh length for a perfect personal fit. This hairband is an excellent project for using up small amounts of leftover yarn and makes for a thoughtful, quick gift.
If you enjoyed this pattern and are looking for other lightweight, wearable projects, you might love the airy design of The Iris Crop Top. For more foundational skills that apply to many projects, the Grundl Basic Socks Guide is a fantastic resource for mastering working in the round and fit.
Thank you for following along with this tutorial. If you have any questions, feel free to ask in the comments. Happy crocheting