
Welcome to the wonderful world of crochet! If you’ve ever admired a cute amigurumi toy or a cozy scarf and wondered how to make one yourself, you’re in the right place. This guide is your first step, designed for absolute beginners with zero prior knowledge. We’ll walk you through everything from holding your hook to completing your first rows of stitches, setting you on the path to creating adorable projects like a duck or a dragon.
Getting Started: Your First Crochet Toolkit
Before you can begin your stitching journey, you’ll need to gather a few essential supplies. The good news is that starting crochet doesn’t require a huge investment. Here’s what you’ll need to follow along with this tutorial:
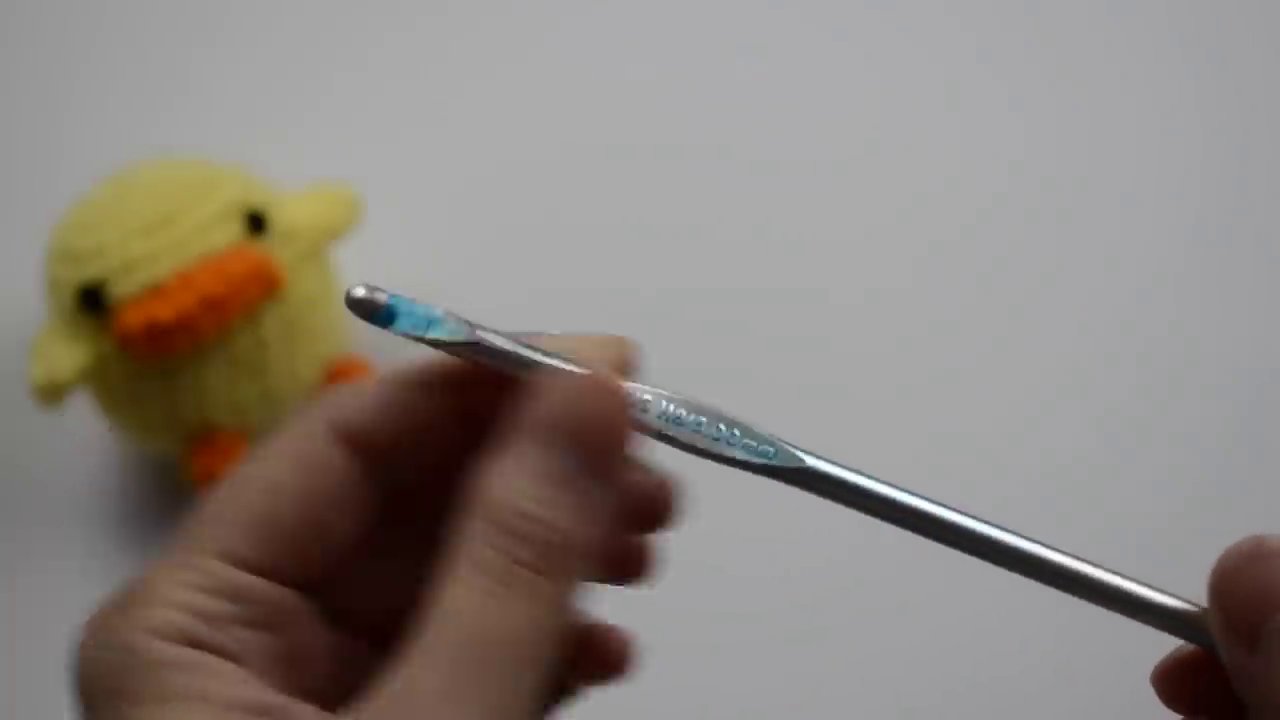
- A 5.0 millimeter crochet hook. This is a versatile, medium-sized hook that’s perfect for beginners and is commonly used for amigurumi projects.
- Worsted weight acrylic yarn. A great, affordable choice is Red Heart Super Saver yarn. For your first project, it’s best to choose a light-colored yarn so you can easily see your stitches.
- A pair of scissors for cutting your yarn.
With your materials ready, the first skill to master isn’t a stitch—it’s how to hold your tools comfortably and efficiently.
The Foundation: Holding Your Hook and Yarn
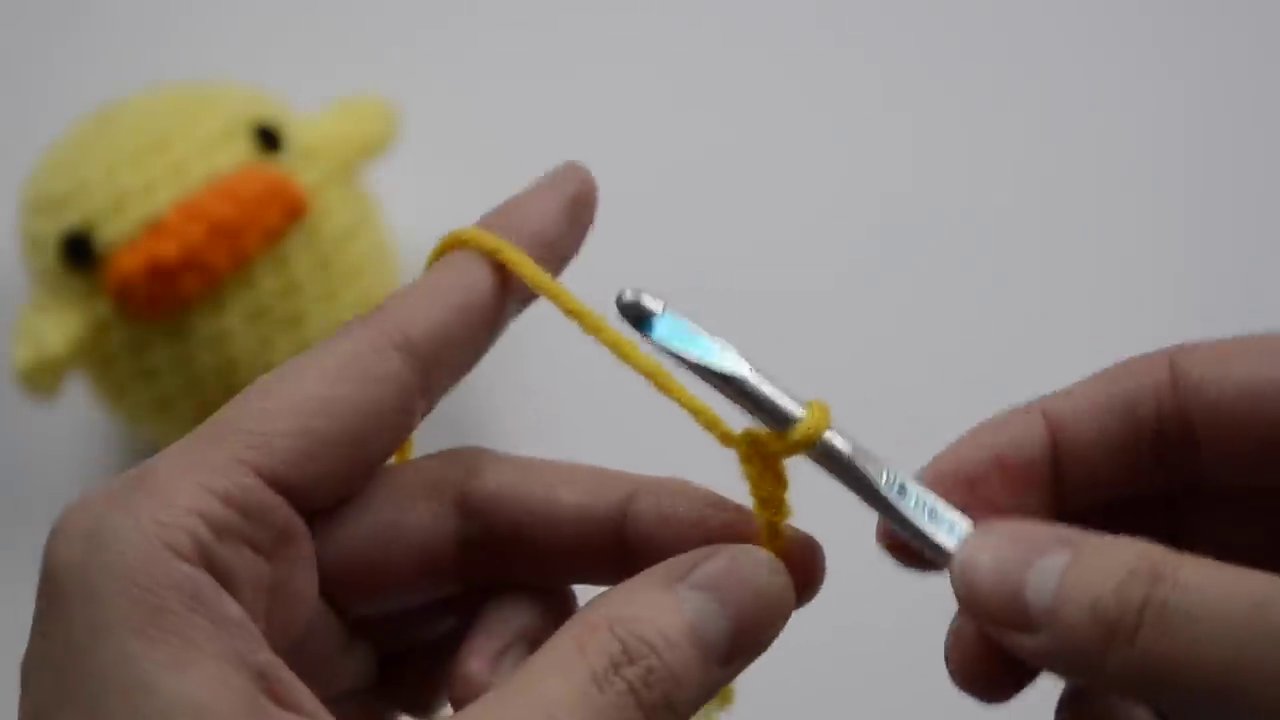
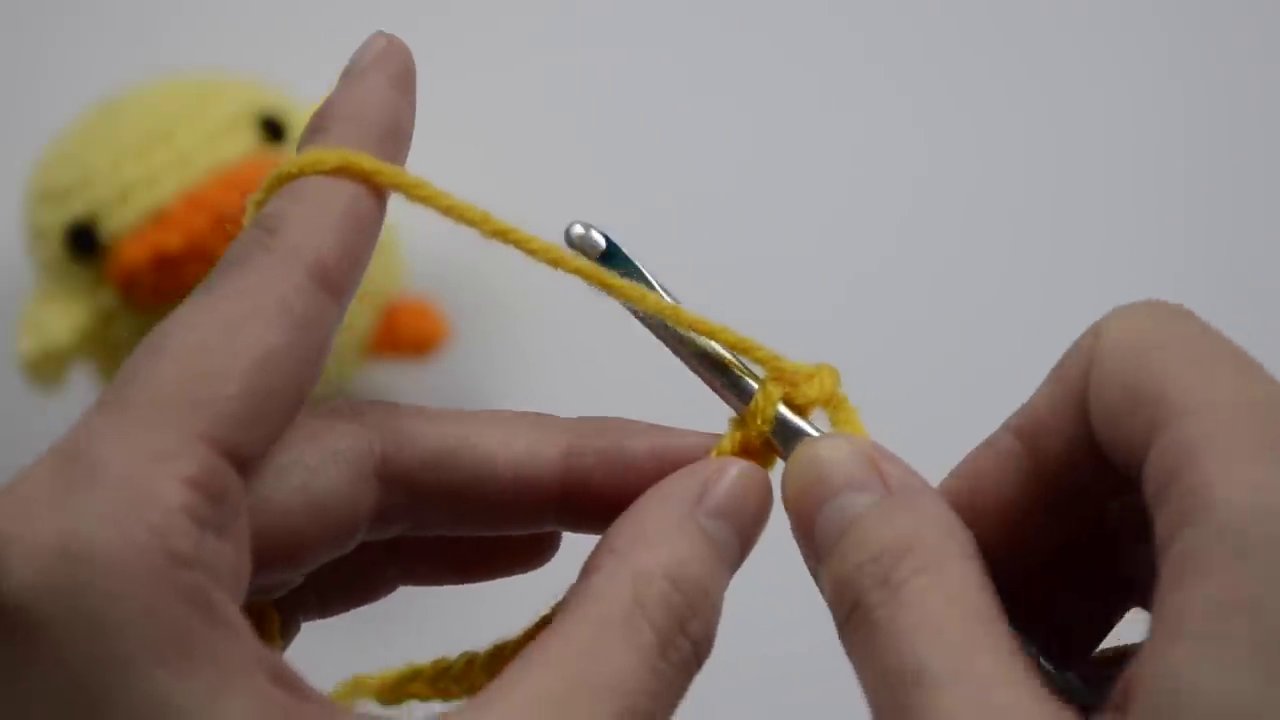
There is no single “correct” way to hold a crochet hook; it’s about what feels natural and gives you control. Most crocheters use one of two common grips:
- The Pencil Grip: Holding the hook as you would a pencil, between your thumb and index finger, resting on your middle finger.
- The Knife Grip: Holding the hook like a dinner knife, with your palm over the top.
The instructor in our tutorial prefers and demonstrates the knife grip, as it can feel more stable for many beginners. The most important thing is to find a relaxed hold that doesn’t strain your hand.
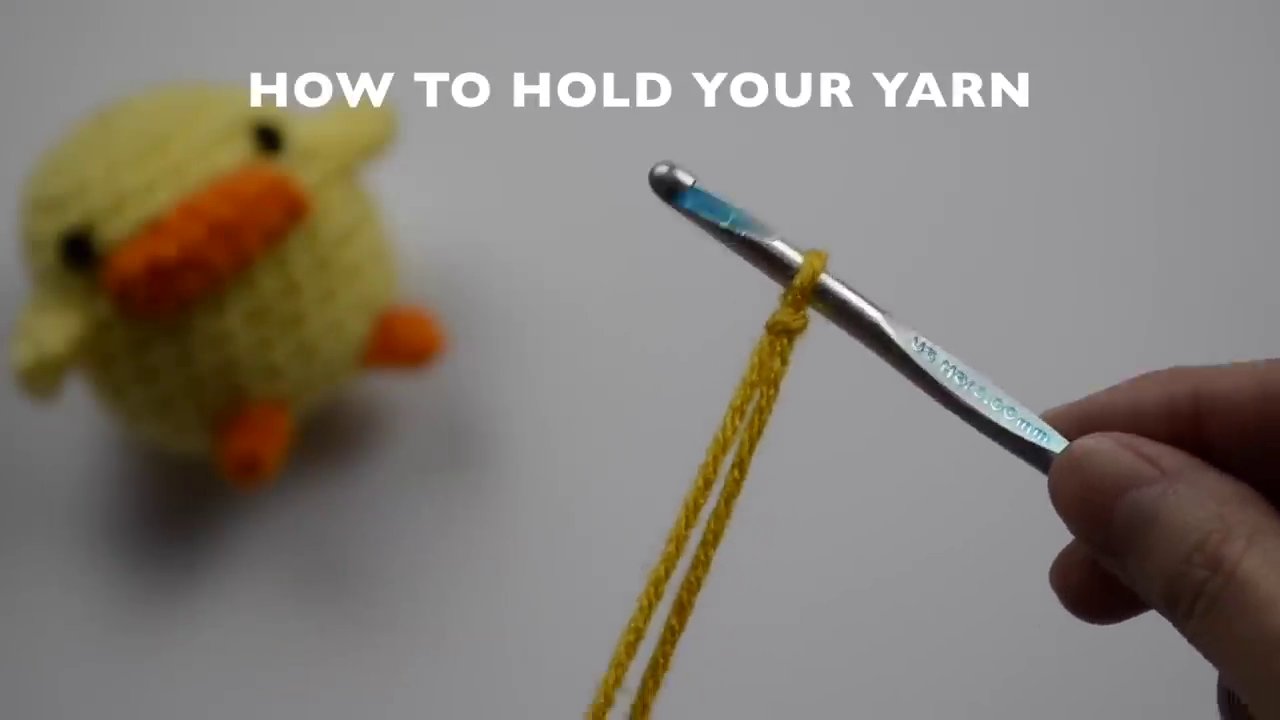
Once you’re comfortable with the hook, you need to manage your yarn to maintain consistent tension—the key to even stitches. Here’s a simple method:
- Drape the working yarn (the part connected to the skein) over your pinky finger.
- Bring it under your ring and middle fingers, then over your index finger.
- Use your thumb and middle finger to pinch the base of your starting knot. This creates tension on the yarn running over your index finger, which you can adjust by raising or lowering that finger.
Step 1: Creating a Slip Knot and Your First Chains
Every crochet project begins with a slip knot, which attaches the yarn to your hook. Here’s an easy method:
- Make a loop with the yarn around your first two fingers.
- Pull a second loop of the working yarn through the first loop from behind.
- Place this new loop on your hook and gently pull the tail to tighten the knot snugly, but not tightly, against the hook. This knot is adjustable.

Now you’re ready to learn the chain stitch (ch), the backbone of most crochet projects. It forms the starting foundation for your work.
- With the slip knot on your hook and your yarn held for tension, bring the hook under and then over the yarn on your index finger. This is called a “yarn over” (yo).
- With the yarn caught on the hook, look downward with your hook and pull that new loop through the existing loop on your hook.
- You’ve made one chain stitch! Repeat this process: yarn over, pull through.
Your first practice task is to make 100 chain stitches. Don’t worry if they look uneven or loose at first. Focus on keeping the loop on your hook small and consistent. This builds the muscle memory you need. As with any new skill, practice makes perfect.
Step 2: Mastering the Single Crochet Stitch
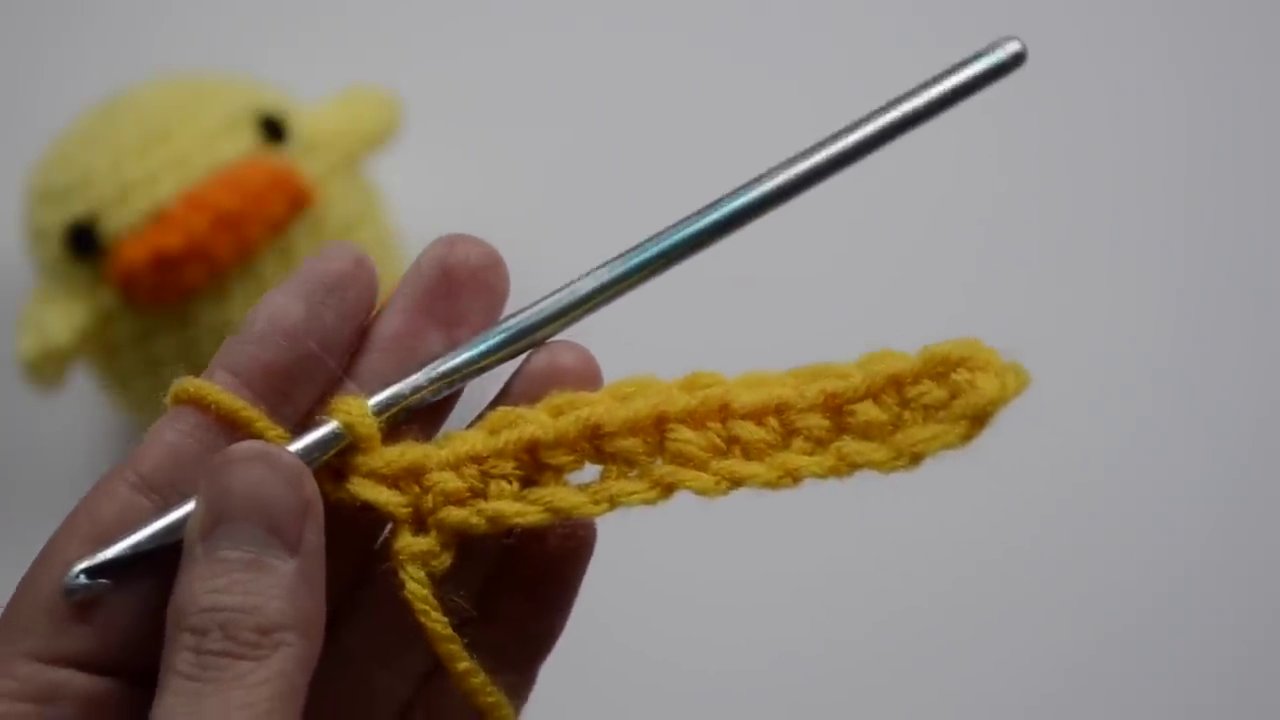
Once you’re comfortable with chains, you can progress to the single crochet stitch (sc), one of the most fundamental and frequently used stitches in crochet. Let’s practice it in rows to create a small swatch of fabric.
- First, make a foundation chain of 11 stitches.
- Locate the second chain from the hook. You will not work into the first chain right next to the hook.
- Insert your hook under the top loop of that second chain.
- Yarn over and pull up a loop. You should now have two loops on your hook.
- Yarn over again and pull through both loops on your hook.
Congratulations! You’ve completed one single crochet. Continue working one single crochet into each chain across. When you reach the end, you should have 10 single crochet stitches.
Step 3: Turning Your Work and Building Rows
Crochet is built in rows (or rounds). To start a new row, you need to turn your work.
- At the end of a row, make one chain stitch (this is called a turning chain).
- Turn your entire project clockwise, so you are now looking at the back of your previous row.
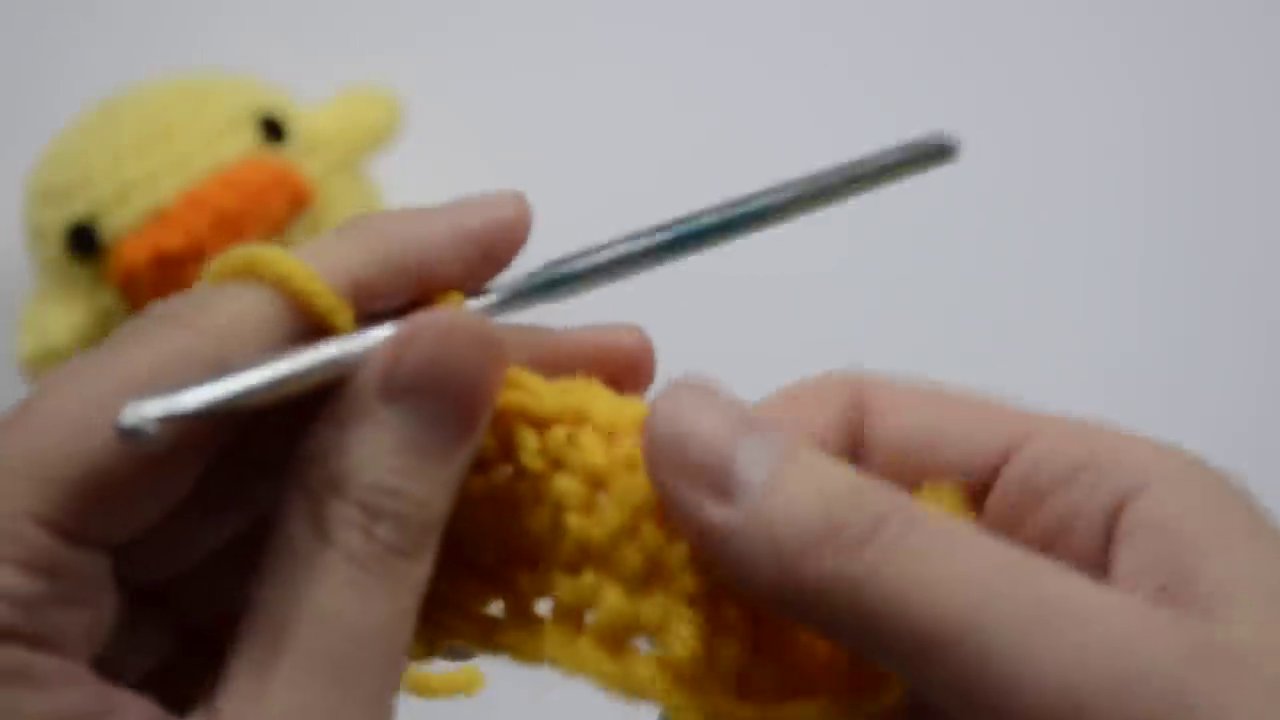
- For the second row, you will work into the stitches you just made, not the chains. Insert your hook under both top loops of the first single crochet from the previous row.
- Complete a single crochet stitch (yarn over, pull up a loop, yarn over, pull through two loops).
- Continue working one single crochet into each stitch across the row.
Remember to count your stitches at the end of each row to ensure you haven’t accidentally skipped one. This second row should also have 10 single crochet stitches. Repeat the process—chain one, turn, single crochet across—to create a third row and beyond.
This simple back-and-forth motion is how you can create anything from a scarf to the panels of an amigurumi toy. The fabric you’re making with single crochet is sturdy and perfect for beginner projects like the FREE Strawberry Crochet Pattern or the cute components for Sunny the Elephant.
Practice Makes Perfect: Your Next Steps
You’ve learned the core skills: making a slip knot, chaining, and the single crochet stitch. The key to proficiency is repetition. Keep practicing your chains until they are even. Make swatches of single crochet, focusing on maintaining consistent tension and counting your stitches.
When you feel confident with these basics, you’re ready to follow a simple pattern! The tutorial mentioned a beginner-friendly duck amigurumi pattern that uses these exact skills at a slow, easy-to-follow pace. This is the exciting leap from practicing stitches to creating a real, cuddly object.
As you progress, you can explore patterns that build on these basics, like the charming Cuddly Caterpillars which use simple shapes and stitches.
Conclusion
Starting your crochet journey begins with mastering a few simple techniques: holding your tools, creating a foundation chain, and working the single crochet stitch. Remember, every expert crocheter started with a first slip knot and a row of uneven chains. Be patient with yourself, embrace the practice, and soon the motions will feel natural. You now have the foundational knowledge to read beginner patterns and start creating. Pick up your hook, practice your 100 chains, and get ready to bring your first crochet project to life