
Welcome to the foundational step of every crochet journey. Before you can create beautiful amigurumi, cozy garments, or intricate accessories, you need to master the very basics: how to hold your hook and yarn. This seemingly simple skill is the cornerstone of successful crochet, directly influencing your tension, stitch uniformity, and overall enjoyment of the craft. In this comprehensive guide, we’ll break down the exact techniques, from forming the initial slip knot to maintaining consistent yarn control, ensuring your first project—and every one after it—starts on the right foot.
The Crucial First Step: Creating a Secure Slip Knot
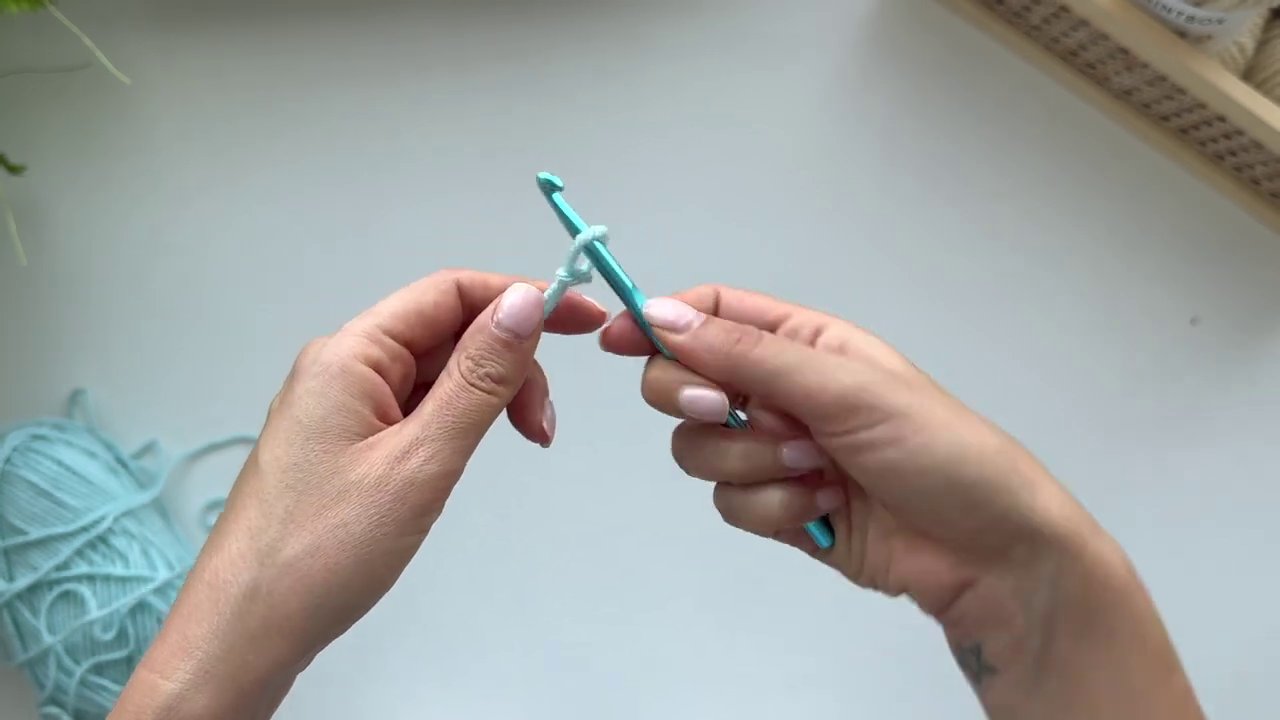
Every crochet project begins with a single loop on your hook, and that starts with a proper slip knot. This adjustable knot is your anchor point, and getting it right sets the stage for your entire foundation chain.
- Start by crossing the yarn over itself to form a loop.
- Pull the working yarn (the yarn leading back to the ball) through the front of that loop from behind.
- Gently tighten the knot by pulling on both the tail and the working yarn, leaving a loop that can slide easily.

This creates a secure but adjustable base. You’ll then insert your crochet hook into this loop, ready to begin working. Remember, the slip knot itself does not count as your first chain stitch.
The Foundation of Control: How to Hold Your Crochet Hook
Think of your crochet hook as an extension of your hand. The goal is to find a grip that is comfortable, provides good control, and doesn’t cause strain during long crafting sessions. The most common and recommended method for beginners is the knife hold.
- Position: Hold the hook much like you would hold a fork or a pencil for writing. Place your thumb on the flat grip area of the hook.
- Grip: Rest the hook against your hand and clasp the shaft gently with your fingers. Your index finger may extend along the hook for added stability and control.
- Comfort is Key: The grip should feel natural and relaxed. Avoid clenching too tightly, as this will lead to hand fatigue. The hook should pivot and move easily in your hand as you work stitches.
This method offers excellent maneuverability for the various motions of crochet, especially the yarn-over action that forms the basis of most stitches.
The Heart of Consistency: Mastering Yarn Tension with Your Non-Dominant Hand
While your hook hand does the stitching, your other hand is the conductor of your yarn supply. Proper yarn management is the single most important factor in achieving even, professional-looking stitches. Consistent tension means all your stitches will be the same size, creating a uniform fabric.
Let’s walk through the setup step-by-step:
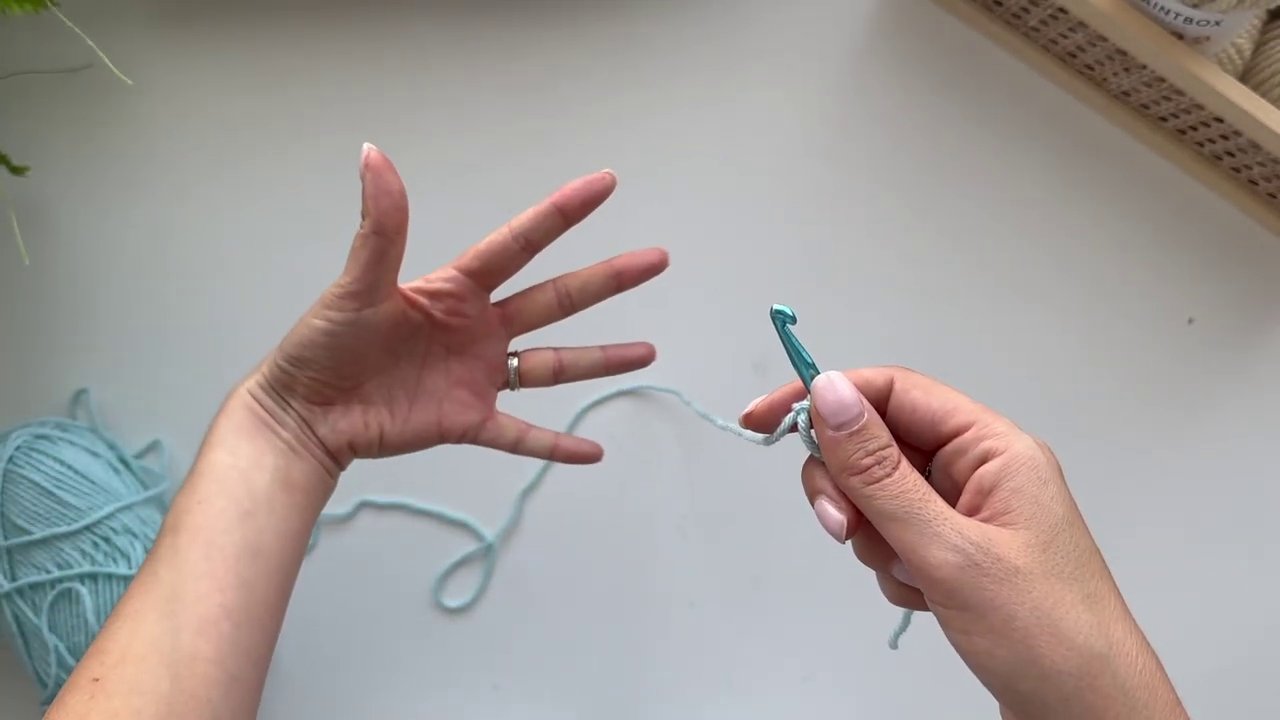
- Position Your Hand: Hold your non-dominant hand out, palm facing you.
- Lay the Yarn: Take the working yarn (coming from the slip knot and ball) and drape it across your palm, over your ring finger, middle finger, and index finger.
- Create the Guide: Wrap the yarn around your index finger once. Your index finger will now be slightly raised, pointing at about a 45-degree angle. This finger becomes your primary tension guide and yarn feeder.
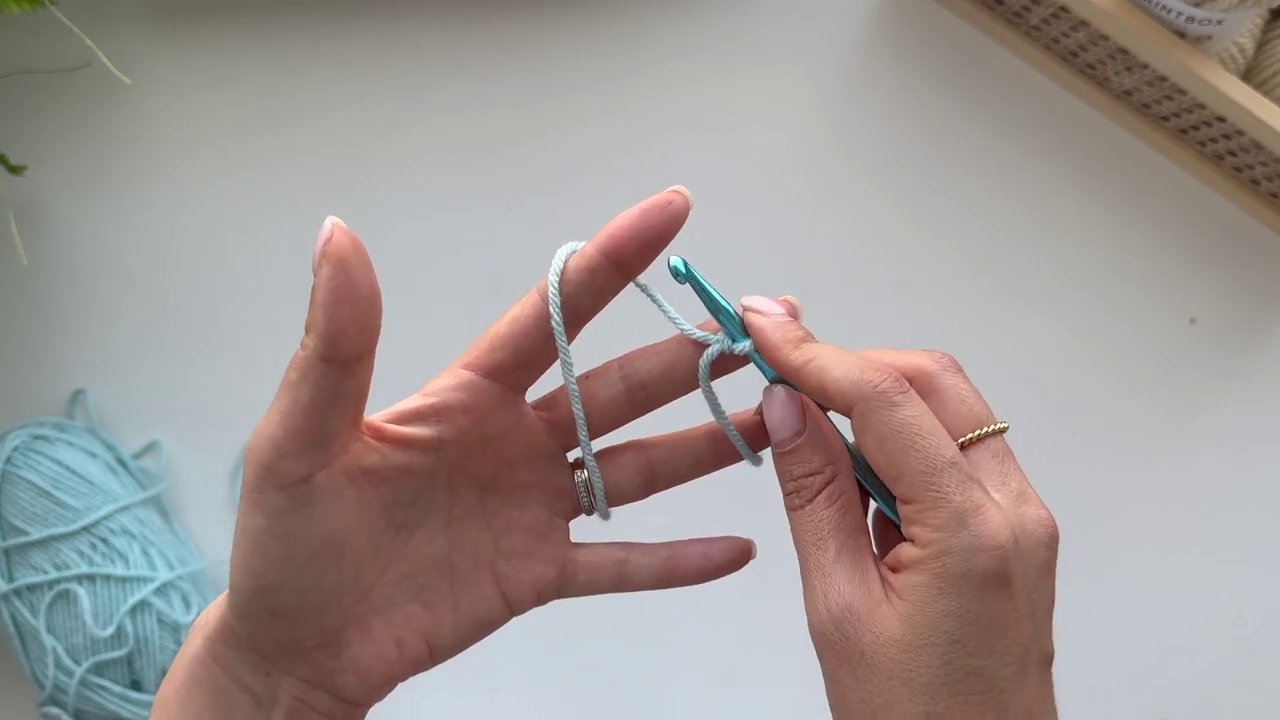
- Secure the Flow: Place your middle finger gently on top of the yarn strand in your palm to help anchor it. Then, bring your thumb down to meet your middle finger, lightly pinching the base of your starting slip knot or the work in progress.
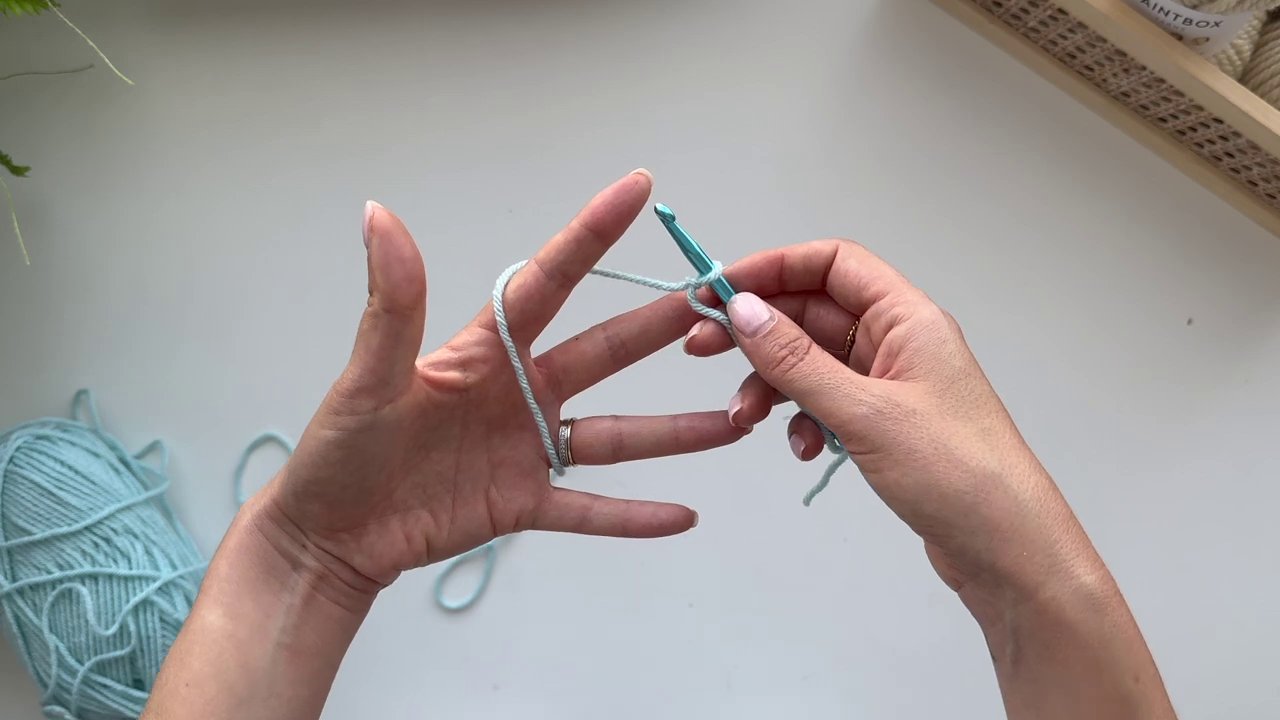
This configuration gives you complete control. The tension is created by the slight drag of the yarn over and around your index finger.
- To tighten tension: Apply gentle upward pressure with your index finger or increase the pinch between your thumb and middle finger.
- To loosen tension: Relax your index finger and loosen the pinch.
Why is this so critical? If your tension is too tight, your stitches will be small, stiff, and difficult to work into. If it’s too loose, your fabric will be floppy and uneven. Perfecting this control from the start is what makes projects like a delicate Baby Cardigan in Lion Brand Touch Of Linen or a structured Striped Pouch possible.
Putting It All Together: Your First Stitches and Maintaining Flow
With your hook in one hand and your yarn tensioned in the other, you’re ready to make your first foundation chain. As you begin to yarn over and pull through loops, you’ll quickly encounter the next vital skill: adjusting your grip as you work.
A common beginner mistake is to clamp down with the thumb and middle finger and never move them. This causes the working area to get shorter, tighter, and messy.
- The Adjustment: As you work new stitches and your fabric grows, you must periodically release and readjust your pinching fingers. Open your thumb and middle finger, let the worked fabric slide forward, and then re-pinch closer to the hook where the active stitch is.
- The Motion: This becomes a fluid, rhythmic motion: stitch, adjust, stitch, adjust. You’ll move your pinching fingers up the fabric, always keeping a comfortable length of worked material behind the hook to maintain smooth yarn flow.
This practice is essential for all projects, whether you’re working on long rows for a blanket or in the round for adorable Cuddly Caterpillars. It prevents your work from becoming tense and allows you to maintain the consistent gauge you’ve set with your yarn hand.
Practice Makes Perfect: Drills for Muscle Memory
Understanding the technique is one thing; building the muscle memory is another. Don’t rush to start a complex pattern. Instead, dedicate time to practice these holds.
- Chain Drill: Create a slip knot and practice making a foundation chain that is 20-30 stitches long. Focus only on the feel of the hook in your hand and the smooth feed of yarn over your index finger. Don’t worry about speed.
- Tension Drill: As you chain, consciously practice varying your tension. Make a few stitches tighter by lifting your index finger, then make a few looser by relaxing it. Observe the difference in stitch size. Aim to find the middle ground where the hook moves through loops easily but the stitches are firm and defined.
- Adjustment Drill: Work another long chain, but this time, count your stitches. Every 5 stitches, consciously perform the adjustment: release your grip, slide the work, and re-pinch. This will help build the habit.

You’ll know you’re getting it right when your foundation chain looks like a neat, even series of V’s, with all stitches uniform in size. This perfect chain is the launchpad for every successful project.
Conclusion: Your Crochet Journey Starts Here
Mastering how to hold your crochet hook and yarn is not just a preliminary step—it is the fundamental skill that underpins everything else in crochet. By investing time in perfecting your slip knot, adopting a comfortable knife grip, and learning to control your yarn tension with your non-dominant hand, you are building the foundation for a lifetime of enjoyable crafting. Remember the key takeaways: prioritize comfort, focus on consistent tension, and always adjust your grip as you work. With these techniques internalized, you’ll find that complex stitches and beautiful patterns, from a simple FREE Strawberry Crochet Pattern to intricate wearables, will become much more accessible. So pick up your hook, wrap your yarn, and start chaining with confidence. Your first perfect project awaits.