
Welcome to the wonderful world of crochet! Whether you’re an absolute beginner or someone looking for a refresher, this guide will walk you through everything you need to know to get started. Based on the first video in a comprehensive series by Sarah Jane, we’ll cover the essential tools, how to prepare your yarn, and the foundational first steps: the slip knot and chain stitch. By the end of this article, you’ll be ready to pick up a hook and yarn with confidence.
Gathering Your Crochet Toolkit
Before you can create anything, you need the right tools. Don’t worry—the shopping list is short and simple. The first and most important item is your yarn. For beginners, Sarah Jane recommends using an Aran Weight yarn or a DK (Double Knit). These are medium-weight yarns that are easy to see and handle, making the learning process much smoother.
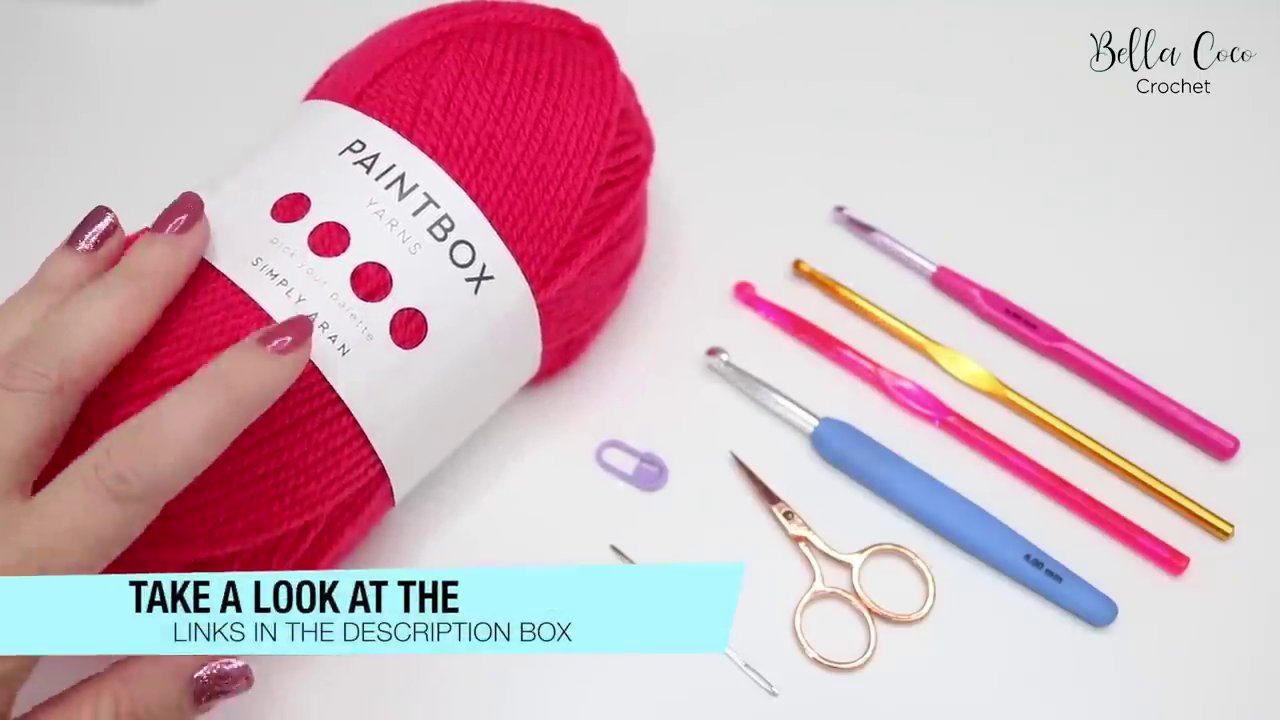
The yarn label is your best friend. It will tell you exactly what size crochet hook you need. For instance, the yarn Sarah uses recommends a 5mm hook. You might see different numbering systems (like US size 8 or UK size 6) on the label; this is due to regional terminology differences (UK vs. USA). Just focus on the millimeter (mm) measurement for clarity.
Next, you’ll need the hook itself. They come in various materials like aluminium, acrylic, and plastic, often with different handle designs for comfort.
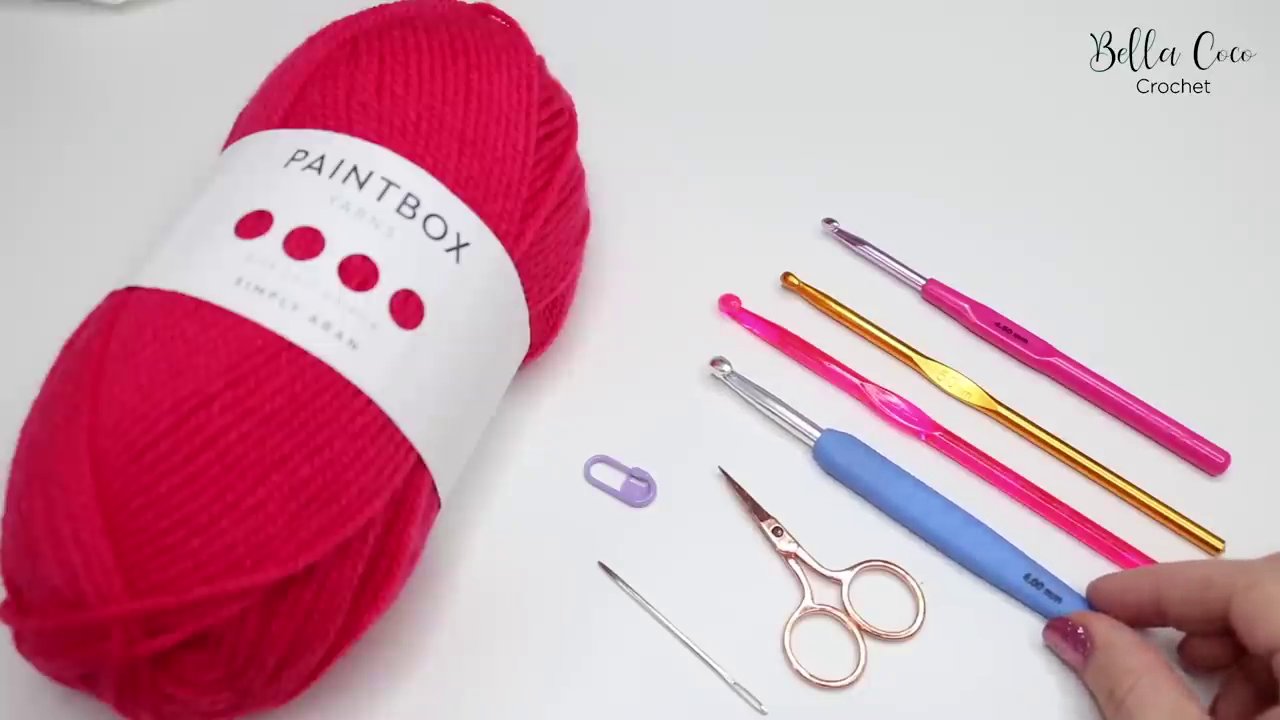
Sarah suggests starting with a hook that has an aluminium head, as it glides through the yarn more easily than plastic or acrylic, helping you maintain better control as you learn.
Finally, round out your starter kit with a pair of scissors and a darning needle for weaving in ends later. A stitch marker can be handy but isn’t essential for your very first steps. All these tools are readily available at craft stores or online, and having them ready will make your first crochet session a breeze. Once you’re comfortable with the basics, you can explore patterns for adorable projects like these Cuddly Caterpillars in Bernat Handicrafter Cotton Solids or a sweet FREE Strawberry Crochet Pattern.
Preparing Your Yarn for Success
With your tools assembled, it’s time to prepare your yarn. Start by removing the paper band. Then, unravel a generous amount of yarn from the skein. This step is crucial for maintaining good tension—if the yarn is pulling tightly from the center of the ball, your stitches will become too tight and difficult to work with.
You can choose to work from the center pull (pulling the yarn from the inside of the skein) or from the outside. There’s no right or wrong way; it’s purely personal preference. The key is to ensure the yarn flows freely without tugging or snagging. Taking a moment for this preparation will save you frustration and help you create even, beautiful stitches from the very beginning.
Mastering the Foundational Slip Knot
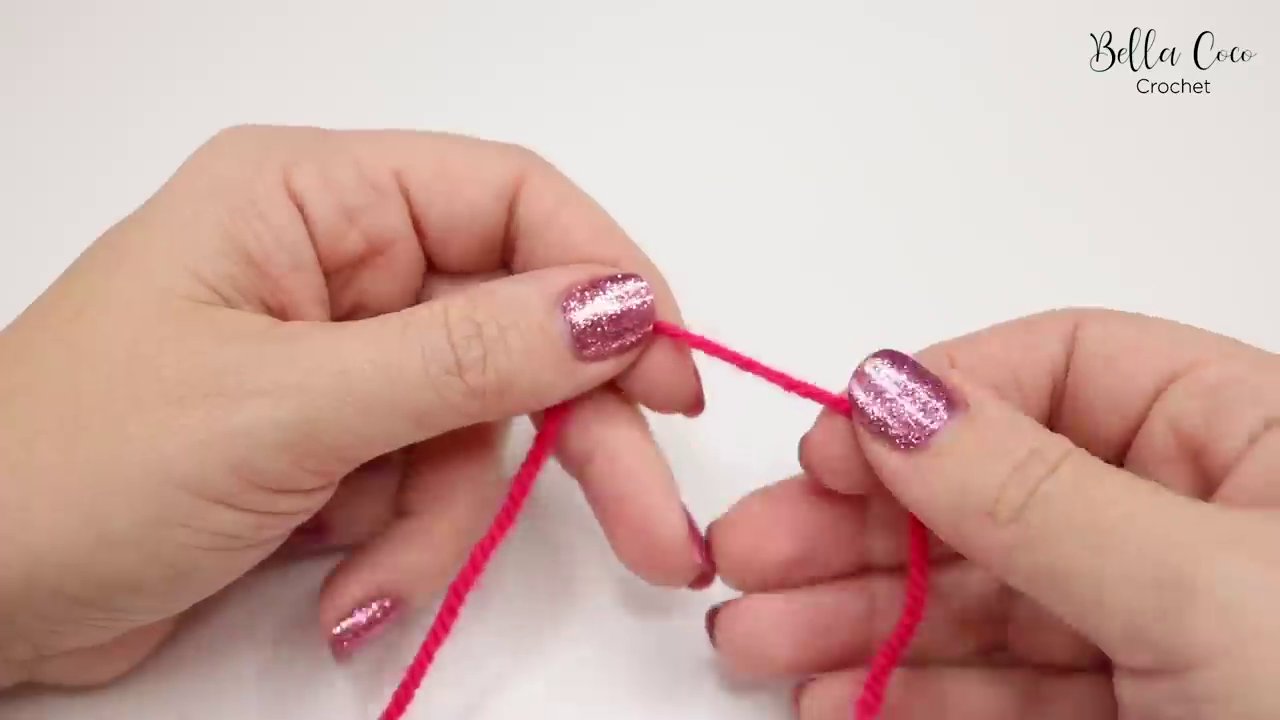
Every crochet project begins with a slip knot. This adjustable loop is what secures your yarn to the crochet hook. Here’s how to create one, step by step:
- Take the cut end of your yarn and wrap it around your index finger to form a loop.
- Bring the strand forward to create an “X” shape and pinch this intersection between the thumb and finger of your other hand.
- With your free hand, grab the yarn that is attached to the main ball.
- Wrap this working yarn around your finger again, creating a second loop behind the first.
- Pinch this new loop as well.
- Take this back loop and pull it over the front loop and off your finger.
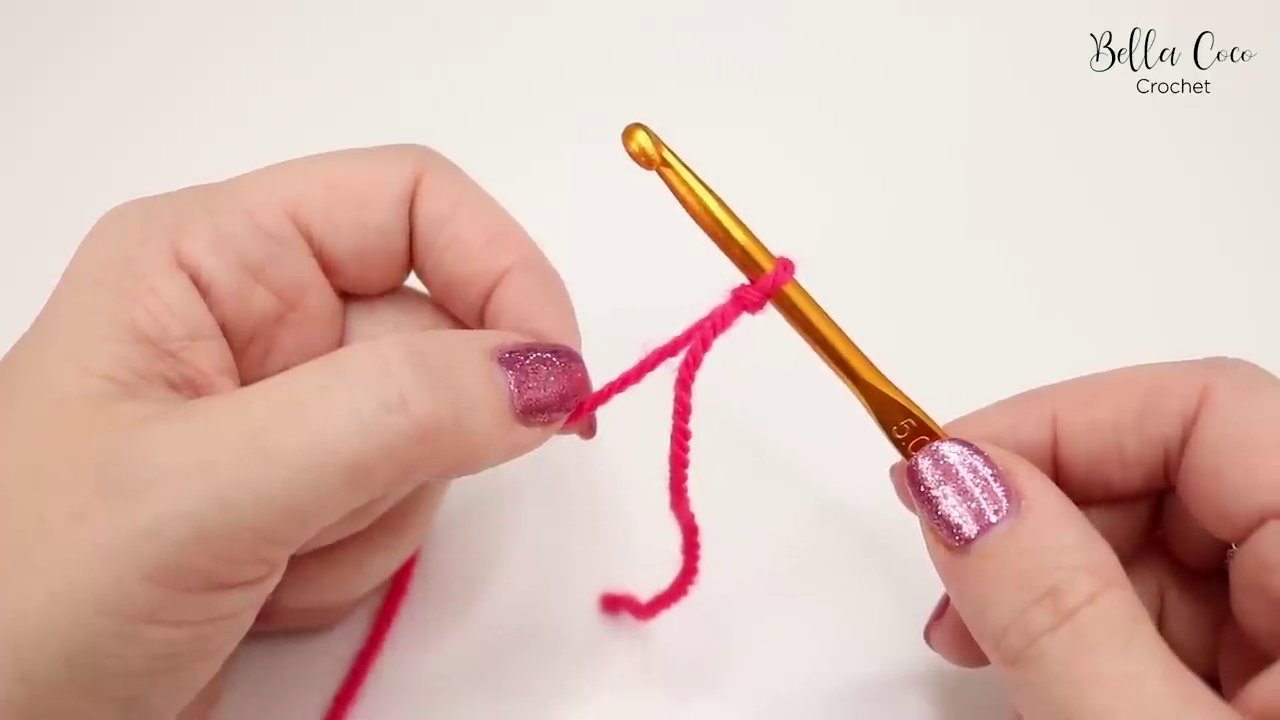
You should now have a perfect slip knot with a tail. Gently pull on the tail to tighten the loop around your finger, then slide it off. This loop is ready for your crochet hook.
Your First Stitch: The Chain (CH)
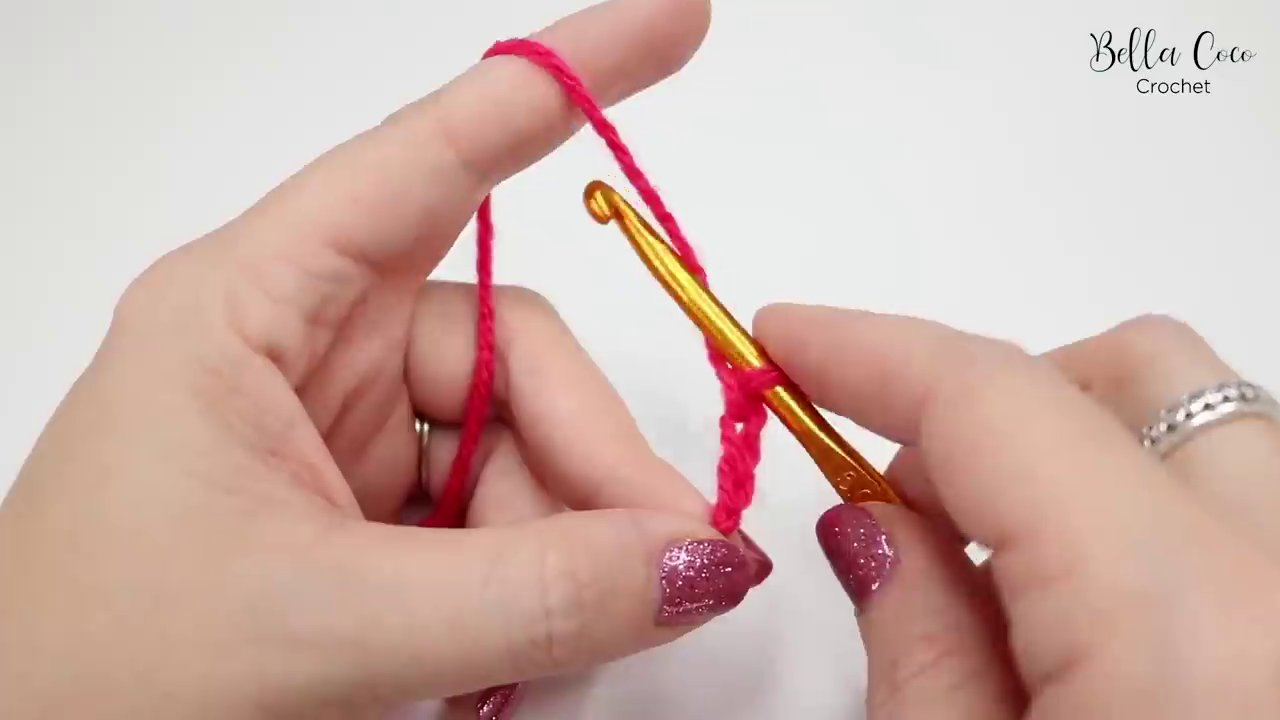
The chain stitch (often abbreviated as ch) is the backbone of crochet. It forms the starting foundation for almost every project. To begin, insert your crochet hook into the slip knot and pull down on the attached yarn to snug the knot onto the hook.
First, find a comfortable way to hold your hook and yarn. There are two common holds:
– The Knife Hold: Gripping the hook like you would hold a knife while eating.
– The Pencil Hold: Holding the hook as you would a pencil.
Try both to see what feels natural. For holding the yarn, Sarah’s method is to weave it around the little finger and then over the index finger of the hand holding the yarn. This helps control tension. Then, use your thumb and middle finger to pinch the slip knot on the hook.
Now, you’re ready to chain! The action is called “yarn over” (yo). Here is the process:
1. With the yarn in front of your hook, wrap it over the hook from back to front.
2. Use the hook to catch this yarn.
3. Pull the hook (with the caught yarn) back towards you and through the loop that is already on your hook.
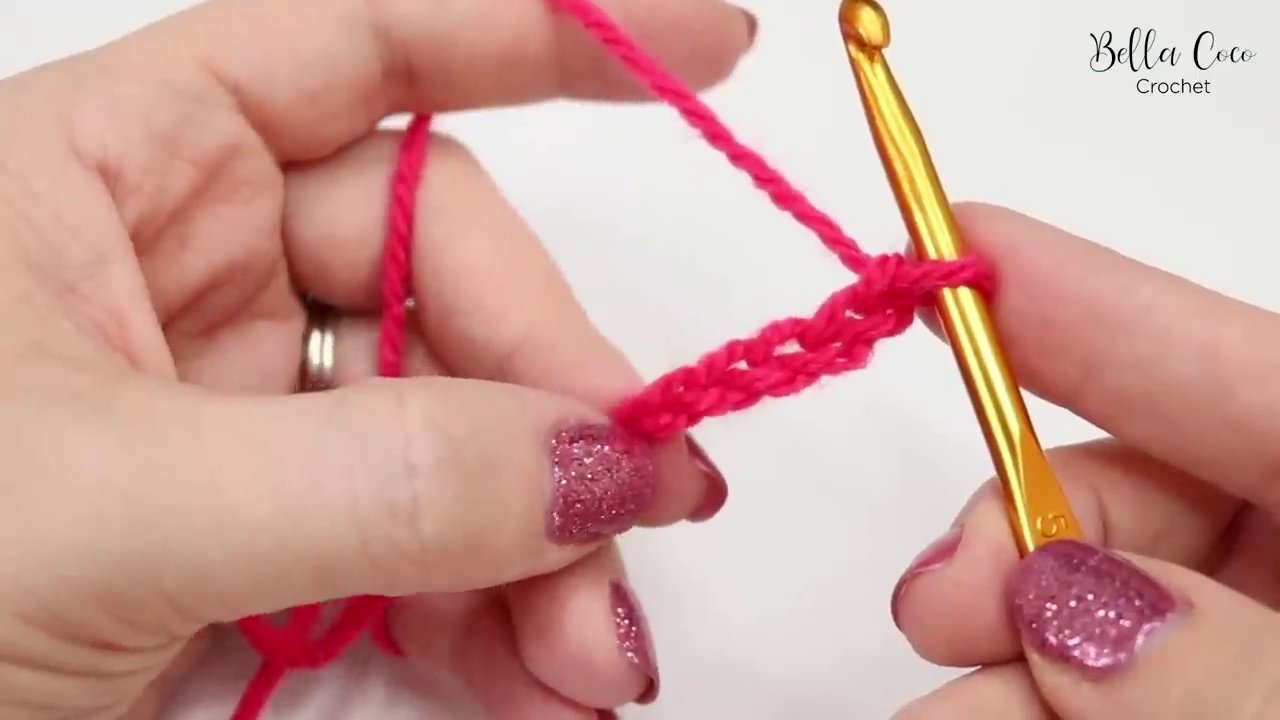
That’s one chain stitch! Repeat this process: yarn over, pull through the loop. Practice until you have a chain of ten stitches.
As you work, remember to move your pinching fingers up along the chain to maintain consistent tension. This prevents the chain from becoming too tight or too loose.
Understanding Your Work and Troubleshooting
Once you have a chain, take a close look at it. From the top, each stitch looks like a “V”. Each “V” has a top loop and a bottom loop. If you turn the chain over, you’ll see a series of bumps running along the back; these are called the back bumps.
As a beginner, you might encounter two common issues:
– Stitches Too Tight: If you can’t easily insert your hook back into a stitch, you are pulling the yarn too tightly after each yarn over. The solution is to consciously ease up on your tension.
– Stitches Too Loose: If your chain is wobbly and uneven, you might be pulling too much yarn through the loop or not maintaining enough tension with your yarn hand. Try pinching the work more securely.
The key is practice. Make several chains, focusing on creating even, medium-tension stitches. This foundational skill is critical for all future techniques. Once you’re confident with your chains, you’ll be ready to build actual stitches on top of them, which is the first step toward creating real projects, from simple dishcloths to a charming Striped Pouch.
Conclusion: You’re Ready to Crochet!
Congratulations! You’ve taken the most important first steps in learning to crochet. You now know how to gather your essential tools, prepare your yarn, tie a slip knot, and create a foundation chain. Remember, consistency comes with practice, so don’t be discouraged if your first chains aren’t perfect. The goal is to become comfortable with the hook, the yarn, and the basic motions.
In the next part of this series, you’ll learn how to work back along your foundation chain to create your first real stitch. In UK terms, this is called a double crochet (dc), and in US terms, it’s a single crochet (sc). This stitch will form the fabric of your projects and open the door to creating endless handmade items. Keep practicing your chains, and you’ll be more than prepared to continue your crochet journey. Happy hooking