There’s something deeply satisfying about making something sacred with your own hands. When you’re crafting for Ladu Gopalji — the beloved infant form of Krishna — every stitch carries intention. A woolen poshak isn’t just a garment; it’s an offering. And if you’ve been searching for a clear, beginner-friendly guide to crochet one in size 4-5, this tutorial walks you through the process from the very first loop to the final finish.
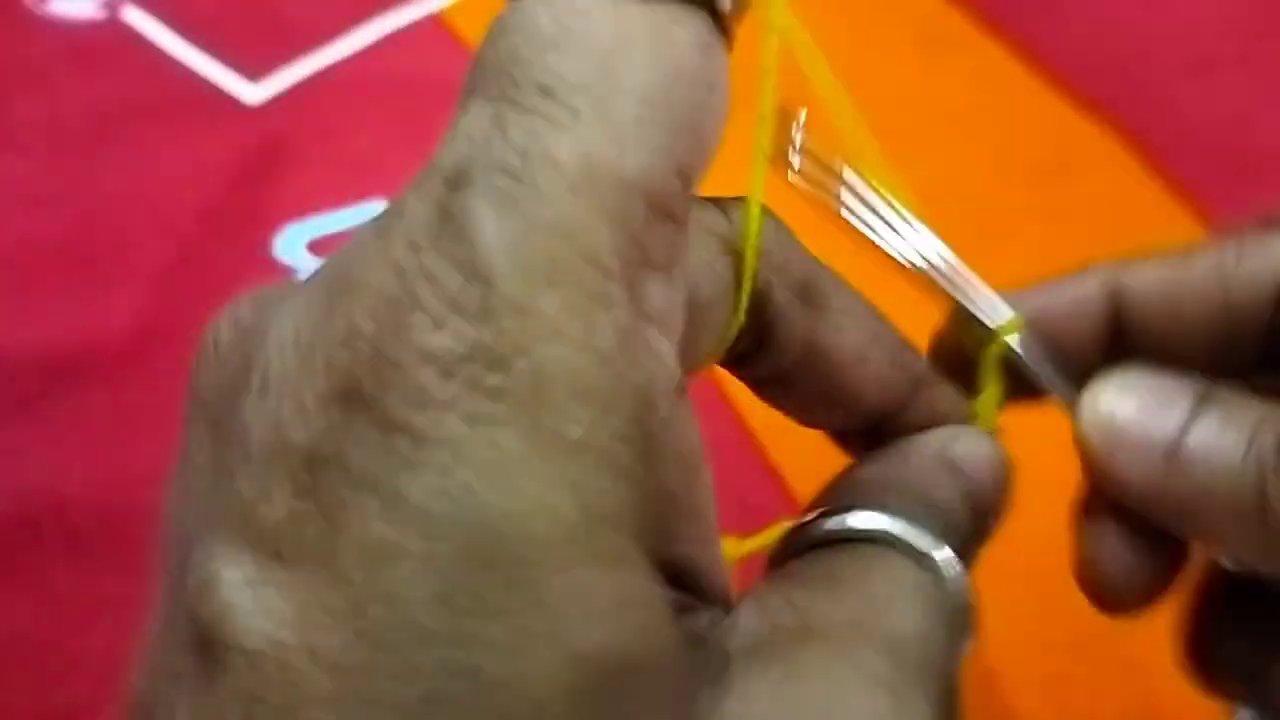
The video opens with a close-up of hands holding bright yellow yarn against a backdrop of red and orange fabric patterned with white designs. A silver bracelet catches the light on one wrist; a gold ring gleams on a finger. The crochet hook moves with steady rhythm, and right away, you know you’re in good hands. No dramatic intro, no lengthy preamble — just the work itself.
Getting Started: What You’ll Need
Before you pick up your hook, gather your materials. The tutorial uses two main colors: pink and yellow. These are classic, festive choices for a poshak, but you can absolutely adapt them to match your own deity’s preferences or the season. A bright saffron, a deep maroon, or even a soft cream would all work beautifully.
You’ll need:
- Medium-weight wool or acrylic yarn in your chosen colors
- A crochet hook that matches your yarn weight (typically 3.5mm to 4.5mm for worsted weight)
- Scissors
- A tapestry needle for weaving in ends
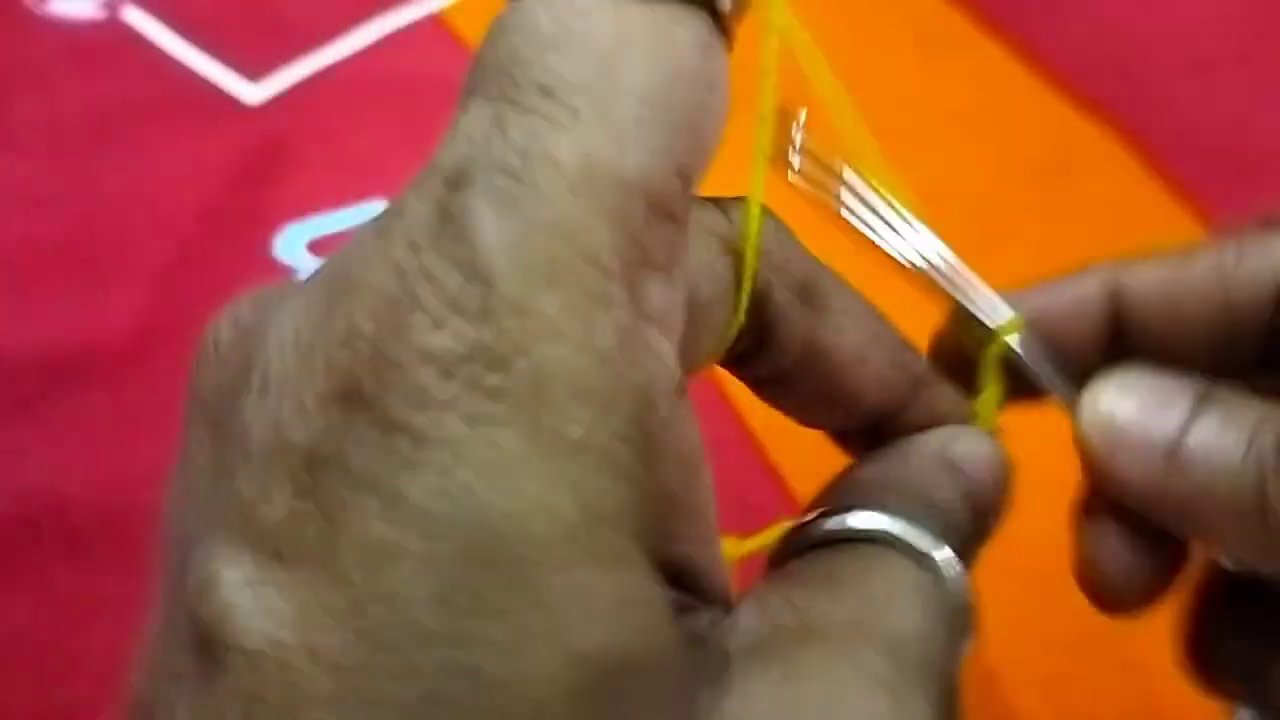
The hook is held in the right hand, the yarn tensioned in the left. If you’re used to the opposite grip, don’t worry — the technique is the same either way. What matters is consistency in your tension.
Starting the Circle: The Foundation
The poshak is worked in the round, beginning at the neckline and moving downward. This is where things get interesting. You start with a magic ring — that adjustable loop that lets you pull the center tight so there’s no gap. If you’ve never done a magic ring before, practice it a few times. It’s one of those skills that feels awkward at first and then clicks.
The first few rows are worked entirely in pink. Single crochet stitches build a small circle, and you increase evenly to keep the work flat. The video shows each stitch in extreme close-up, which makes it easy to see exactly where the hook enters and how the yarn wraps.
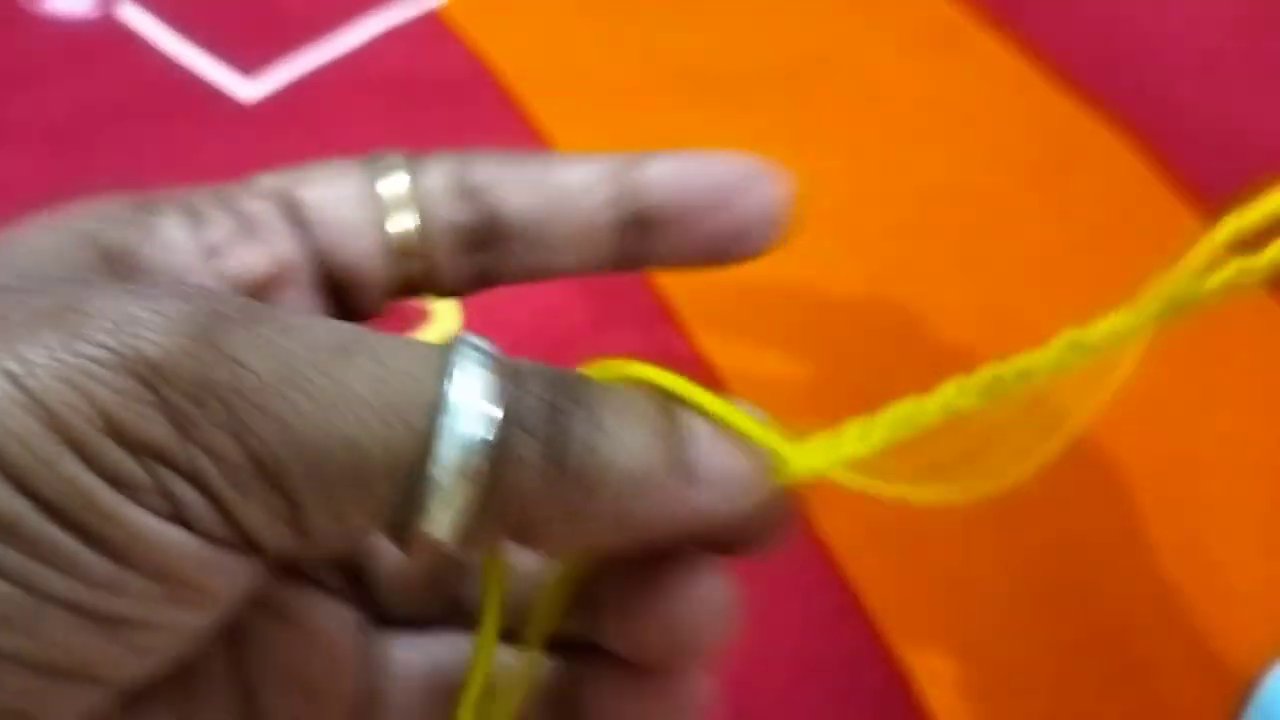
One thing I love about this tutorial: the hands never block the view. The camera stays tight on the work, so you’re never guessing what comes next. That’s rare in crochet videos, and it makes a huge difference when you’re learning.
Adding the Yellow: Color Changes and Pattern
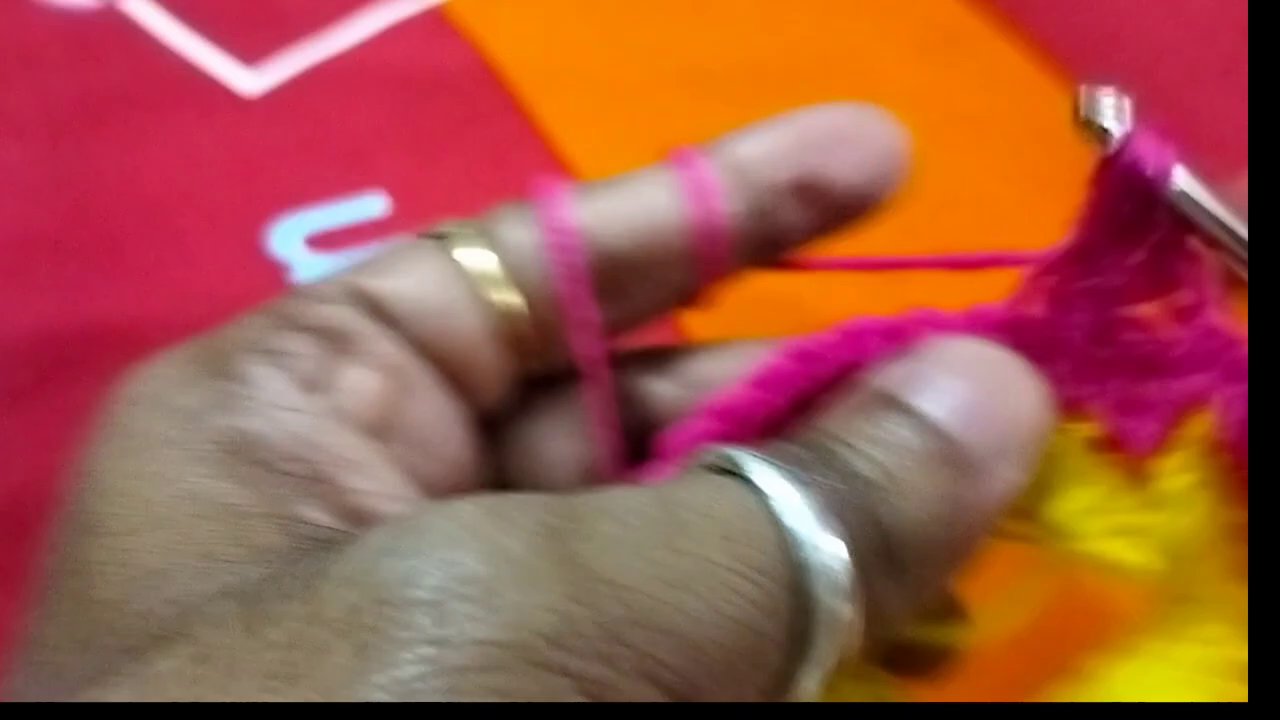
Once the pink section reaches about an inch and a half, it’s time to switch to yellow. The color change happens mid-row: you complete the last stitch in pink, then pull the yellow loop through to start the next stitch. The video shows this transition clearly — no cutaways, no confusing edits.
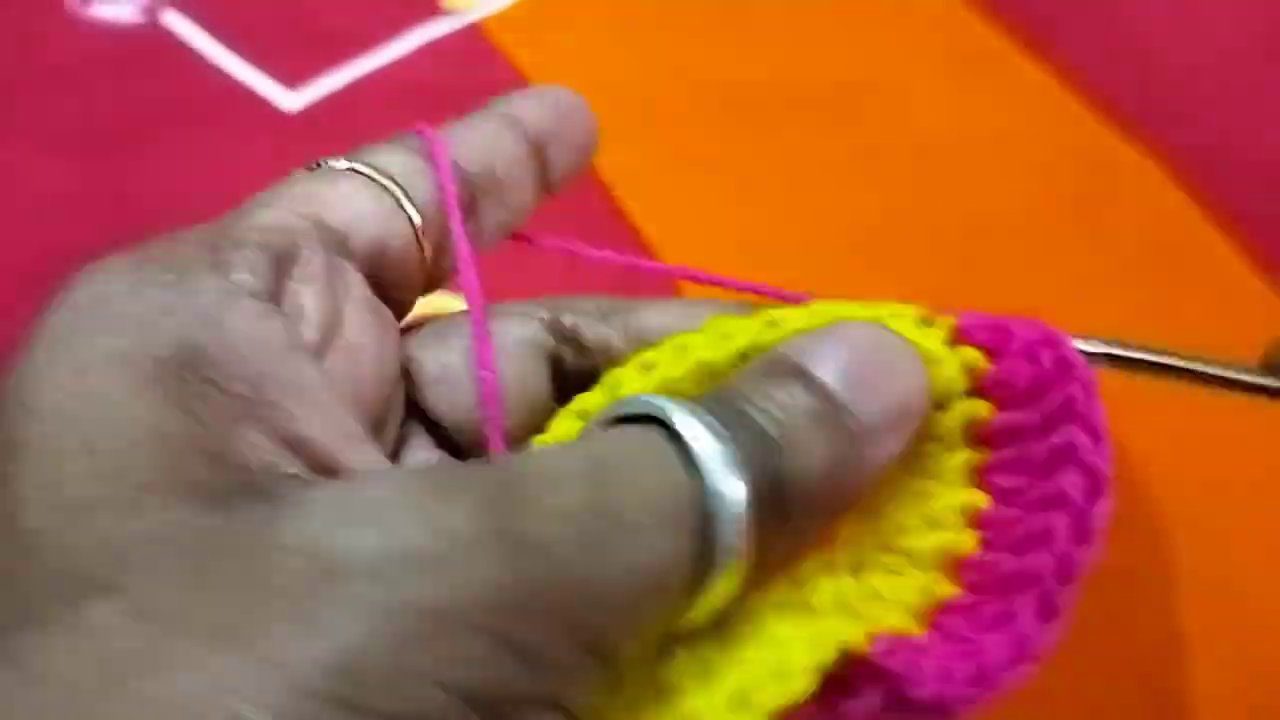
The pattern alternates between pink and yellow in a repeating stripe. Each stripe is about two rows wide, but you could adjust this to create wider bands or even a gradient effect. The beauty of making your own poshak is that you’re in control. If Ladu Gopalji’s taste leans toward more yellow, go for it.
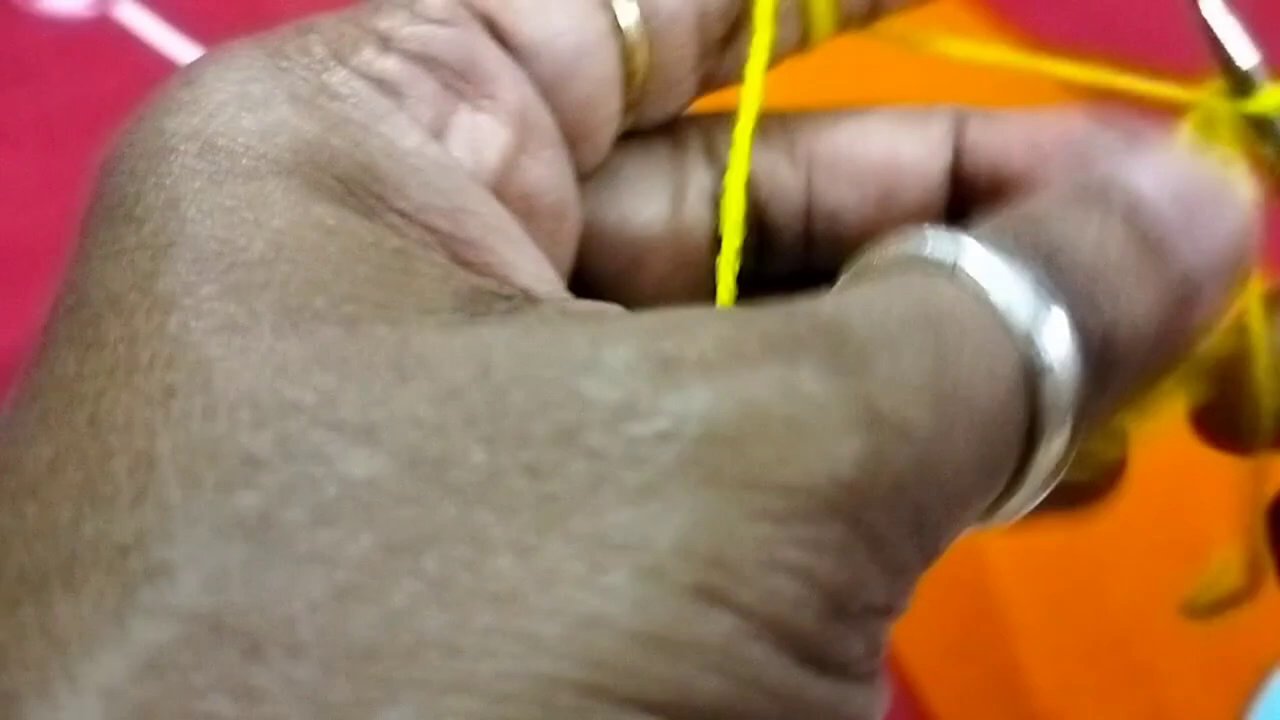
As the work grows, the circular shape begins to take on a slight flare. That’s intentional. The poshak needs to fit over the deity’s torso, so the increases are placed strategically to create a gentle A-line silhouette. Not too wide, not too narrow — just enough to drape nicely.
Shaping the Body: Increases and Fit
Around row six or seven, you’ll notice the pace of increases changes. The early rows double the stitch count every round, but once the circle reaches the right diameter for the neck opening, the increases slow down. From here, you’re building the body of the garment.
The video switches the hook to the left hand and the yarn to the right for a brief section — probably because the crocheter is demonstrating a specific technique or adjusting for comfort. It’s a small detail, but it shows that even experienced makers adapt their grip as needed. Don’t feel locked into one hand position.
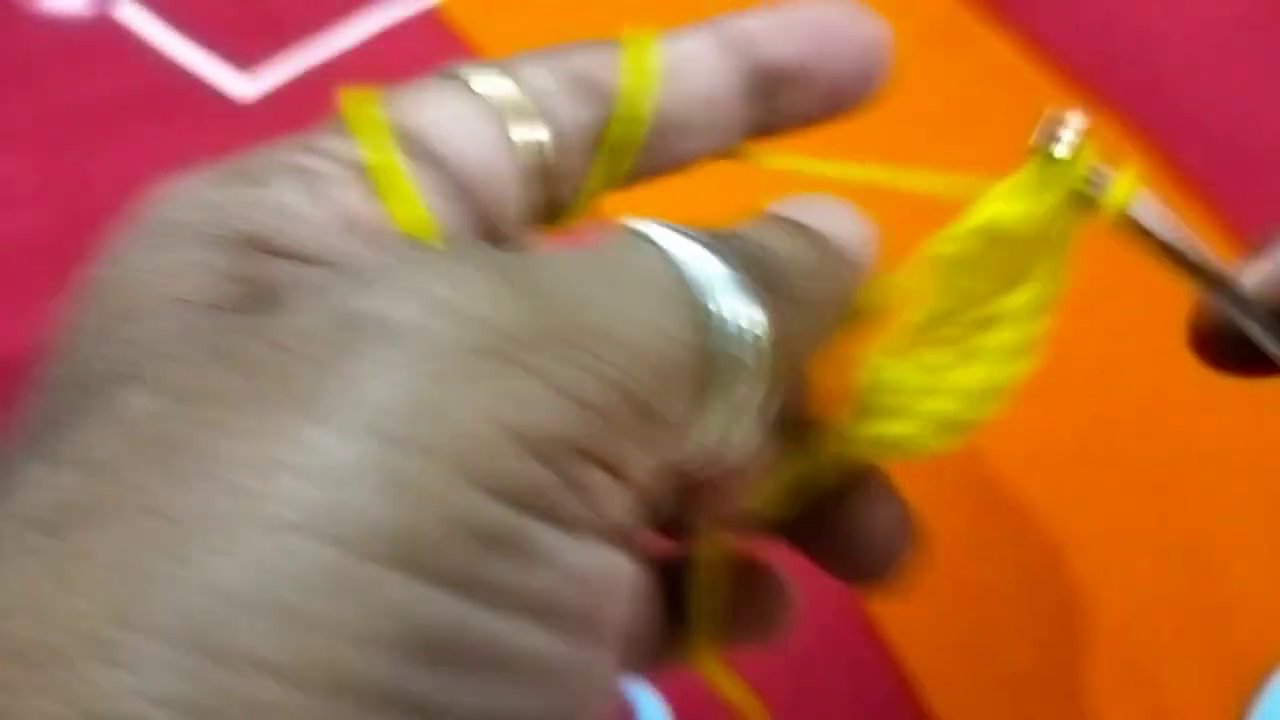
At this stage, the work looks like a small tube with a flared bottom. You’re essentially making a miniature dress. The stitch count stays consistent through the midsection, then increases again near the hem to create a slight ruffle. That ruffle gives the poshak its characteristic playful look — appropriate for a child deity.
Finishing the Hem and Edges
The final rows introduce a border. The video shows a simple shell stitch worked along the bottom edge, using the pink yarn to echo the neckline. It’s a neat finishing touch that frames the stripes and gives the garment a polished look.
If you want to add extra detail, you could work a picot edge or a scalloped border instead. The shell stitch is a good starting point because it’s easy to remember and works up quickly. Once you’ve completed the last round, you fasten off, weave in the ends with the tapestry needle, and give the poshak a gentle block if needed.
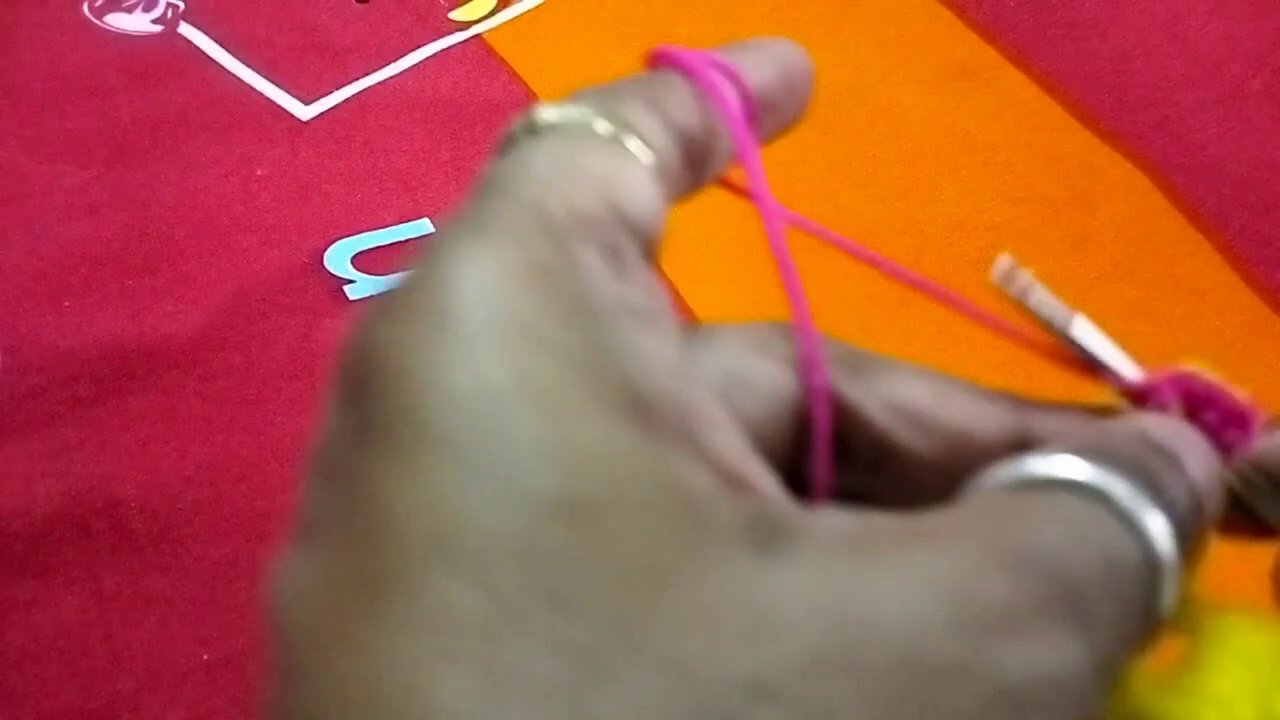
The finished piece is small — about 4 to 5 inches tall, designed to fit a standard Ladu Gopalji murti of that size. It’s lightweight, soft, and ready to dress the deity for daily worship or special occasions.
Why Make Your Own Poshak?
There’s no shortage of readymade poshaks available online or in temple supply shops. So why go through the trouble of crocheting one yourself?
For one, handmade items carry a different energy. Every stitch you make is a small act of devotion. You choose the colors, the yarn, the finish. You’re not just buying a garment — you’re creating something that comes from your hands and your heart. That matters in bhakti practice.
For another, crocheting a poshak lets you customize the fit. Ready-made garments can be too loose or too tight. When you make your own, you can adjust the stitch count to match your specific murti. A perfect fit means the poshak stays in place during aarti and doesn’t bunch up awkwardly.
And honestly, it’s a satisfying project. It’s small enough to finish in a weekend, but detailed enough to feel like a real accomplishment. If you’re already comfortable with basic crochet stitches — chain, single crochet, slip stitch — this is a great next step.
Tips for Beginners
If this is your first time crocheting a garment, even a tiny one, here are a few things that will make the process smoother:
Count your stitches. Every round, count. It’s easy to miss an increase or add one where it doesn’t belong. A stitch marker helps — place it at the beginning of each round so you know where you started.
Keep your tension consistent. Loose stitches create gaps; tight stitches make the fabric stiff. Aim for a medium tension that lets the yarn move freely without being loosey-goosey.
Don’t rush the color change. Pull the new color through the last loop of the old color, not after the stitch is complete. The video demonstrates this perfectly — watch that moment a couple times if you need to.
Block the finished piece. A quick steam block or a gentle wet block will even out the stitches and give the poshak a professional look. Lay it flat, shape it gently, and let it dry before dressing the deity.
If you enjoy working with small-scale projects, you might also like making a crochet plush frog pattern — it uses similar circular construction and color changes, so the skills transfer directly.
Variations to Try
Once you’ve mastered the basic poshak, you can experiment. Try a single color with a contrasting border. Use a variegated yarn for a striped effect without changing colors mid-row. Add a small crochet flower or bell to the front for extra ornamentation.
You can also adjust the length. A shorter poshak works for daily wear; a longer one feels more formal for festivals. The same basic pattern scales up or down by adding or removing rows in the body section.
For a different kind of small-scale project, check out the monster keychain free crochet pattern — it’s another quick make that builds confidence with working in rounds and attaching small parts.
A Note on Materials
Wool is warm and traditional, but acrylic yarn is easier to care for and comes in a huge range of colors. If you’re in a humid climate, cotton is a good alternative — it breathes and won’t pill as quickly. Whatever you choose, make sure it’s soft. Ladu Gopalji’s poshak should be comfortable, not scratchy.
Avoid yarns with metallic threads or heavy embellishments. They look beautiful but can snag or become uncomfortable against the murti. Save those for decorative accessories like a shawl or a crown.
The Finished Poshak in Use
Once your poshak is complete, dress Ladu Gopalji with care. Slip it over the head gently — if the neck opening is a little snug, you can stretch it slightly with your fingers. Arrange the fabric so it falls evenly, and adjust the hem to sit just above the feet.
Pair it with a matching dhoti or a simple white one. Add a flower garland, and you’re ready for worship. The bright pink and yellow stripes bring a cheerful energy to the altar. It’s hard not to smile when you see it.
Final Thoughts
This tutorial does exactly what a good crochet tutorial should: it shows you the process clearly, lets you watch the stitches form, and trusts you to follow along. No unnecessary chatter, no confusing cuts. Just hands, yarn, and a hook working together to create something beautiful.
If you’ve been hesitating to try a deity garment because it seemed too complicated, start here. The size is manageable, the technique is straightforward, and the result is genuinely rewarding. By the time you fasten off that last stitch, you’ll have a poshak made with your own hands — and that’s a gift you can’t buy.
For more small-scale crochet inspiration, take a look at the baby crabs pattern — it’s another charming project that works up quickly and uses similar circular techniques. Whether you’re making poshaks or plushies, the skills build on each other, and every finished piece makes you a little more confident with the hook.