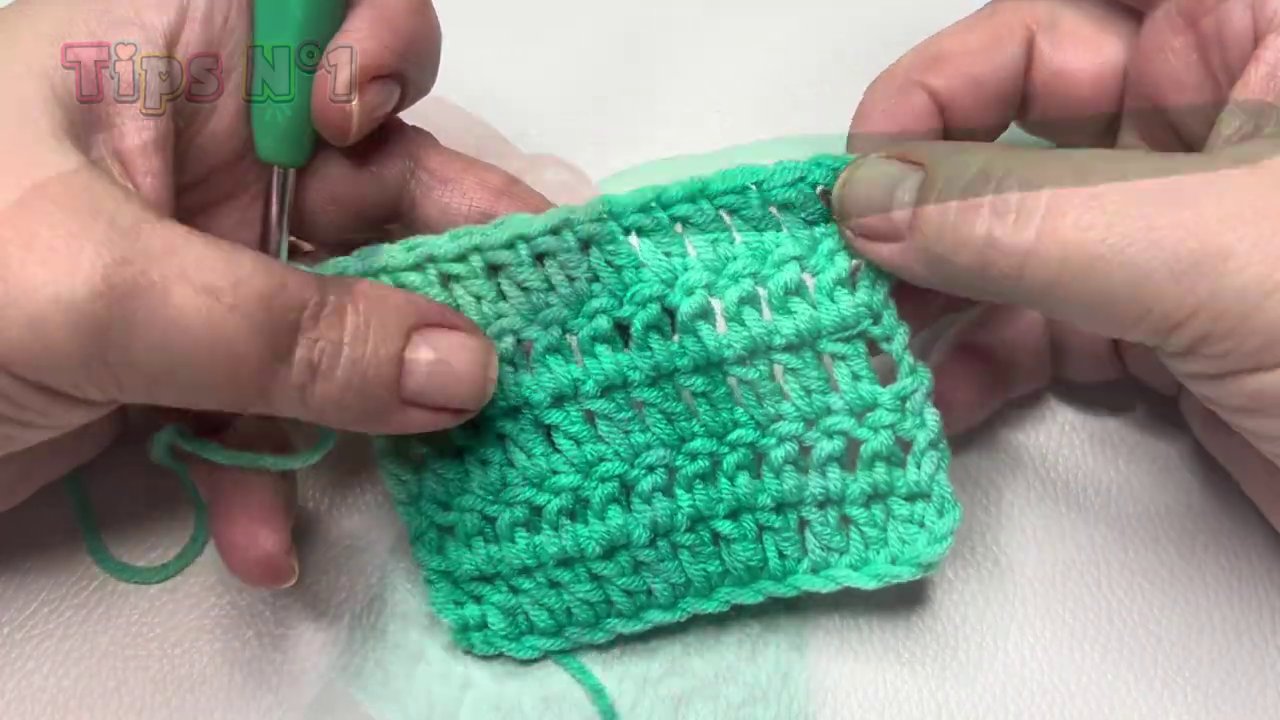
You know the frustration. You finish a row of double crochet, flip your work, and there it is — that ugly little gap where the turning chain sits. One side looks clean and professional. The other looks like it got into a fight with a pair of scissors and lost. That bumpy, hole-ridden edge isn’t just an eyesore. It makes seaming harder, borders uneven, and finished projects look, well, homemade in the worst way.
I’ve been there. For years I just accepted it as part of the process. Three chains, turn, crochet into the first stitch — and every time, that gap. Then someone — an older crocheter who’d been doing this since before I was born — showed me the first trick. And then I learned two more. Now I want to pass them along to you.
What Makes Those Ugly Edges?
Before we get into fixes, let’s talk about the problem itself. When you finish a row of double crochet and chain three to start the next one, those three chains act as a substitute for the first double crochet. In theory, it works fine. In practice, that chain creates a loose loop that doesn’t sit tight against the rest of your stitches. The result? A visible gap on the edge of your work.
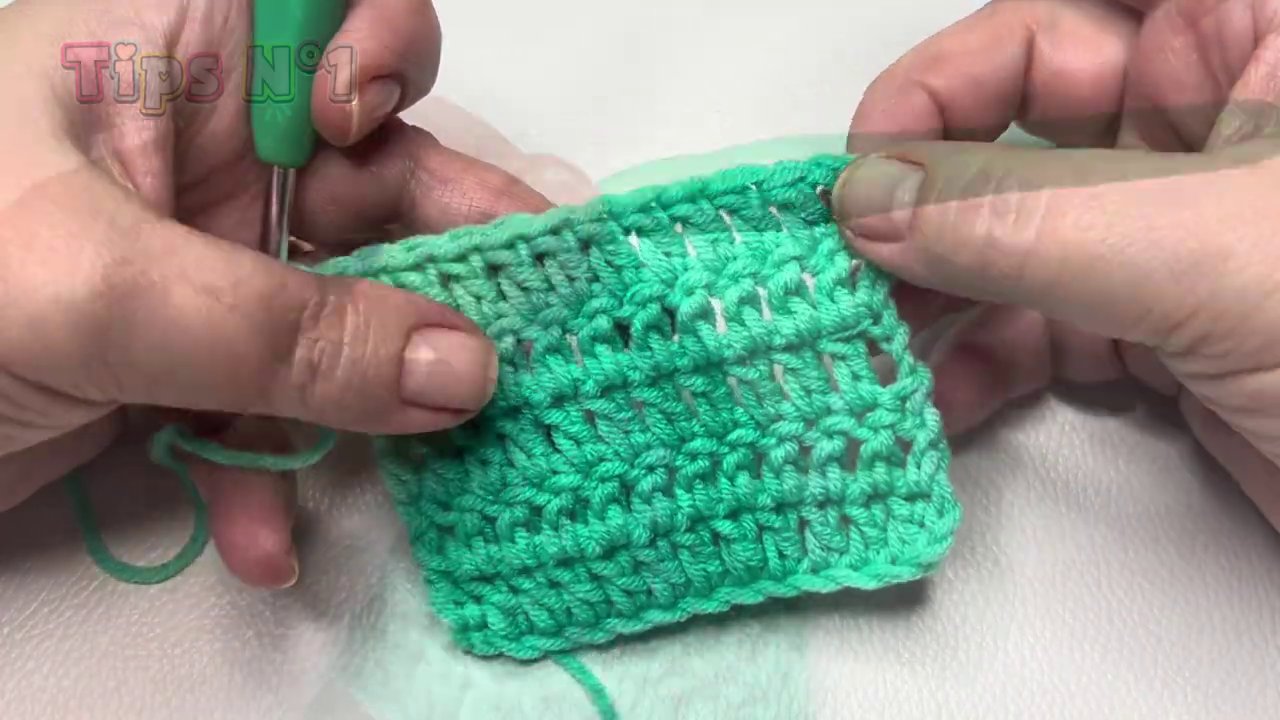
You can see it clearly if you hold your work up. One side is straight. The other has that little staircase of chains climbing up the side. It’s especially obvious in projects where the edges are visible — scarves, blankets, dishcloths, anything you’re not planning to border heavily.
The good news? You don’t have to live with it. Here are three techniques that eliminate that problem entirely.
Method 1: The Fake Double Crochet (Chainless Start)
This is the trick that changed my crochet life. It’s simple, it’s fast, and it completely eliminates the gap problem.
Here’s how it works. When you finish a row and you’re ready to turn, don’t chain three. Instead, turn your work to the left so the yarn ends up behind your hook. Then, instead of chaining, you’re going to create a fake double crochet stitch right there at the edge.
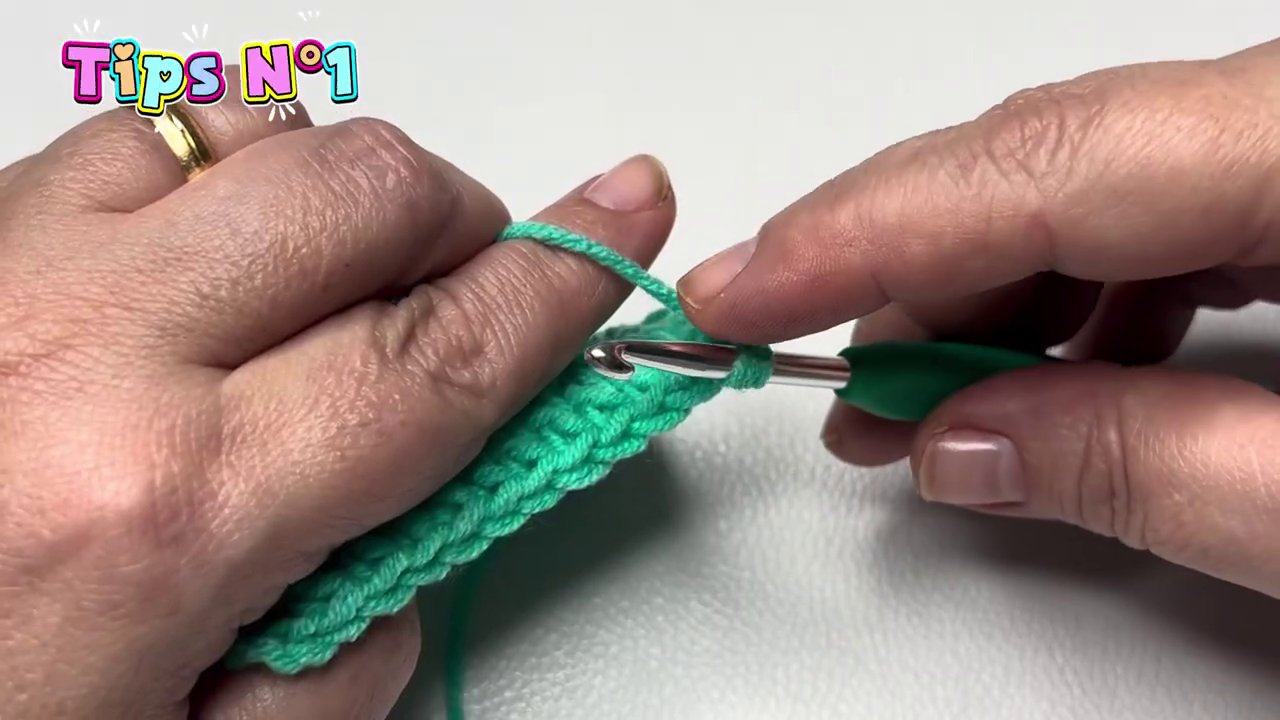
Lift your hook to about the height of a normal double crochet — use your finger to hold that loop steady. Then wrap the yarn over your hook, rotate the hook slightly, and pull through. You’ll have two loops on your hook. Yarn over again and pull through both. That’s it. You’ve just made a double crochet without a single chain.
The stitch sits flush against the edge of your work. No gap. No loose chain. Just a clean, solid stitch that looks exactly like every other double crochet in your row.
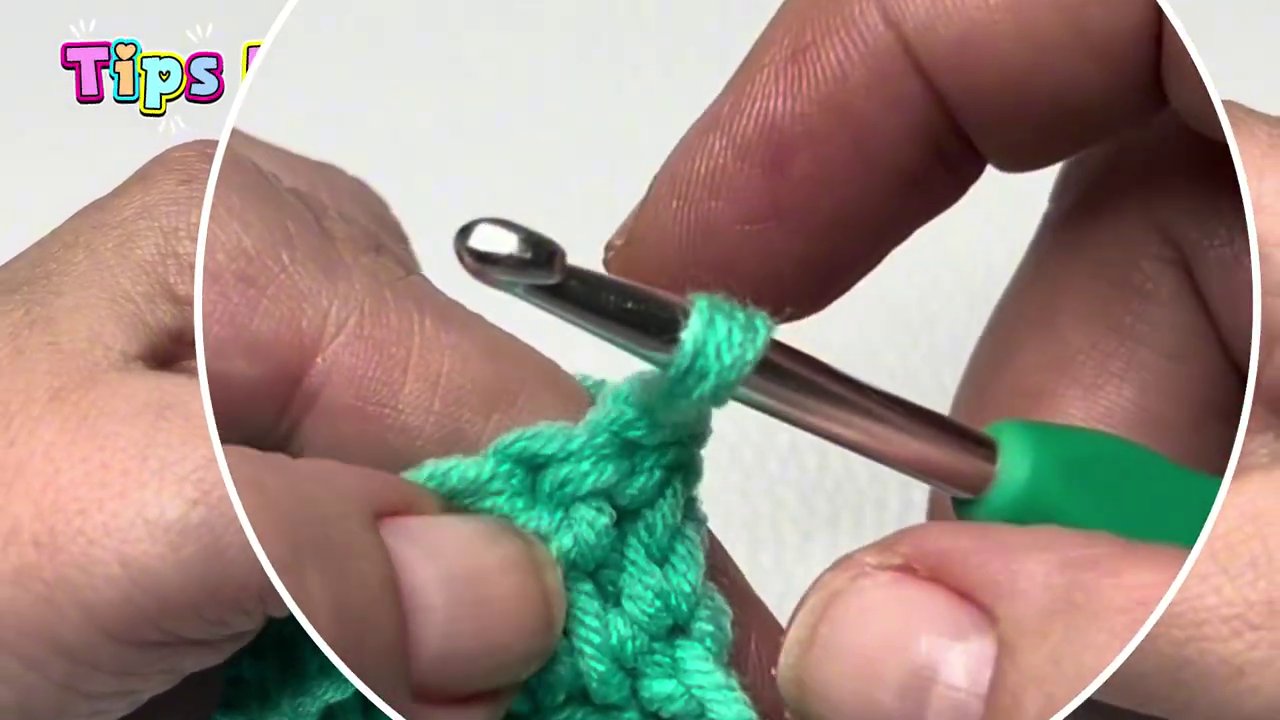
Now you can continue crocheting normally across the row. When you reach the end, you’ll work into the top of that fake double crochet just like any other stitch.
I’ve been using this method for years, and I still think it’s the most elegant solution for most projects. It takes about two rows to get comfortable with the motion, but after that, it becomes automatic.
Method 2: The Front-Loop-Only Fake Double Crochet
This second method is a variation on the first, and it’s perfect for when you want a slightly different texture on the edge or when the first method doesn’t feel quite secure enough for your tension.
Start the same way — finish your row, turn your work. But this time, instead of working into thin air, you’re going to insert your hook into the first stitch of the row you just finished. Here’s the twist: you only grab the front loop.
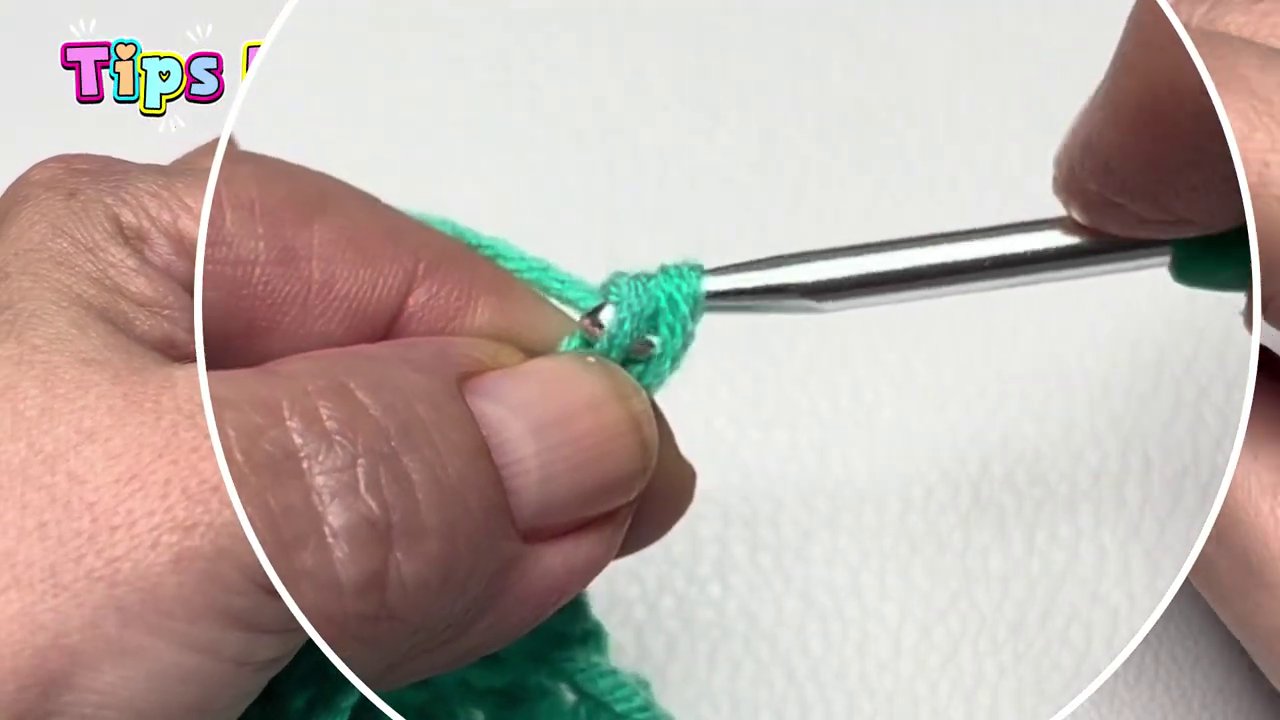
Yarn over, pull through. You’ll have two loops on your hook. Yarn over and close them together. Then yarn over again and close the remaining two. You’ve created another fake double crochet, but this one is anchored into the fabric of the previous row.
The result is a slightly firmer edge than the first method. It’s still clean and straight, but there’s a bit more structure to it. Some crocheters prefer this for items that get a lot of handling — potholders, bags, anything that needs that extra stability.
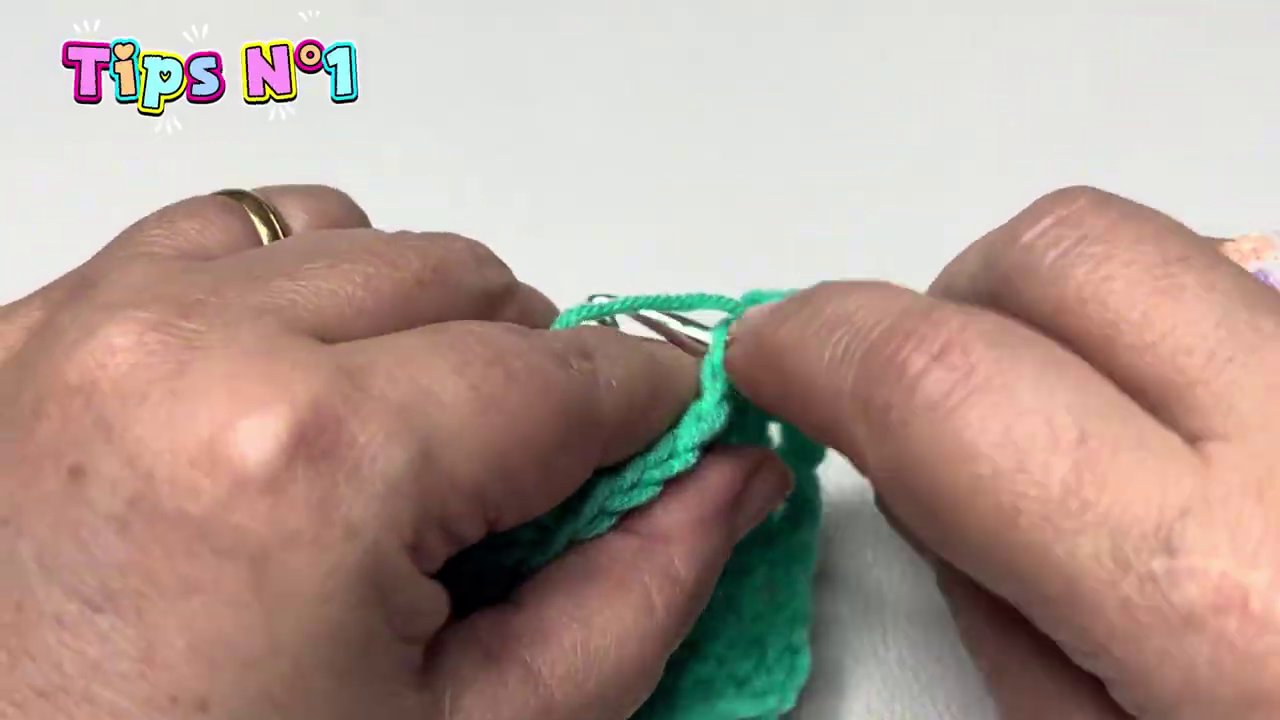
When you reach the end of this row and need to work into that fake stitch, here’s a little trick: rotate your hook slightly and insert it right through the center of the stitch from the row below. Pull up your loop and close as usual. That little rotation helps you find the right spot without guessing.
Method 3: The Two-Chain Start with a Filled End
This is my personal favorite, and honestly, it’s the one I use most often now. It combines a small change at the beginning of the row with a clever fix at the end, and the result is an edge so clean you’ll have trouble telling which side is the start and which is the finish.
Here’s the full sequence. When you reach the end of a row, work your last double crochet as normal. But instead of stopping there, you’re going to add an extra step. Yarn over and insert your hook into the same stitch you just worked. Pull up a loop — now you have four loops on your hook. Yarn over and pull through two, leaving three. Then yarn over and pull through all three.
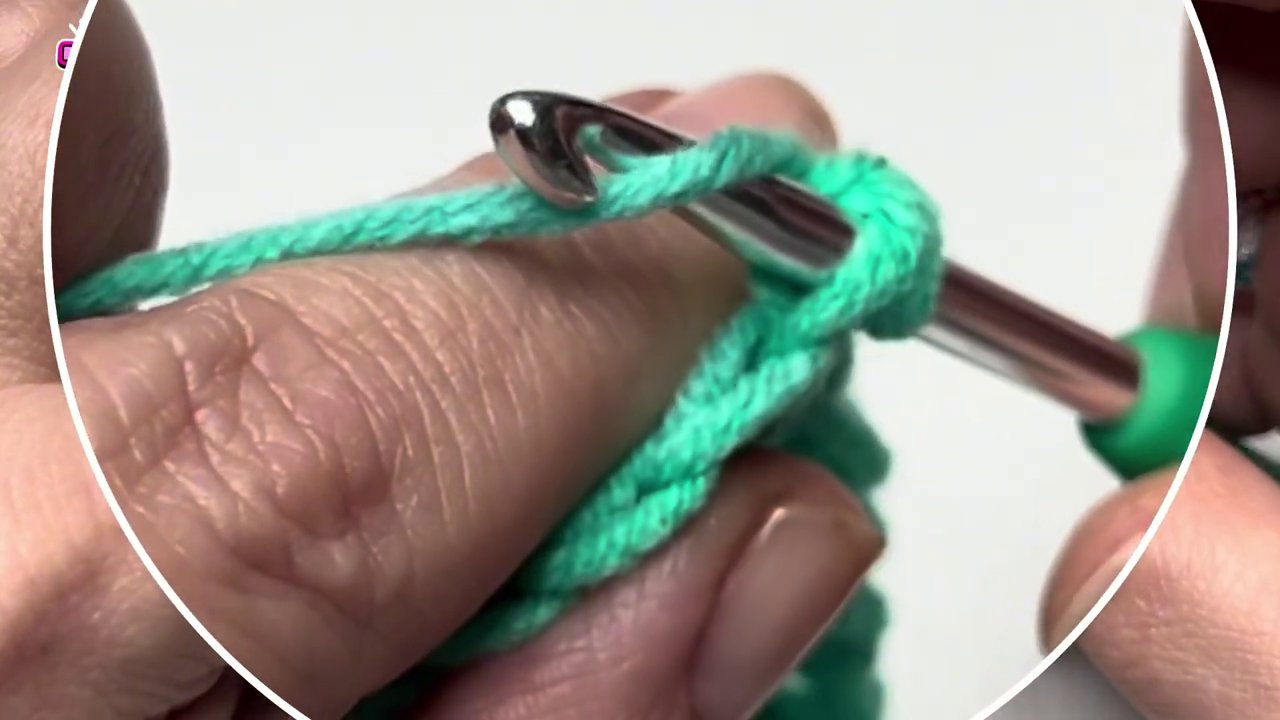
What you’ve just done is filled in the space at the end of the row. That little gap that normally forms between the last stitch and the turning chain? It’s gone. You’ve packed an extra bit of yarn into that spot, making it solid.
Now, instead of chaining three, chain two. Turn your work. Then work a double crochet into that same first stitch — the one you just filled. This gives you a sturdy starting point with no gap.
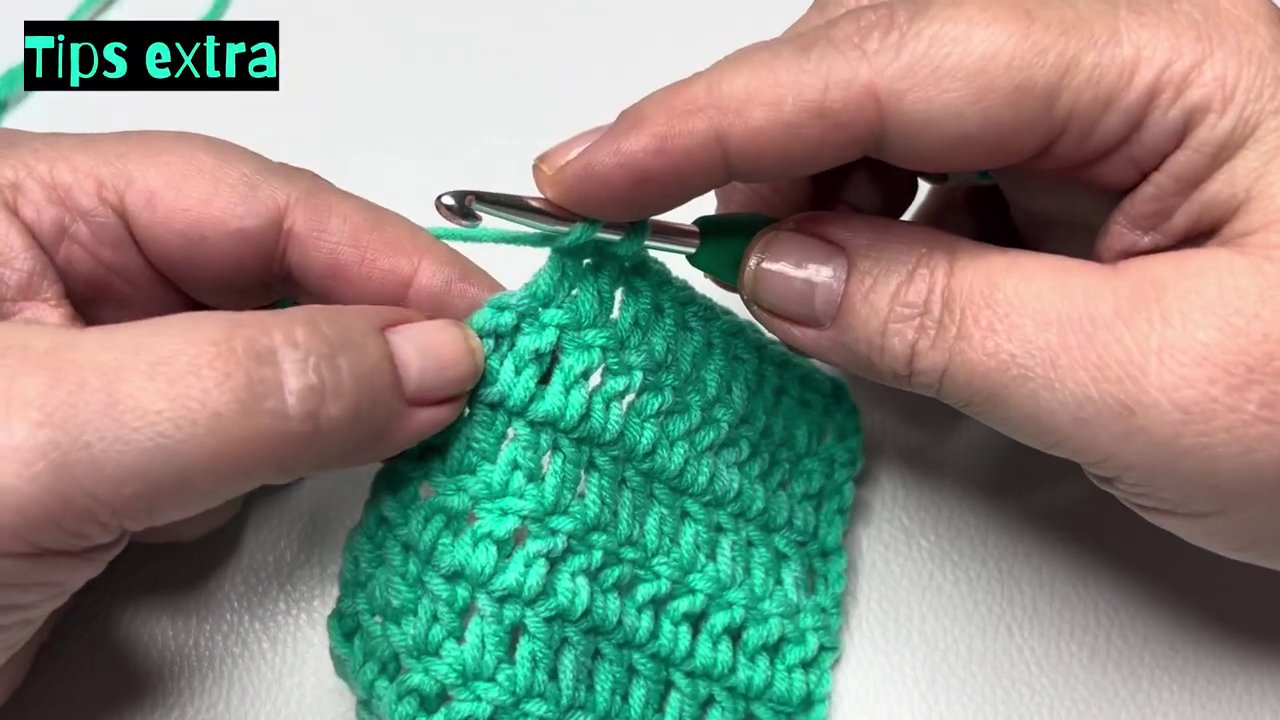
Continue across the row as usual. The difference is immediately visible. Your edges are straight, tight, and professional-looking on both sides.
Which Method Should You Use?
That depends on what you’re making and what feels comfortable to you.
The first method — the chainless fake double crochet — is the fastest. Once you get the hang of it, you won’t even think about it. It works beautifully for blankets, scarves, and any project where you want a soft, flexible edge.
The second method — the front-loop fake double crochet — gives you a bit more structure. I use it for items that need to hold their shape, like bags or garments with visible edges.
The third method — the two-chain start with filled end — is the one I reach for most often. It takes an extra moment at the end of each row, but the result is worth it. The edges come out perfectly straight, and the extra stability makes seaming and bordering much easier.
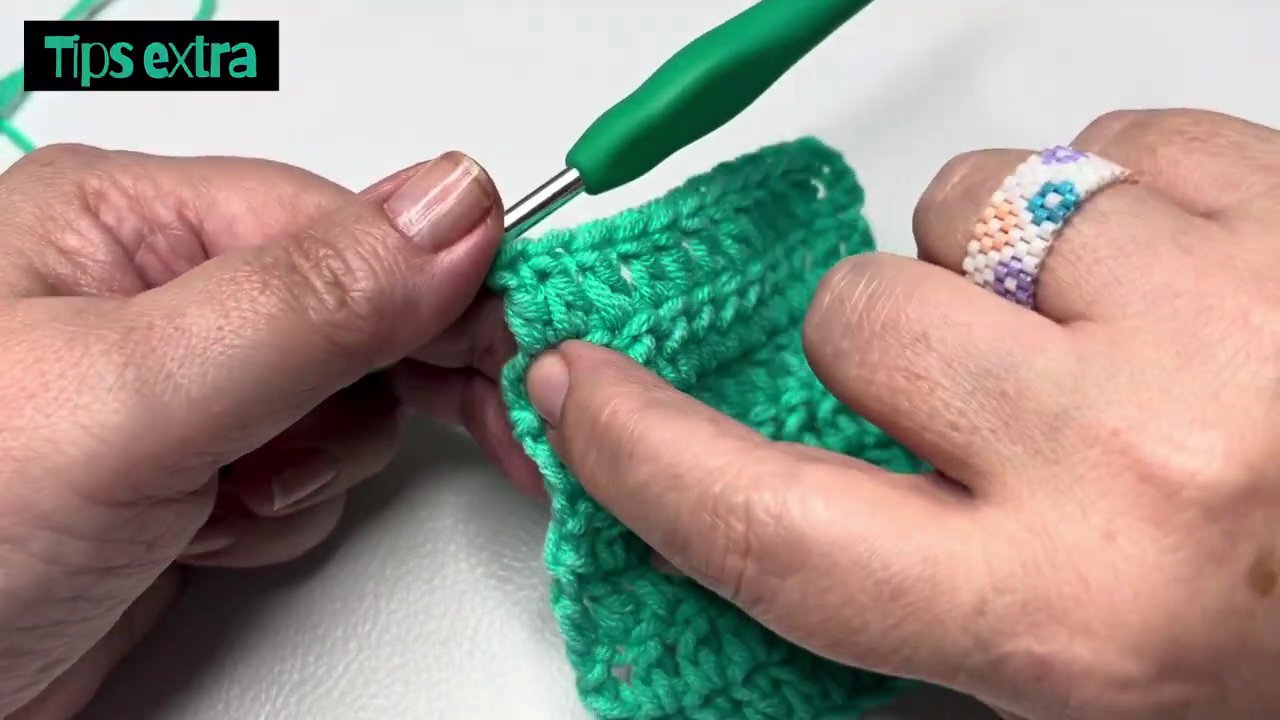
If you’re new to these techniques, try all three on a small swatch. See which one feels most natural with your tension and your hook. There’s no wrong answer here.
Making It a Habit
Here’s the thing about these methods — they only work if you do them consistently. One row with the fake double crochet, then three rows with the standard chain-three, then back to the fake? Your edges will look just as messy as before.
Pick one method. Commit to it for an entire project. After a few rows, it stops feeling awkward and starts feeling normal. After a full project, it becomes automatic. You won’t even have to think about it.
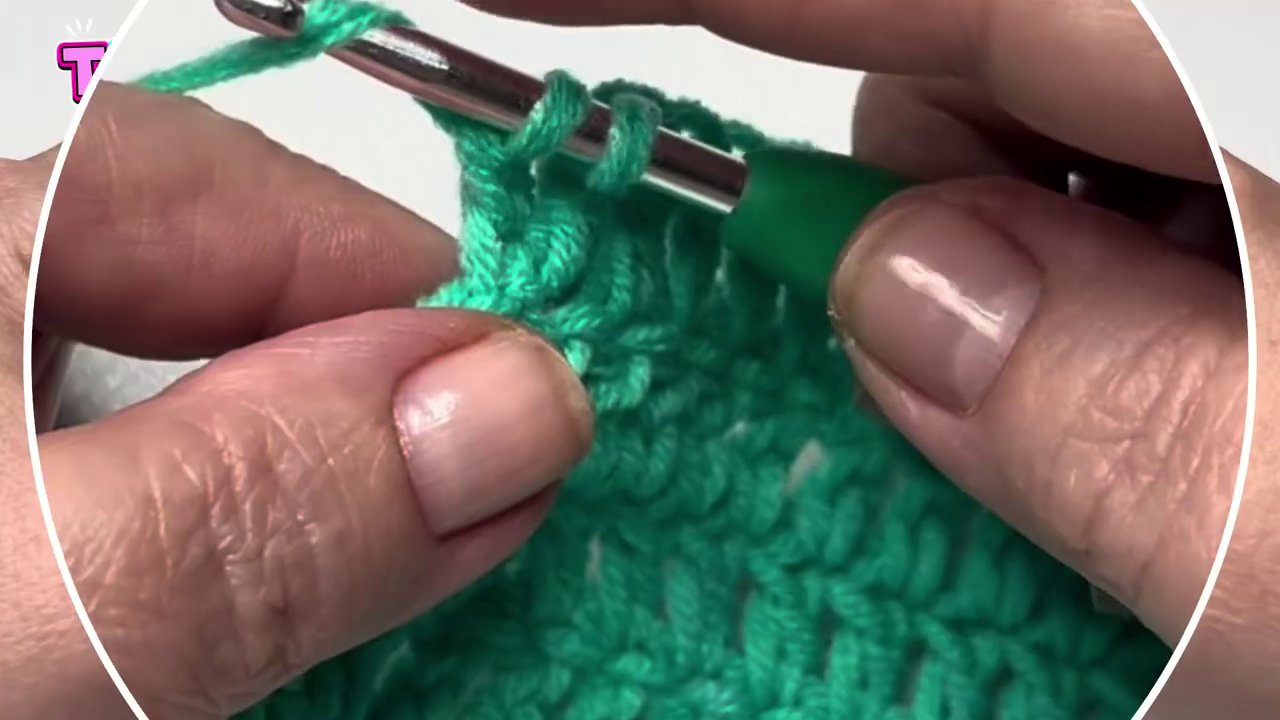
That’s the real secret. Not the technique itself, but the habit. Once you build that habit, every project you make will have those perfect edges. No more gaps. No more bumpy chains. Just clean, professional results every time.
I’d love to know which of these three methods works best for you. Try them out, see which one clicks, and make it your own. And if you know someone else who’s been fighting with those ugly edges, pass this along. We all deserve to love the edges of our work.