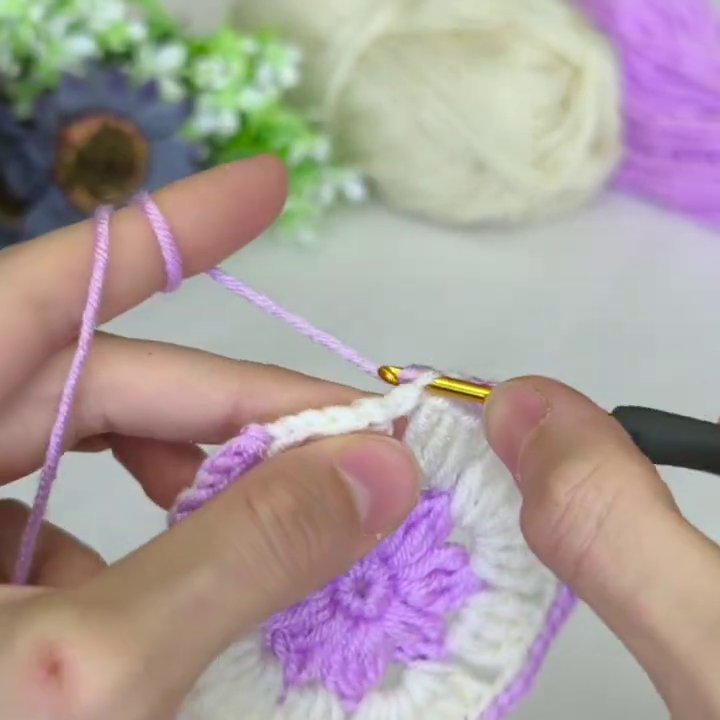
Some crochet projects are so satisfying to watch that you almost forget you’re supposed to be learning something. You know the feeling — you’re scrolling, you see a pair of hands working yarn into something beautiful, and before you realize it, you’ve watched the whole thing. That’s exactly the kind of video this pattern comes from. A light purple center, a crisp white ring, and more purple to finish — all worked into a motif that feels both delicate and substantial.
If you’ve ever wanted to try your hand at a two-tone motif but weren’t sure where to start, this is a great place. The process is straightforward, but the results look anything but basic.
What You’ll Need Before You Start
Before we get into the nitty-gritty, let’s talk tools and materials. The video shows a crochet hook with a gold shaft and a black handle — it’s a mid-size hook, probably around 4mm or 5mm, perfect for worsted-weight yarn. The main yarn is a soft light purple, and the contrast color is white. Both are smooth, easy-to-work-with yarns that show stitch definition clearly.
You’ll also notice two balls of yarn sitting in the background — one white, one purple — along with some greenery. It’s a simple setup, but it tells you everything you need to know: you don’t need a fancy studio or expensive equipment to make something beautiful.
Here’s what I’d recommend having on hand:
- A crochet hook in the size recommended for your yarn
- Two contrasting colors of worsted-weight yarn
- A pair of scissors
- A yarn needle for weaving in ends
That’s it. No special gadgets, no complicated tools. Just the basics.
Starting with the Purple Center
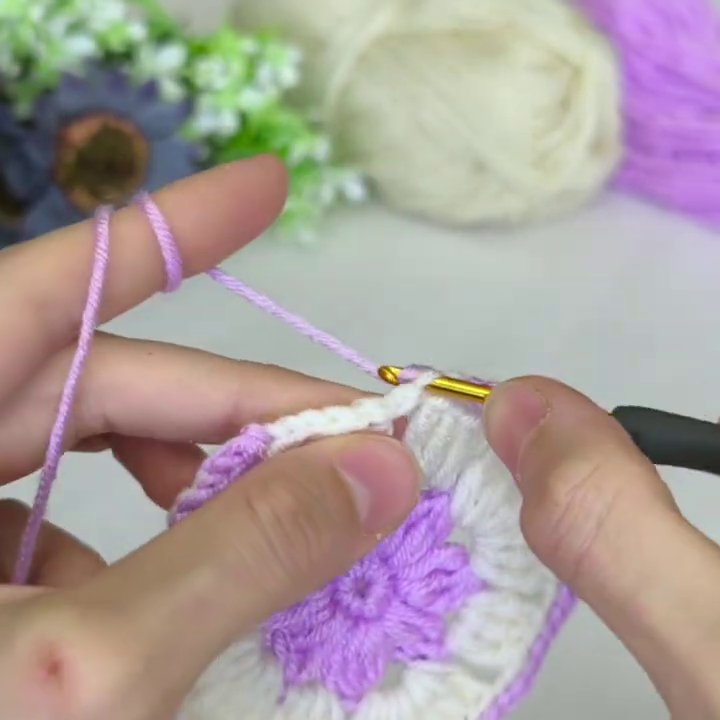
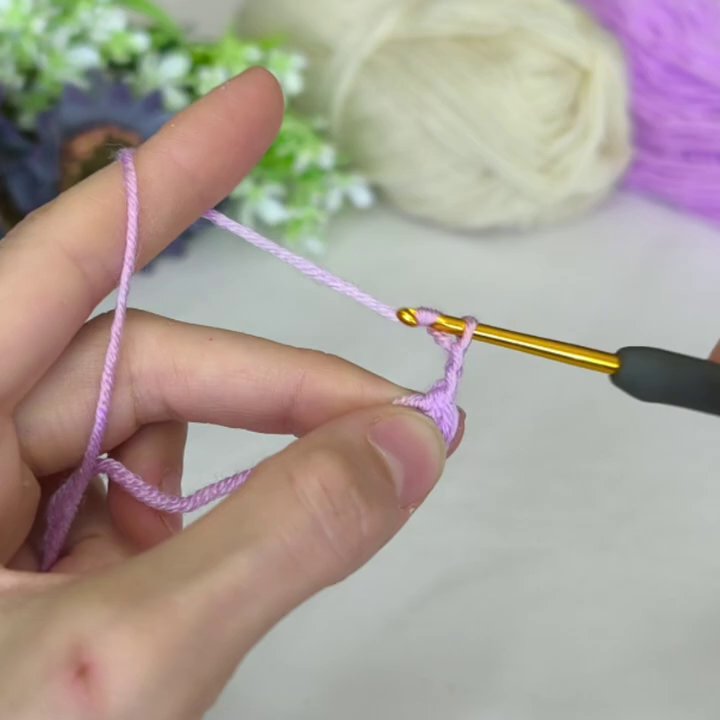
The video jumps right in. The hands are already working, the hook is moving, and the purple yarn is forming the first stitches. There’s no long introduction — just action. That’s the kind of energy I appreciate when I’m learning a new technique.
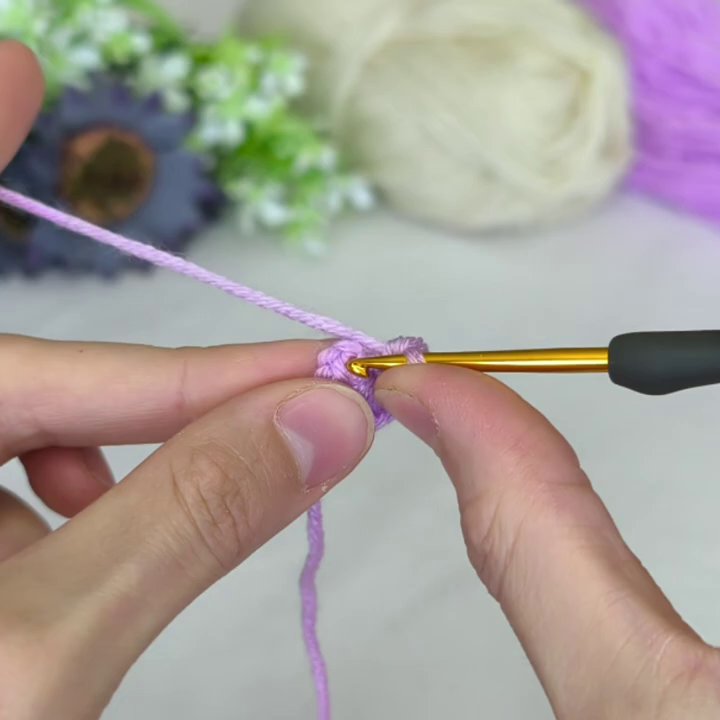
The motif begins with a center ring, worked entirely in purple. If you’ve ever made a granny square or a circular doily, you’ll recognize the setup. The hook slides into the center loop, catches the yarn, and pulls through. Over and over, the same motion, building a tight little circle of stitches.
This is where tension matters. Too loose, and your center will look sloppy. Too tight, and you’ll struggle to get your hook into the stitches later. The person in the video has it dialed in — each stitch sits neatly against the next, with no gaps and no puckering.
As the center grows, you can see the motif taking shape. It’s small at first, just a little purple disc. But even at this stage, there’s something satisfying about it. That’s the magic of crochet, isn’t it? You start with a single loop and end up with something solid.
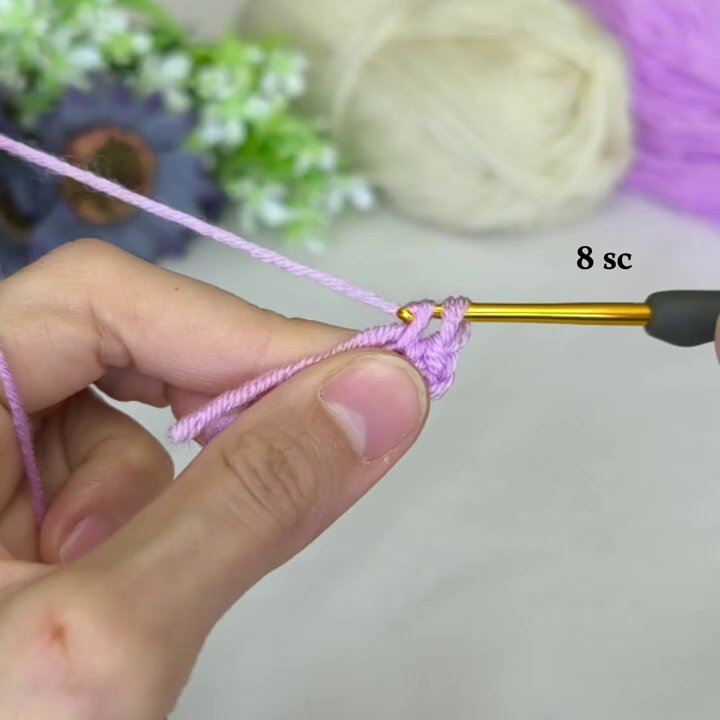
Switching to White — The First Color Change
Here’s where things get interesting. The video shows a smooth transition from purple to white. The person finishes the last purple stitch, then picks up the white yarn and starts crocheting around the purple center.
Color changes can be tricky. If you don’t do them right, you end up with jagged edges or loose loops that ruin the clean look you’re going for. But the technique shown here is clean and precise. The white yarn is joined seamlessly, and the new stitches sit right on top of the old ones, creating a crisp boundary between the two colors.
The white yarn is used to crochet around the purple center, adding a new layer to the motif. This isn’t just a color change — it’s a structural change. The white stitches are worked into the edges of the purple stitches, building outward. The motif gets bigger, and the contrast between the two colors becomes more pronounced.
If you’ve ever tried a crochet plush Frog pattern, you know how important clean color changes are for making a project look polished. The same principle applies here. A sloppy transition can ruin the whole effect, but a clean one makes the motif look professional.
Building the White Layer
Once the white yarn is established, the real work begins. The person’s hands move quickly, inserting the hook into the stitches and pulling the yarn through. The white layer grows, ring by ring, until it’s wide enough to balance the purple center.
This is where the motif starts to look like something you’d want to use in a larger project. Maybe a blanket. Maybe a bag. Maybe a set of coasters. The two-tone design is simple but versatile, and the white ring adds a brightness that the purple alone wouldn’t have.
The video shows the white stitches being worked evenly, with no gaps or uneven spots. That’s not easy to do, especially when you’re working in the round. It takes practice to keep your tension consistent across multiple rows. But the result is worth it — a smooth, even surface that looks like it was made by a machine.
If you’re new to color work, this is a great pattern to practice on. The two colors are distinct enough that you can see exactly where one ends and the other begins. And because the motif is small, you can finish it quickly and move on to the next one. Before you know it, you’ll have a stack of them, ready to be joined into something bigger.
Returning to Purple — Adding Depth and Texture
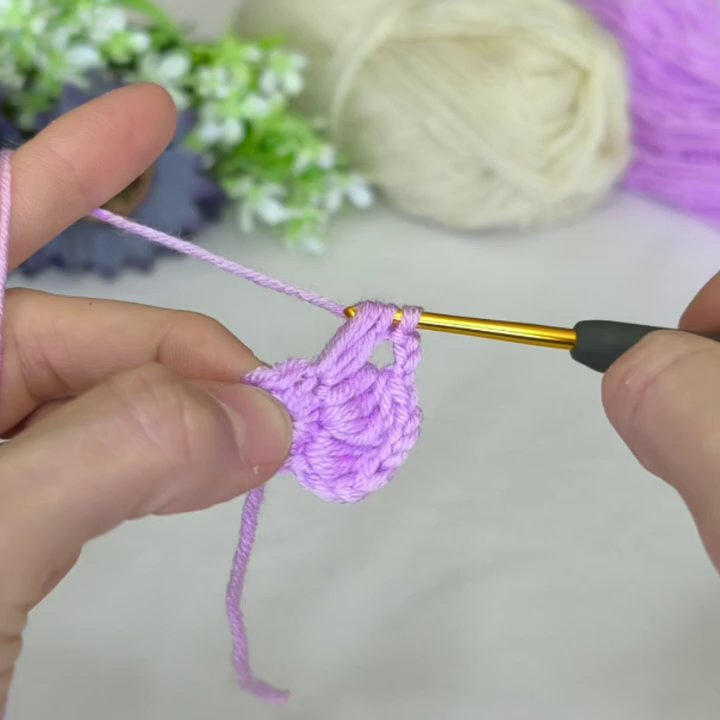
Just when you think the motif is done, the person switches back to purple. This is where the pattern gets interesting. The purple yarn is used to crochet around the white center, adding more texture and depth to the motif.
This second purple layer isn’t the same as the first. It’s worked differently, probably with a different stitch or a different placement. The result is a motif that feels layered and dimensional, not flat. The purple frames the white, and the white frames the original purple center. It’s a nesting effect that gives the motif a lot of visual interest.
The video shows the person’s hands moving with practiced ease. They’re not hesitating, not second-guessing. They know exactly where each stitch goes, and they execute it without fuss. That kind of confidence comes from experience, but it’s also something you can build by practicing simple patterns like this one.
If you’re looking for other small projects to practice your skills, you might enjoy making a Monster Keychain. It’s a quick project that uses similar techniques — working in the round, changing colors, and finishing neatly. Plus, it’s small enough to take with you anywhere.
The Finished Motif — What You’re Working Toward
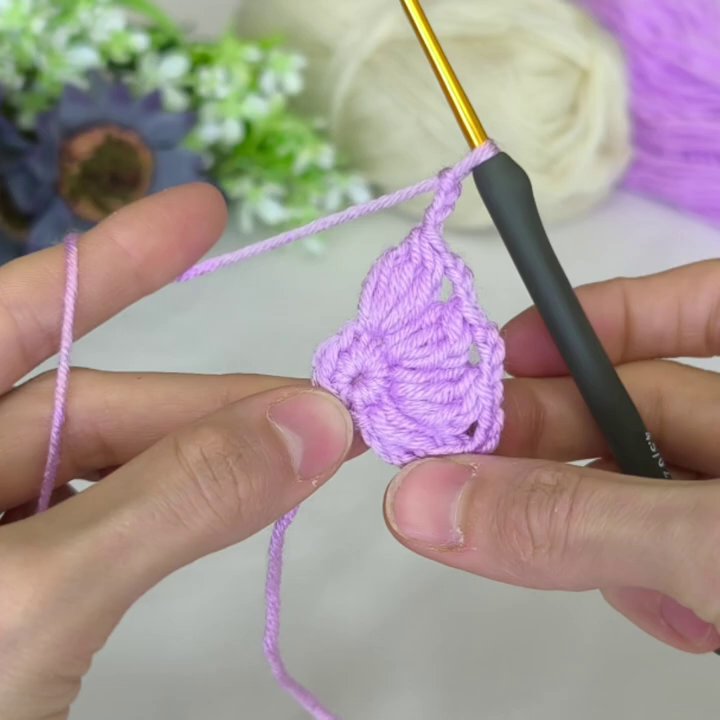
By the end of the video, the motif is complete. The person’s hands are still holding the hook and yarn, but the work is done. The motif sits in their palm, a perfect little circle of purple and white, with clean edges and even stitches.
The background hasn’t changed — the balls of yarn and the greenery are still there — but the focus is entirely on the finished piece. It’s small, maybe four or five inches across, but it’s packed with detail. The purple center, the white ring, the second purple layer — each part contributes to the whole.
So what can you do with a motif like this? A lot, actually. You can make a set of them and sew them together into a blanket. You can use them as coasters or placemats. You can turn them into a bag by joining them in a circle and adding handles. You can even frame them as wall art, if you’re into that kind of thing.
The point is, this one motif is a building block. Once you know how to make it, you can make as many as you want, in any color combination you like. Purple and white is classic, but what about blue and yellow? Red and cream? Black and gold? The possibilities are endless.
Tips for Getting the Best Results
If you’re planning to try this pattern yourself, here are a few things to keep in mind:
Watch your tension. This is the most important thing. If your stitches are too tight, you’ll have trouble working into them later. If they’re too loose, your motif will look sloppy. Aim for consistent tension throughout, and don’t be afraid to rip out a row and start over if it doesn’t look right.
Choose high-contrast colors. The purple and white in the video work well because they’re so different. If you choose two colors that are too similar, the motif will look muddy. Go for colors that clearly stand out from each other.
Weave in your ends as you go. Nothing is worse than finishing a project and realizing you have a dozen loose ends to deal with. Weave them in after each color change, and you’ll save yourself a lot of hassle later.
Practice the color change. If you’ve never switched colors in the middle of a round, practice on a scrap piece first. The technique is simple, but it takes a few tries to get it smooth.
Have fun with it. This is supposed to be enjoyable. If you’re stressing out about perfection, take a step back and remind yourself why you started crocheting in the first place.
Why This Pattern Works
There’s a reason this video is so satisfying to watch. The motif is simple enough to follow without getting lost, but complex enough to feel like an accomplishment. The two-tone design adds visual interest without requiring complicated techniques. And the finished piece is versatile enough to use in a dozen different projects.
If you’re looking for a way to practice color changes and working in the round, this is a great place to start. It’s not a huge time commitment — you can probably finish one motif in an hour or two — but the skills you learn will carry over into more complex projects.
And if you’re in the mood for something even smaller and quicker, try making a set of Baby Crabs. They use similar techniques but work up even faster, and they’re adorable to boot.
Final Thoughts
Watching someone crochet is almost meditative. The rhythm of the hook, the movement of the yarn, the gradual emergence of something beautiful from a single strand — it’s hard not to get drawn in. This video captures that feeling perfectly.
The motif itself is a testament to the power of simple techniques done well. No fancy stitches, no complicated patterns. Just good tension, clean color changes, and a clear vision of what you’re making.
So grab your hook, pick out two colors that make you happy, and give it a try. You might surprise yourself with what you can create.