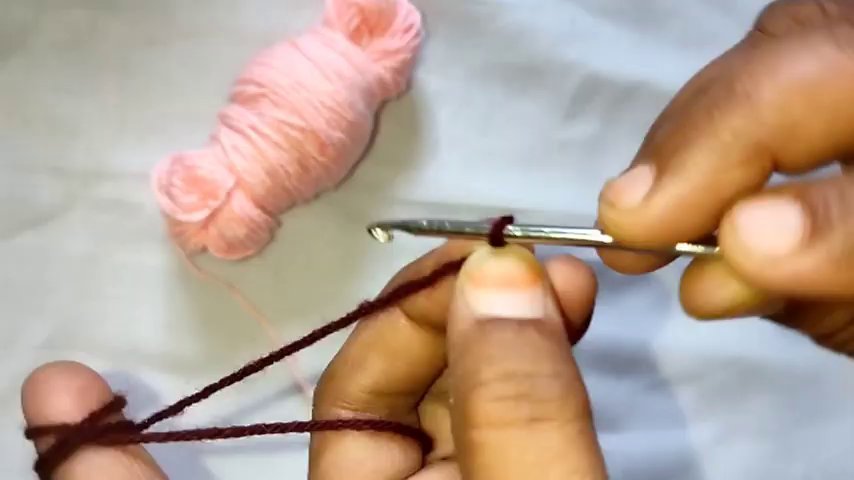
There’s something deeply satisfying about watching a single strand of yarn transform into something real. A scarf, a blanket, a tiny stuffed animal — it all starts with one loop, one hook, and your two hands. If you’ve ever wanted to learn crochet but felt intimidated by complicated patterns or fast-talking YouTube tutorials, you’re in the right place.
Let’s slow things down. In this guide, we’ll walk through the absolute basics of crochet — the kind of instruction you’d get from a patient friend sitting beside you. No jargon overload. No pressure. Just the core techniques to get you started, with plenty of room to make mistakes and try again.
What You’ll Need to Begin
Before you make your first stitch, you need the right tools. The good news? You don’t need much. A crochet hook and some yarn are enough to get started. But picking the right ones makes a real difference.
Yarn weight matters. For a beginner, a medium-weight yarn (often labeled “worsted” or “number 4”) is your best friend. It’s thick enough to see clearly, holds its shape well, and works with a wide range of hooks. Light colors are also easier to work with — you can actually see where your hook needs to go, unlike with black or very dark yarn.
Hook size should match your yarn. Most yarn labels recommend a hook size. For worsted weight yarn, a 5mm or 5.5mm hook is a solid starting point. Aluminum hooks are common and glide smoothly through yarn. Some people prefer ergonomic hooks with rubber handles — try a few to see what feels comfortable in your hand.
You’ll also want a pair of scissors and a yarn needle (also called a tapestry needle) for weaving in ends later. That’s it. No special gadgets or expensive kits required.
How to Hold the Hook and Yarn
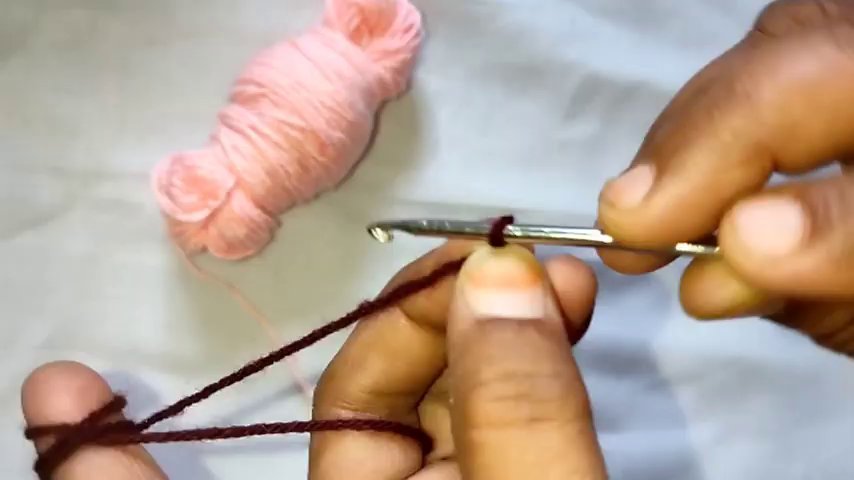
This is where most beginners get frustrated, and honestly, it’s the hardest part to explain in words. There’s no single “correct” way to hold your hook. Some people grip it like a knife (overhand), others like a pencil (underhand). Both work. Try each and see which feels more natural.
Your other hand does the heavy lifting. It controls the yarn tension, feeding the yarn to your hook at just the right speed. Wrap the working yarn around your pinky, under your ring and middle fingers, and over your index finger. Your index finger becomes a guide — it lifts to add tension, relaxes to release more yarn.
This tension control is what separates a loose, messy stitch from a neat, even one. It takes practice. Your first few rows might be wildly uneven. That’s normal. Keep going.
The Slip Knot: Where Everything Starts
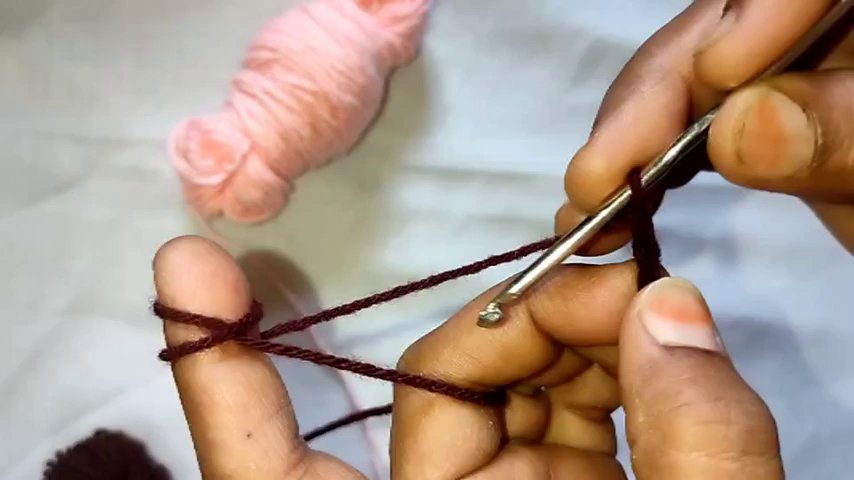
Every crochet project begins with a slip knot on your hook. It sounds simple, and it is, but there’s a right way to do it so your work doesn’t unravel later.
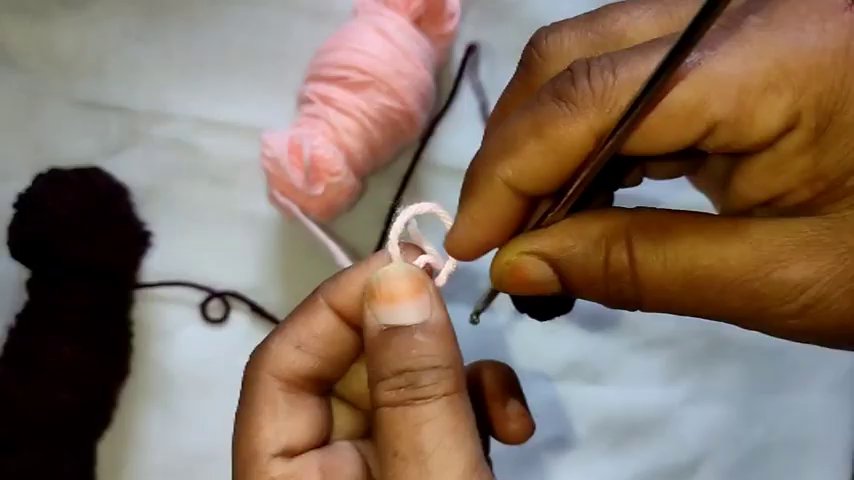
Make a loop with your yarn, leaving a tail of about 4-6 inches. Insert your hook through the loop, catch the working yarn, and pull it through. Tighten gently — not too tight, or you won’t be able to insert your hook for the next stitch. The knot should slide easily up and down the hook shaft.
If your slip knot is too tight, you’ll struggle to make your first chain. Too loose, and your foundation row will look sloppy. Aim for a snug fit that still moves freely.
Making a Foundation Chain
The foundation chain is the backbone of most crochet projects. It’s a series of chain stitches that form a row, and you’ll build every other stitch on top of it.
Hold your hook with the slip knot in place. Yarn over — that means wrapping the yarn from back to front over the hook. Then pull that loop through the loop already on your hook. Congratulations, you just made one chain stitch.
Repeat. Yarn over, pull through. Yarn over, pull through. Each loop should be roughly the same size. If they’re uneven, your project will have a wavy or zigzag edge. Practice making a chain of 10 or 15 stitches, then pull it out and start over. Repetition builds muscle memory.
Your First Real Stitch: Single Crochet
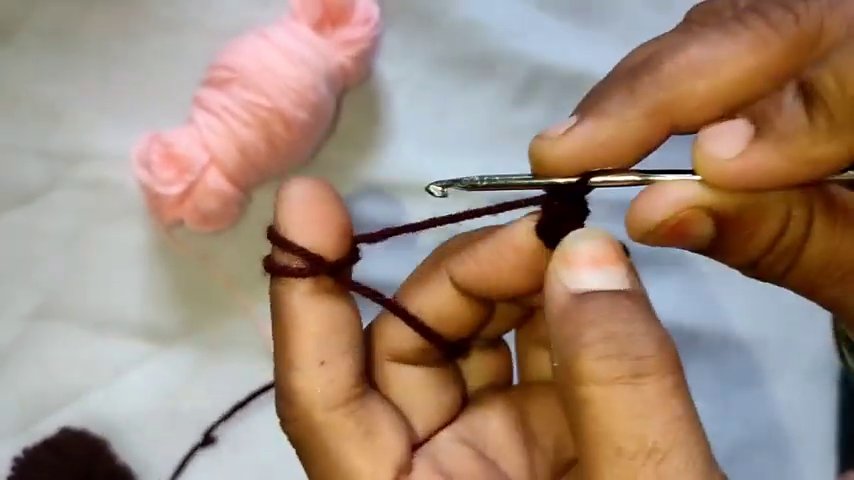
Once your foundation chain is long enough, it’s time to work your first row of actual stitches. The single crochet is the simplest stitch and the building block for countless patterns.
Insert your hook into the second chain from the hook (not the first — that one doesn’t count). Yarn over and pull up a loop. You now have two loops on your hook. Yarn over again and pull through both loops. That’s one single crochet.
Work one single crochet into each chain across the row. When you reach the end, chain one and turn your work. Now you’re ready to work back across the row you just made.
This back-and-forth rhythm is the heart of flat crochet. Each row builds on the last, and you’ll start to see a fabric forming. It’s slow at first. Your hands might feel clumsy. But around row three or four, something clicks. The movements start to feel less foreign.
Switching Colors Without Panicking
Changing yarn colors is one of those skills that seems intimidating until you actually do it. Then you wonder why you were worried.
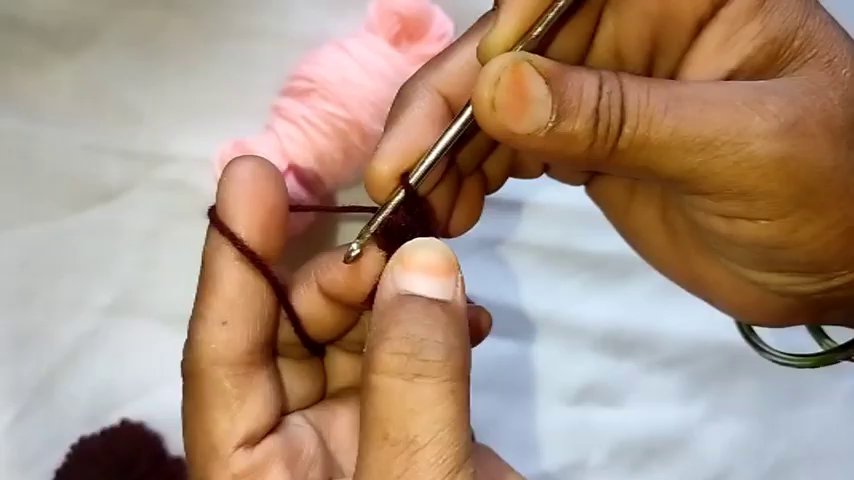
When you’re ready to switch, work your last stitch of the old color until you have two loops left on your hook. Drop the old yarn, pick up the new color, and use it to yarn over and pull through those last two loops. That completes the stitch in the new color.
Leave a tail of about 4-6 inches on both the old and new yarn. You’ll weave these in later with your yarn needle. Don’t cut the old yarn too short — you need enough length to secure it properly.
Common Beginner Mistakes (And How to Fix Them)
Everyone makes these. Everyone. The difference between someone who gives up and someone who gets good is knowing how to fix problems instead of throwing the whole project in a drawer.
Dropped stitches. If your project is getting narrower as you go, you’re probably skipping the last stitch of each row. Count your stitches at the end of every row until your hands learn the rhythm.
Uneven tension. Some stitches are tight, some are loose. This gets better with practice. In the meantime, try relaxing your grip on both the hook and the yarn. Death-gripping doesn’t help.
Hooking into the wrong loop. When you look at the top of a stitch, you’ll see two loops forming a V shape. Most patterns tell you to insert your hook under both loops. If you only catch one, your fabric will look different — not wrong, just different. Consistency matters more than which loop you choose.
Losing count. Use stitch markers. A small piece of contrasting yarn or a plastic clip works fine. Place one every 10 or 20 stitches so you can track your progress without counting from scratch every time.
Reading a Basic Pattern
Patterns have their own language, but it’s not as cryptic as it looks. Once you know a few abbreviations, you can follow almost any beginner pattern.
- ch = chain
- sc = single crochet
- dc = double crochet
- sl st = slip stitch
- st(s) = stitch(es)
- rep = repeat
A pattern might say: “Ch 11. Sc in 2nd ch from hook and across. Ch 1, turn. Sc in each st across. Rep last row until piece measures 6 inches.”
That’s it. That’s a complete pattern for a small rectangle — a dishcloth, a coaster, a patch for a blanket. You can make dozens of useful things with just these few instructions.
If you’re looking for your first real project, consider a simple dishcloth, a scarf, or even a monster keychain — small enough to finish in an evening, cute enough to keep you motivated.
Building Confidence: What to Try Next
Once you’ve mastered the single crochet, the world opens up. The double crochet stitch is taller and creates a looser fabric. The half-double crochet sits somewhere in between. Slip stitches are useful for joining pieces together or creating invisible seams.
You can also start experimenting with shapes. Instead of working back and forth in rows, you can work in the round to create circles, hats, or even amigurumi — those adorable crocheted stuffed animals. A crochet plush frog pattern is a perfect next step after you’ve got the basics down. It’s small, uses simple stitches, and the result is genuinely charming.
Don’t rush. Master the single crochet first. Make a few small squares. Then try a double crochet. Then try combining them. Every experienced crocheter started exactly where you are now — fumbling with a slip knot, pulling out rows, and starting over.
The Real Secret
Here’s what nobody tells you in those polished tutorial videos: crochet is forgiving. You can pull out your stitches and redo them. You can leave a project for three months and come back to it. You can make a scarf that’s wider at one end than the other, and it will still keep someone warm.
The point isn’t perfection. The point is that your hands are making something from nothing. That’s a small kind of magic, and it belongs to anyone willing to try.
So pick up a hook. Pick up some yarn. Make a slip knot. Chain a few stitches. See where it takes you.