There’s a particular kind of satisfaction that comes from watching a crochet hook move through yarn, each loop building on the last. A good tutorial captures that precise, almost meditative rhythm. The video we’re looking at does exactly that — it’s a close-up, hands-on walkthrough of a specific pattern, using a gold hook against a soft pink project, with a clean wooden table and a small bunch of white flowers in the background. No distractions. Just the stitches.
The hands in the video belong to someone who knows what they’re doing. A gold ring on the left ring finger catches the light as the hook dips and pulls. The text overlays in the upper corners tell you exactly what’s happening: “dc…” on the first row, “Fp Sc…” on row two, “Bl dc…” on row five. If you’ve ever tried to follow a crochet pattern that assumes you already know the abbreviations, you’ll appreciate how this tutorial spells things out without being fussy.
Reading the Stitches: What the Text Overlays Actually Mean
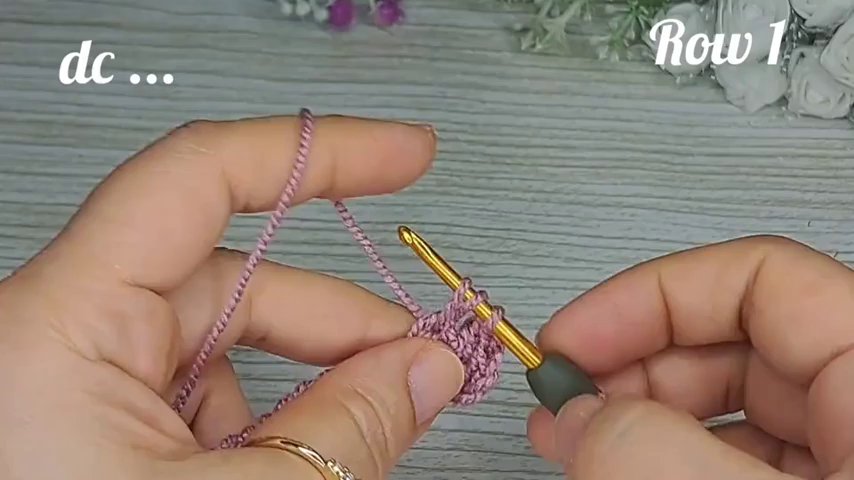
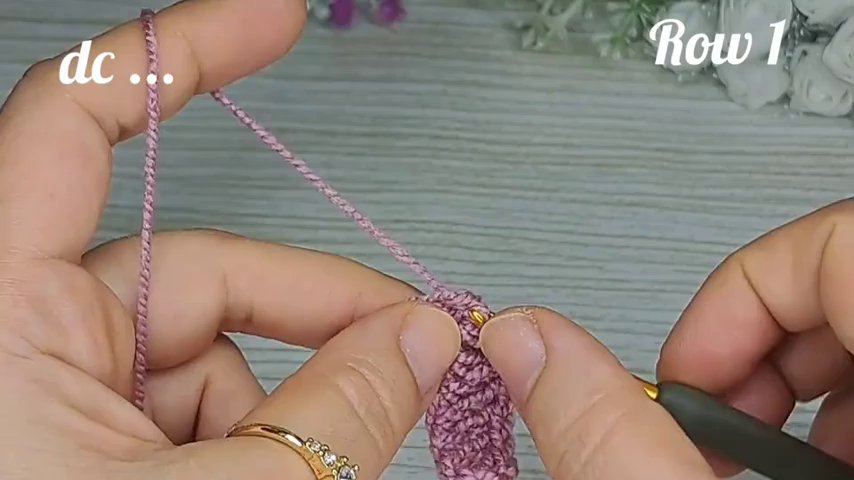
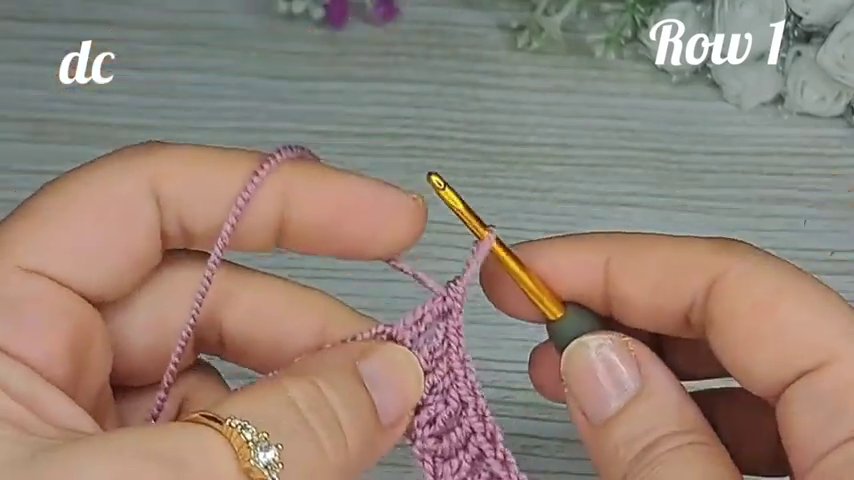
The first frame shows the hands working a double crochet stitch, with the abbreviation “dc…” in the upper left and “Row” in the upper right. Double crochet is a fundamental stitch — taller than a single crochet, with a bit more drape and openness. It’s the kind of stitch you’ll use in everything from blankets to garments. The video doesn’t waste time explaining the basics; it assumes you’ve got your foundation chain ready and you’re ready to work through the pattern.
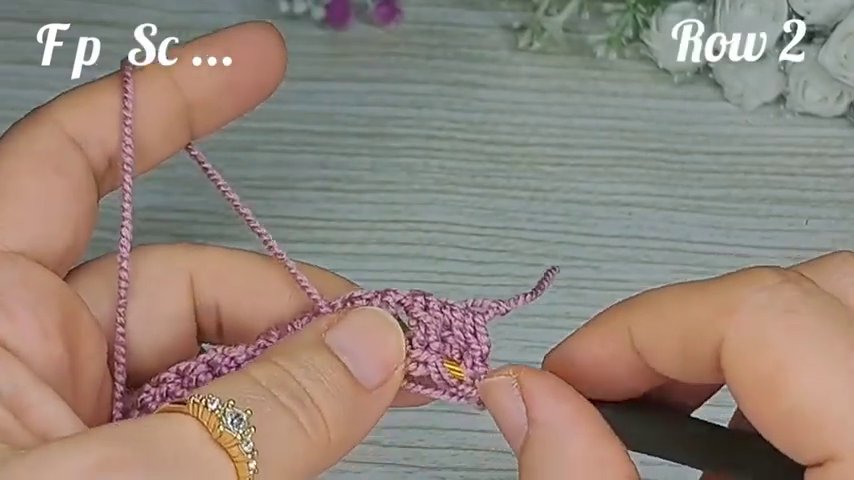
Then comes the shift. The second frame labels “Fp Sc…” on row two. That’s front post single crochet. This is where the texture starts to show. Instead of inserting the hook under the top loops of a stitch, you wrap the hook around the post — the vertical part of the stitch from the row below. The result is a raised ridge that pops out toward you. It’s a simple technique, but it changes the fabric completely. You can see the hands angling the hook differently, pushing it behind the post and pulling the yarn through from the back.
Why Front Post Stitches Matter
Front post stitches are one of those techniques that look intimidating until you try them. The video makes it look straightforward, which it is — once you get the hang of where to insert the hook. The trick is to work from the front of your work, insert the hook from right to left around the post of the stitch below, then yarn over and pull up a loop. It feels awkward the first few times. But the hands in the tutorial move with a practiced ease that suggests this is a stitch worth mastering.
Front post single crochet creates a dense, textured fabric. It’s great for ribbing, borders, or adding visual interest to an otherwise flat piece. If you’ve ever seen a crochet pattern that looks like it has woven or braided sections, chances are front post stitches are involved. The tutorial doesn’t explain all that — it just shows you the movement. And sometimes that’s all you need.
The Back Loop Double Crochet: A Subtle Shift
By the time the video reaches row five, the text changes to “Bl dc…” — back loop double crochet. This is a variation that’s deceptively simple. Instead of inserting the hook under both loops of the V at the top of a stitch, you only grab the back loop. That one small change creates a ridge on the front of the work, giving the fabric a ribbed or textured appearance. It’s also a great way to add elasticity, especially useful for cuffs, hats, or the edges of garments.
The hands in the tutorial show this clearly. The hook slides under the back loop only, leaving the front loop untouched. The movement is quick, almost casual, but the effect is noticeable. If you’re working a pattern that alternates between front post and back loop stitches, you’re essentially building a fabric that has both raised ridges and subtle horizontal lines. It’s a combination that can look deceptively complex without being hard to execute.
Row 6 = Row 2: The Pattern Repeats
One of the most helpful moments in the tutorial comes when the text overlay reads “Row 6 = Row 2.” That’s a clear signal that the pattern is repeating. In crochet, especially with textured stitches, repetition is your friend. It means once you’ve figured out rows two through five, you can keep going without re-reading instructions. The hands keep moving, the hook keeps pulling loops, and the fabric grows.
This kind of pattern structure is common in stitch samplers and textured blankets. You work a foundation row, then a few rows of different stitches, and then you repeat the sequence. It’s predictable, which is exactly what you want when you’re settling into a longer project. The tutorial doesn’t over-explain this — it just shows the repetition, trusting that you’ll see the pattern for what it is.
What the Video Doesn’t Tell You (But You Should Know)
The tutorial is focused and efficient, but there are a few things it assumes. First, that you know how to start a foundation chain and turn your work. Second, that you’re comfortable with basic double crochet. And third, that you understand the difference between working into a stitch and working around a post. If any of those are fuzzy, it’s worth brushing up before jumping into this pattern.
For example, if you’re new to front post stitches, practice on a small swatch first. Work a few rows of double crochet, then try a row of front post single crochet. The contrast will be obvious, and you’ll get a feel for the tension. Same with back loop stitches — they’re easy, but they can pull the fabric in if you crochet tightly. Loosen up a bit, and let the stitches breathe.
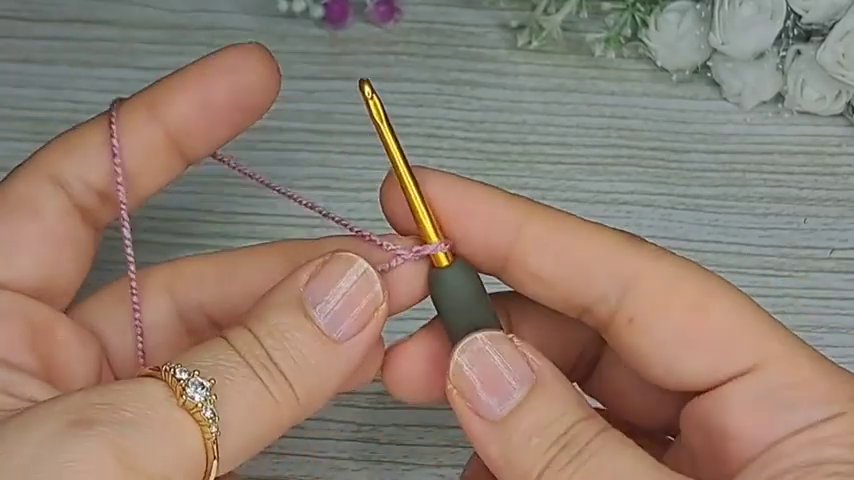
Also, pay attention to your hook. The video uses a gold hook with a dark gray handle — likely an ergonomic model with a smooth finish. That matters because post stitches require a bit more maneuvering. A hook with a sharp point or a sticky coating can snag on the yarn. If you’re struggling, try switching to a hook with a smoother shaft or a more pointed head.
Putting It All Together: A Pattern You Can Follow
Based on the sequence shown, the pattern goes something like this:
- Row 1: Double crochet across.
- Row 2: Front post single crochet across.
- Rows 3-4: Probably more double crochet or a repeat of row one.
- Row 5: Back loop double crochet across.
- Row 6: Repeat row two (front post single crochet).
That’s a four-row repeat with a texture shift. The front post rows add vertical ridges, the back loop rows add horizontal lines, and the plain double crochet rows give the fabric a smooth base. If you wanted to expand this into a blanket or a scarf, you’d just keep repeating rows two through five. The video doesn’t show the finished piece, but based on the stitches, it’s likely a dense, warm fabric with a lot of visual interest.
If you enjoy this kind of textured work, you might also like patterns that use similar techniques in smaller projects. For example, a crochet plush frog pattern uses post stitches to create shape and dimension, while a baby crab amigurumi relies on working in the round and varying stitch heights. Both are great ways to practice these techniques in a forgiving, small-scale format.
The Setting Matters More Than You Think
It’s easy to overlook the background in a tutorial, but the video’s setting — a light wooden surface with a subtle grain and a small bunch of white flowers — creates a calm, focused atmosphere. There’s no clutter, no distracting patterns. Just the hands, the yarn, and the hook. That kind of simplicity is surprisingly effective. It lets you concentrate on the movements without wondering what else is going on.
If you’re filming your own tutorials or just setting up your workspace, consider what’s in the frame. A neutral background with good lighting makes a huge difference. You don’t need a professional studio. A clean table, natural light, and a contrasting surface (light wood with bright pink yarn, for example) can be enough.
Why This Kind of Tutorial Works
There’s a reason close-up hand tutorials are so popular. They remove the guesswork. You’re not trying to figure out where the hook goes based on a diagram or a written description — you’re watching someone do it. The angle matters. The lighting matters. The pace matters. And when the tutorial adds text overlays for stitch abbreviations and row numbers, it bridges the gap between visual learning and pattern reading.
This particular video does all of that well. It’s short, focused, and assumes you’re ready to work. No rambling. No unnecessary chatter. Just the stitches, one after another, with enough context to keep you oriented.
If you’re the kind of crocheter who prefers to learn by watching, this format is ideal. You can pause, rewind, and mimic the movements in real time. And because the video uses common stitch abbreviations, you’re also getting practice reading patterns. Next time you see “FpSc” or “Bl dc” in a written pattern, you’ll know exactly what to do.
Key Takeaways
- Front post single crochet creates raised ridges by working around the post of the stitch below.
- Back loop double crochet adds subtle horizontal texture and elasticity.
- Repeating rows (like row six equaling row two) makes the pattern easy to continue.
- A clean, well-lit workspace helps you focus on the stitches.
- Watching close-up hand tutorials can improve your technique faster than diagrams alone.
The video doesn’t overcomplicate things. It shows you the stitches, labels the rows, and lets you see the rhythm. If you’ve been wanting to add more texture to your crochet, this is a solid place to start. Grab your hook, pick a yarn that contrasts with your work surface, and give those front post stitches a try. You might be surprised how quickly they click.