You’ve probably seen that gorgeous fabric that looks exactly like knitted stockinette but was made with a crochet hook. It’s not a trick. It’s the crochet knit stitch — sometimes called the waistcoat stitch or center-post stitch — and it’s one of those techniques that makes people do a double-take. The best part? If you already know how to single crochet, you’re about ninety percent of the way there.
This stitch creates a dense, warm fabric with those classic V-shaped stitches that knitters recognize instantly. It works up beautifully for hats, sweaters, and amigurumi where you want a polished look without switching crafts entirely. Let’s walk through exactly how to do it, from the very first loop to a finished swatch.
What You’ll Need Before You Start
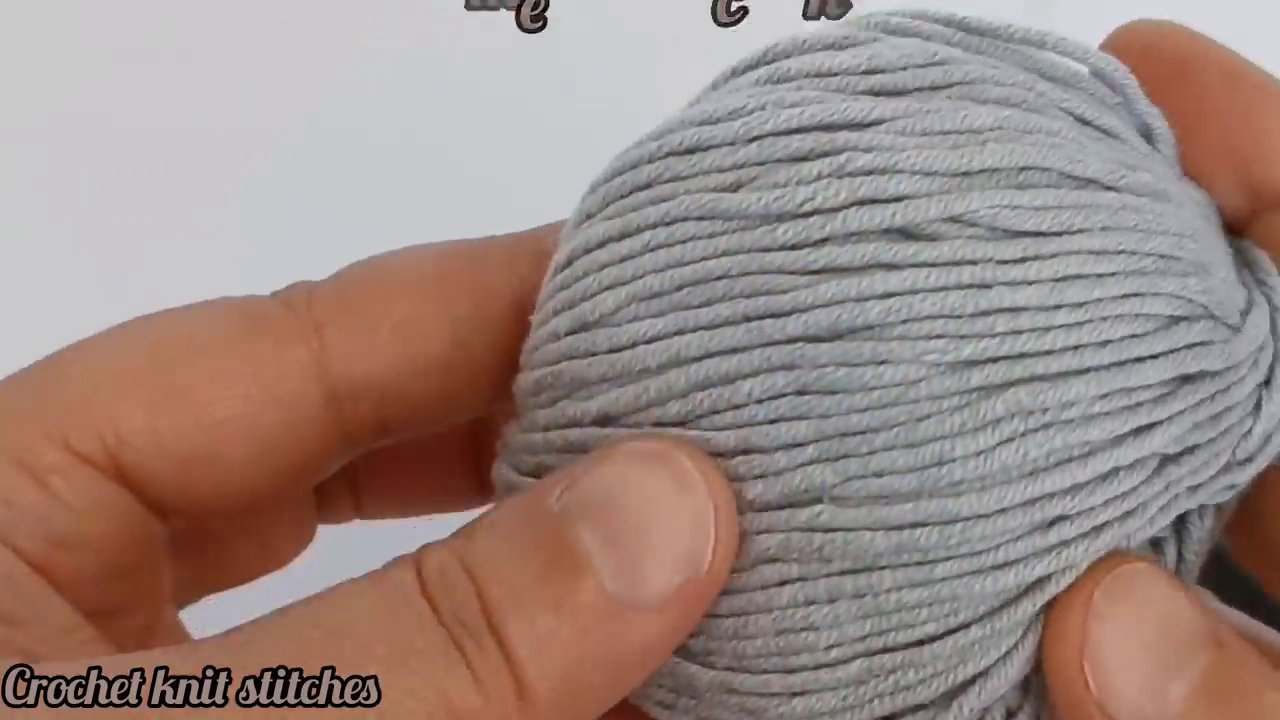
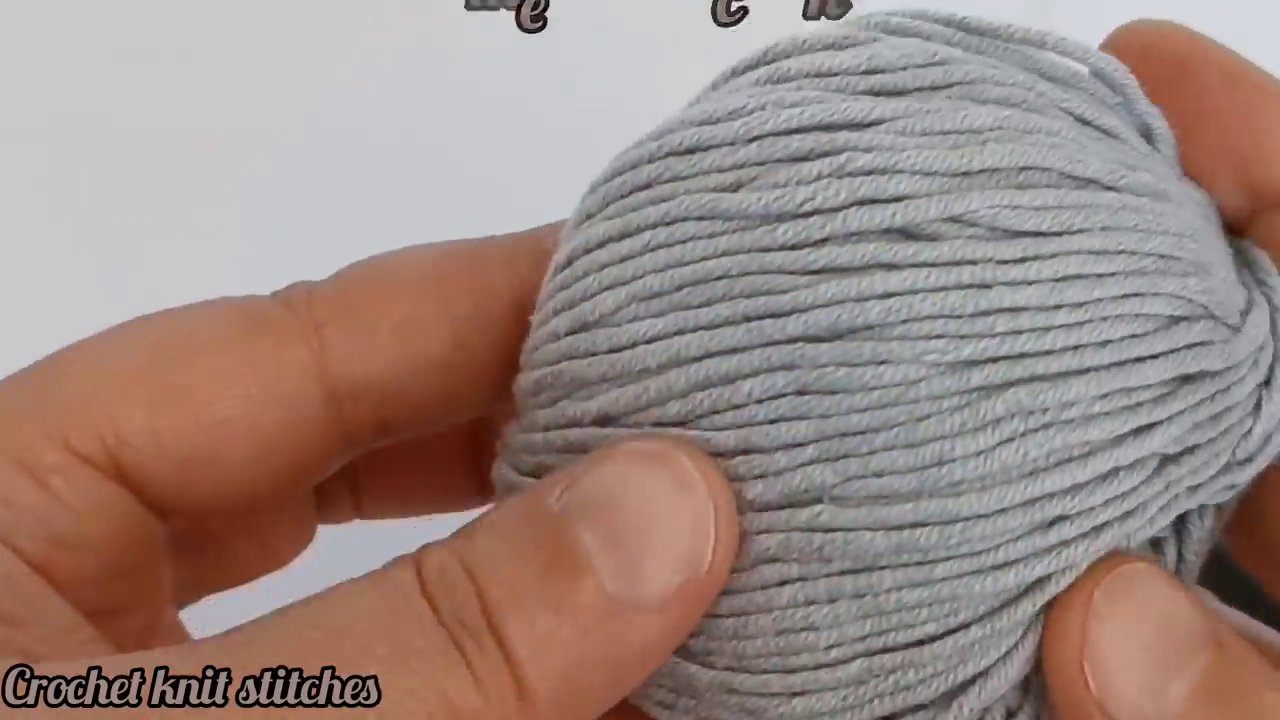
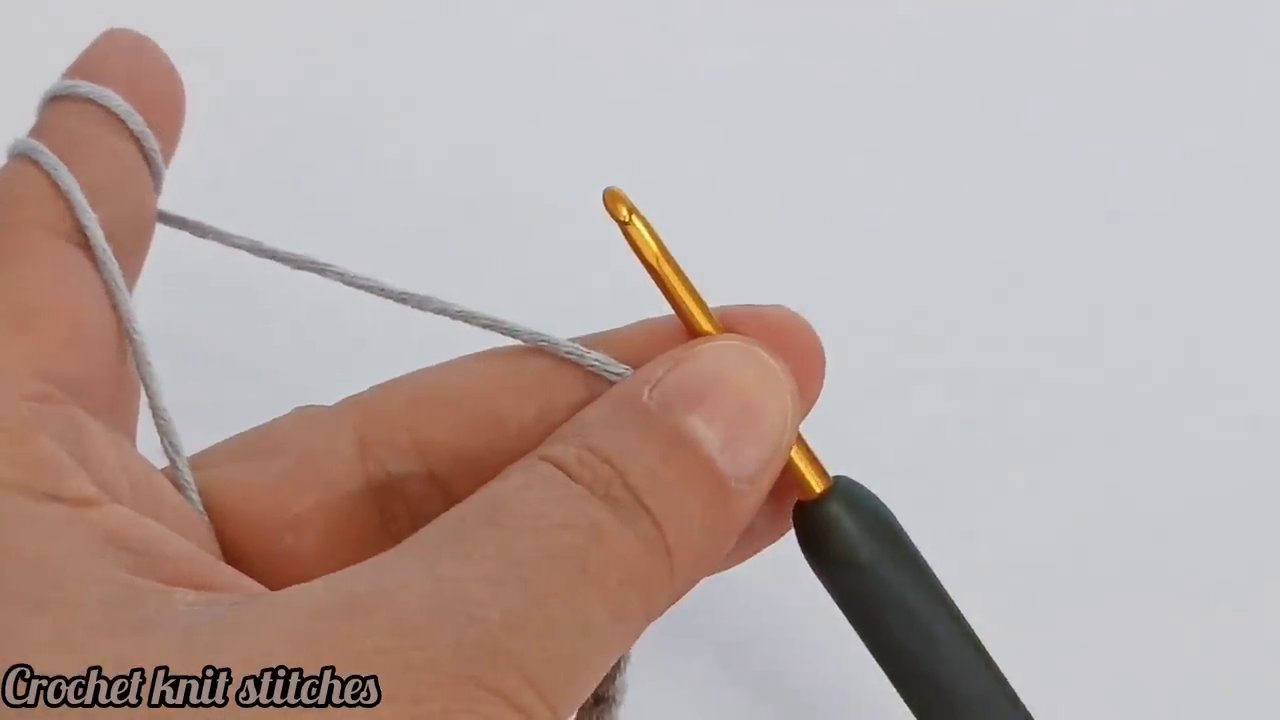
The crochet knit stitch doesn’t require special tools. Grab a smooth, light-colored worsted-weight yarn for your practice session — something like a soft gray or cream. Dark yarns make it harder to see your stitch anatomy, especially when you’re learning to insert the hook in the right place.
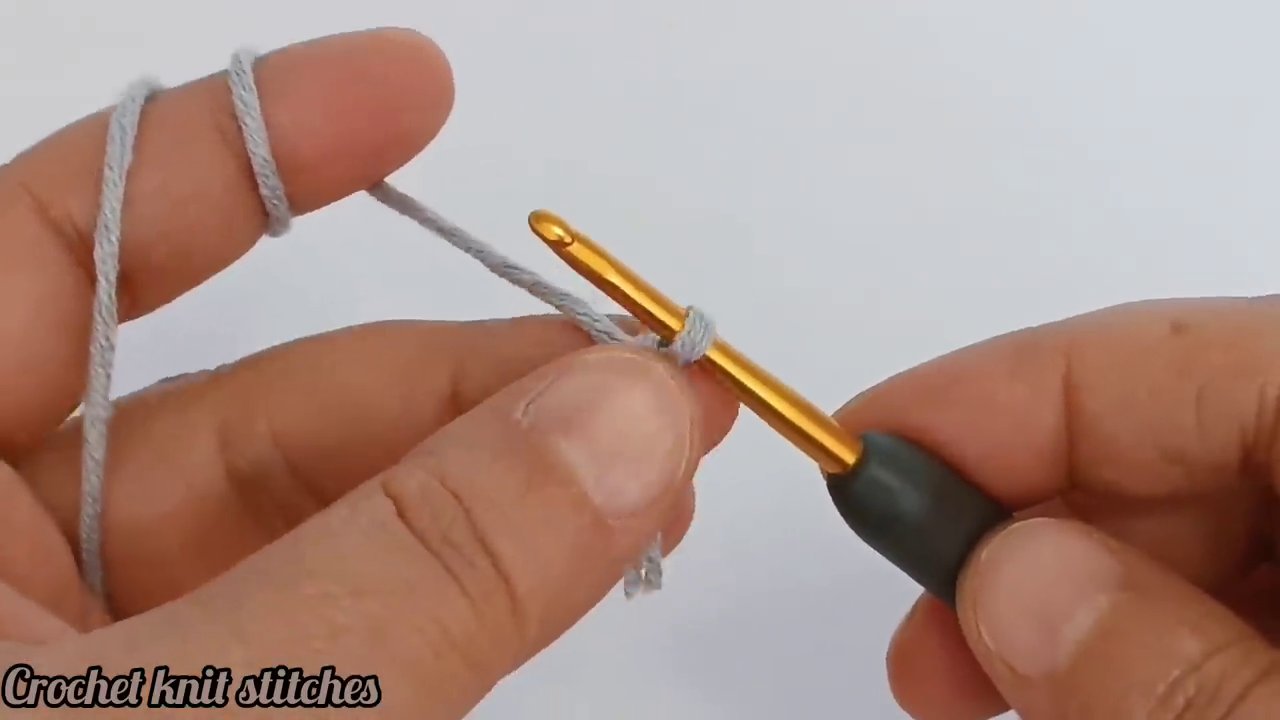
You’ll also want a hook that matches your yarn weight. For worsted weight, that usually means a 5mm or 5.5mm hook. The gold hook with a black handle shown in the tutorial is a classic choice, but any ergonomic hook will work. What matters is that the hook slides smoothly through the yarn without snagging.
Making the Foundation Chain
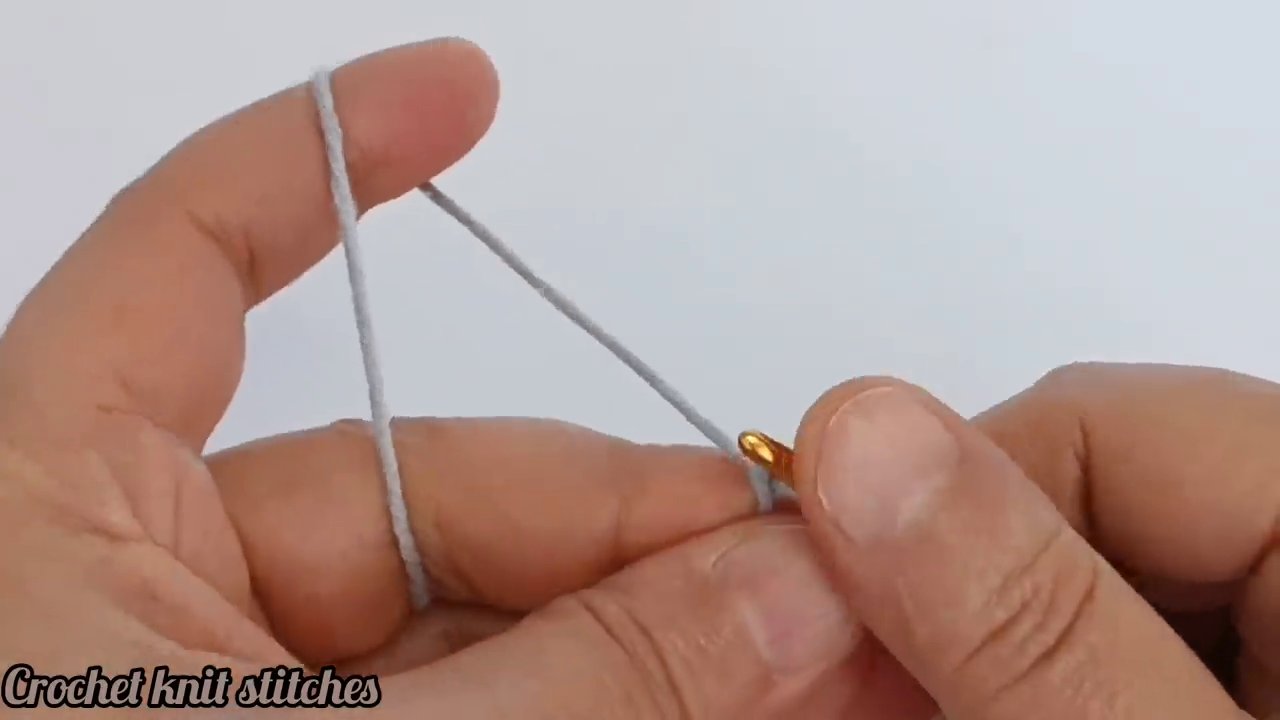
Every crochet knit stitch project starts with a foundation chain. Make it as you normally would — yarn over, pull through, repeat until your chain reaches the desired length. Don’t pull your chains too tight. Loose, even chains make the next steps much easier.
Here’s a tip that saves frustration later: use a hook one size larger for your foundation chain, then switch to your regular hook for the first row. This prevents that tight, curled edge that beginners often struggle with. If you’ve ever made a chain that looked more like a tight rope than a flexible starting edge, you know exactly what I mean.
The Setup Row: Regular Single Crochet
Before you can work the crochet knit stitch, you need one row of standard single crochet. This gives you a row of stitches with clear tops, which is where the magic happens.
Chain your desired length plus one for the turning chain. Single crochet into the second chain from your hook, then single crochet across the entire row. Chain one and turn your work.
That row of single crochet is your foundation. Every crochet knit stitch from here on will be worked into the center of these V-shaped stitches — not under the top two loops like you normally would.
Where to Insert Your Hook (This Is the Whole Trick)
Here’s where most beginners get confused, so pay close attention. In a standard single crochet, you insert your hook under both loops at the top of the stitch — the two little strands that form a V. For the crochet knit stitch, you insert your hook into the center of that V, between the two legs, and out the bottom of the stitch.
Think of it like this: you’re piercing the stitch right through its center, not hooking under it. The hook goes in at the top of the V, comes out the bottom, and grabs the yarn on the back side.
This center-post insertion is what creates those stacked V shapes that look like knit stitches. It also makes the fabric denser than regular single crochet, so keep your tension relaxed. If you pull too tight, the fabric gets stiff and difficult to work with.
Working the Crochet Knit Stitch Step by Step
Let’s walk through the motion slowly. Once you’ve completed your foundation row of single crochet and turned your work, here’s what to do:
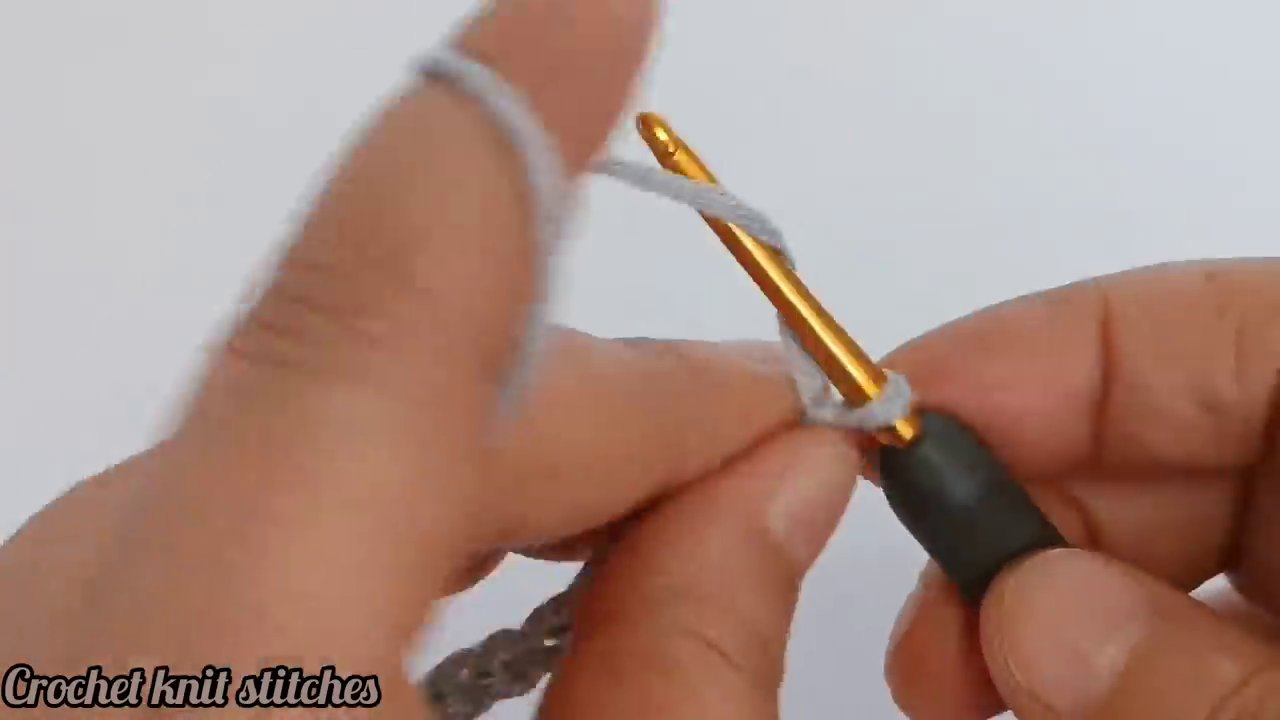
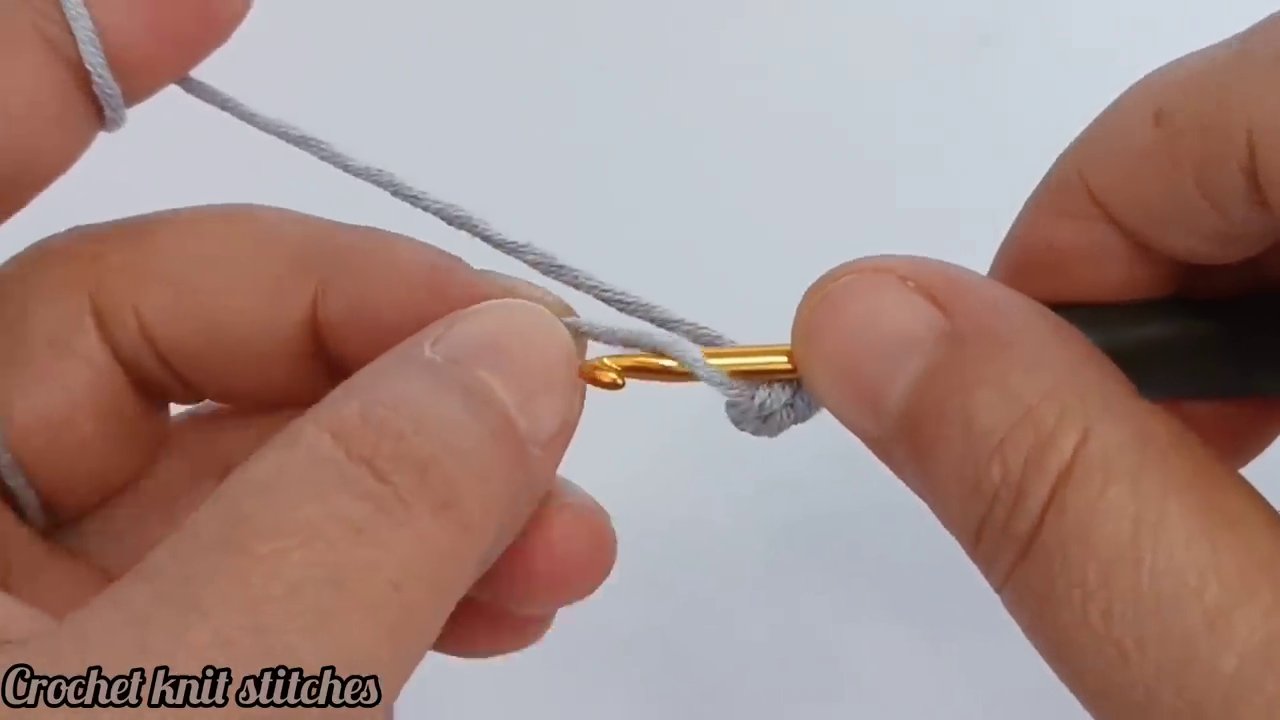
- Insert your hook from front to back into the center of the next stitch. The hook should come out the bottom of that stitch.
- Yarn over and pull the yarn through the stitch. You’ll now have two loops on your hook.
- Yarn over again and pull through both loops on the hook. That’s one complete crochet knit stitch.
Repeat across the row. When you reach the end, chain one and turn. Then work another row exactly the same way — inserting into the center of each stitch from the previous row.
After a few rows, you’ll see those neat little V shapes stacking vertically. That’s your knit-like fabric taking shape.
Common Mistakes and How to Fix Them
This stitch has a learning curve. Don’t let the first few rows discourage you.
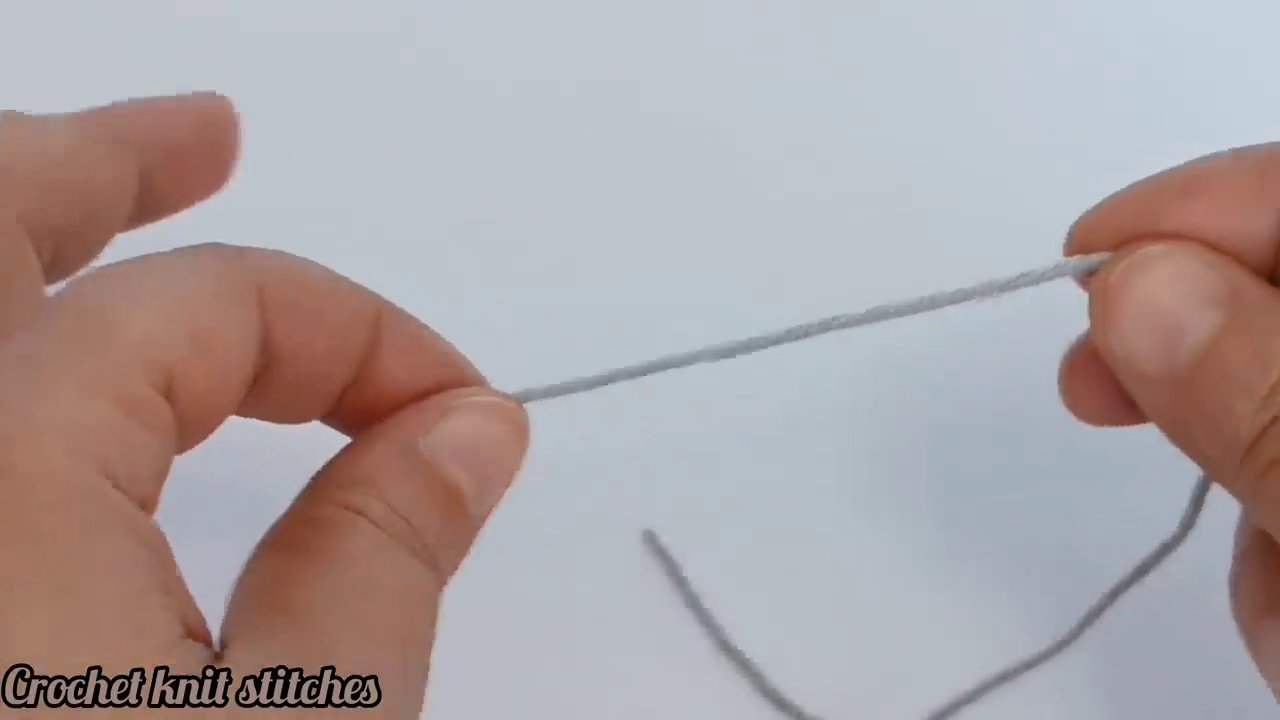
Splitting the yarn. Because you’re inserting the hook through the center of the stitch, you can easily split the yarn strands, especially with loosely plied yarns. The fix is simple: use a tightly twisted yarn for practice, and insert your hook with a deliberate, straight motion rather than wiggling it in.
Missing stitches. The crochet knit stitch creates a dense fabric, and it’s easy to lose track of where one stitch ends and the next begins. Count your stitches at the end of each row until you develop an eye for the stitch pattern. Place a stitch marker in the first and last stitch of every row for the first few practice sessions.
Tension issues. This stitch eats yarn and creates a tighter fabric than single crochet. If your swatch curls at the edges or feels like cardboard, loosen up. Use a larger hook, relax your yarn hand, or both.
Twisted stitches. If your V shapes look slanted or uneven, check that you’re inserting the hook straight through the center of each stitch, not at an angle. The hook should go in perpendicular to the row you’re working.
Why This Stitch Works So Well for Certain Projects
The crochet knit stitch produces a fabric that’s thicker and less drapey than regular single crochet. That makes it ideal for projects where you want structure and warmth. Hats, beanies, and cowls work beautifully because the dense fabric holds its shape and blocks wind effectively.
If you enjoy making amigurumi, this stitch creates a smooth, professional finish with no gaps between stitches — perfect for projects like our Crochet plush Frog pattern where you want a polished look without visible holes. The stitch definition makes the frog’s body look clean and uniform.
It’s also fantastic for dishcloths and pot holders if you use cotton yarn. The density provides good insulation and absorbency. Just remember that this stitch uses more yarn than single crochet, so buy an extra skein when planning your yardage.
Reading Your Fabric: Identifying Rows and Stitches
Once you’ve worked several rows, take a moment to study your fabric. Each crochet knit stitch looks like a small V, stacked directly on top of the V below it. Unlike regular single crochet, where the Vs are slightly offset between rows, these line up vertically — just like knitted stockinette.
To count your rows, look at the columns of Vs. Each V is one row. To count stitches, count the Vs across the row. This visual consistency makes pattern reading straightforward once you’re comfortable with the stitch.
If you make a mistake and need to rip back, do it carefully. The center-post insertion makes the yarn grip itself more tightly than standard stitches, so frogging can be slow. Work with a smooth yarn for your first few projects to make corrections easier.
Variations and Next Steps
Once you’ve mastered the basic crochet knit stitch, you can experiment with variations. Working in the round creates a seamless tube — perfect for hats and sleeves. You can also work the stitch in rows, turning at the end of each row, which creates a fabric that looks the same on both sides.
For colorwork, this stitch handles horizontal stripes beautifully because the stitches stack directly on top of each other. Vertical stripes and Fair Isle-style patterns also work well, though you’ll need to carry your unused yarn across the back carefully to avoid puckering.
If you want to try something playful, consider using this stitch for small projects like the Monster Keychain pattern. The dense fabric holds up well to daily wear and tear, and the stitch definition makes the monster’s features pop.
Keeping Your Hands Comfortable
The crochet knit stitch requires more hand movement than basic stitches because you’re inserting the hook through the center of each stitch rather than under the top loops. This can strain your wrists and fingers, especially during long sessions.
Take breaks every twenty minutes. Stretch your hands and wrists. If you feel pain, stop and rest — pushing through discomfort leads to repetitive strain injuries. Some crocheters find that ergonomic hooks with larger handles reduce fatigue with this stitch because you don’t have to grip as tightly.
Your tension hand also works harder with this stitch. Loosen your grip on the yarn. Let it flow through your fingers smoothly rather than holding it in a death grip. The fabric should feel soft and pliable, not stiff and resistant.
Troubleshooting Uneven Edges
Edges can be tricky with this stitch. The first and last stitches of each row tend to pull inward, creating a tapered effect. To fix this, work your turning chain a little looser than usual, and make sure you’re working into the very last stitch of the row — not skipping it accidentally.
Some crocheters prefer to work a border in single crochet after completing their main fabric. This hides any edge irregularities and gives the project a finished look. For garments, consider adding a ribbed border using front-loop-only single crochet, which mimics knitted ribbing and pairs beautifully with the crochet knit stitch fabric.
Final Thoughts on Mastering the Stitch
The crochet knit stitch rewards patience. Your first few rows might look uneven, with twisted stitches and inconsistent tension. That’s normal. Keep going. By the time you’ve worked ten rows, your hands will find the rhythm, and the fabric will settle into its characteristic smooth surface.
This stitch bridges the gap between crochet and knitting, giving you the best of both worlds. You get the speed and single-hook simplicity of crochet with the polished, professional look of knitted fabric. Once you’ve added it to your skill set, you’ll find yourself reaching for it again and again — especially for projects where stitch definition matters.
Grab your hook and some light-colored yarn. Work through the steps slowly. Stop and check your insertion point every few stitches until it feels natural. Before long, you’ll be turning out fabric that makes people ask, “Wait — you crocheted that?”