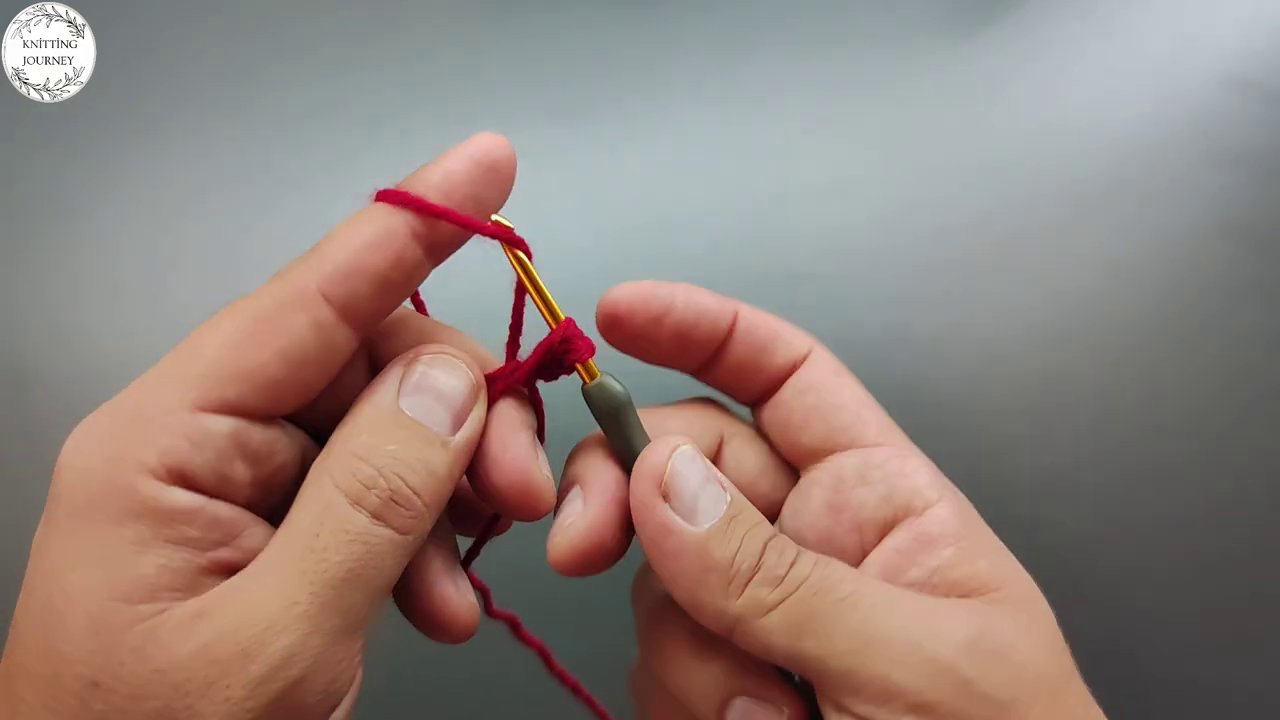
You don’t need fancy supplies to make something beautiful. A ball of yarn, a crochet hook, and a handful of sticks — that’s the whole shopping list for this project. And honestly? The results look way more impressive than the materials suggest.
The video tutorial walks through every step in close-up detail, so even if you’re still figuring out tension or fumbling with your hook grip, you won’t get lost. Let’s break down how this thing comes together.
What You’re Actually Making
This isn’t a scarf or a blanket. It’s a decorative piece — think wall hanging, table runner, or something you’d drape over a shelf. The structure comes from sticks (straight, dry branches work perfectly), and the yarn does all the decorative work between them.
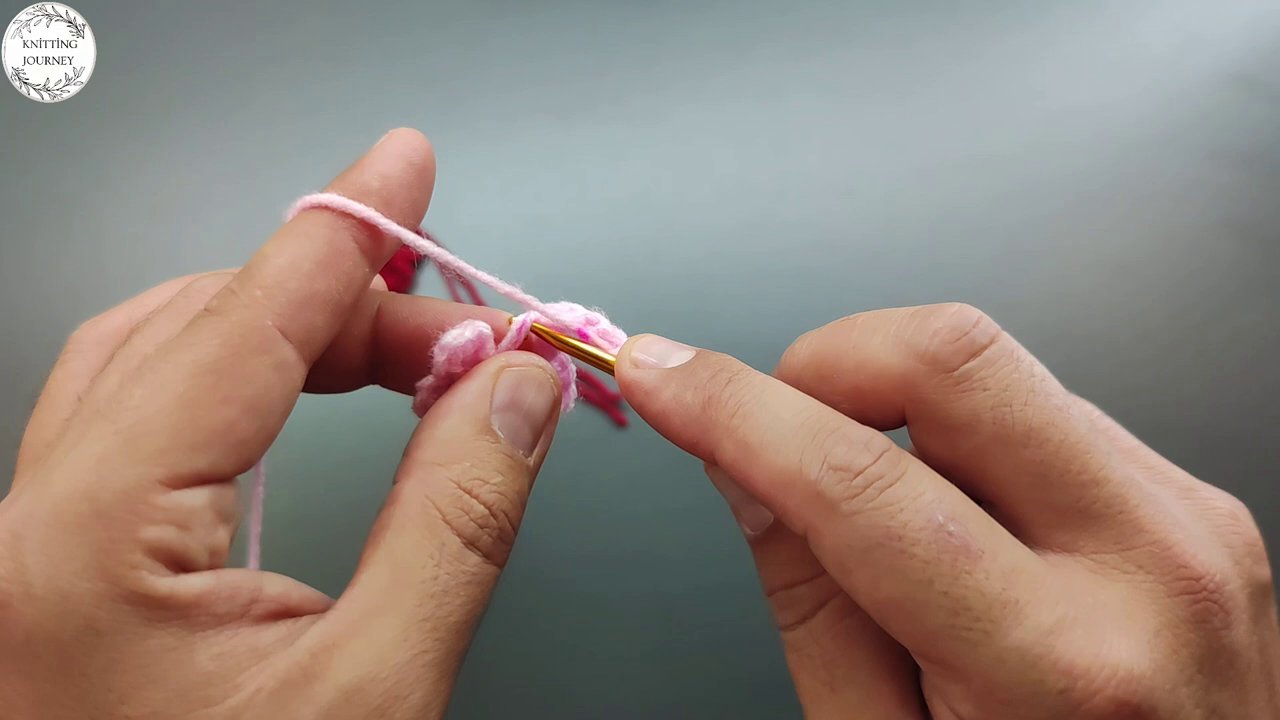
The creator starts with red yarn, then switches to pink, building up texture and pattern as they go. You’ll see the piece take shape row by row, with the sticks acting as the frame.
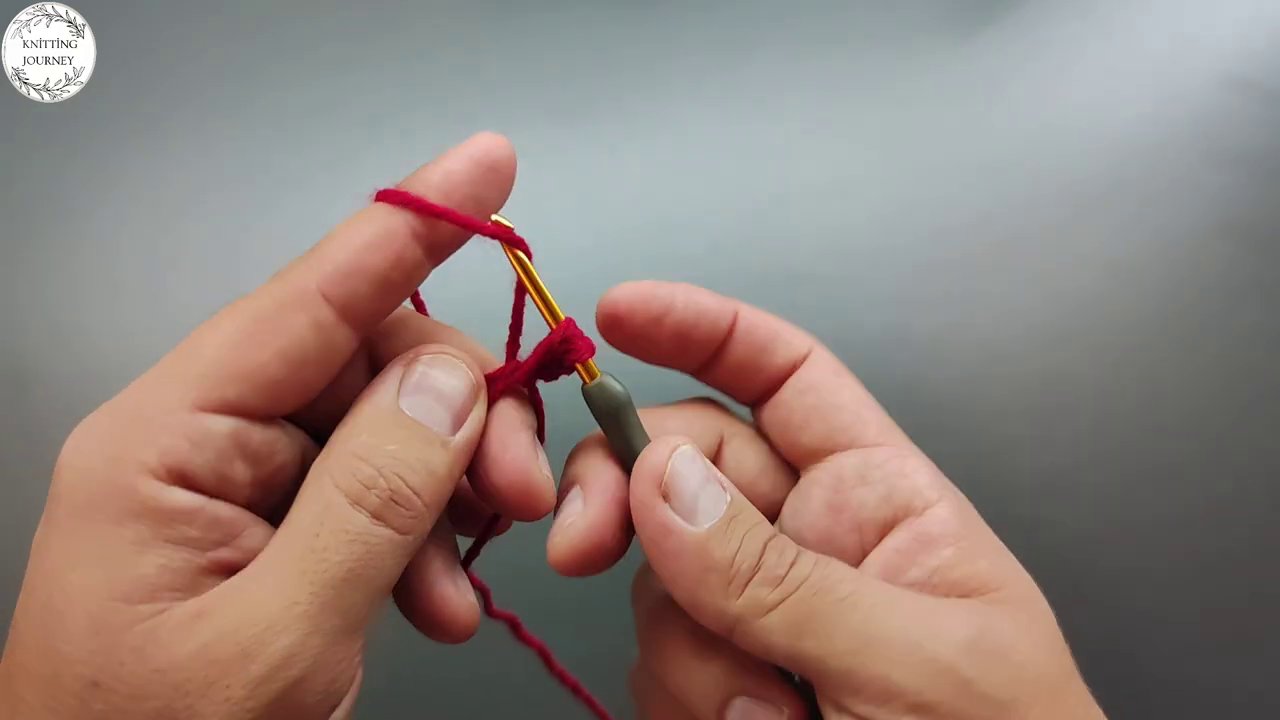
What I love about this approach is how forgiving it is. If your tension wobbles or you drop a stitch, it just becomes part of the handmade look. No one’s inspecting your gauge swatch.
Getting Started: Yarn, Hook, and Sticks
Before you dive in, gather your supplies. The video uses medium-weight yarn — red and pink — but you can pick any colors that fit your space. The hook looks like a standard size H or I (5.0mm or 5.5mm), which works well with worsted weight yarn.
For the sticks, look for straight, sturdy twigs about the same thickness. You don’t need to buy them — a quick walk outside usually does the trick. Just make sure they’re dry and free of loose bark.
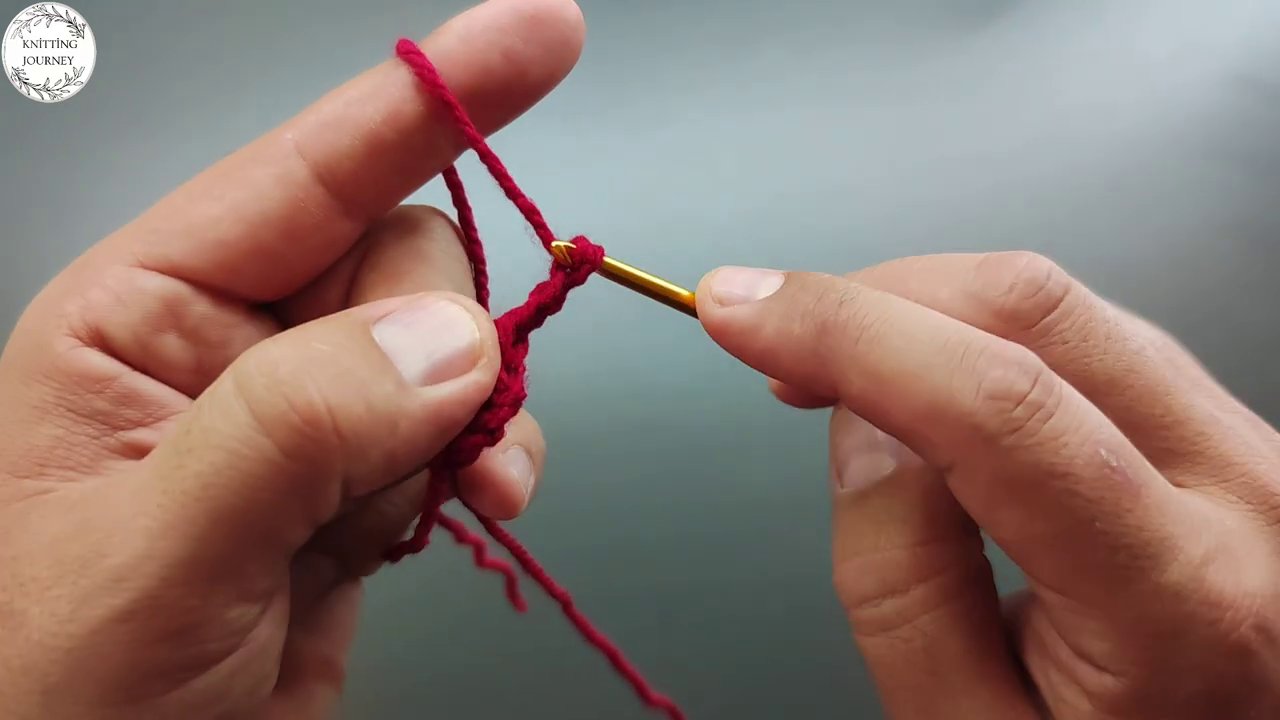
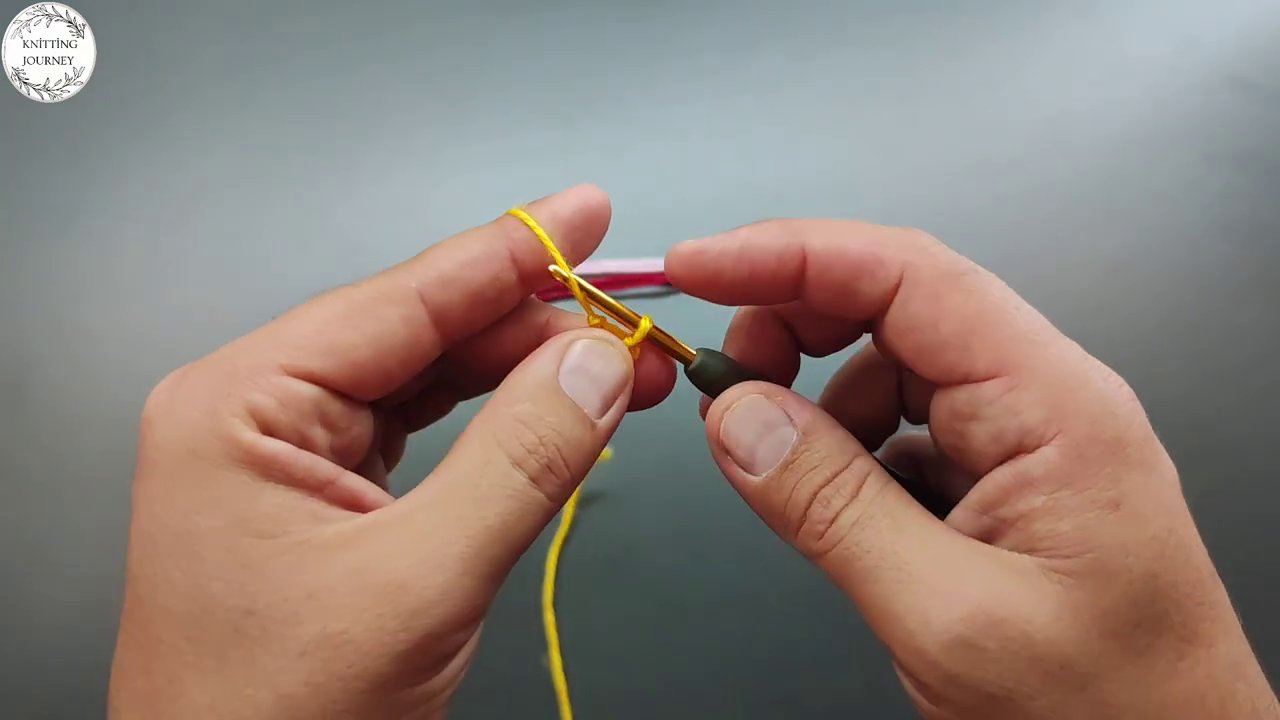
If you’re still working on your basic technique, check out this guide on how to hold your crochet hook and yarn for perfect tension. It makes a real difference when you’re trying to keep things even.
Building the Base Pattern
The first few rows are all about establishing a rhythm. You’ll work the yarn around the stick, then loop back, creating a series of connected stitches that anchor the piece.
The video shows the process in real time, with the camera zoomed in so you can see exactly where the hook goes. The creator’s hands move deliberately — not too fast, not too slow. It’s the kind of pacing that lets you follow along without pausing every three seconds.
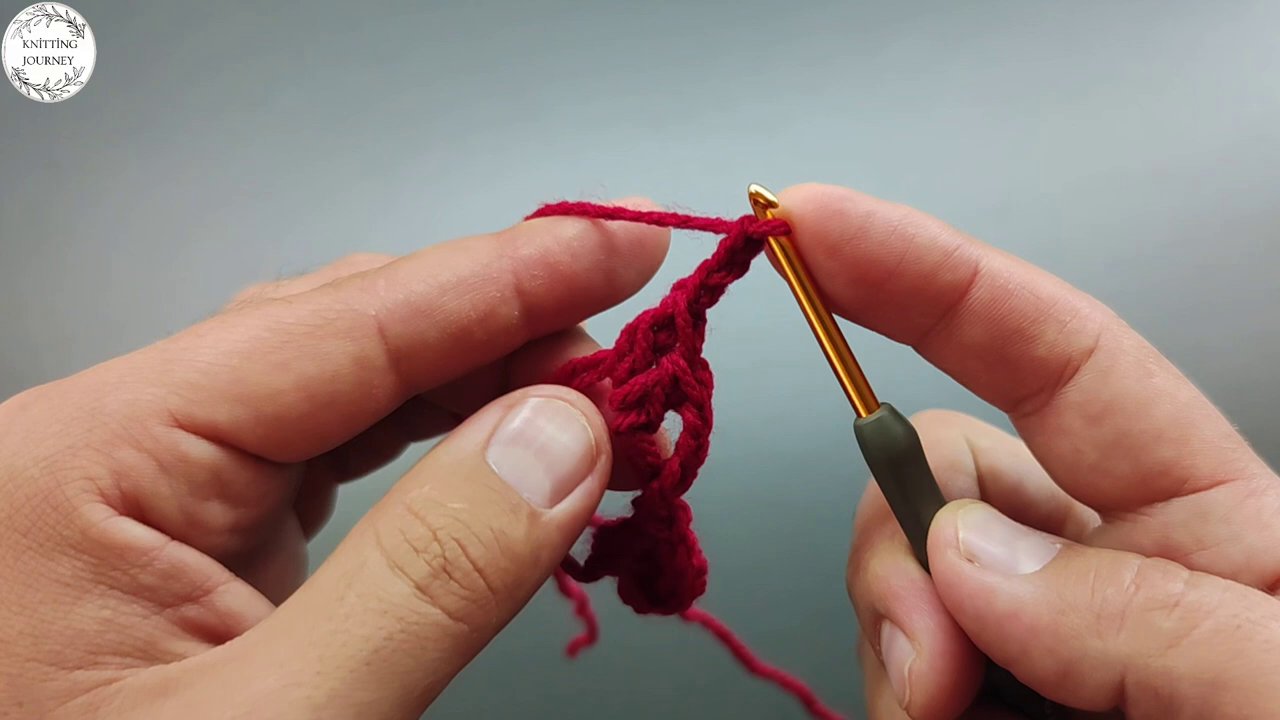
Here’s a tip: keep your tension light. If you pull too tight, the yarn will bunch up and you’ll struggle to insert the hook on the next pass. Let the yarn glide through your fingers, not choke.
Switching Colors and Adding Texture
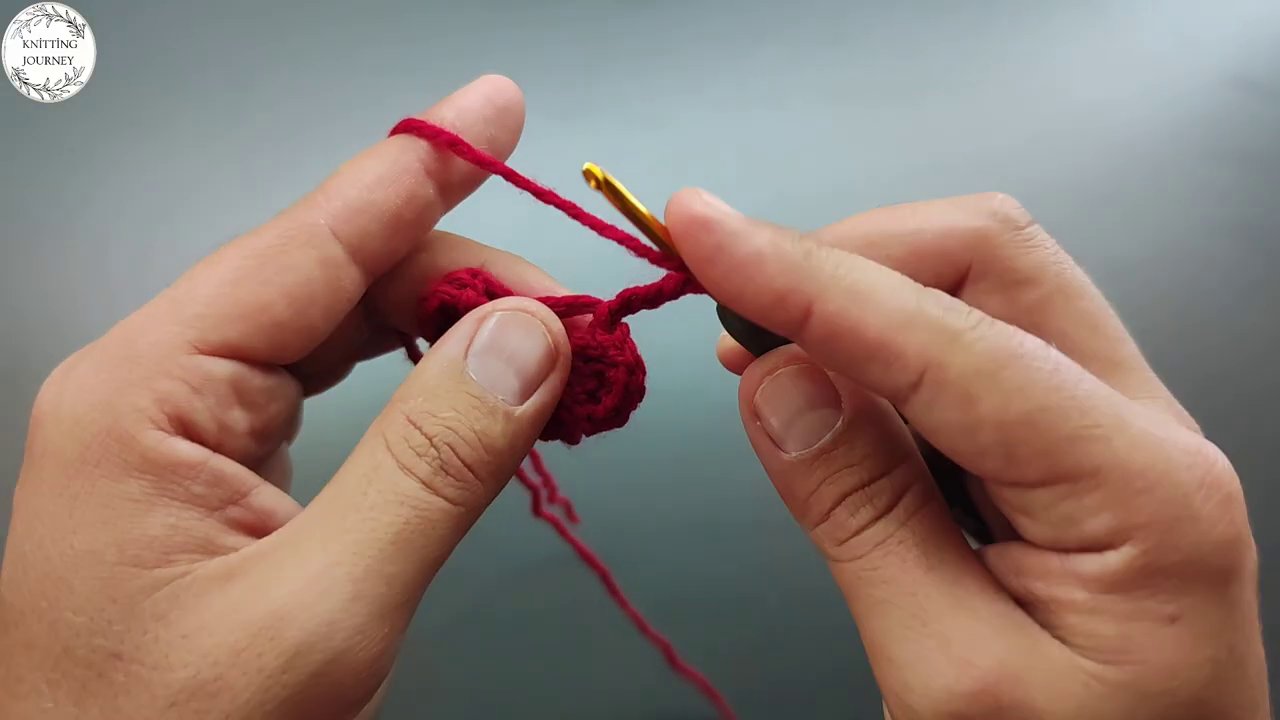
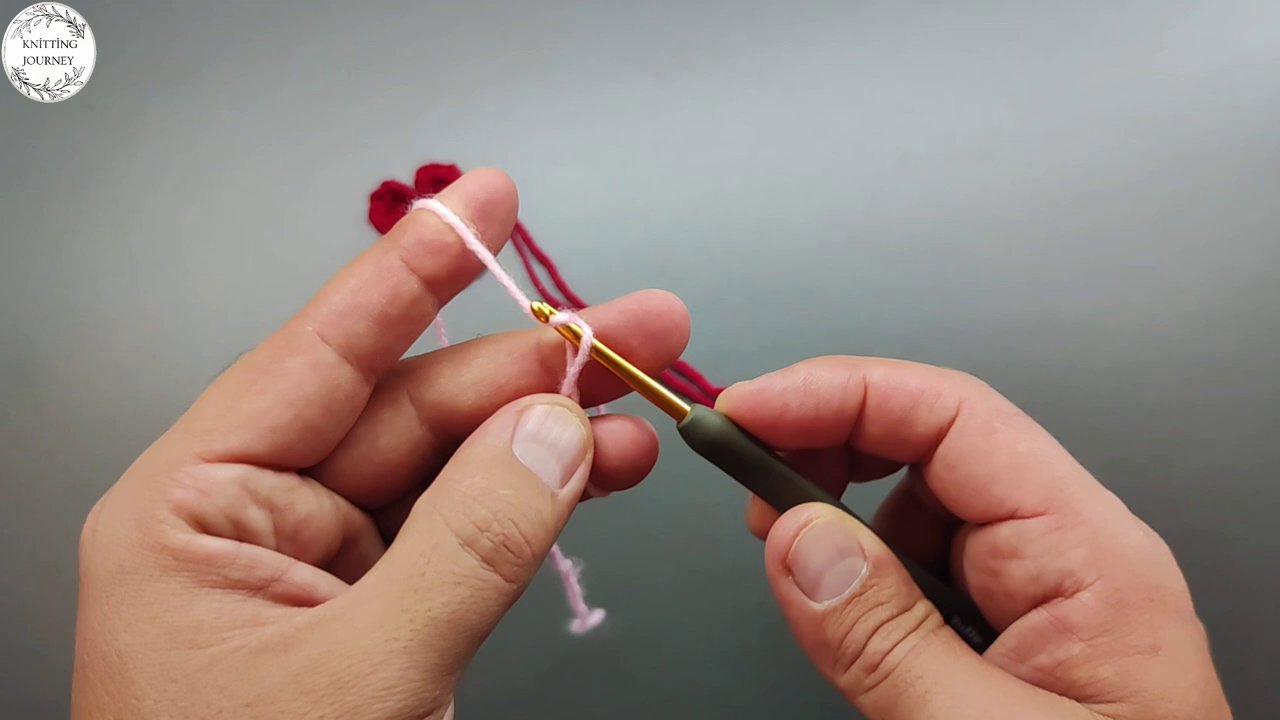
About halfway through, the red yarn gets swapped for pink. This is where the design starts to get interesting. The color change isn’t just cosmetic — it creates visual separation between sections, making the piece feel layered and intentional.
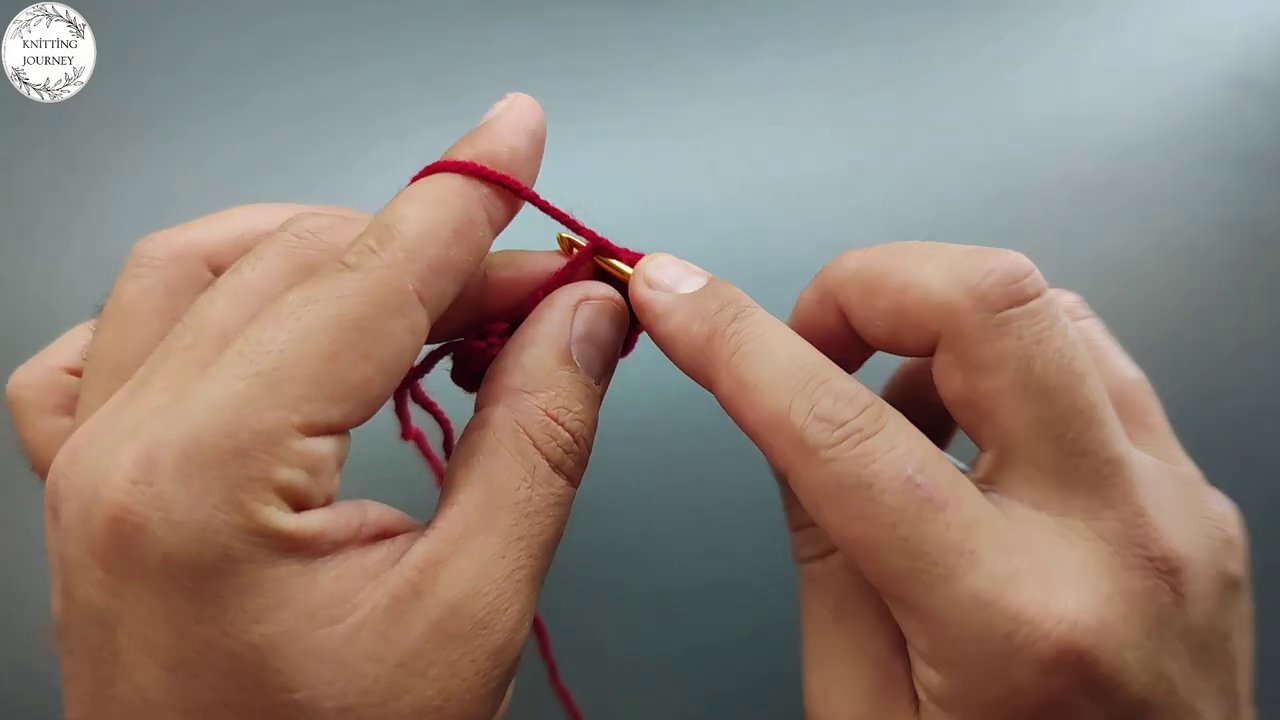
The stitches themselves shift too. You’ll see the creator vary their technique — sometimes working tighter, sometimes looser — to build texture. It’s subtle, but it keeps the eye moving across the surface.
If you’ve never done a color change before, it’s simpler than you think. Finish the last stitch of the old color, then pull the new color through the loop. Trim the tail and keep going. The video demonstrates this cleanly.
Why This Project Works So Well
Three things make this idea worth trying.
First, it’s cheap. Yarn and sticks. That’s it. No expensive tools, no specialty hardware.
Second, it’s portable. You can take it to the couch, the park, or a coffee shop. The sticks are short enough to fit in a bag, and the yarn doesn’t tangle easily if you keep it wound.
Third, it’s satisfying. You see real progress fast. Within an hour, you’ll have a visible chunk of finished work. That’s rare in crochet, where some projects take weeks to show meaningful change.
If you’re new to working in rounds or want to try a different starting technique, the magic ring method for amigurumi is worth learning. It’s not used here, but it’s a handy skill for other projects.
Common Mistakes to Avoid
Even simple projects have pitfalls. Here are the ones I noticed while watching the tutorial.
Pulling the yarn too tight. This is the number one issue. Relax your hands. Let the yarn flow.
Skipping the tension check. Every few rows, hold the piece up and see if it lies flat. If it’s curling, you’re probably tightening up.
Using sticks that are too brittle. Green wood snaps easily. Dry, seasoned sticks hold up much better.
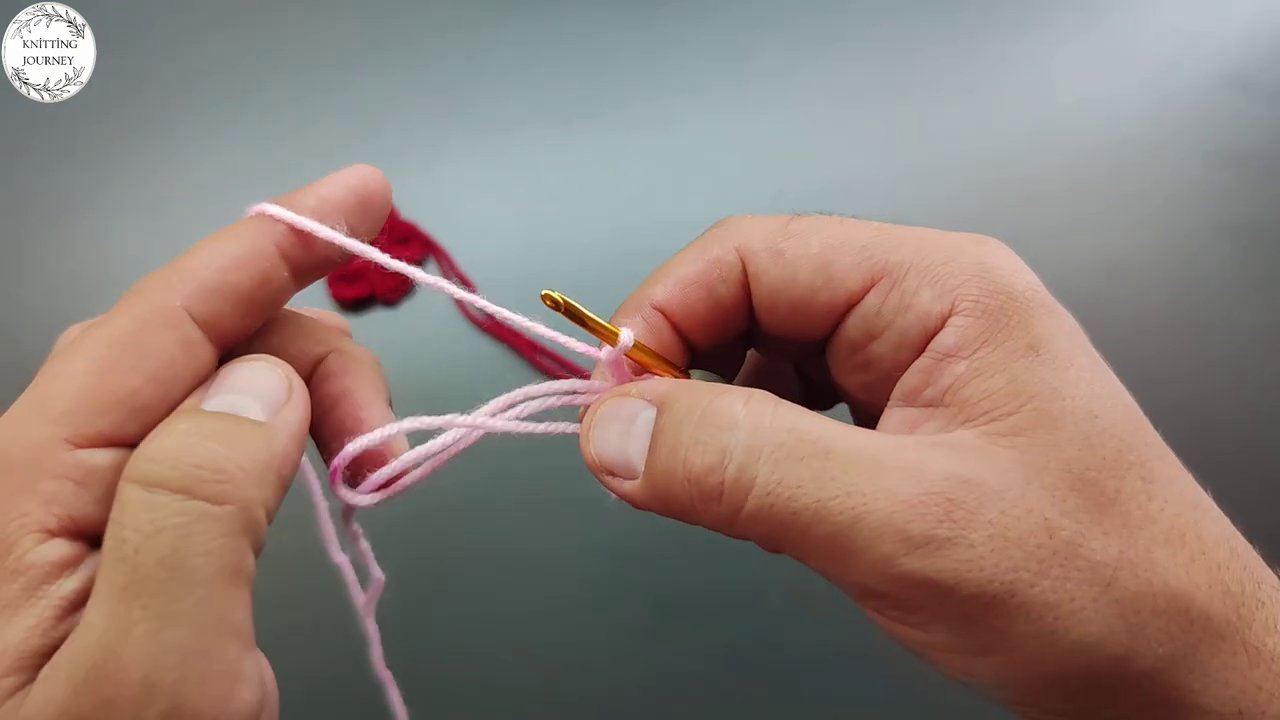
Not leaving enough tail. When you switch colors or finish a section, leave at least four inches of yarn to weave in later. Short tails pull out over time.
Finishing and Displaying Your Work
Once you’ve reached your desired length, it’s time to secure everything. The video shows the final steps clearly — cutting the yarn, pulling the last loop tight, and weaving in the ends.
The finished piece works as a wall hanging (just tie a loop at the top) or a table accent. You can also attach multiple sections side by side to create a wider piece.
Want to try something similar but with a different skill focus? The double stitch crochet walkthrough for beginners is a solid next step if you want to build on what you learned here.
Key Takeaways
This project proves that you don’t need a big budget or a ton of experience to make something worth showing off. A couple of sticks, some yarn, and a hook are enough.
- Use medium-weight yarn and a comfortable hook size (H or I work great).
- Keep your tension light and consistent.
- Don’t overthink color changes — they’re easier than they look.
- Let the texture develop naturally as you go.
The best part? Every piece turns out unique. Your tension, your color choices, your stick selection — it all adds up to something that’s genuinely yours. So grab some yarn, find a couple of sticks, and see where the hook takes you.