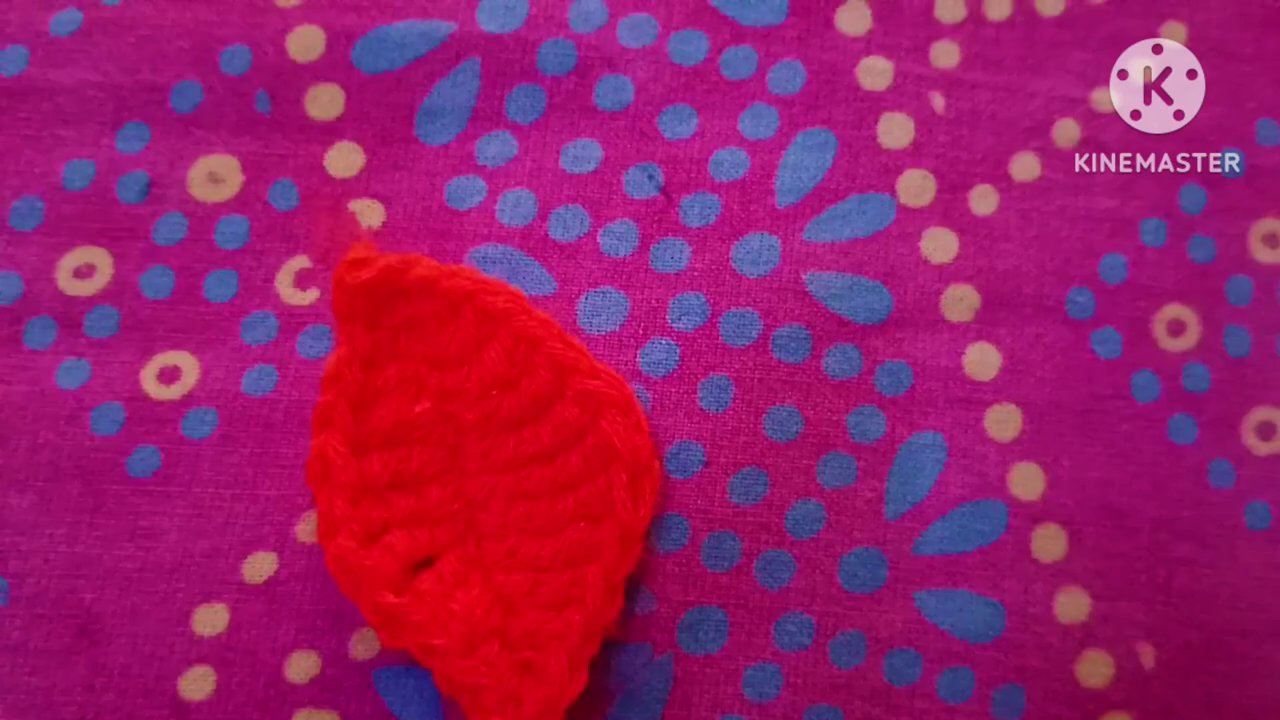
You don’t need hours of free time or a shelf full of supplies to make something that looks genuinely handmade and detailed. A single crochet leaf can be worked up in about five minutes, and once you know the basic shape, you can tweak the color, size, and texture to fit almost any project. Whether you’re adding leaves to a bouquet, embellishing a hat, or just want a satisfying quick stitch, this tutorial walks you through the process from the first loop to the finished piece.
What You’ll Need Before You Start
The setup for this project is refreshingly simple. You’ll want a crochet hook that feels comfortable in your hand — something in the mid-range, like a 3.5mm or 4mm, works well for a leaf that’s not too floppy and not too stiff. Grab a small ball of yarn in whatever color you like. Green is the obvious choice, but don’t stop there. The tutorial features over ten color ideas, and honestly, a leaf in deep burgundy or soft peach can be stunning against a neutral background.
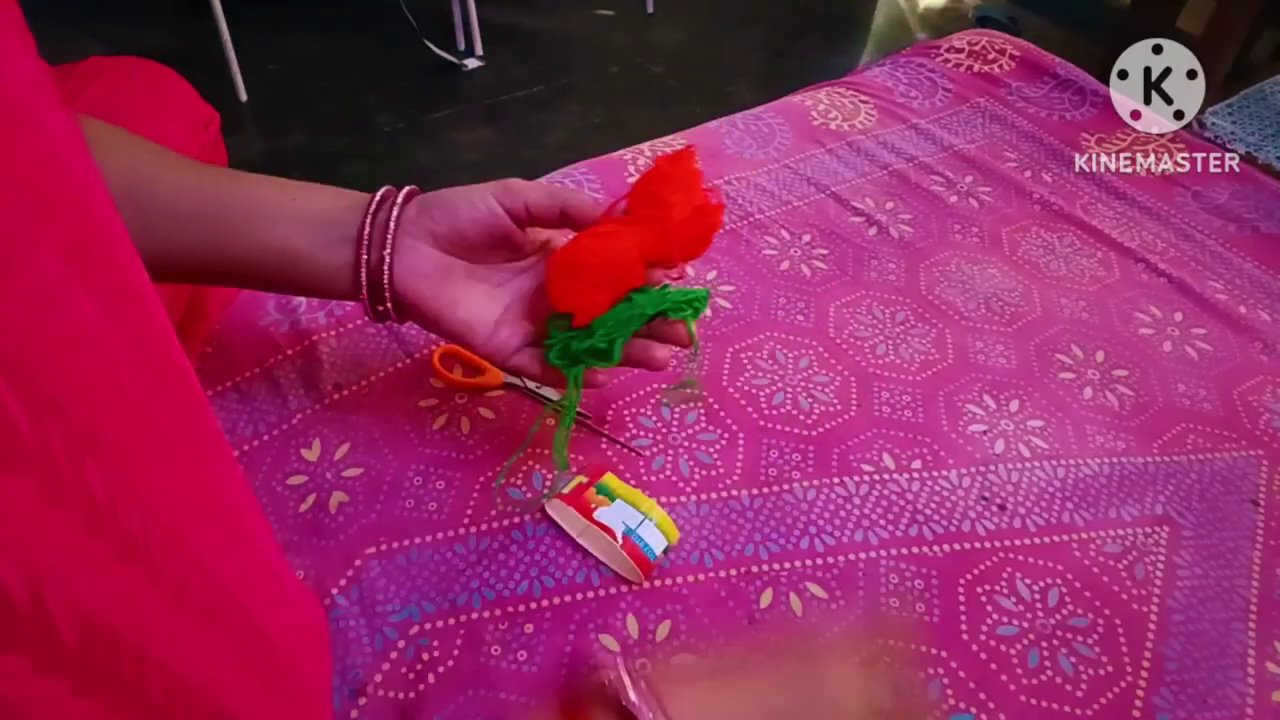
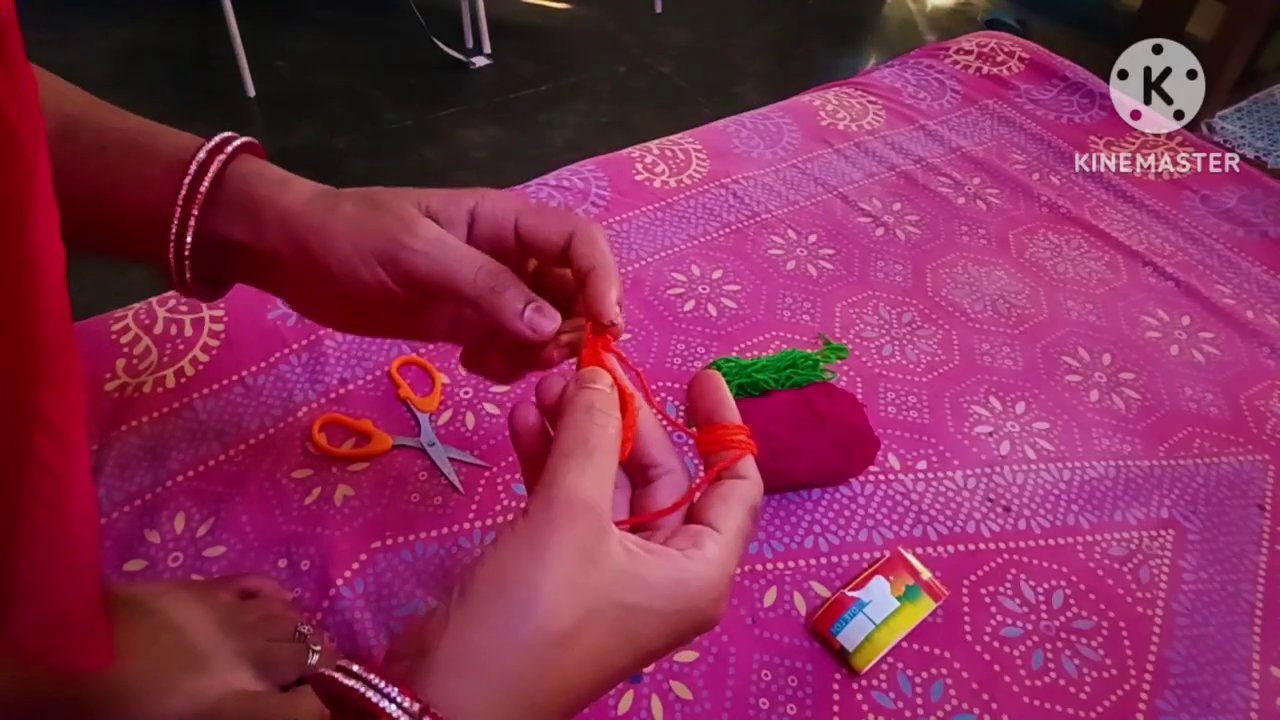
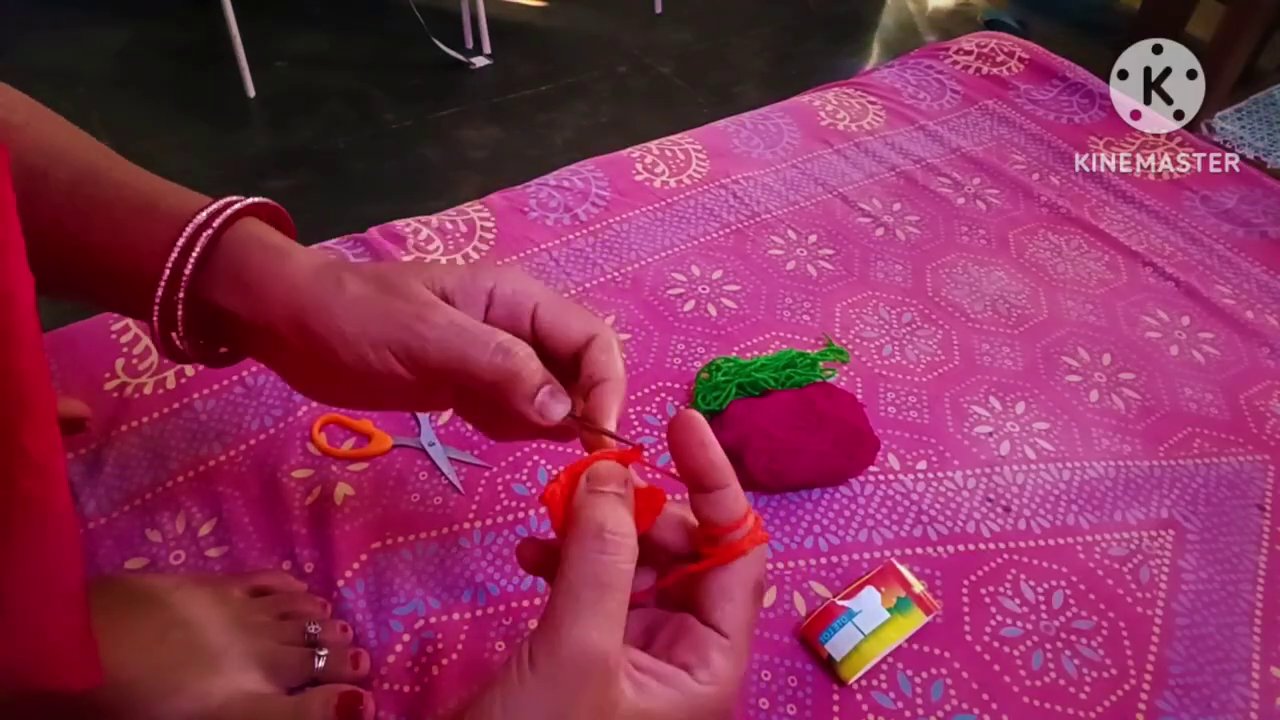
You’ll also want a pair of scissors nearby and a piece of fabric or a cushion to work on. The video shows the crocheter sitting on a pink fabric with a white floral pattern, which isn’t just for looks — a slightly textured surface keeps your yarn from rolling away. A small box or container for your odds and ends helps, too.
Starting the Leaf: The First Loops
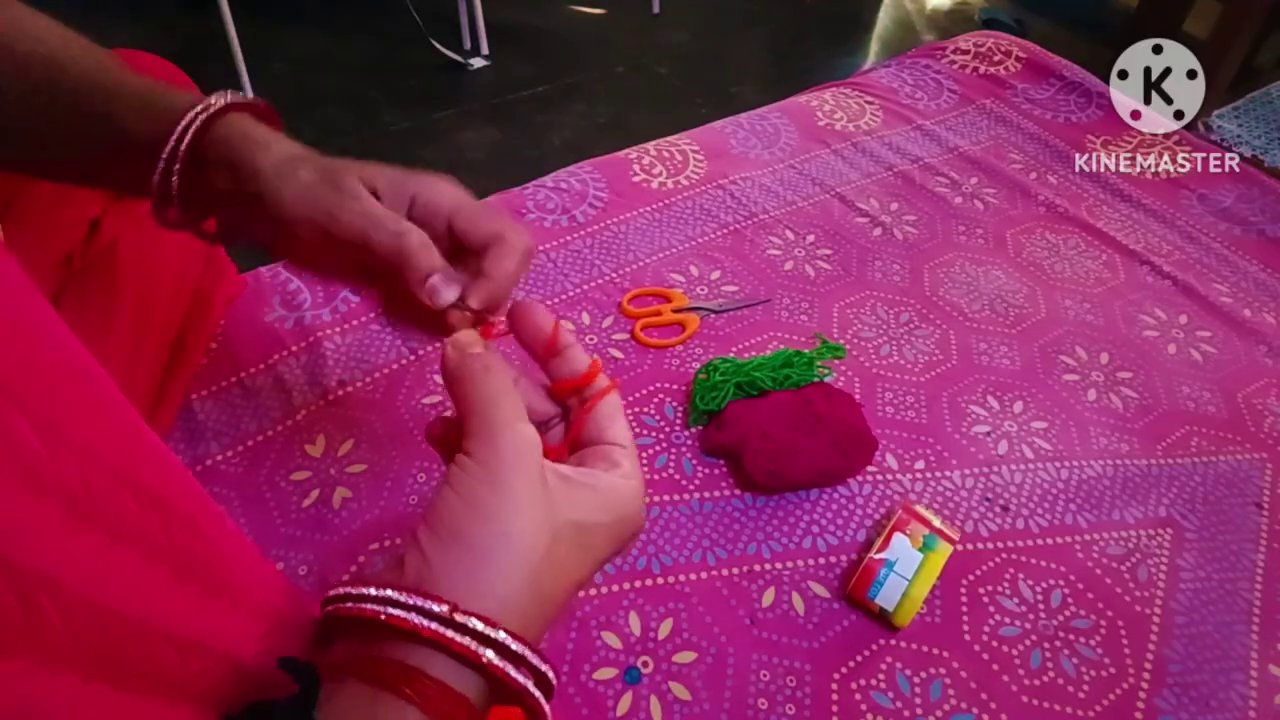
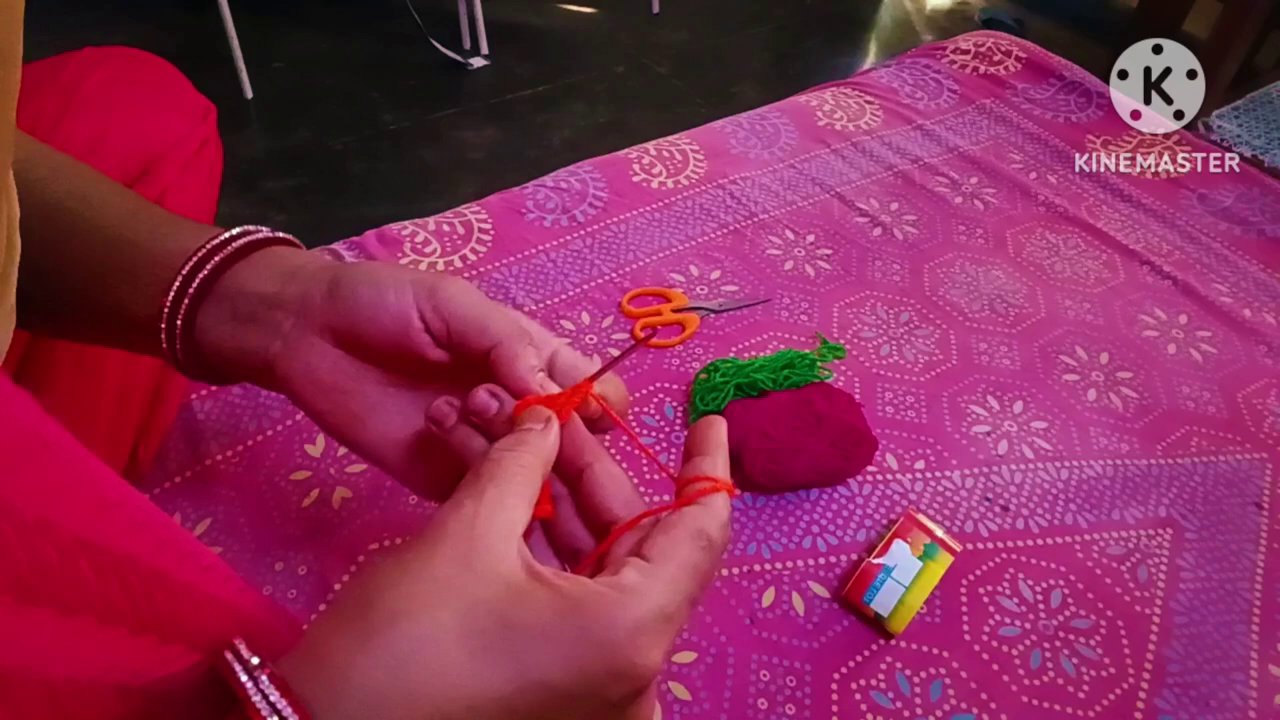
The real magic starts when you pick up the hook and yarn. The tutorial begins with the crocheter holding the yarn between her thumb and index finger, the hook in her other hand. If you’re new to crochet, this is the moment to pay close attention to your tension. Too tight, and your leaf will curl up like a dried herb. Too loose, and it’ll look floppy and undefined.
She wraps the yarn around her finger to create a loop, then pulls the yarn through to form the first stitch. This is a standard starting technique — no magic ring or complicated foundation chain needed. From there, she adds stitches one by one, building the base of the leaf. The pace is steady, not rushed. You can see her fingers working deliberately, adjusting the yarn with each pull.
Shaping the Leaf: Adding Stitches and Building Structure
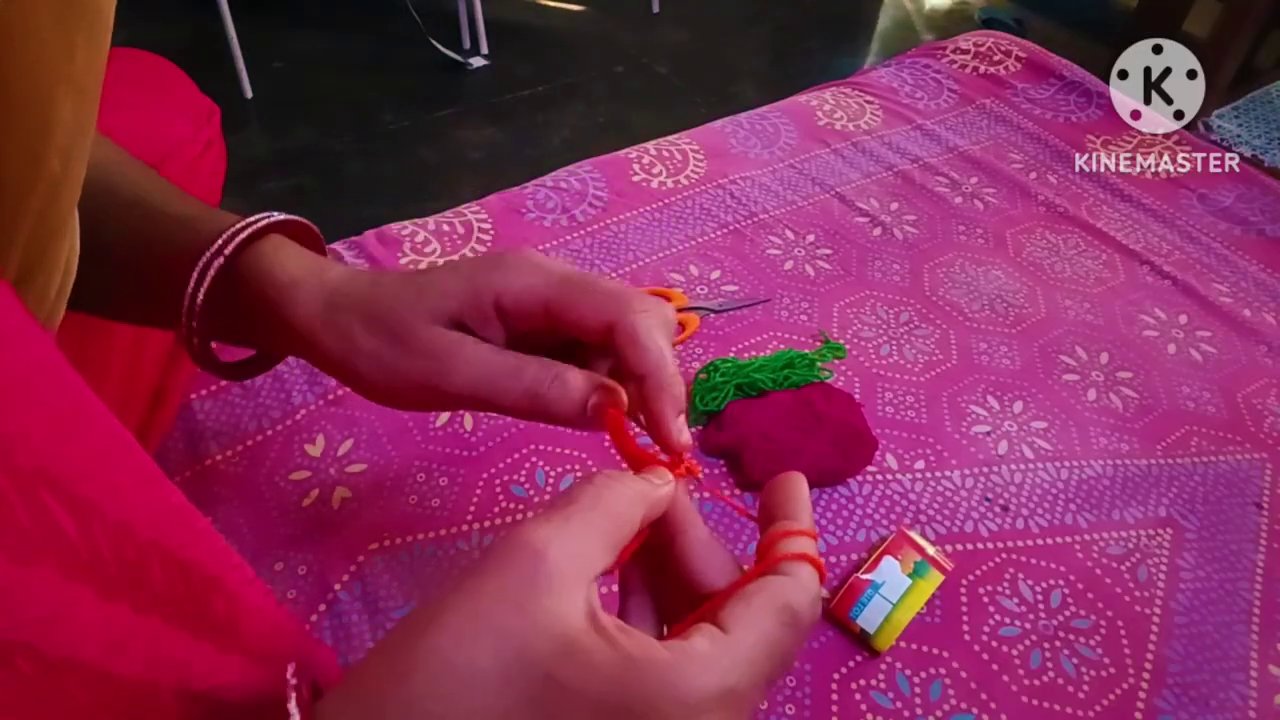
Once you’ve got a few stitches on the hook, the leaf starts to take on its familiar pointed shape. The key here is increasing stitches at the right spots. The crocheter adds stitches in a pattern that widens the center of the leaf and then tapers toward the tip. If you’ve ever made a basic crochet triangle or a petal, the logic is similar — you’re working in rows that grow and then shrink.
What makes this leaf look realistic is the way the crocheter handles the edges. She doesn’t just stack stitches straight up. She varies the height of the stitches: shorter ones near the base, taller ones in the middle, and shorter again at the tip. That subtle curve is what gives the leaf its organic shape, not a stiff geometric point.
If you’re used to working in the round or following a repetitive pattern, this part feels liberating. You’re not counting every single stitch obsessively. You’re watching the shape and adjusting as you go. That’s the kind of hands-on learning that sticks.
Adding Veins and Texture
A flat green blob isn’t a leaf — it’s a shape. What turns it into something that looks like it could have come off a branch is the detail work. The tutorial shows the crocheter adding what looks like surface stitches or slip stitches along the center of the leaf to create a vein.
You can do this with a contrasting color for a bold look, or with the same color for a subtle, textured effect. The video doesn’t call out a specific technique by name, but if you watch closely, she’s working stitches into the front loops or the spaces between existing stitches. This is where you can get creative. A single vein down the middle is classic, but you could add side veins branching out for a more botanical feel.
For anyone who’s tried starting with a magic ring for amigurumi, this kind of surface detail work feels similar in precision — small movements that make a big difference in the final look.
Finishing the Leaf and Weaving in Ends
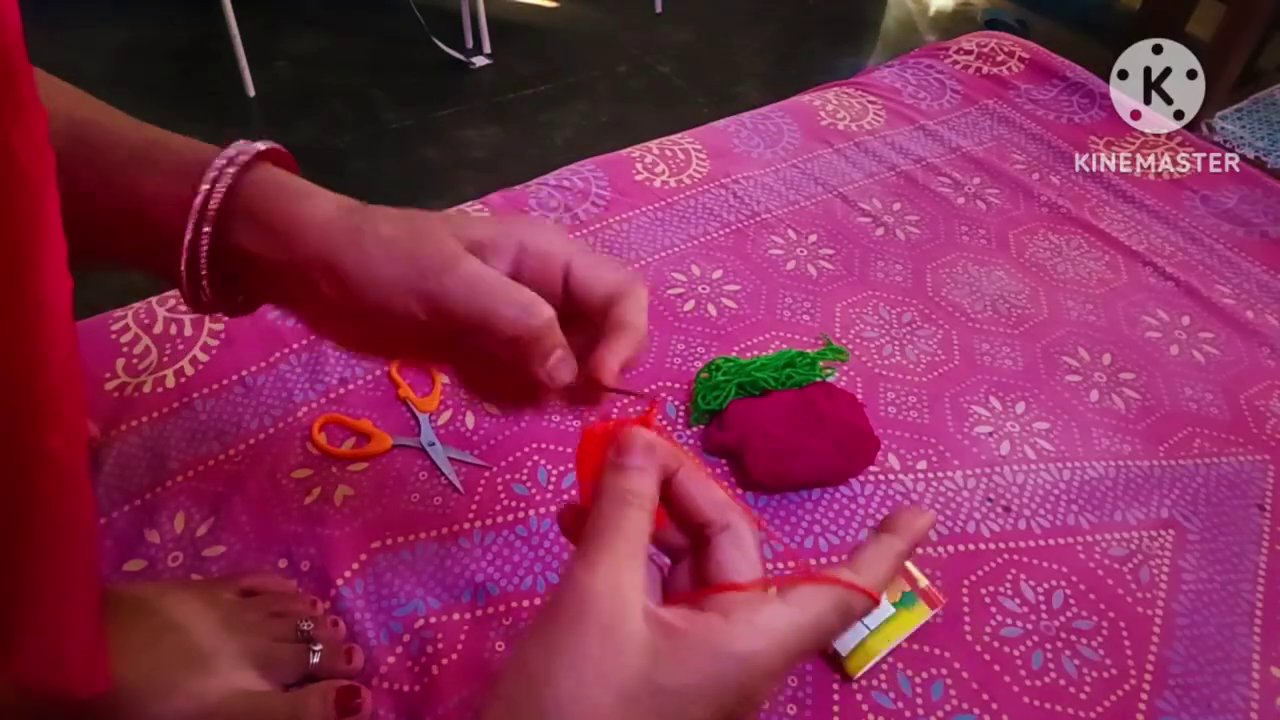
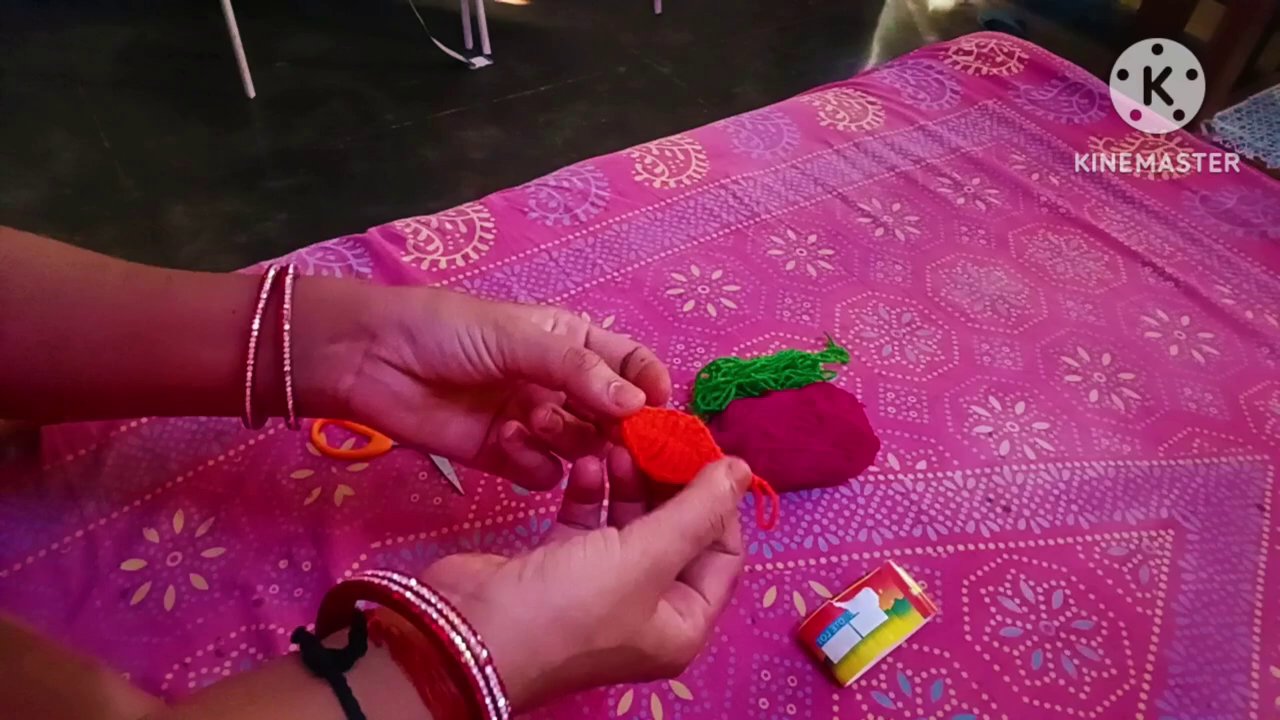
The final frames of the tutorial zoom in on the completed leaf. It’s small, delicate, and the veins are clearly visible. The crocheter’s hands are still holding the hook and yarn, but the leaf is done. She snips the yarn and pulls the tail through the last loop to secure it.
Now comes the part that beginners sometimes skip: weaving in the ends. If you leave a loose tail, your leaf will unravel with handling. Take a few seconds to thread that tail through a few stitches on the back of the leaf. Trim it close, but not so close that it pulls out. A tapestry needle makes this job easier, but you can also use your hook to pull the yarn through if you’re careful.
Ten Color Ideas to Try
The video promises over ten beautiful color ideas, and that’s not an exaggeration. Here are a few that work especially well:
- Forest green – classic, natural, blends with any plant-themed project
- Burgundy or wine – perfect for autumn wreaths or fall decor
- Soft pink – feminine and unexpected, great for embellishing bags or headbands
- Mustard yellow – adds a pop of warmth to neutral-colored projects
- White or cream – elegant for wedding or holiday decorations
- Teal or turquoise – modern and vibrant, stands out against earthy tones
- Grey or silver – subtle and sophisticated, works for winter accessories
- Lavender – soft and calming, pairs well with pastel schemes
- Coral – bright without being loud, perfect for summer projects
- Variegated yarn – lets the color changes do the work for you, creating a multi-toned leaf
If you’re making a set of leaves for a garland or a bouquet, mixing two or three of these colors adds visual interest without extra effort. The leaves themselves are identical in pattern, but the color variation makes each one feel unique.
Practical Tips for Better Leaves
After watching the tutorial and trying a few leaves yourself, a couple of things become obvious. First, tension matters more than you think. A leaf that’s too tight won’t lie flat. A leaf that’s too loose won’t hold its shape. Aim for a medium tension — firm enough that the stitches are defined, but relaxed enough that the fabric has some give.
Second, don’t be afraid to block your leaves. Blocking is just wetting or steaming the finished piece and pinning it into shape until it dries. For a leaf, that means flattening it and making sure the edges are even. It takes an extra hour, but the result looks polished and professional.
Third, if you’re making multiple leaves for a project, crochet them all at once in a batch. It’s more efficient than switching between projects, and you’ll get into a rhythm that makes each leaf faster than the last.
If you’re still working on your basic technique, you might find it helpful to practice how to hold your crochet hook and yarn for perfect tension — it’s a skill that pays off in every project, not just leaves.
Why This Pattern Works for Beginners and Beyond
A five-minute leaf pattern hits a sweet spot. It’s short enough that you don’t get bored, but it teaches real skills: increasing, decreasing, shaping, and finishing. You can make one leaf and feel accomplished. You can make twenty and have a garland.
The tutorial doesn’t overcomplicate things. There’s no jargon-heavy explanation, no intimidating list of abbreviations. It’s just hands and yarn and a steady rhythm. That’s the kind of crochet that keeps people coming back.
Key Takeaways
A crochet leaf is one of those patterns that looks harder than it is. Once you’ve made one, you’ll see leaves everywhere — on bags, on hats, on home decor — and you’ll know you can make them yourself. The tutorial gives you the basic shape, and the color ideas give you room to experiment.
Keep a few leaves tucked away for last-minute gifts or quick embellishments. They’re small, they’re fast, and they add a handmade touch that store-bought accessories just don’t have. And if you’re looking for your next project after the leaf, you might enjoy learning how to double stitch crochet — it’s another foundational skill that opens up a world of patterns.