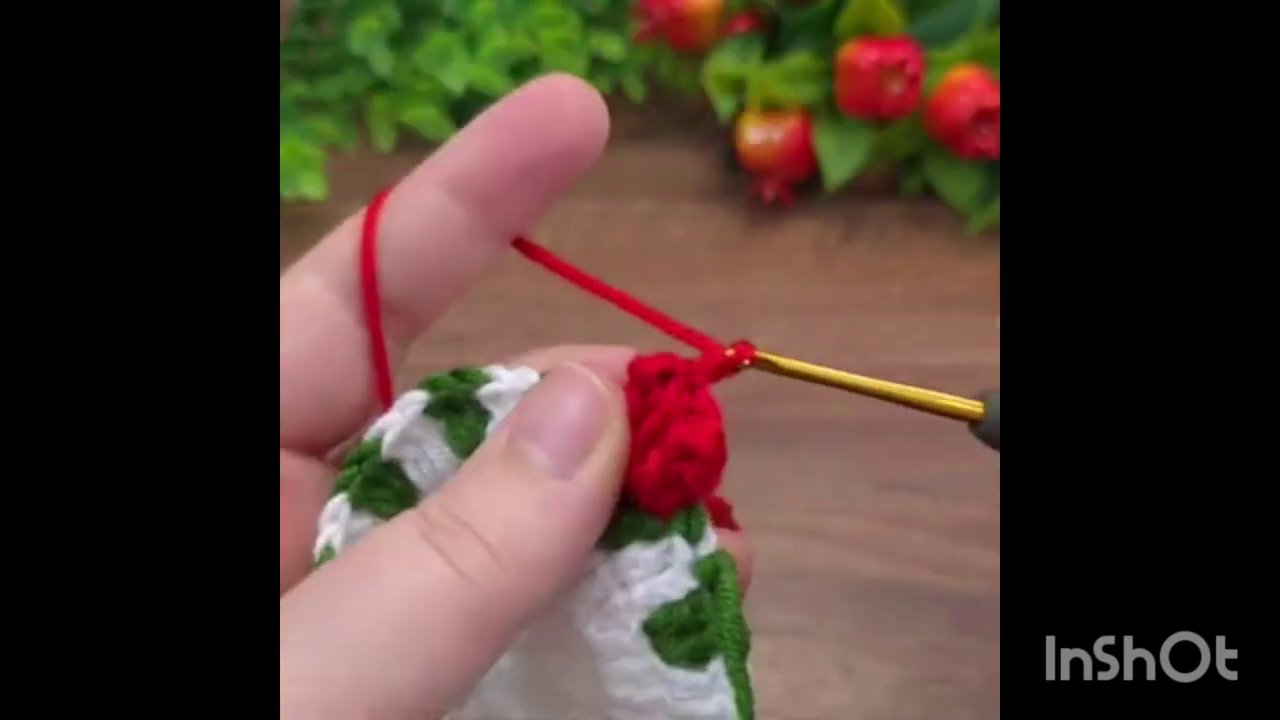
There’s something deeply satisfying about watching a crochet project come together as you switch colors, building a design that feels intentional and polished. If you’ve ever wanted to try a simple colorwork piece using white, green, and red yarn, this tutorial walks you through the entire process from the very first stitch to the final border.
The beauty of this pattern is that it doesn’t require complex techniques. You’re essentially working a foundation of double crochet stitches, then layering in new colors at strategic points. The result is a clean, professional-looking piece that works for holiday decorations, gift wraps, or just a cheerful accent for your home.
Starting with a Solid Foundation of Double Crochet
Every good colorwork project starts with a stable base. In this tutorial, the first thing you’ll see is a pair of hands working a white crochet piece with a gold hook. The text on screen reads “24 dc,” which tells you exactly how many double crochet stitches you need to start.
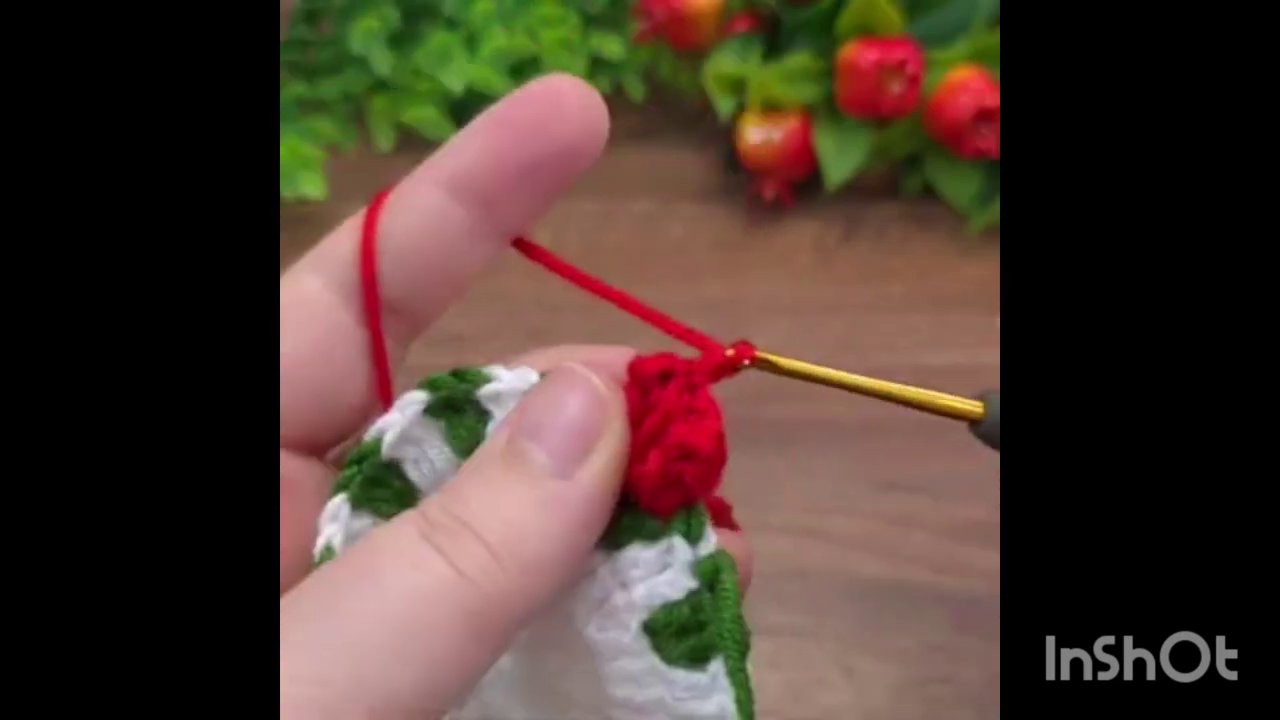
Getting that first row of 24 double crochets right is crucial. If your tension is too tight, the piece will curl and make it difficult to add the new colors later. If it’s too loose, the fabric will feel floppy and the color transitions won’t look crisp. The key is to keep an even, moderate tension as you work each stitch.
One thing I’ve learned the hard way: count your stitches as you go. It sounds obvious, but when you’re focused on the rhythm of the hook, it’s easy to skip a stitch or add an extra one. Mark your first and last stitches with a removable marker if that helps.
If you’re still building confidence with the double crochet stitch itself, you might find it helpful to practice a few rows on their own before jumping into a colorwork project. For a more detailed breakdown of the technique, check out this Double Stitch Crochet: A Complete Walkthrough for Beginners.
Introducing the First Color: Adding Green Yarn
Once your white base is established, the next step is bringing in the green yarn. This is where the pattern starts to take shape and the real fun begins.
The way you attach the new color matters. You don’t want a bulky knot or an obvious join that ruins the clean look of your piece. Instead, try this method: when you reach the point where you want to switch colors, complete the last yarn-over of your final white stitch with the green yarn. Pull the green through to finish the stitch, then continue working with green as if nothing changed.
This technique, sometimes called a “standing join” or simply a color change at the end of a stitch, keeps the transition smooth. The old yarn tail can be woven in later to hide it completely.
A practical tip here: leave a tail of about 4 to 6 inches when you cut the white yarn. That’s enough to weave in securely without creating bulk. And don’t pull the new green yarn too tight on that first stitch — it’s easy to accidentally cinch the fabric and create a noticeable pucker.
Bringing in the Red Yarn for Contrast
Now comes the part that really makes the pattern pop. Adding red yarn to the mix creates a striking three-color combination that feels festive and intentional.
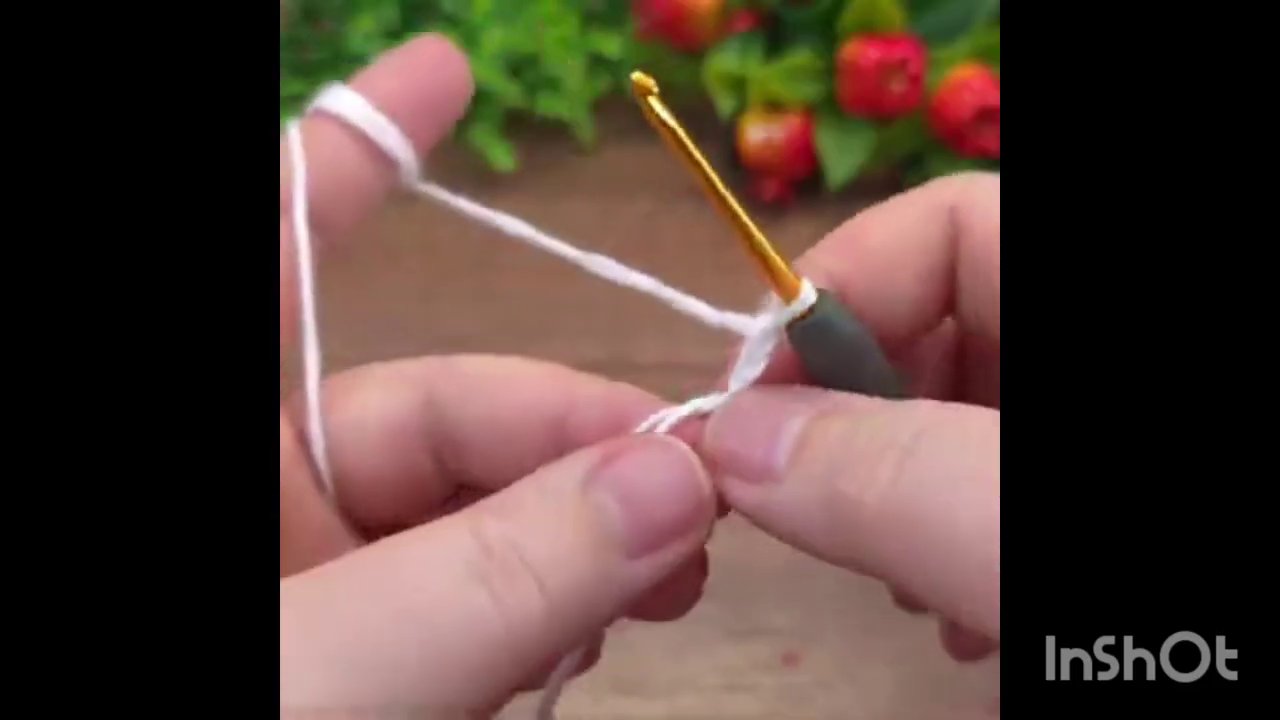
The same color-change technique applies here. Finish your last green stitch with the red yarn, then continue working with red. The transition should feel seamless, and the stitches should look uniform across all three colors.
One common mistake at this stage is rushing the tension adjustment. When you switch to a new color, especially if it’s a different brand or fiber blend, the yarn might behave slightly differently. A cotton red might have less stretch than an acrylic green, for example. Take a moment to feel the difference and adjust your grip if needed. Consistent tension across all colors is what gives the finished piece that polished, professional look.
Continuing the Pattern: Building the Design
With all three colors now in play, the pattern really starts to reveal itself. The hands in the tutorial continue working, adding more red yarn and building out the design row by row.
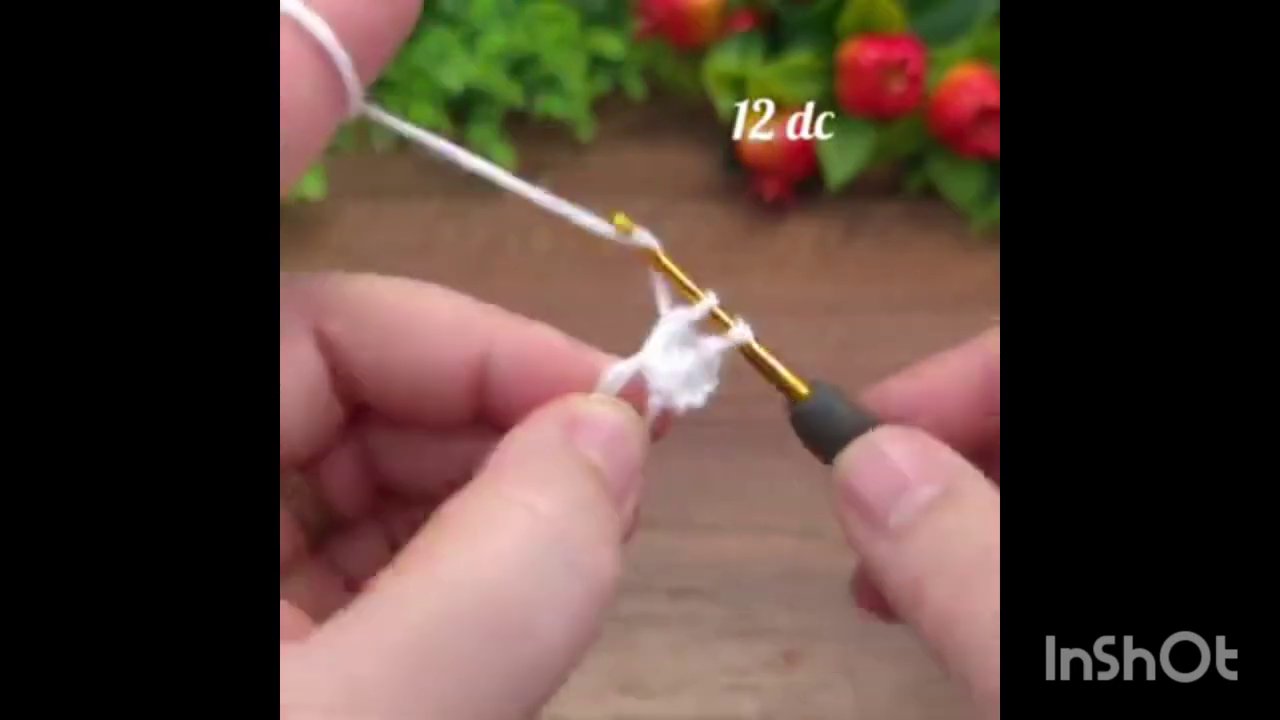
This is the stage where patience pays off. Each row might look similar to the last, but the cumulative effect is what matters. The white base provides a clean background, the green adds a natural accent, and the red creates a bold frame or border effect.
If you’re following along with your own project, this is a good time to check your stitch count again. After several rows of color changes, it’s easy to accidentally drop a stitch at the edge. Hold your work up to the light and look for any gaps or uneven edges. Catching a mistake now is much easier than ripping out rows later.
Finishing the Piece: The Final Border and Completed Look
The final frame of the tutorial shows the completed piece: a white base with green accents and a red border. The hands are holding the finished work, and you can see how all the colors come together harmoniously.
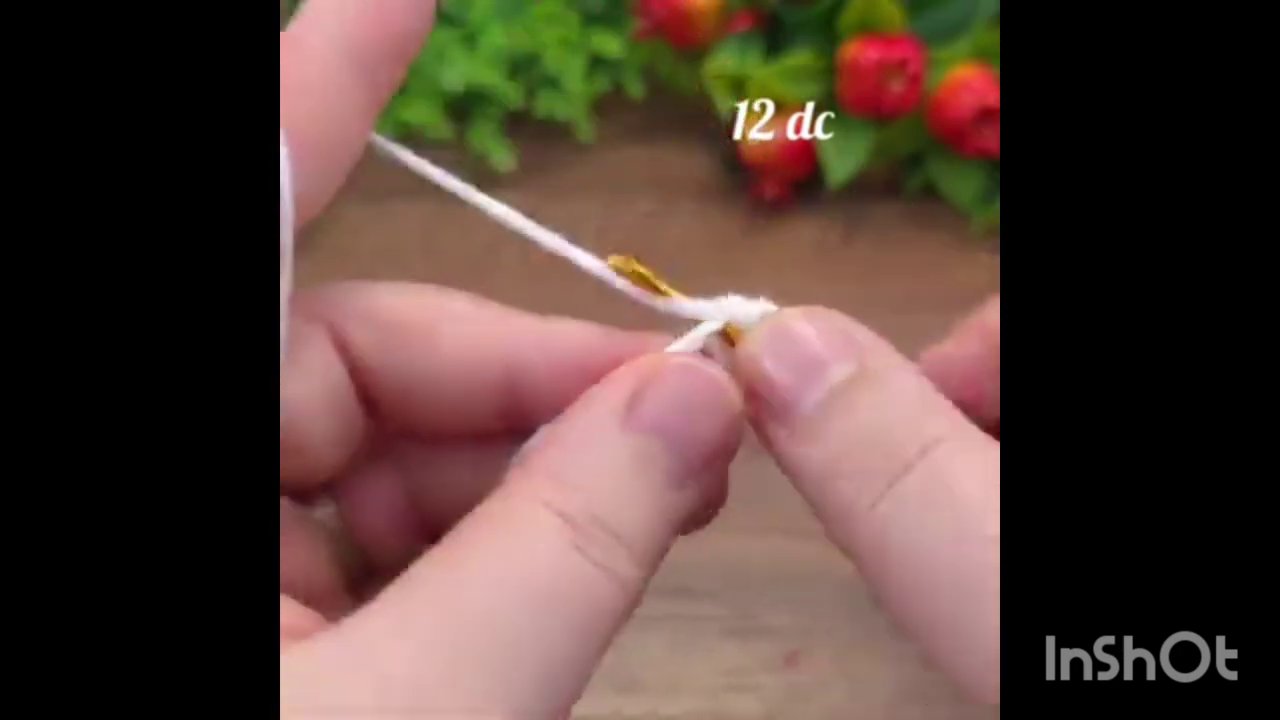
That red border is more than just decorative. It serves as a clean edge that frames the entire piece, hiding any uneven stitches from the color changes and giving the project a finished, store-bought look. If you want to replicate this effect, work a single crochet border around the entire piece, making sure to add extra stitches at the corners to keep the edges flat.
One detail worth noting: the background in the tutorial features a wooden surface with greenery and red flowers. It’s a small touch, but it shows how the final piece fits into a larger decorative scheme. You might display your finished work as a table runner, a wall hanging, or even a gift wrap accent.
Key Takeaways for Your Next Colorwork Project
If you’re new to working with multiple colors in crochet, this pattern is an excellent starting point. The technique is straightforward — just double crochet with clean color changes — but the result looks much more complex than it actually is.
A few things to remember for next time:
- Count your stitches. It’s the single most important habit for consistent results.
- Change colors at the last yarn-over of the previous stitch for a seamless transition.
- Leave enough tail to weave in securely, but not so much that it creates bulk.
- Check your tension with each new color, especially if you’re mixing yarn brands or fibers.
- Add a border to clean up the edges and give the piece a professional finish.
For more foundational skills that will make projects like this even easier, you might want to revisit the basics of How to Hold Your Crochet Hook and Yarn for Perfect Tension Every Time. Good tension is the secret ingredient in every successful colorwork piece.
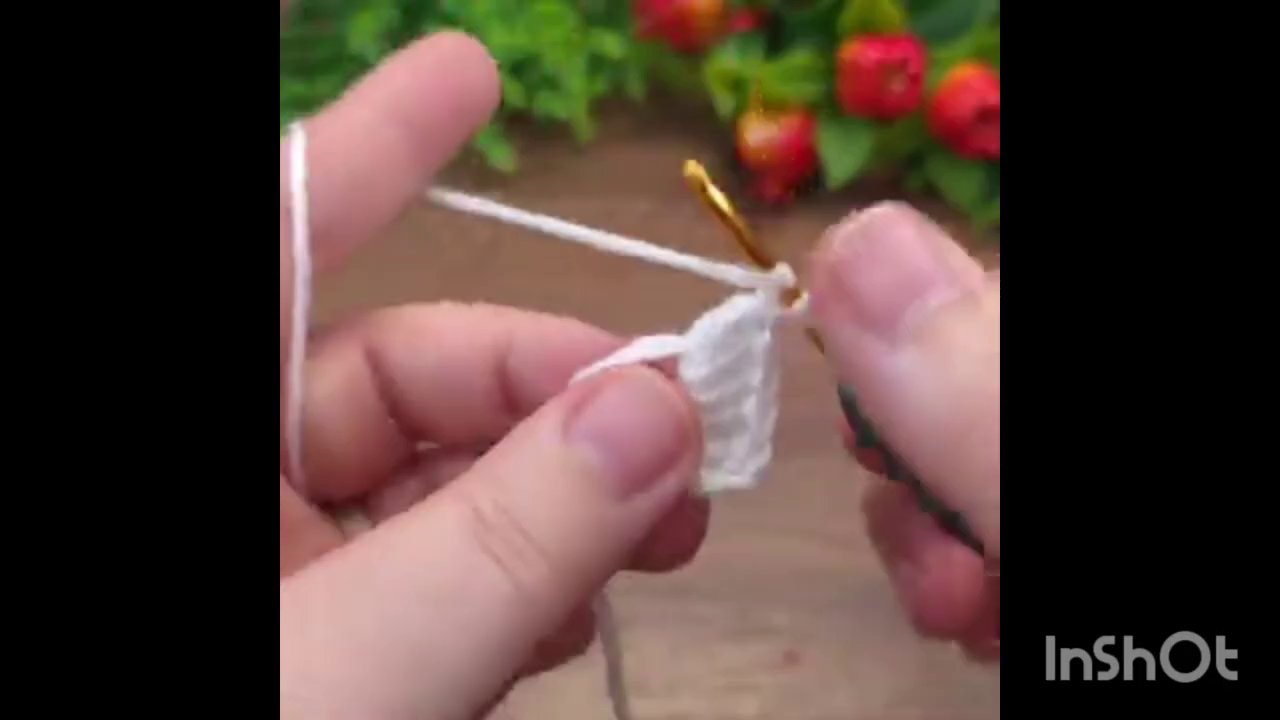
The next time you pick up your hook and three contrasting colors, you’ll know exactly how to build a clean, beautiful pattern from start to finish. Happy crocheting.