There’s something deeply satisfying about a project you can finish in an afternoon. A crochet zipper purse—small enough to hold coins, earbuds, or a lip balm—ticks that box perfectly. It’s also a brilliant way to practice working with zippers, a skill that opens the door to bags, pouches, and even wearable accessories.
This particular mini coin purse uses a mix of single crochet, chain stitches, and half double crochet to create a sturdy little pouch with a clean, professional finish. The best part? You don’t need a sewing machine to attach the zipper. Just your hook, some yarn, and a bit of patience.
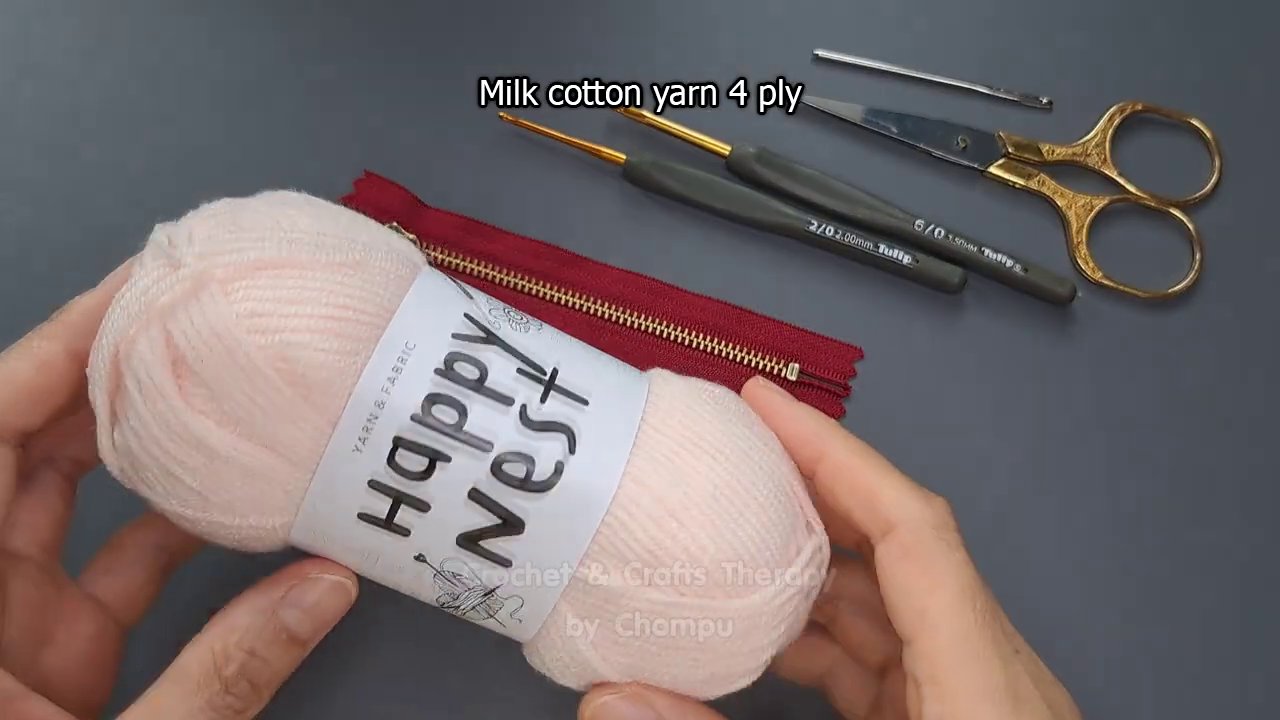
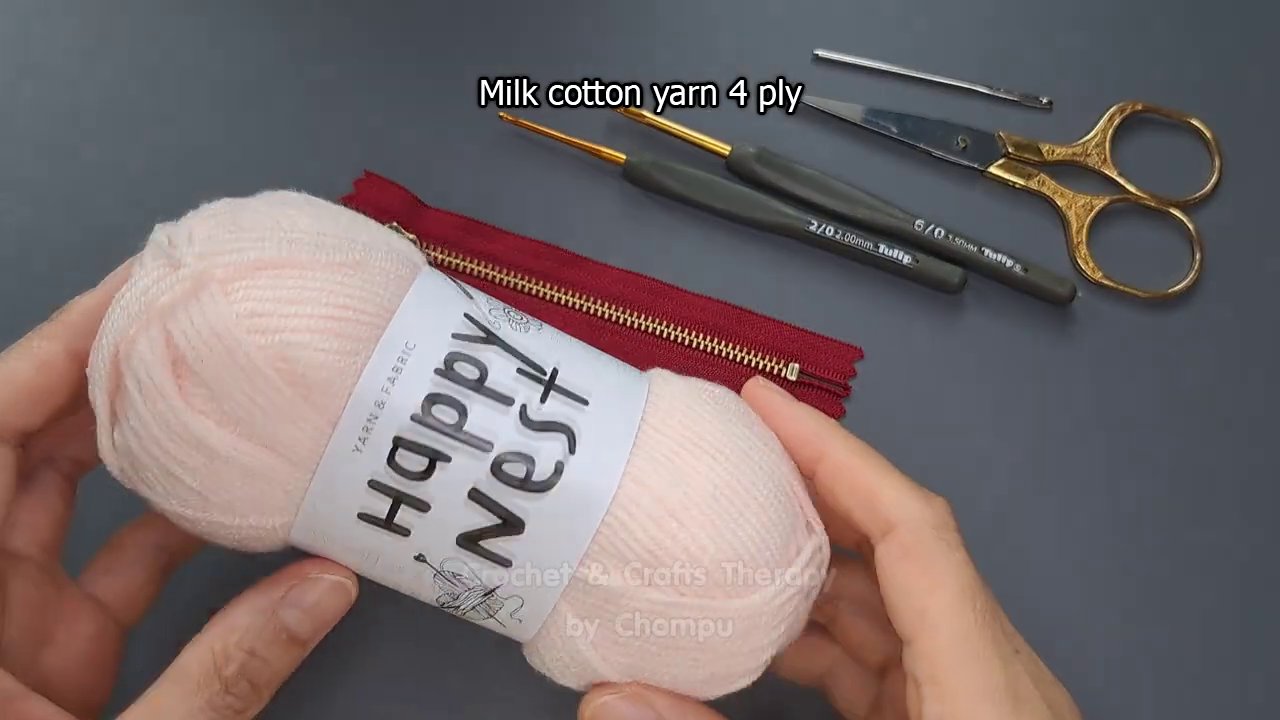
What You’ll Need to Get Started
Before you dive into the stitches, gather your materials. The tutorial I followed uses a red crocheted base with a gold zipper, but feel free to swap colors to match your style.
- Worsted weight yarn in your choice of color (the original uses white for the border and a contrasting shade for the body)
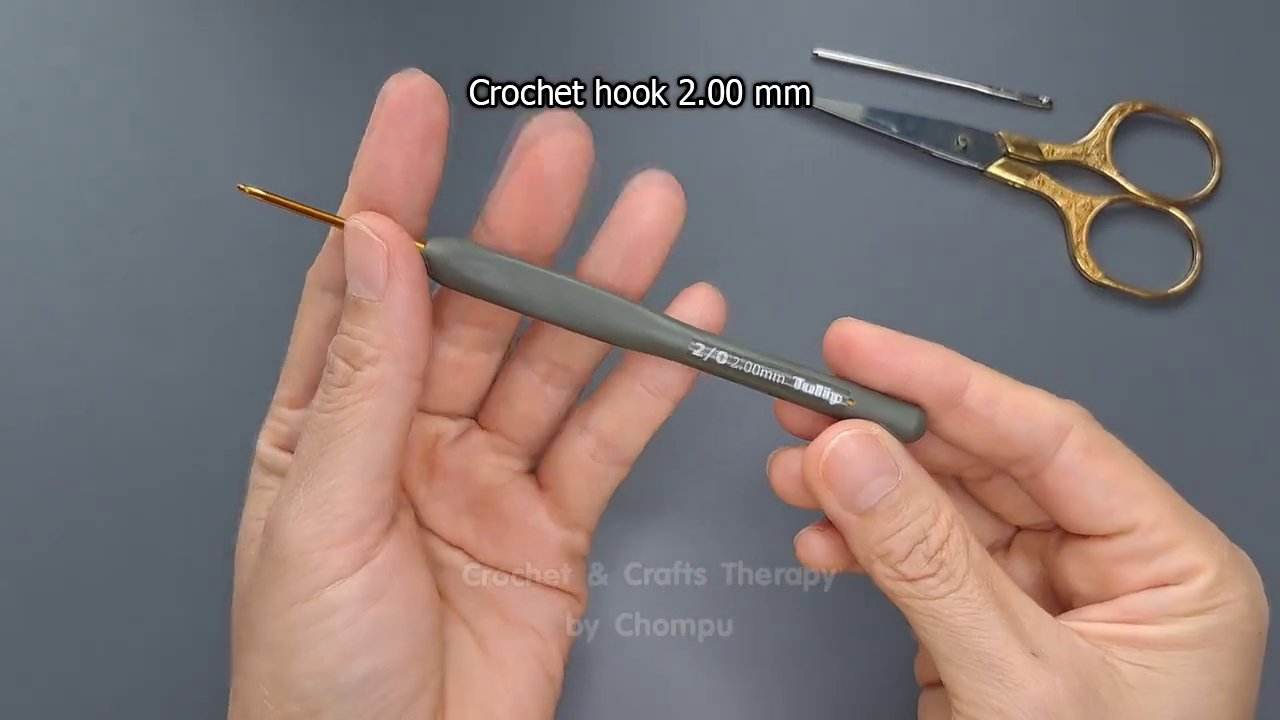
- A crochet hook sized to match your yarn (typically 4.0 mm or 5.0 mm for worsted weight)
- A zipper (6 to 8 inches works well for a coin purse)
- Yarn needle for weaving in ends and sewing the zipper edges
- Scissors
If you’re new to working with zippers, don’t worry. The process is straightforward once you understand the rhythm of the stitches.
Starting Stitches: The Foundation Round
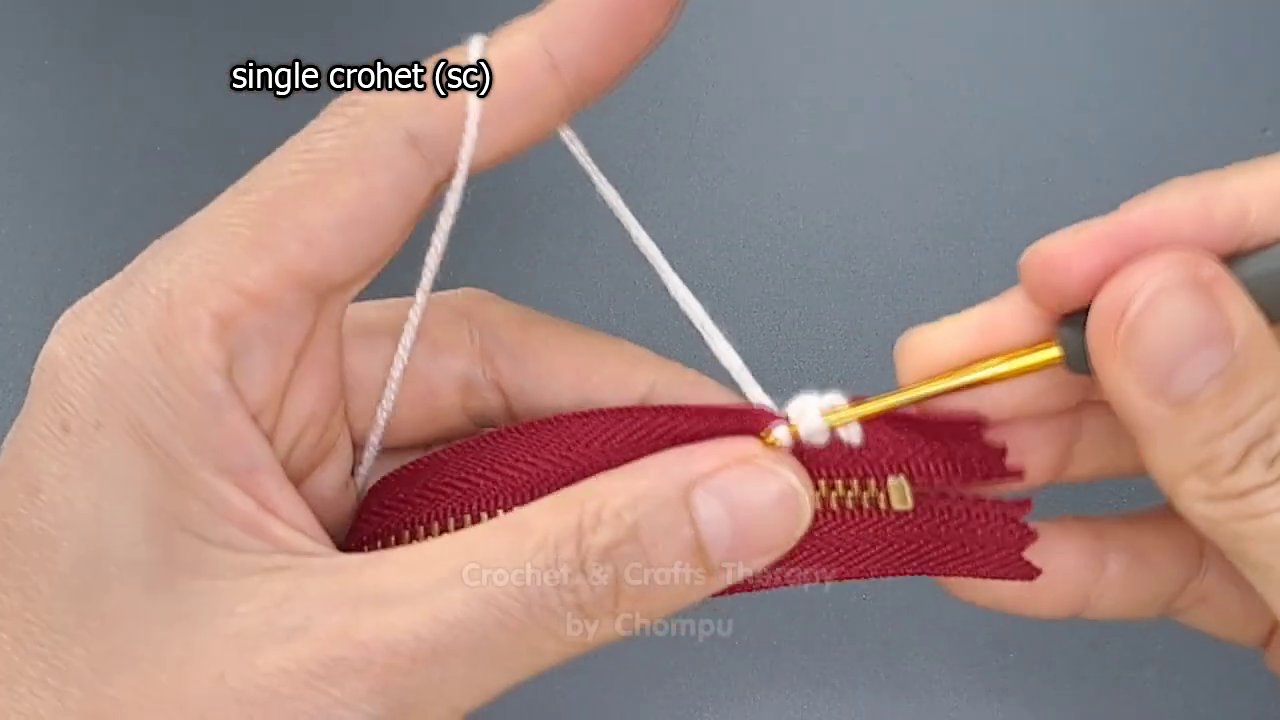
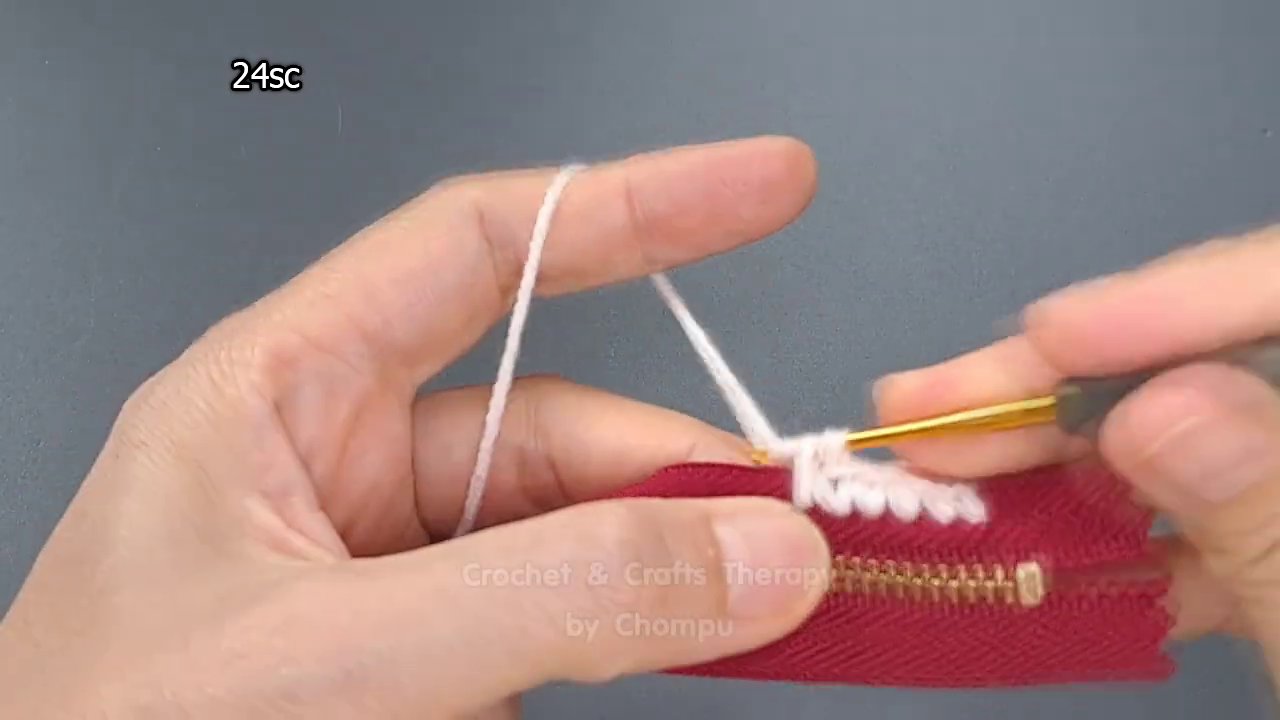
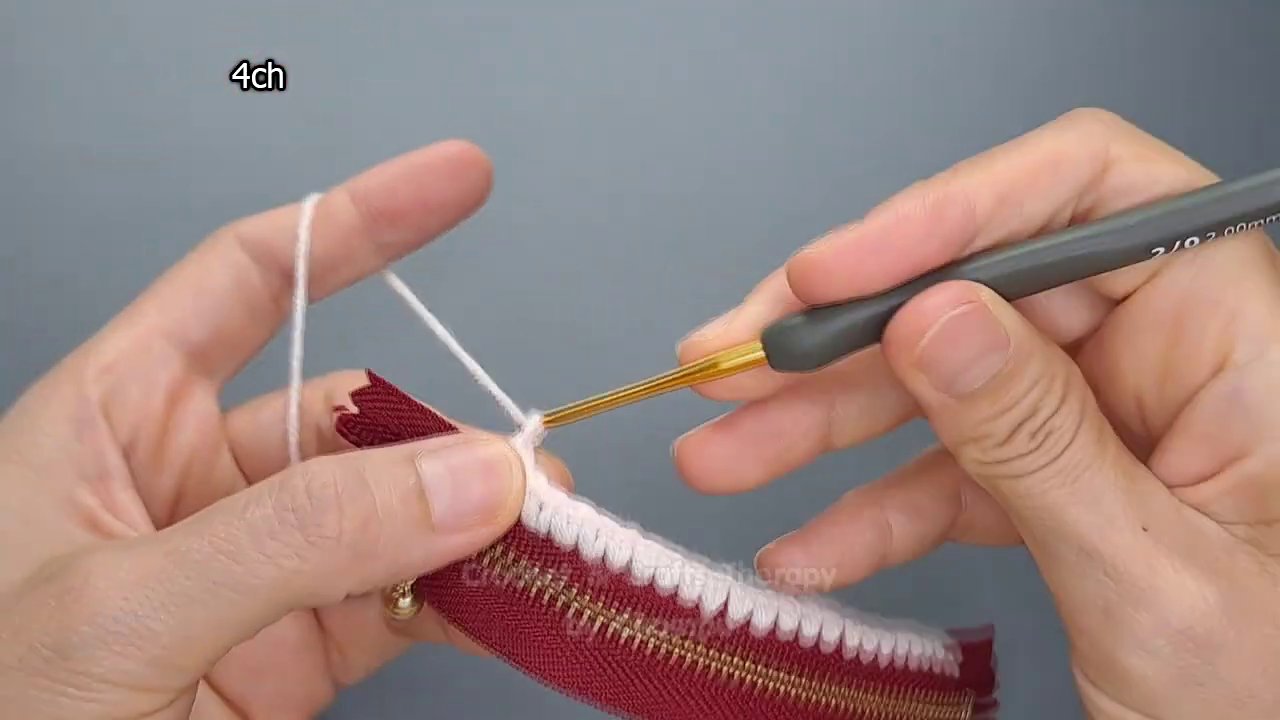
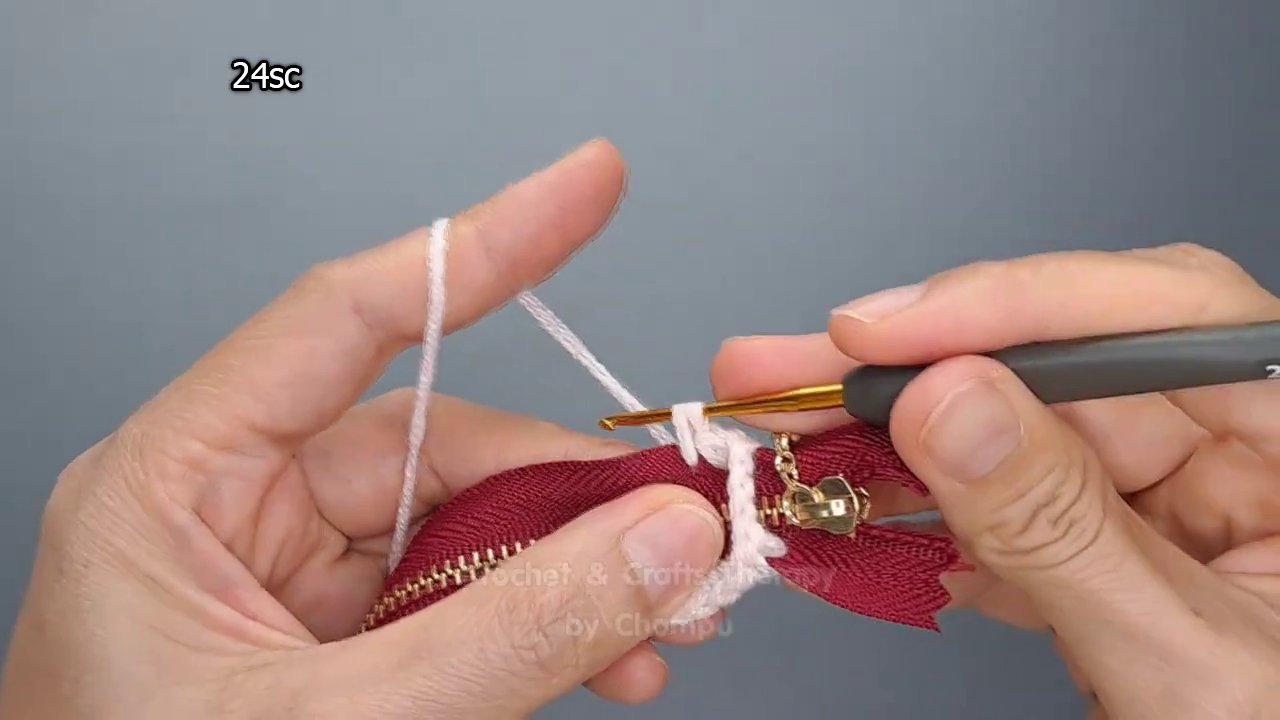
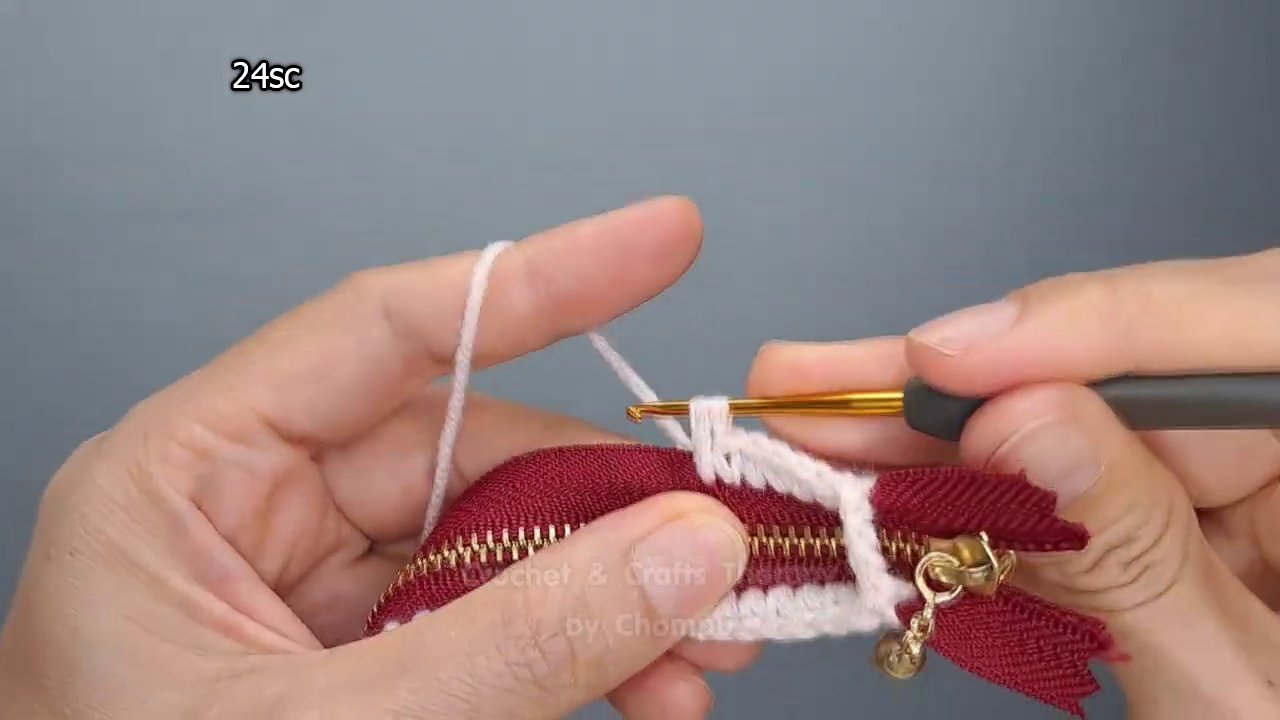
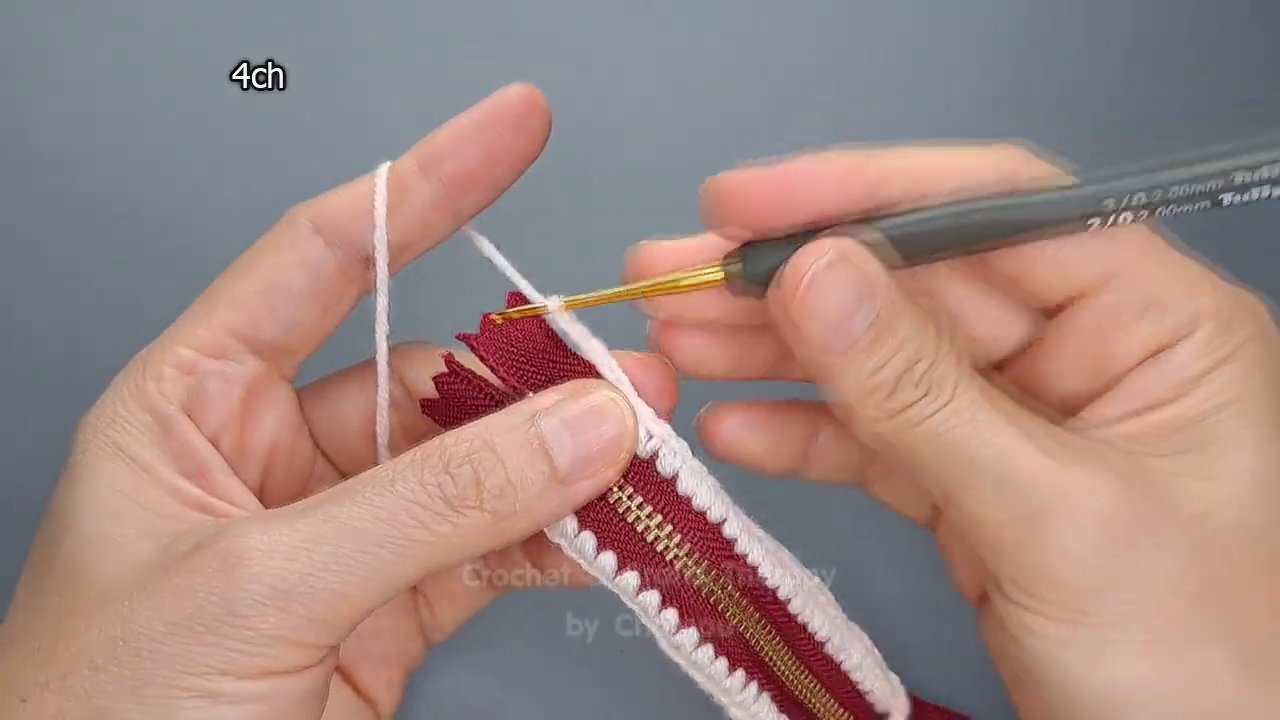
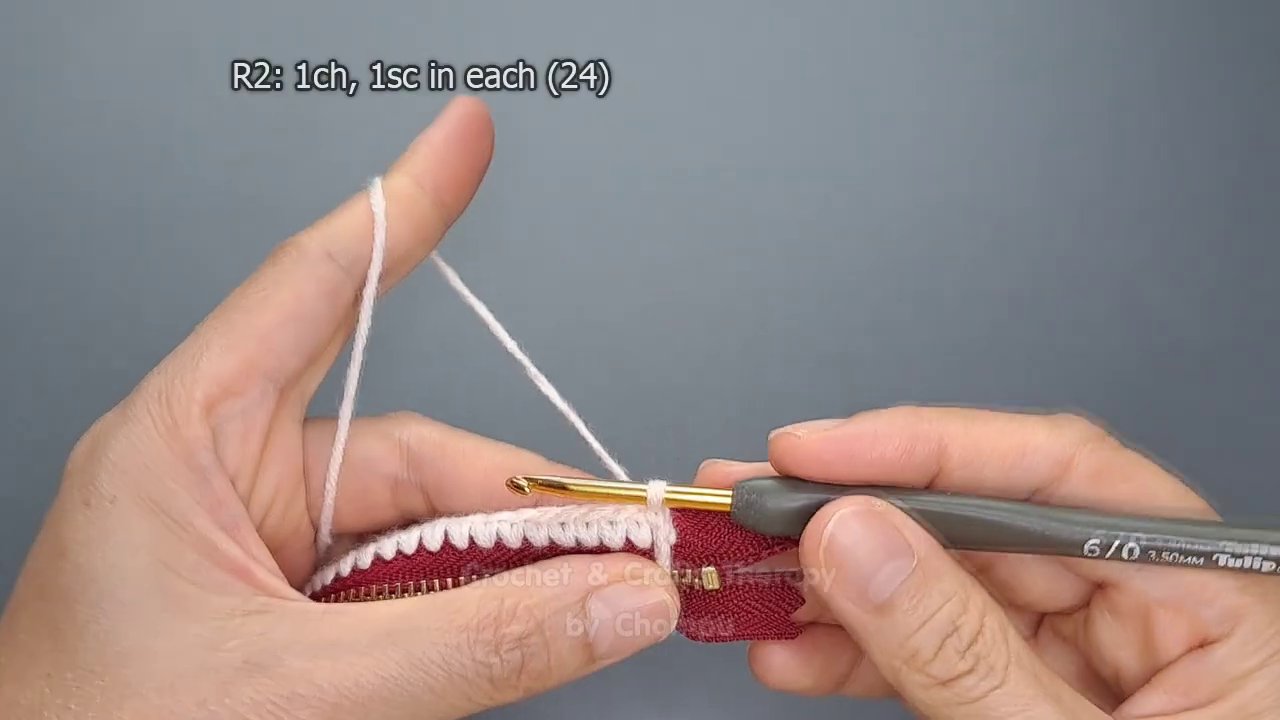
The purse begins with a simple base of single crochet stitches. According to the on-screen notes in the tutorial, the first round calls for 24 single crochet (sc) plus 4 chain stitches (ch), repeated twice—giving you a total of 56 stitches around the zipper.
Here’s how that breaks down: You’ll work 24 sc along one side of the zipper tape, then 4 ch across the end, then another 24 sc along the opposite side, and finally 4 ch to close the loop. That creates an oval shape that will become the opening of your purse.
Take your time with this part. Getting an even number of stitches on both sides ensures your purse won’t warp or pucker later. If you find the zipper tape is thicker than expected, you might need to adjust your tension slightly—looser stitches here make the next steps much smoother.
Attaching the Zipper Securely
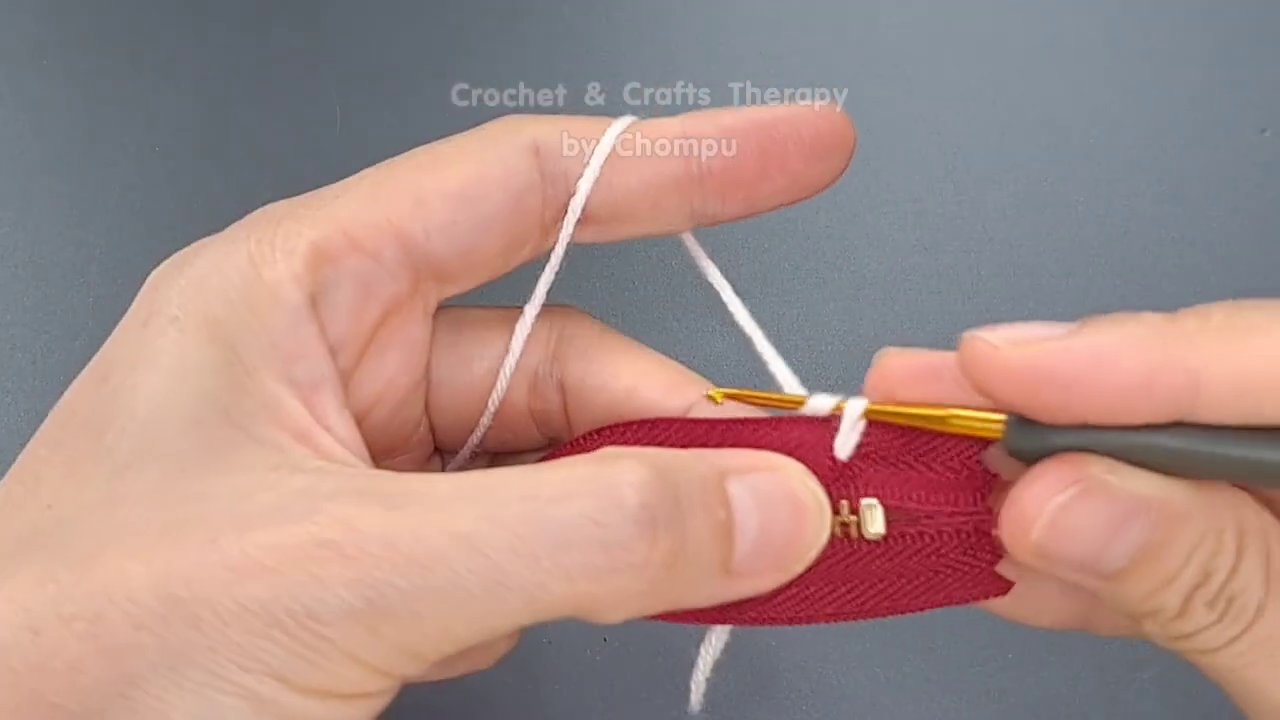
This is where the magic happens. Instead of sewing the zipper in separately, you’re crocheting directly into the fabric tape of the zipper. That creates a seamless bond between yarn and hardware.
The tutorial shows a slip stitch being used to join the zipper to the crocheted piece. You’ll insert your hook through the zipper tape and into the stitch below, yarn over, and pull through both loops on your hook. It’s a simple motion, but it locks everything together tightly.
One tip from experience: work slowly along the zipper tape. The teeth can be tricky to see, and it’s easy to accidentally skip a hole. If you miss one, the fabric might bunch up when you close the zipper later. Count your stitches as you go—it’s tedious but worth it.
Adding Texture with Half Double Crochet
Once the zipper is secured, the real shaping begins. The next step introduces half double crochet (hdc) stitches in a repeating pattern: skip one stitch, work two hdc in the next stitch, repeat around.
This stitch pattern does two things. First, it adds a lovely ribbed texture that makes the purse feel substantial rather than flimsy. Second, it naturally curves the fabric, giving the pouch its rounded shape. You’re essentially creating a small bowl that will hold your coins or trinkets.
The “skip one, two hdc” repeat is forgiving—if you lose count, you can usually see the pattern forming. The skipped stitches create little gaps, and the paired hdc clusters stand out clearly. Trust your eyes as much as your stitch marker.
Shaping the Body of the Purse
After the first round of hdc clusters, you’ll continue working in the round without increasing. That means every subsequent row is simply hdc in each stitch around. The fabric will start to curl upward, forming the walls of the purse.
This is where the project becomes almost meditative. No counting, no pattern changes—just steady, even stitches. If you’re used to amigurumi, this part will feel familiar. If you’re coming from flat crochet projects, the transition to working in the round might take a few rows to get comfortable.
Keep your tension consistent. Too tight, and the purse will be stiff and hard to open. Too loose, and it might stretch out of shape when you put things inside. Aim for a fabric that feels firm but flexible—like a sturdy tote bag, but mini.
Closing the Bottom
When the body of the purse reaches your desired depth—usually about 2 to 3 inches for a coin pouch—it’s time to close the bottom. The tutorial doesn’t show this step explicitly, but the standard method is to flatten the tube and single crochet the edges together or use a whip stitch with a yarn needle.
If you want a completely seamless bottom, you can work a decrease round before closing. For example: hdc2tog around until the opening is small enough to cinch shut. Then weave the tail through the remaining stitches and pull tight.
Either approach works. The key is to make sure the bottom is flat and secure, with no gaps that small items could slip through.
Finishing Touches and Weaving Ends
Once the body is closed, you’ll have a few loose ends to deal with. Weave them in carefully using a yarn needle, threading through the wrong side of the fabric so they’re invisible from the outside.
If you used a contrasting color for the zipper border, this is also a good time to check that the border stitches are even and the zipper slides smoothly. Sometimes the yarn can catch on the zipper teeth if the stitches are too tight. If that happens, gently stretch the fabric along the zipper tape to loosen things up.
Why This Project Works for Beginners and Beyond
This mini zipper purse is deceptively simple. It teaches you how to work into a zipper tape, how to shape a three-dimensional object with increases, and how to finish a project neatly. Those skills transfer directly to larger bags, pencil cases, and even zippered pouches for your crochet hooks.
Plus, it’s fast. You can finish one in a single evening, which makes it a great gift option or a way to use up scrap yarn. If you’re looking for another quick project to build your skills, check out this chunky little bag pattern for a slightly larger carry-all.
Common Mistakes and How to Avoid Them
Even experienced crocheters hit snags with zippers. Here are a few I’ve run into:
- Skipping stitches on the zipper tape – Use a stitch marker to mark your starting point, and count every few stitches to stay on track.
- Uneven tension – If one side of the zipper looks looser than the other, you can add or remove a stitch on the next round to balance things out. It won’t be visible.
- Zipper won’t close smoothly – This usually means the crochet fabric is too tight along the zipper tape. Try a larger hook for the border round, or work your stitches slightly looser.
If you’re still getting comfortable with your hook hold and tension, this guide on how to hold your crochet hook and yarn for perfect tension can help smooth things out before you tackle the zipper.
Variations to Try
Once you’ve mastered the basic pattern, the possibilities open up. You can:
- Use a different stitch pattern – Try moss stitch or shell stitch for a lacier look.
- Add a strap – Crochet a simple chain strap and attach it to the zipper ends for a wristlet.
- Line the purse – Sew a fabric lining inside for extra durability and a polished interior.
- Change the size – Use a longer zipper and more stitches for a pencil case or makeup pouch.
The core technique—crocheting directly into the zipper tape—remains the same no matter how you scale it.
Final Thoughts
A crochet zipper purse is one of those projects that looks harder than it is. Once you’ve worked that first slip stitch into the zipper tape, the rest falls into place. You end up with something functional, handmade, and surprisingly professional.
Whether you’re making one for yourself or as a quick gift, it’s a satisfying way to spend an afternoon with your hook and yarn. And if you’re looking for another small project to practice your skills, try starting with a magic ring for amigurumi—it pairs beautifully with this purse pattern for a complete set.