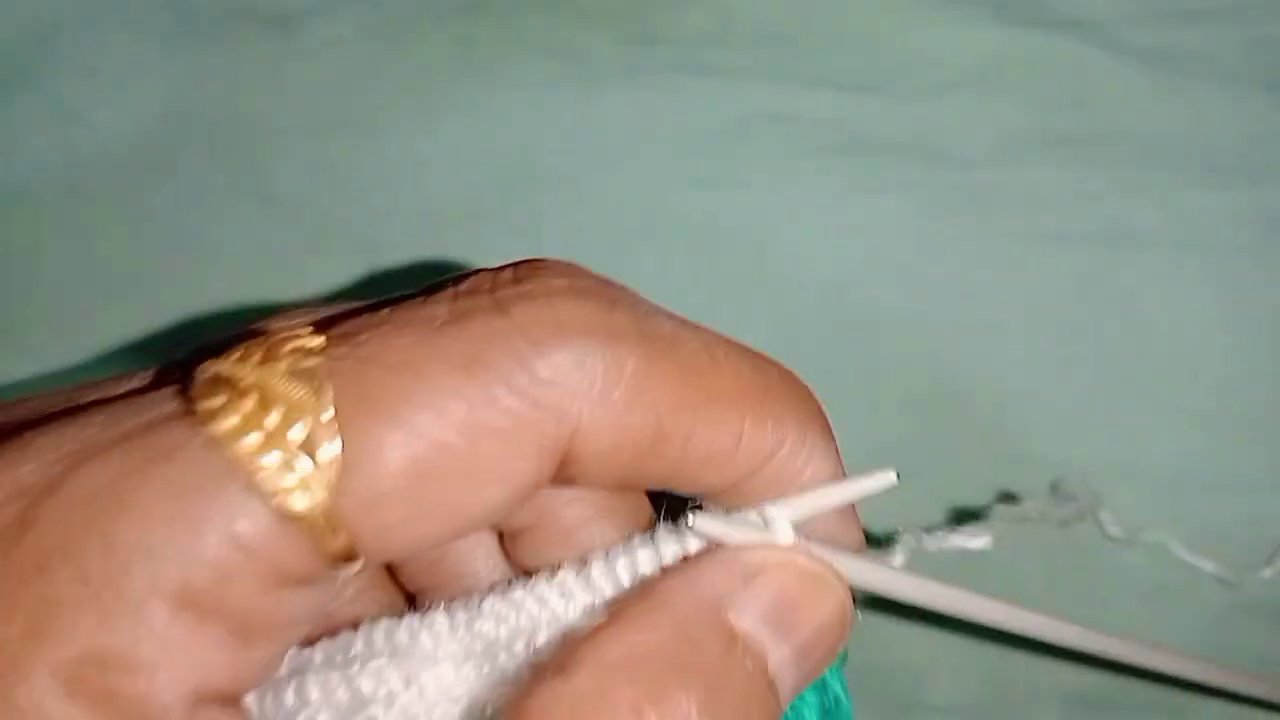
There’s something deeply satisfying about knitting a blanket. The weight of it growing on your needles, the slow accumulation of rows, the promise of warmth. But sometimes you want more than just a single-color rectangle. You want texture, depth, and a project that keeps your hands busy without boring your brain. That’s where working with multiple strands of yarn at once comes in.
This technique—holding several strands together as if they were one—lets you create richly textured fabric, introduce colorblocking, and finish a blanket surprisingly fast. It’s not complicated, but it does require a slightly different approach than your usual single-strand project. Let me walk you through it.
What You’ll Need to Get Started
Before you cast on, gather your materials. The beauty of this method is that it’s forgiving. You don’t need a specific yarn weight or brand. In fact, mixing different yarns from your stash can produce gorgeous, unique results.
For a blanket roughly lap-sized, you’ll want:
- Four skeins of worsted-weight yarn in coordinating colors. You can use all the same color for a solid look, or pick two or three colors for blocks.
- A pair of large knitting needles. Go with US size 13 (9 mm) or even 15 (10 mm). The big needles keep the fabric from getting too stiff when you’re holding multiple strands.
- Scissors and a tapestry needle for weaving in ends.
The sample project in the video uses a simple setup: four strands held together, worked in sections. The first section uses all four strands of the same color. Then you drop one strand and add a new color for the next block. That’s the basic idea—subtle shifts that create a gradient or striped effect.
Casting On with Four Strands
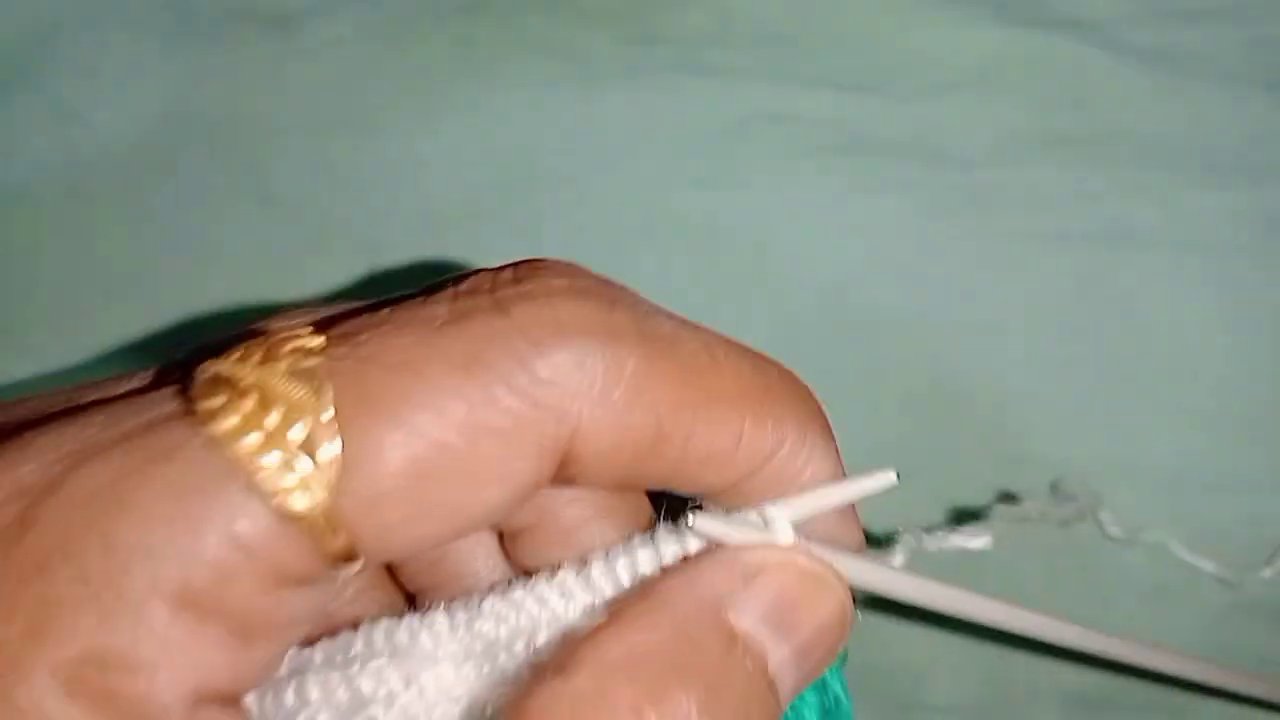
Here’s where it gets tactile. Take the ends of all four strands, line them up, and treat them as a single, chunky yarn. You’ll cast on as you normally would, but with this thick cord. The cast-on row will feel substantial right from the start.
For a lap blanket, cast on about 40 to 50 stitches. That’s enough to cover your knees without being overwhelming. If you want a throw, go up to 60 or 70. The gauge is loose, so the fabric will have a nice drape even with all those strands.
Work the first section in stockinette stitch—knit one row, purl the next. Or use garter stitch (knit every row) if you prefer a squishier, more reversible fabric. The choice is yours. Just keep going until the first color block measures about 8 to 10 inches.
Switching Colors Without the Fuss
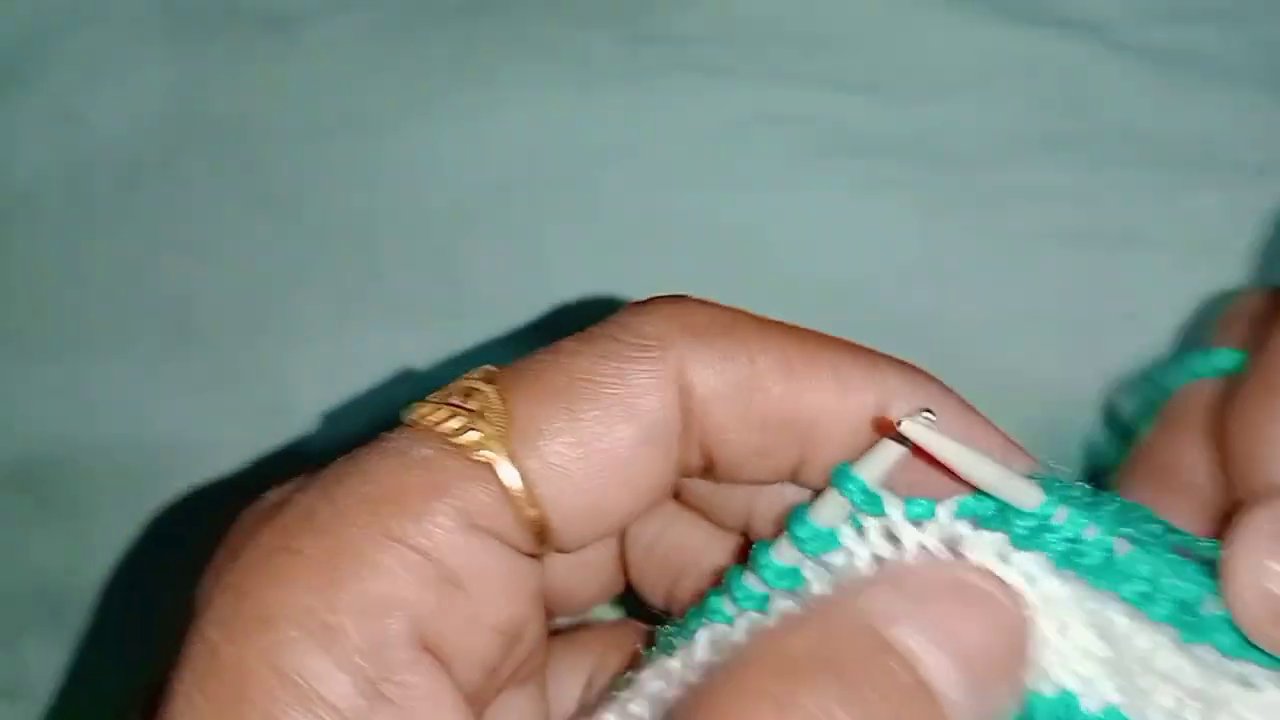
This is where the colorblock magic happens. When you’re ready for the next section, you don’t have to cut all four strands. Instead, you drop one of the original strands and introduce a new color in its place.
Let’s say you started with four strands of a soft gray. After knitting your first block, you drop one gray strand and add a strand of pale blue. Now you’re holding three grays and one blue. Knit with that combination for another 8 to 10 inches.
For the next block, drop another gray and add a second blue strand. Now you have two grays and two blues. The color shifts gradually, like a slow fade.
You can keep going until you’ve replaced all four strands with the new color. That gives you a smooth transition from one color to the next. Or you can jump straight to all four strands of the new color for a more abrupt stripe. Both approaches work beautifully.
Managing the Extra Bulk
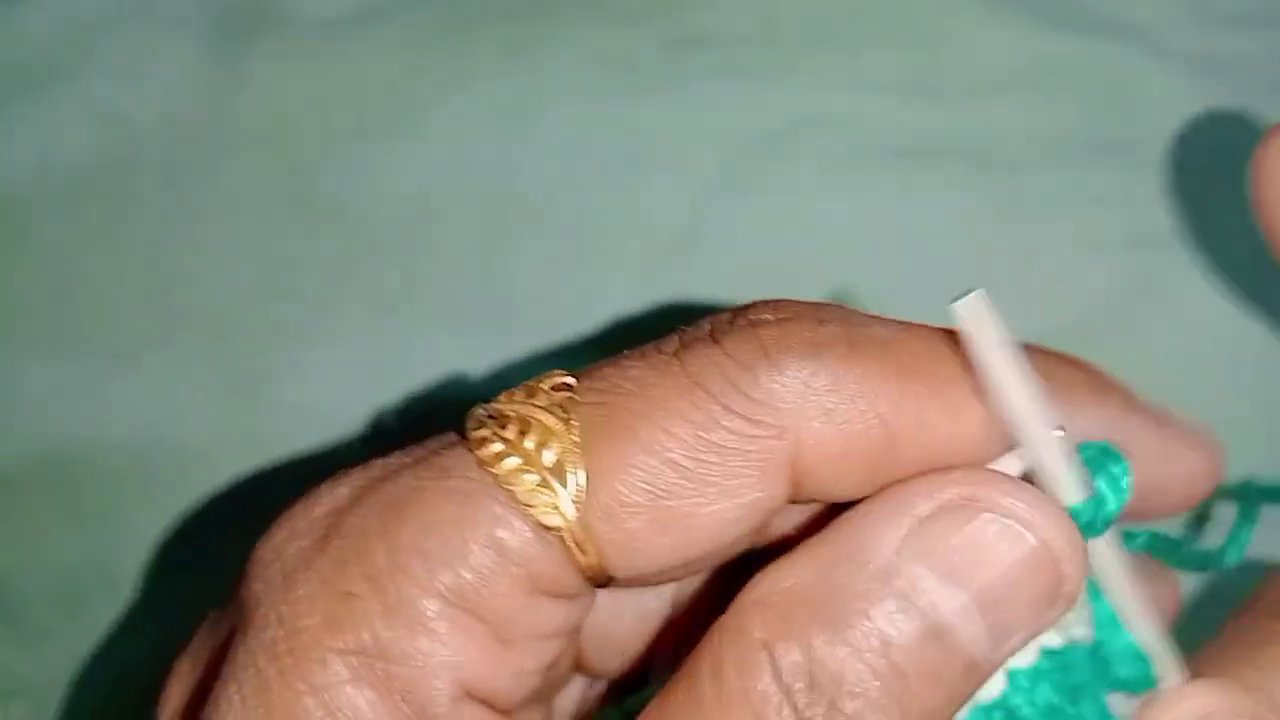
Knitting with four strands isn’t difficult, but it does require a little adjustment. The fabric is thick, so your stitches will be bigger. That’s fine—it’s part of the look. But you’ll want to keep your tension even. If you pull too tight, the fabric becomes stiff and hard to work with. If you’re too loose, the stitches look sloppy.
A good trick is to let the yarn flow freely through your fingers. Don’t death-grip the strands. Let them slide as you knit. And check your gauge after the first few rows. If the fabric feels like cardboard, go up a needle size or loosen your tension.
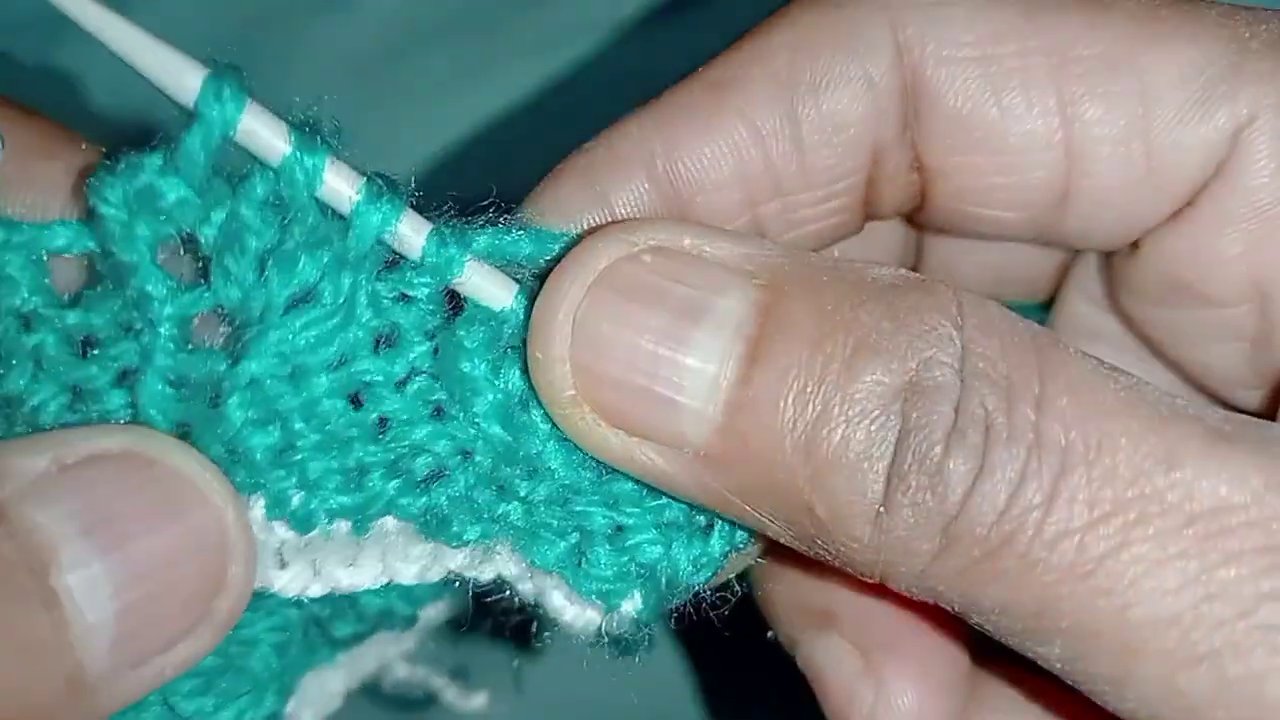
Another thing: the edges can get messy with multiple strands. To keep them neat, slip the first stitch of every row purlwise with the yarn in front. That creates a clean, braided edge that makes seaming (if you need it) much easier.
Adding a Fifth Strand for Extra Warmth
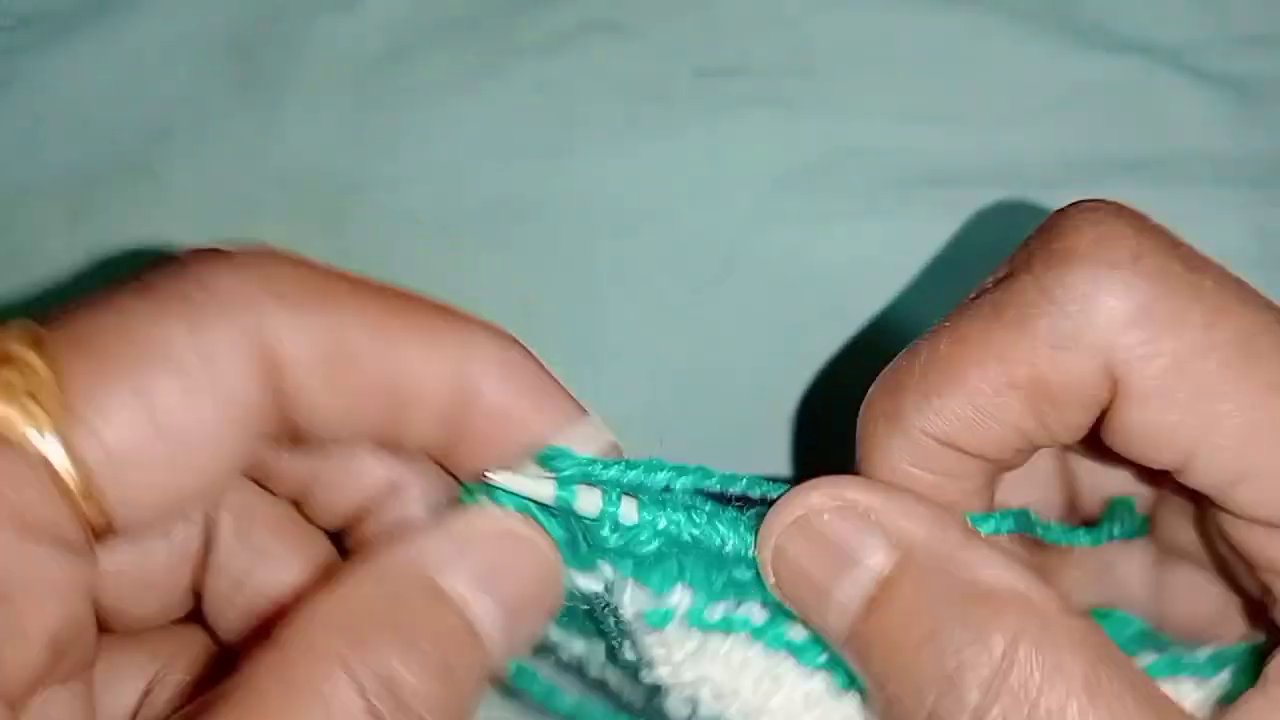
The video mentions something interesting: a “3 plus 2” variation. That means you hold three strands of your main color and two strands of a contrast color for the next block, instead of a straight four-strand swap. The result is a denser, warmer fabric with a more pronounced color shift.
If you’re making a blanket for cold winter nights, this is a great option. The extra strand adds weight and insulation. Just be aware that the fabric will be thicker, so you might need even larger needles—size 17 or 19—to keep the drape comfortable.
You can also use this technique for the entire blanket. Hold five strands from the start. The cast-on will be a little tighter, but once you get going, the rhythm is the same. Just keep the tension consistent.
Finishing and Blocking
When you’ve knitted all your color blocks and the blanket is as long as you want it, bind off loosely. Use a needle one or two sizes larger if you tend to bind off tightly. A tight bind-off will make the edge pucker, and nobody wants that.
Weave in the ends as you go, if you can. With multiple strands, there are a lot of ends to deal with. Weaving them in after the fact is tedious. Instead, when you finish a color block and drop a strand, weave that end in immediately. Use a tapestry needle and follow the path of the stitches for a few inches. Snip the tail close to the fabric.
Blocking is optional but recommended. Because the fabric is thick, a gentle steam block can help even out the stitches and soften the drape. Lay the blanket flat, mist it with water (or use a steamer), and gently stretch it to the desired dimensions. Let it dry completely before moving it.
Why This Method Works So Well
There’s a reason knitters keep coming back to this technique. It’s fast. Working with multiple strands means each row covers more ground. A lap blanket can be finished in a weekend.
It’s also endlessly customizable. You can use scraps from your stash, mix different fiber contents (wool with acrylic, cotton with alpaca), and create color combinations that are uniquely yours. The fabric has a rustic, handcrafted feel that you just don’t get with single-strand knitting.
And because the gauge is loose, the blanket has a lovely, forgiving drape. It wraps around you without feeling like a board.
If you’re looking for a project that’s simple enough for a beginner but interesting enough for an experienced knitter, this is it. No complicated stitch patterns. No counting. Just rows of stockinette or garter, with color changes that keep things fresh.
A Few Final Thoughts
Don’t overthink the color choices. Pick two or three colors that you like together. Neutrals work well—gray, cream, navy. Or go bold with mustard, rust, and teal. The gradual shift means the colors will blend in a way that’s always pleasing.
If you want to try something similar but smaller, consider making a crochet plush frog pattern or a set of baby crabs using the same multi-strand idea for a chunky, soft texture. Those projects are quick and satisfying, perfect for using up leftover yarn.
The key is to enjoy the process. Knitting a blanket is a commitment, but this method keeps it fun. The color changes break up the monotony. The thick fabric grows fast. And at the end, you have something warm and beautiful that you made with your own hands.
So grab four skeins, a pair of big needles, and cast on. Your lap will thank you.