Some projects take forever. This one takes ten minutes. That’s not an exaggeration — the mesh hairband we’re making today works up so fast you’ll probably finish it before your coffee cools. And because it’s made from a soft, stretchy mesh stitch, it actually grips your hair instead of sliding off halfway through the day.
The design is simple: a wide center panel that sits across the top of your head, with two chain straps that tie under your hair at the nape of your neck. You can wear it with your hair down, in a ponytail, or even a messy bun. It uses barely any yarn — about 10 grams — so it’s perfect for using up leftovers from bigger projects. And since it’s fully adjustable, you can make one for yourself and then crank out a few more for friends in under an hour.
Let’s get into how it’s done.
What You’ll Need
The materials list is short and forgiving. I used Red Heart Super Saver in Light Sage — a medium weight, worsted acrylic that’s cheap, durable, and easy to work with. But honestly, any yarn you have on hand will work. Thinner yarns will give you a more delicate, lacy look, while thicker yarns will make a sturdier band. Just adjust your hook size to match.
Here’s what I used:
- About 10 grams of medium weight yarn (worsted/aran)
- 5.5mm crochet hook
- Scissors
- A measuring tape or ruler (helpful for sizing)
If you’re using a different weight yarn, the concept stays the same — you’re just adjusting your starting chain to hit the right length.
Starting the First Strap
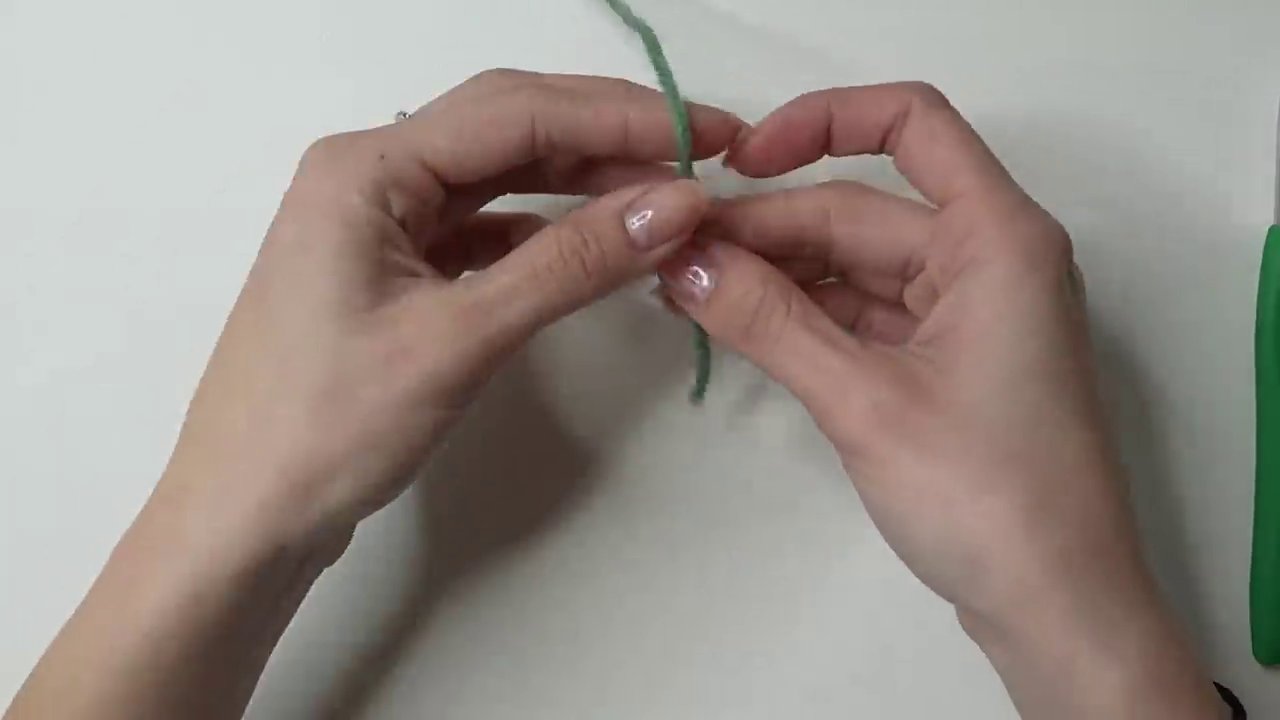
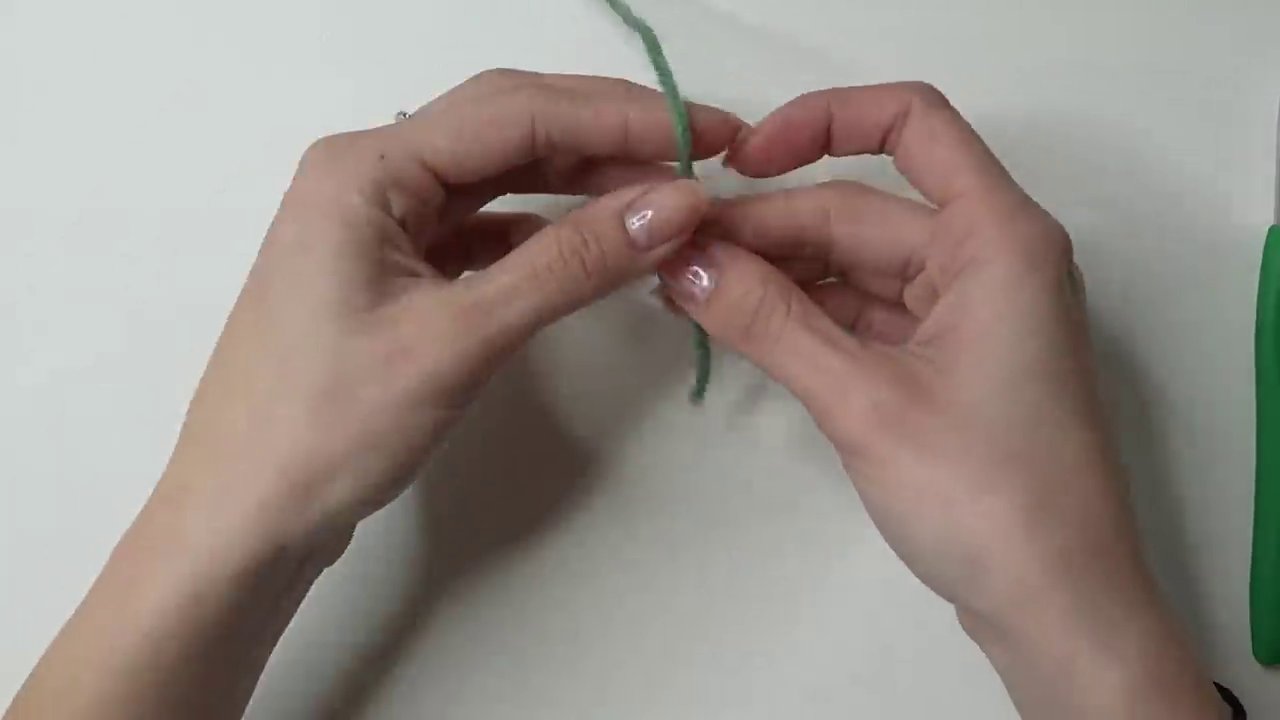
Everything begins with a slipknot. If you’re new to crochet, here’s the method: drape the yarn over your hand with the tail end hanging down. Use your thumb to hold a short tail against your palm. Wrap the working yarn around your index and middle fingers to form an X shape, then hold that X in place with your pinky. Insert your hook under one side of the X, grab the other side, and pull it through. Slide your fingers out and tighten the knot.
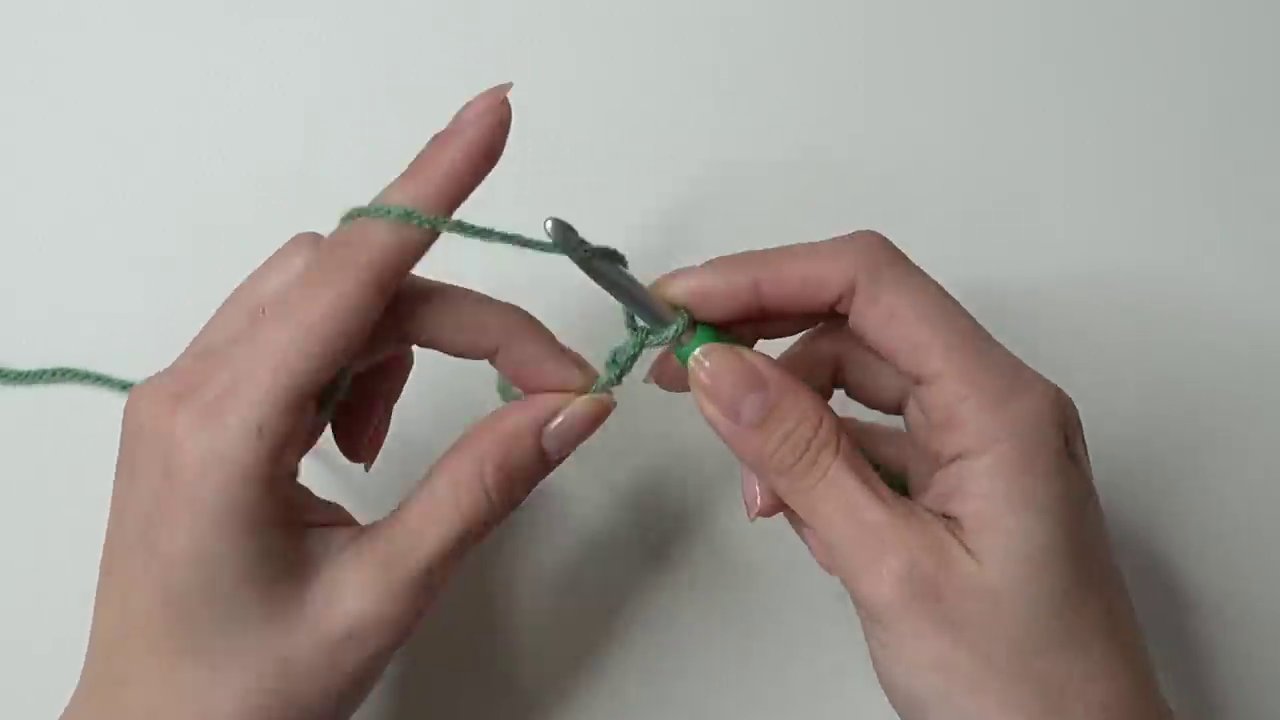
Now chain 40. If you’re using a different yarn, just keep chaining until your strap measures about 26 centimeters (roughly 10 inches). This first chain will become one of the two ties that wrap around your head. Need a shorter tie? Chain fewer stitches. Want it longer? Add more. There’s no magic number — just what fits your head.
Once your chain is the right length, we’re going to do something a little sneaky. Tighten the last chain you made by pulling on the yarn tail, but keep your thumb pressed on that tiny loop so it doesn’t disappear. Then chain three more — those three chains count as your first double crochet of the next row. You’ll work your first actual stitch into that teeny, tightened chain at the base.
Building the Mesh Pattern
Into that single, tightened chain, work three double crochets. Yes, all three into the same tiny hole. That’s your first row done. The reason we tightened that chain is simple: it prevents a gaping hole at the start of your work. Without that step, you’d have a loose, floppy edge. With it, everything stays neat.
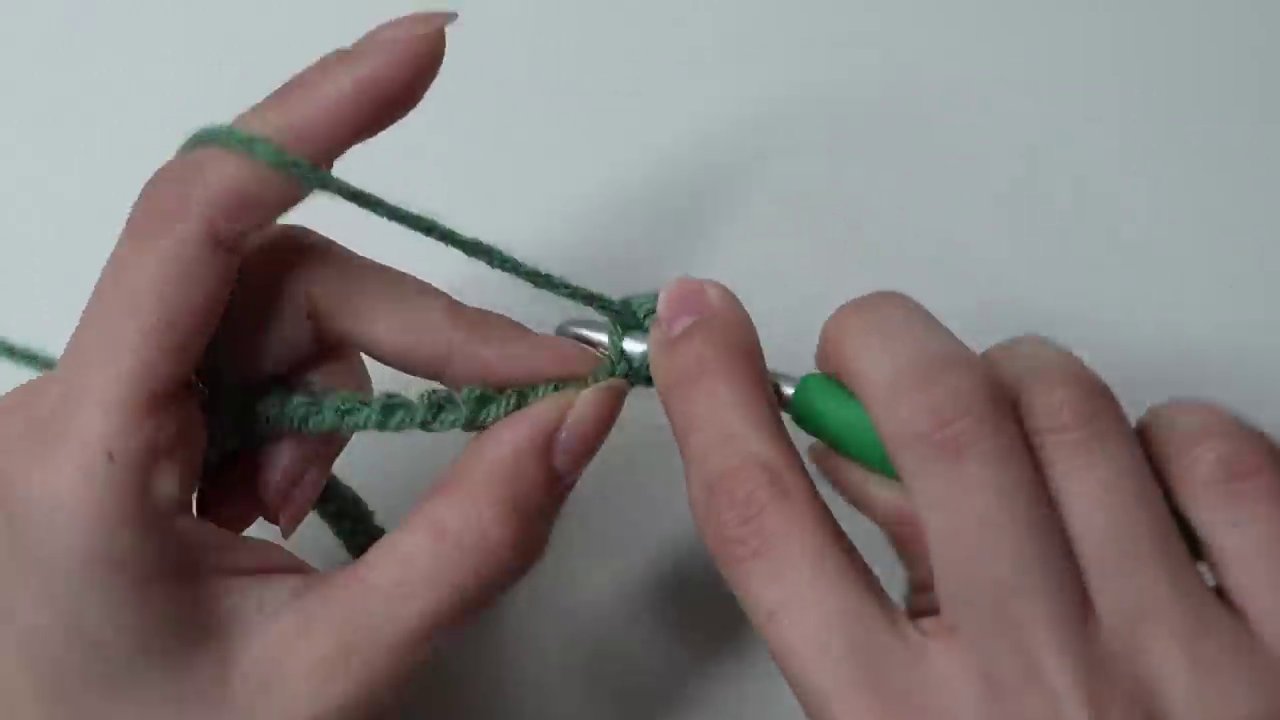
Now we start the mesh. Chain three and turn your work. That chain-three counts as a double crochet, so skip the first stitch of the row and make a double crochet into the next stitch. Then chain one, double crochet into the following stitch. Chain one, double crochet into the next stitch. When you reach the end of the row, instead of working into a specific stitch, work your final double crochet into the big chain space at the edge — the gap created by the chain-three from the previous row.
Here’s the trick to keeping your edges straight: don’t place that final double crochet too close to the last stitch. Push it outward, toward the edge of the work, so there’s a visible one-chain gap between the stitch and the edge. This keeps your sides from slanting inward.
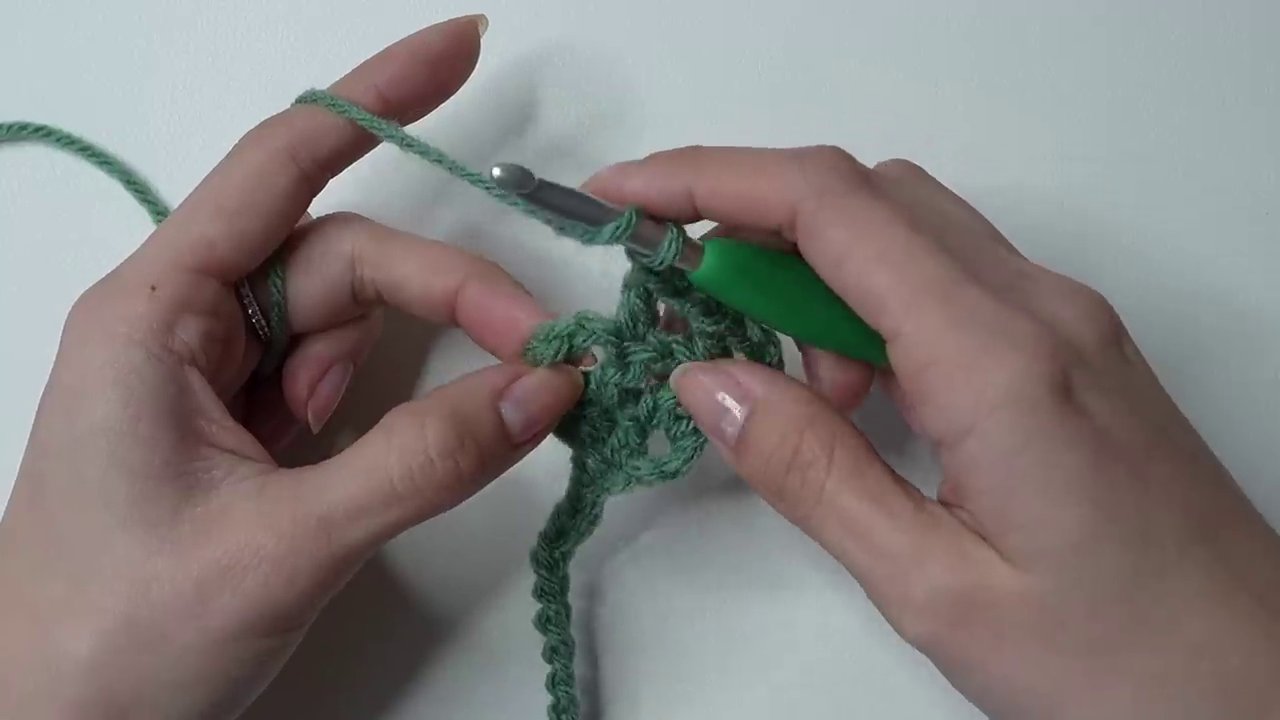
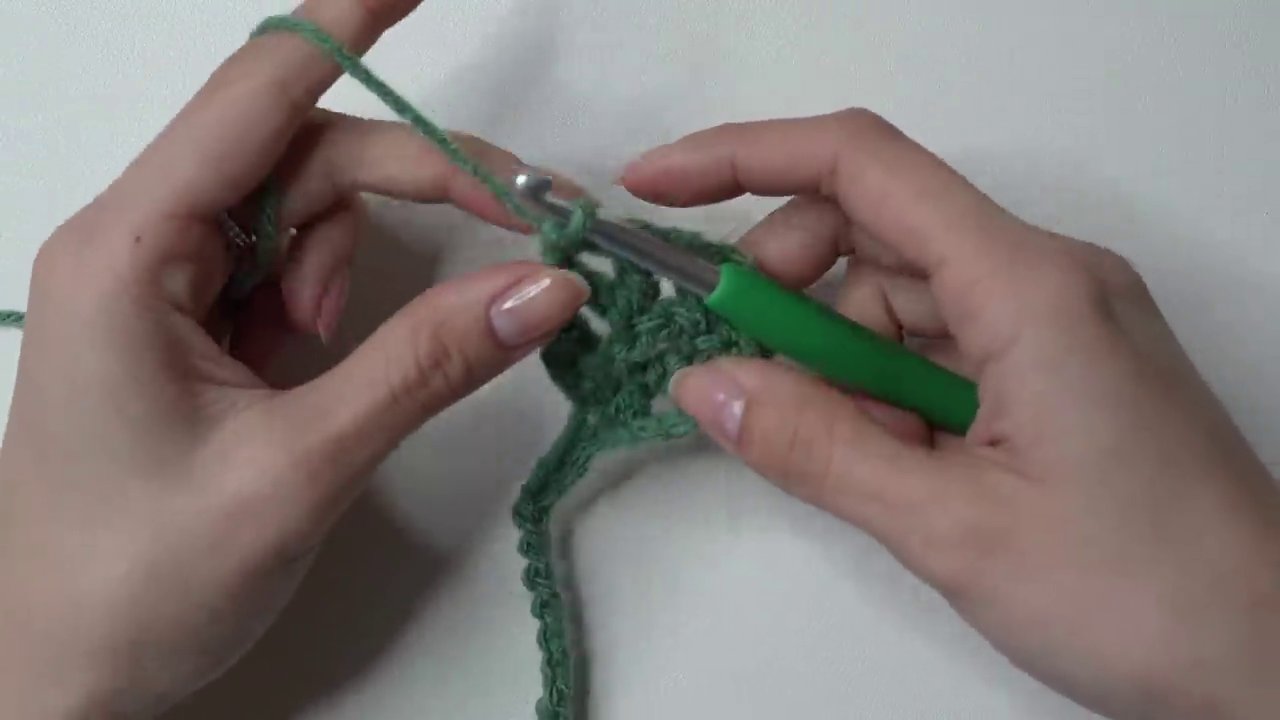
Repeat this row: chain three, turn, skip the first stitch, double crochet into the next, chain one, double crochet into the next, chain one, and finish with a double crochet into the far edge space. Keep going until the mesh panel is almost as long as you need it to cover from ear to ear across the top of your head.
I finished my 22nd row at about 24 centimeters. That’s a good stopping point for an average adult head, but remember — crochet stretches. Make it slightly shorter than you think you need. You can always add a row or two if it’s too short, but it’s harder to undo stretch.
Shaping the Pointed Ends
The last two rows are where the magic happens. This is what gives the hairband its tapered, pointed ends instead of a blunt rectangle.
For row 23, chain two and turn. Work a double crochet into the first stitch, then another double crochet into the next stitch — no chain-one between them this time. Finish with a double crochet into the edge space. You’re basically doing the same row but without the mesh gaps. It tightens things up.
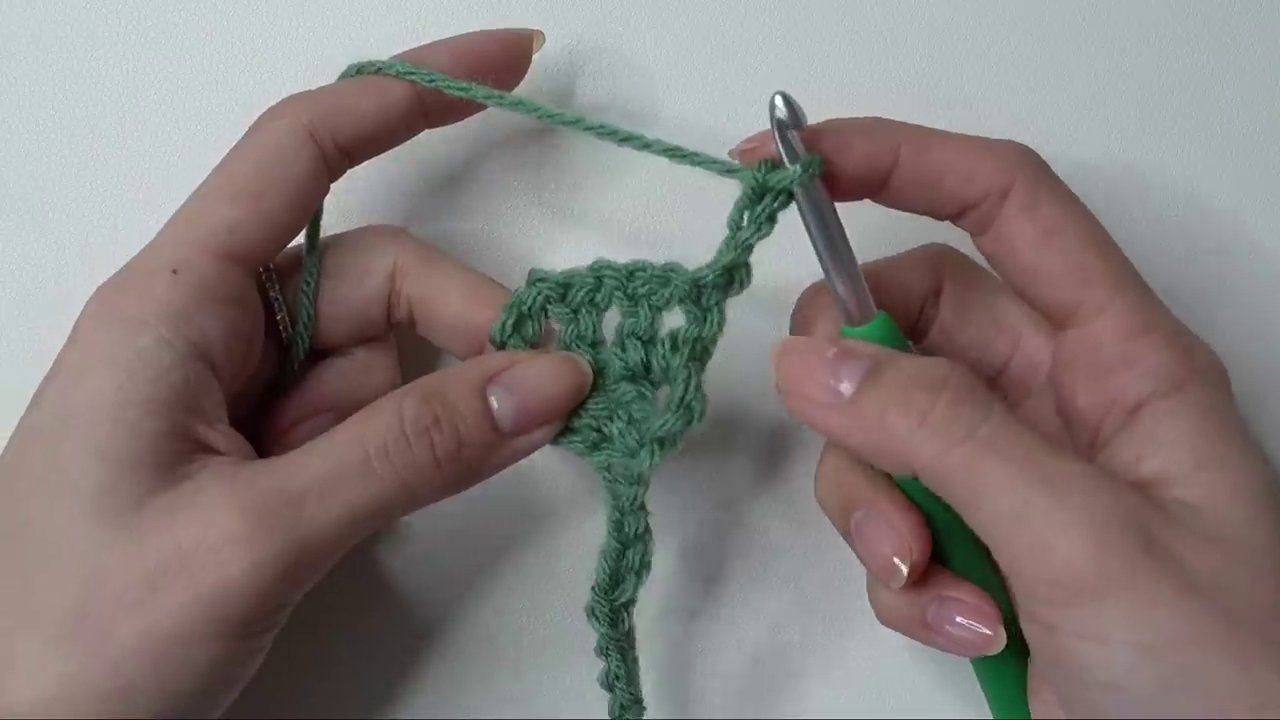
For the final row, row 24, chain two and turn. Skip the first stitch, then work a double crochet three together (dc3tog) over the last three stitches. Here’s how: yarn over, insert into the next stitch, pull through, yarn over, pull through two loops (two loops remain on hook). Yarn over, insert into the next stitch, pull through, yarn over, pull through two (three loops remain). Yarn over, insert into the final stitch (the edge space), pull through, yarn over, pull through two (four loops remain). Yarn over and pull through all four loops.
That single stitch closes the point neatly. Now chain 40 — the same number you started with — to create the second strap. Cut your yarn, leaving a short tail, and pull it through the loop to fasten off.
Finishing Touches
Take both ends of your hairband and line up the chain straps side by side. Trim the tails so they’re the same length. That’s it — you’re done.
The hairband ties at the back of your head, under your hair. The mesh panel sits on top, with the pointed ends extending just past your ears. Because the stitch pattern is open and airy, it doesn’t trap heat, and it has enough grip to stay put without being tight or uncomfortable.
If you want to experiment, try working the mesh rows in a different color for a striped effect, or use a variegated yarn for a gradient look. You could also make the panel wider by adding more stitches to the first row — just work more than three double crochets into the tightened chain and adjust your repeat accordingly.
Why This Pattern Works So Well
There are a few reasons this hairband has become one of my go-to quick projects. First, it’s genuinely fast. Ten minutes is realistic, even if you’re not a speed crocheter. Second, it uses almost no yarn — great for stash busting or testing out a new skein without committing to a big project. Third, the mesh stitch is naturally stretchy, so it fits a range of head sizes without needing complicated sizing adjustments.
It’s also a fantastic project for beginners who want to practice double crochet and chain spaces without worrying about counting stitches across a huge piece. And if you’re more experienced, it’s the kind of mindless, satisfying make you can do while watching TV or waiting for something to load.
A Few Notes on Customization
This pattern is flexible by design. If you’re making it for a child, start with fewer chains on the straps and fewer rows on the panel. For a thicker, more substantial band, use a heavier yarn and a larger hook — just keep an eye on your gauge so the mesh doesn’t get too loose.
You can also skip the pointed ends if you prefer a rectangular band. Just work the same mesh row all the way to the end, chain your strap, and fasten off. The points add a nice detail, but they’re not essential to the function.
If you want to add a decorative touch, try working a row of single crochet around the entire edge before adding the straps. It gives a cleaner finish and helps the band hold its shape a little better.
Wrapping Up
This mesh hairband is one of those patterns you’ll come back to again and again. It’s quick, practical, and endlessly customizable. Whether you’re making one for yourself, cranking out a batch for gifts, or just need a low-commitment project to break up a bigger WIP, it delivers.
If you give it a try, I’d love to hear how it goes. And if you run into any trouble or want to adapt it for a different yarn, drop a comment — I’m happy to help.
Happy crocheting.