
Some crochet patterns feel like old friends. The classic granny square is one of them — comforting, repetitive, and endlessly useful. But every now and then, you want something that looks a little more polished without being complicated. That’s exactly what this pattern delivers.
This isn’t a radical reinvention of the granny square. It’s a thoughtful tweak: a decorative border built right into the square as you work it. The result is a clean, modern-looking square with a subtle textured frame around each round. It’s still beginner-friendly, but it looks like you put in extra effort.
Let’s walk through how to make it.
Getting Started: The Center Ring
Like most granny squares, this one begins with a simple ring. You’ll chain 6 and join with a slip stitch to form a loop. That’s your starting point.
From there, chain 3 (this counts as your first double crochet), then work 2 double crochets into the ring. Chain 2, then work 3 more double crochets. Repeat that pattern — 3 double crochets, chain 2 — three more times. You’ll end up with four clusters of 3 double crochets, separated by chain-2 spaces. Join the round with a slip stitch to the top of your starting chain.
That’s the foundation. Nothing unusual yet.
Round Two: Adding the Decorative Frame
This is where things get interesting. Instead of just working another round of double crochet clusters, you’re going to add a row of single crochet and chain spaces that creates a visible frame around the square.
Start by attaching your second color (if you want contrast) or continue with the same yarn. Insert a single crochet between the two double crochets of the previous round’s cluster. Chain 2. Then single crochet between the next pair of double crochets. Chain 2. Work your way across the side like this.
When you reach a corner space (the chain-2 gap from the previous round), you’ll chain 3 instead of 2. Then continue with single crochet and chain 2 across the next side. Repeat for all four corners.
This round creates a delicate, lacy border that sits just inside the main body of the square. It’s subtle, but it makes a real difference in the finished look.

Round Three: Building the Main Body
Now you switch back to your main color. Attach it in any chain-2 space from the previous round. Chain 3 (counts as a double crochet), then work 2 more double crochets into the same space. Chain 2, then 3 double crochets into the same space. That’s your corner.
Chain 1, then work 3 double crochets into the next chain-2 space along the side. Chain 1. Continue this pattern: at each corner, work 3 double crochets, chain 2, 3 double crochets. Along each side, work 3 double crochets into each chain-2 space, separated by a single chain.
This is where the square really starts to take shape. The single chains between clusters give the sides a bit of breathing room, while the corners remain solid and defined.
Round Four: The Decorative Frame Returns
Here’s the beauty of this pattern — you alternate between a solid round of double crochet clusters and a decorative round of single crochet and chain spaces. So round four repeats the same frame pattern you did in round two.
Attach your contrast color again. Single crochet between the first two double crochets of a cluster. Chain 2. Single crochet between the next two double crochets. Chain 2. Work across the side this way. At each corner, chain 3 instead of 2.
This round sits one row further out, so the frame grows with the square. It creates a repeating visual rhythm that’s satisfying to watch develop.
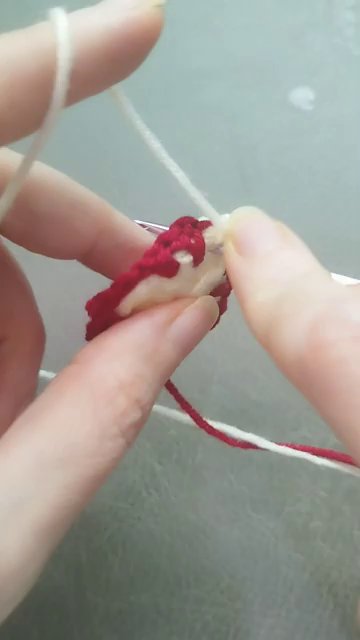
Round Five: Another Solid Round
Back to the main color. Attach in a corner chain-3 space from the frame round. Chain 3, 2 double crochets, chain 2, 3 double crochets in the same space. Chain 1. Then work 3 double crochets into the next chain-2 space. Chain 1. Continue across the side, placing 3 double crochets into each chain-2 space, separated by chain 1.
At the next corner, repeat the corner cluster. Work your way around.
You’ll notice the pattern now: solid round, frame round, solid round, frame round. Each time, the frame moves outward, and the solid rounds fill in the gaps.
Repeating to Your Desired Size
Keep alternating rounds until your square is as large as you want it. The pattern is easy to memorize after two repeats, and it works up quickly.
Here’s a quick summary of the rhythm:
- Solid rounds (main color): 3 double crochets in each chain space along the sides, separated by chain 1. Corners are 3 double crochets, chain 2, 3 double crochets.
- Frame rounds (contrast color): Single crochet between each pair of double crochets, separated by chain 2 along the sides. Corners use chain 3 instead.
That’s it. Just repeat until you’re happy with the size.
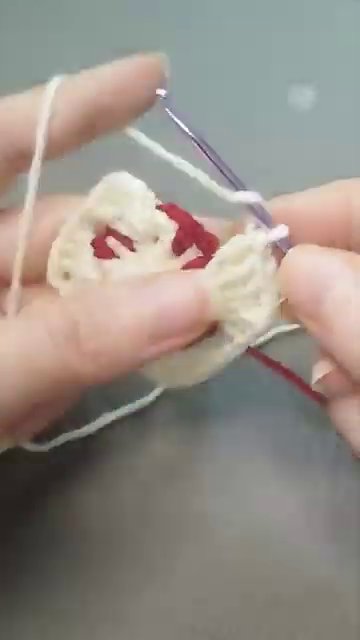
Optional Finishing Round
If you want a clean, finished edge, you can add one final round. This step is optional, but it gives the square a polished look — especially if you’re planning to join multiple squares into a blanket.
Work in your main color. At each corner, work your usual corner cluster (3 double crochets, chain 2, 3 double crochets). Along the sides, work one double crochet into each double crochet from the previous round, and one double crochet into each chain-1 space.
This creates a solid, even border that hides any gaps and makes the square feel complete.
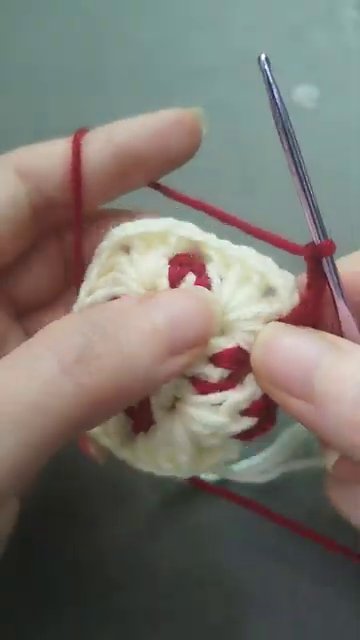
Why This Pattern Works
The genius of this design is how little extra work it requires. You’re still making a basic granny square. The only difference is that every other round, you switch to a single crochet and chain pattern instead of double crochet clusters. That small change creates a layered, almost quilted effect.
It’s ideal for blankets, pillow covers, or even garment panels. The solid rounds give it structure, while the frame rounds add visual interest without overwhelming the overall design.
If you enjoy projects that look intricate but are actually straightforward, this one will scratch that itch. And if you’re new to granny squares, this pattern is a great next step after mastering the basics.
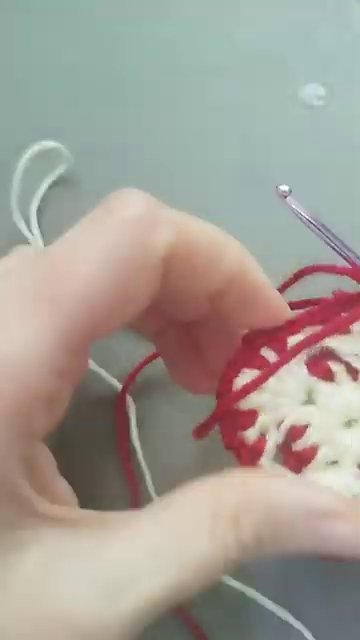
Color Ideas
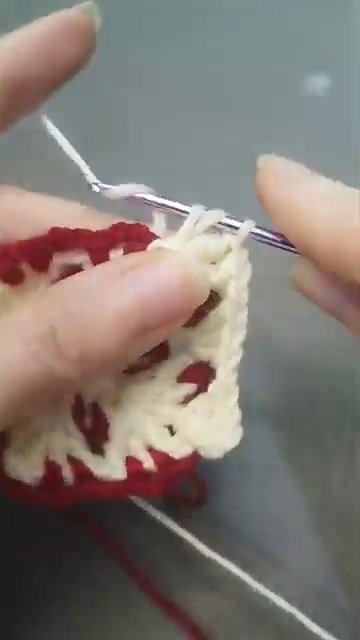
This pattern really shines with two contrasting colors. A light main color with a dark frame creates a crisp, graphic look. Pastels with white frames feel soft and vintage. Bold colors with black frames look modern and edgy.
You could also use three colors — one for the solid rounds, one for the frame rounds, and a third for the optional finishing border. The pattern is flexible enough to handle it.
Final Thoughts
Sometimes the best projects aren’t the most complicated ones. They’re the ones that take a familiar technique and add one small, clever twist. This granny square does exactly that.
If you’re looking for a pattern that works for blankets, bags, or even home decor, give this one a try. It’s simple enough to make while watching TV, but the finished result looks like you spent hours planning it. And honestly, that’s the sweet spot.