
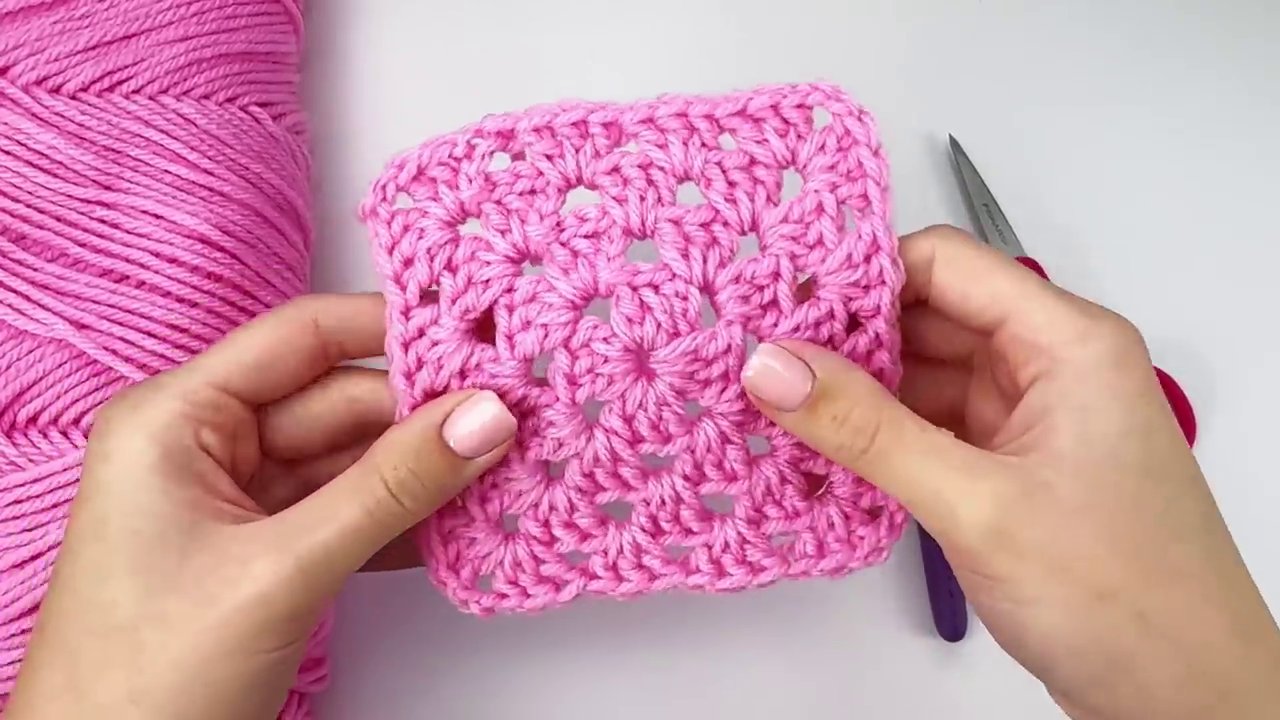
Welcome to the wonderful world of granny squares! These iconic crochet motifs are the building blocks for countless projects, from cozy blankets and stylish bags to chic garments. If you’ve ever felt intimidated by starting with a magic circle, this tutorial is for you. We’re breaking down a classic, beginner-friendly method that uses a simple chain start, making it perfect for crocheters of all levels. Grab your hook and yarn, and let’s create something beautiful together.
Your Toolkit and Getting Started
Before we dive into the stitches, let’s gather our supplies. For this tutorial, I’m using a worsted weight acrylic yarn and a 5mm crochet hook. This is a fantastic, accessible combination for beginners. However, one of the joys of crochet is its flexibility. You can use any yarn and corresponding hook size that you like. Keep in mind that your choice will directly affect the size of your finished square. A bulkier yarn will create a larger square faster, while a finer yarn will yield a more delicate motif.
The beauty of the granny square is its scalability. If your square isn’t the size you need after a few rounds, you can simply add or remove rows to make it as big or small as required. Don’t forget your last essential tool: a pair of scissors for clean finishing.
This method is excellent for beginners because we bypass the magic circle, which can sometimes be tricky to master. Instead, we begin with a trusty chain.
Creating the Foundation Loop
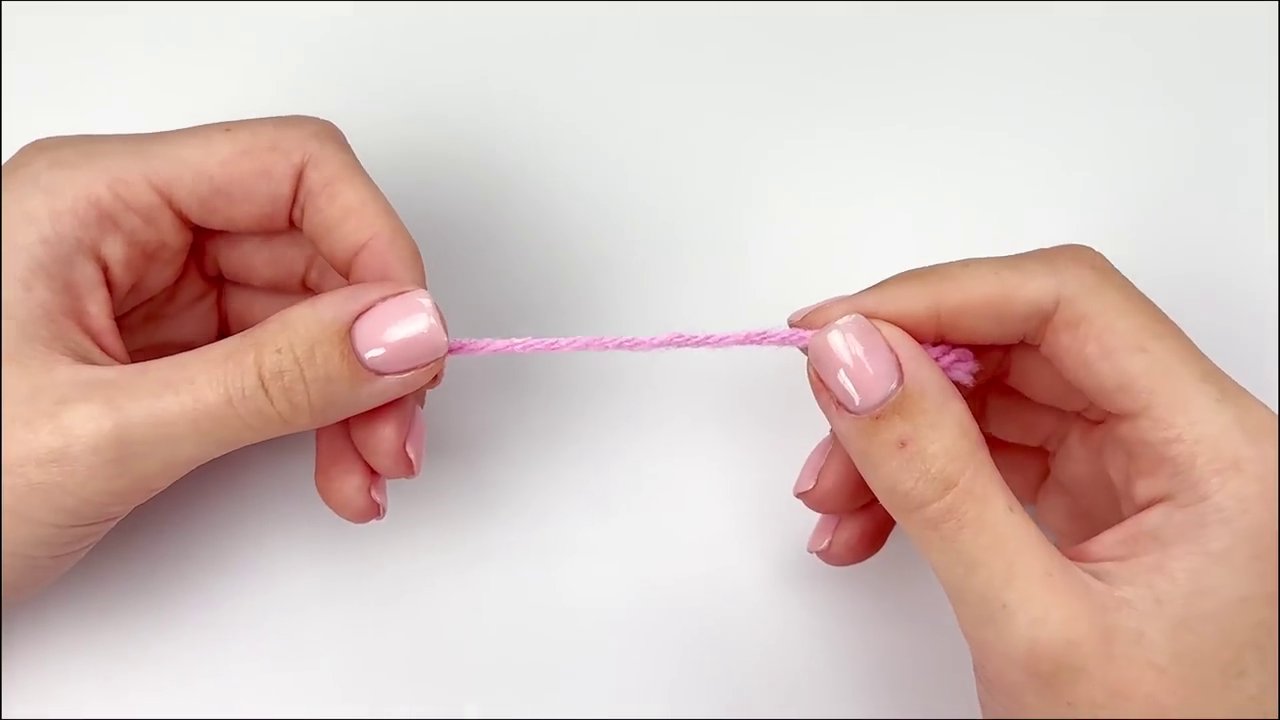
Let’s begin by making a slipknot.
1. Wrap the yarn around your fingers.
2. Hold the base with your thumb.
3. Use a finger to go under the first strand and over the second.
4. Flip that second strand up and pull it tight to form the knot.
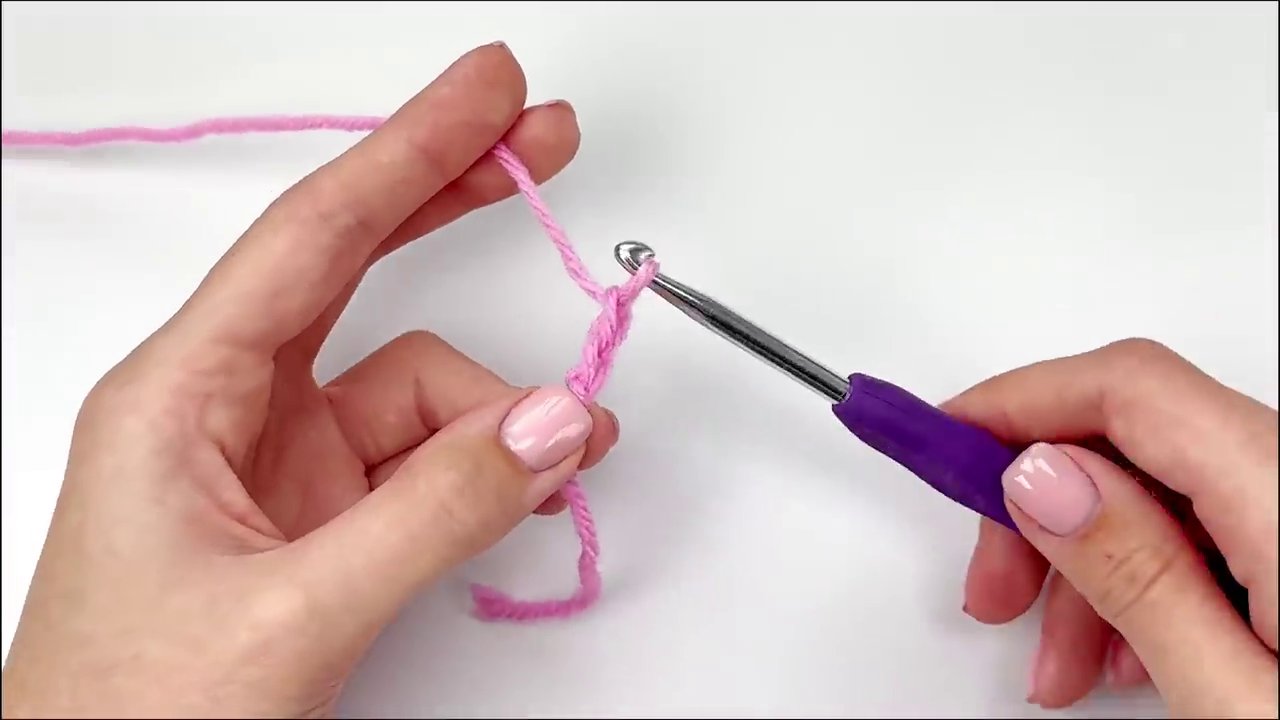
Place your hook through the loop and gently pull the yarn tail to secure it on the hook. Now, we’ll chain four.
1. Yarn over and pull through the loop on your hook to make one chain.
2. Repeat this three more times until you have four chains in total.
To form our starting ring, make a slip stitch into the first chain you made.
1. Insert your hook through the loop of that first chain.
2. Yarn over and pull up a loop.
3. Pull that new loop directly through the loop on your hook.
Trim the short yarn tail to keep it out of the way. Your foundation loop is complete!
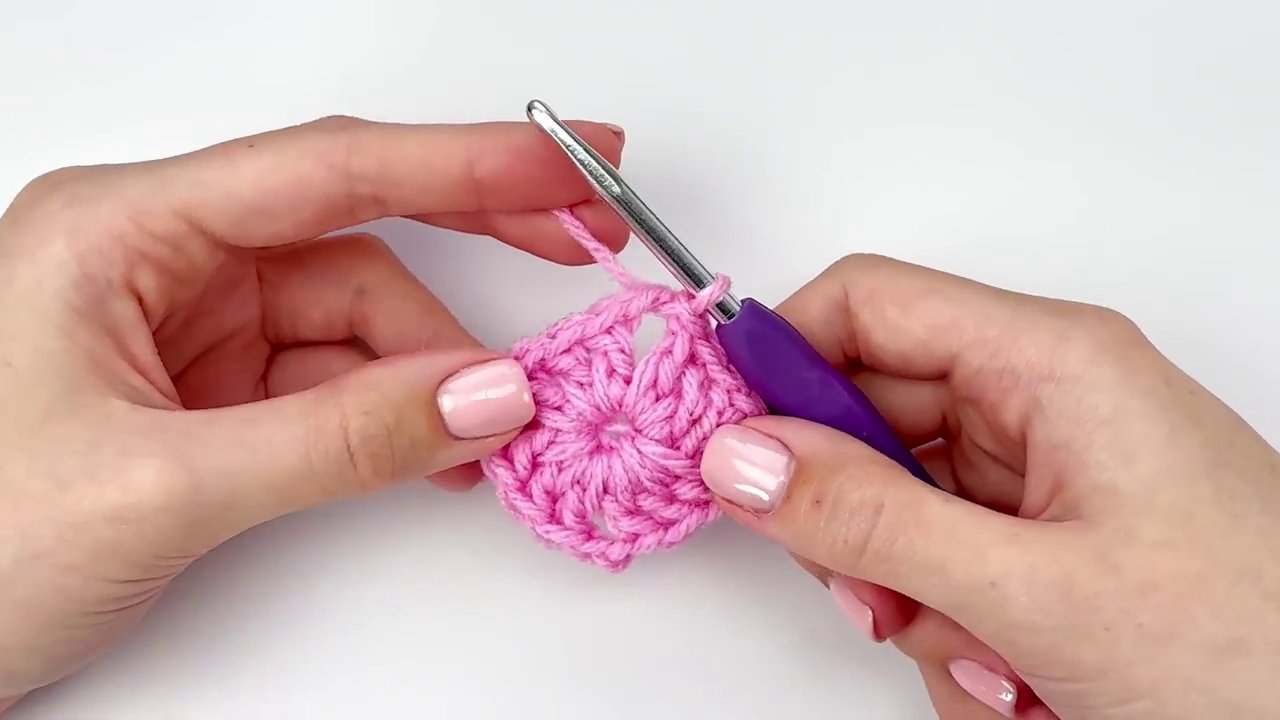
Building Round One: The Core Structure
With our ring ready, we can start building the first round of our granny square. This round establishes the four corners that define the square’s shape.
Begin by chaining four. This chain-4 counts as your first double crochet plus the chain-1 space that leads to the corner. Now, we’ll work our first corner cluster directly into the center of the ring.
1. Make two double crochets into the center ring. To make a double crochet: yarn over, insert your hook into the ring, yarn over and pull up a loop (three loops on hook), yarn over and pull through two loops, yarn over and pull through the remaining two loops.
2. Chain two. This chain-2 space is your first corner.
3. Into the same center ring, make three more double crochets.
You’ve now completed one side and one corner. Repeat this pattern three more times to create the remaining three sides and corners:
– Make three double crochets into the ring, chain two (corner), three double crochets into the ring.
– Repeat for the third and fourth sides.
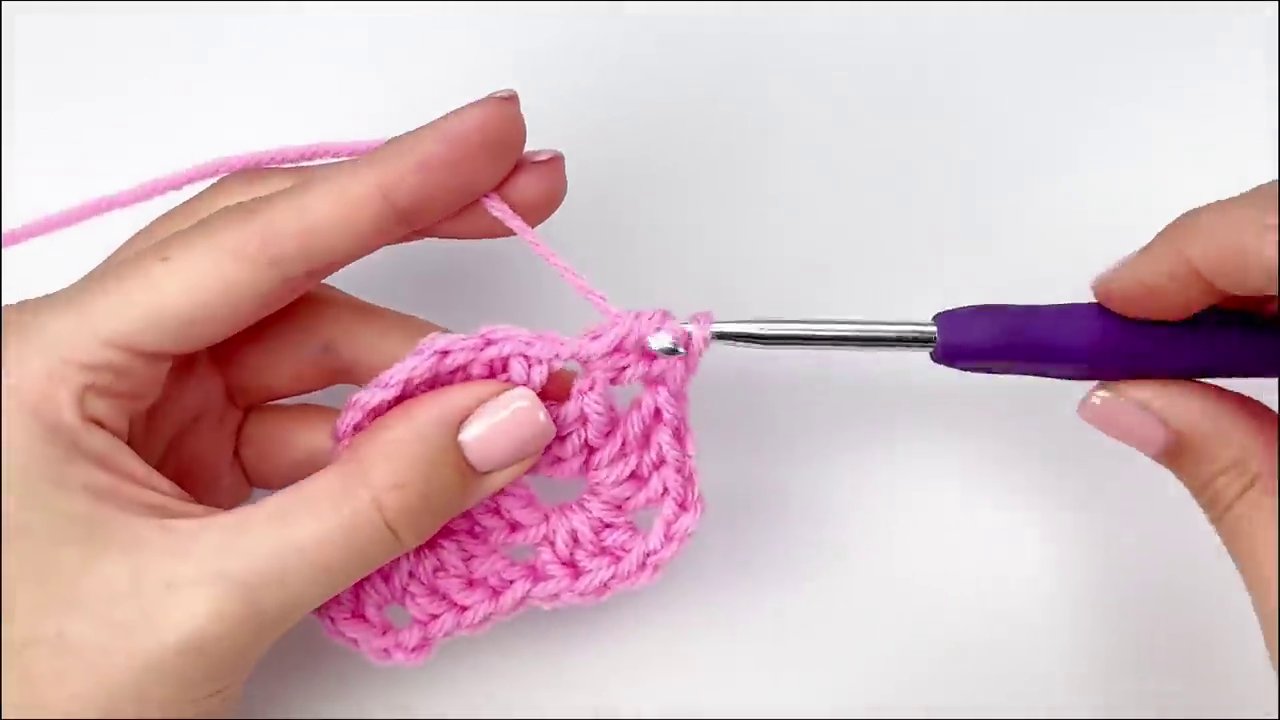
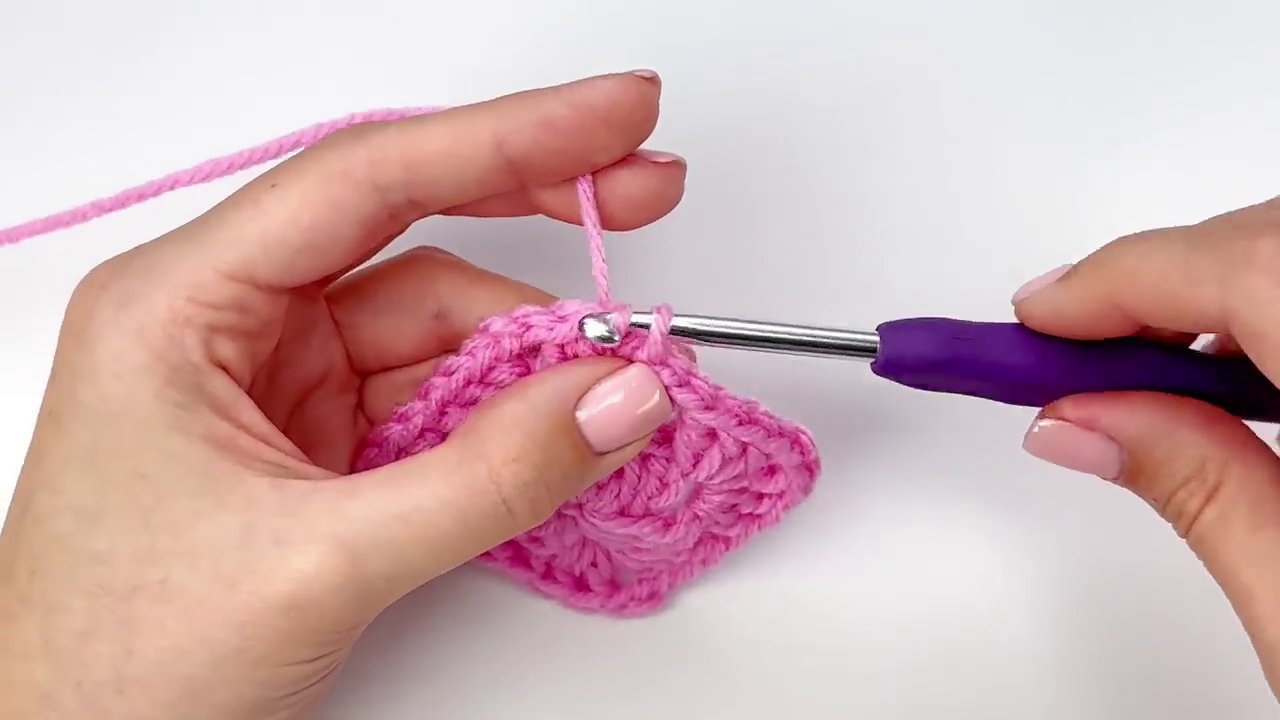
After placing the final three double crochets of the fourth side, chain two more. To close the round, make a slip stitch into the top of the very first chain-4 you made at the start of this round. Pull tight, and congratulations—round one is finished! You should see a clear square shape with four distinct chain-2 spaces at each corner.
Expanding Your Square: Rounds Two and Three
The fundamental pattern is now set. Each subsequent round will involve creating corners in the corner spaces and clusters along the sides.

To begin round two, we need to move our hook into the first chain-2 corner space. Slip stitch across the stitches until you reach that space. Once there, chain four (counts as first double crochet + chain-1).
Now, work your first corner of round two into the same chain-2 space:
1. Make two double crochets.
2. Chain two (this is the corner).
3. Make three more double crochets.
You have now created a “corner cluster” within the corner space. To move to the next side, you will work into the next chain-2 space from round one. For this round, you will simply make a corner cluster in each of the four corner spaces. There are no side clusters yet.
1. In the next chain-2 space, make three double crochets, chain two, three double crochets.
2. Repeat this for the remaining two corner spaces.
To finish round two, make a slip stitch into the fourth chain of your starting chain-4. This solidifies the square shape and adds the second layer.
Round three introduces a new element: the side cluster. Start by slip stitching to the first chain-2 corner space as before and chain four.
Work your first corner cluster into that space (3 dc, ch 2, 3 dc). Now, look at the side from round two. You will see a space between the corner clusters. Into this middle space, place a cluster of three double crochets. This is your first side cluster.
Continue around:
1. In the next corner space, work a corner cluster (3 dc, ch 2, 3 dc).
2. In the next middle space (along the side), work a side cluster (3 dc).
Repeat this pattern—corner cluster, side cluster—all the way around. Finish the round with a slip stitch into the top of your starting chain. Your square is growing beautifully, with one cluster on each side between the corners.
The Repeating Pattern and Finishing Your Square
From here, the pattern repeats logically with each round. For every new round you add, you will have one more side cluster on each side between the corners.
Let’s look at round four as an example. After slip stitching to the first corner and chaining four, you would:
1. Work a corner cluster in the first corner space.
2. Work a side cluster (3 dc) in each of the two spaces along the side from round three.
3. Work a corner cluster in the next corner space.
4. Repeat steps 2 and 3 all the way around.
Finish with a slip stitch. As you can see, round four had two side clusters per side. Round five would have three, and so on. This predictable growth is what makes the classic granny square so versatile and easy to memorize.
To finish your square at any size, simply complete the final round with a slip stitch. You can then fasten off and weave in your ends. If you’re joining multiple squares for a project like a blanket, you might leave a long tail for sewing. For a single square project like a cozy coaster or a modern wall hanging, fastening off cleanly is perfect.
Conclusion: Your Gateway to Countless Projects
You’ve done it! You’ve mastered the classic granny square without a magic circle. Remember the key takeaways: start with a simple chain ring, build corners with the (3 dc, ch 2, 3 dc) cluster, and fill the sides with 3-dc clusters. Each new round adds one more cluster to each side.
This square is your new crochet superpower. Make a bunch in matching colors for a traditional blanket, or use up scraps for a vibrant, eclectic piece. You can experiment with different yarns, like the cotton used in the Cuddly Caterpillars pattern, for a different texture. Once comfortable, try a two-color square or explore other granny square variations.
The granny square is more than just a motif; it’s a foundational skill that opens the door to a universe of crochet creativity. From here, you could move on to constructing garments, accessories, or adorable amigurumi like these FREE Strawberry Crochet Pattern. So keep practicing, play with color, and most importantly, enjoy every stitch of the journey. Happy crocheting