You know that bag of yarn scraps sitting in the corner? The one you keep telling yourself you’ll use for something “someday.” Today’s that day. This colorful crochet keychain project turns those leftover bits into something genuinely cute and functional — and it works up fast enough that you’ll actually finish it.
The best part? You don’t need to buy anything new. Grab your hook, dig through those odds and ends, and let’s make a keychain that actually looks intentional, not like a scrap bin accident.
What you’ll need to get started
Before we jump into stitches, let’s talk materials. This project uses small amounts of several colors — think purple, orange, pink, yellow, and white. The exact shades don’t matter. What matters is contrast. You want the petals to pop against each other, so pick colors that sit opposite on the wheel or just feel right together.
You’ll also need:
- A crochet hook (size depends on your yarn weight — go with whatever matches your scraps)
- A small amount of worsted weight yarn in at least 3-4 colors
- A keychain ring or lobster clasp
- A tapestry needle for weaving ends
- Scissors
That’s it. This is a true stash-buster. If you’ve got a ball of white or cream yarn hanging around, use it for the base — it makes the colorful petals stand out beautifully.
Starting the base circle
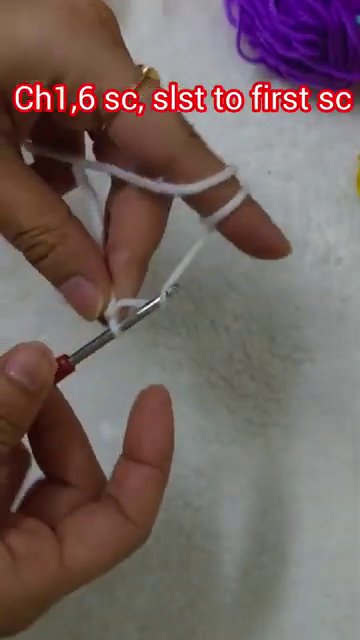
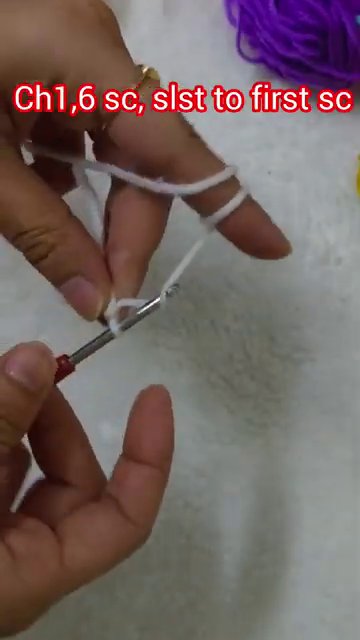
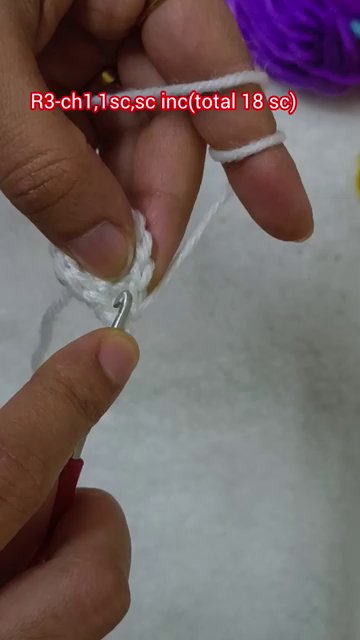
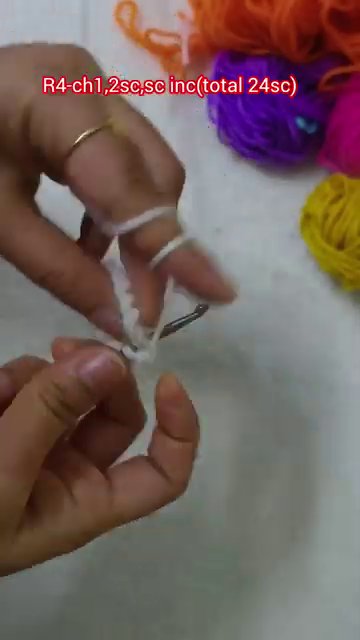
The keychain begins with a small circular base worked in white yarn. The first row sets up the foundation, and you’ll see on-screen instructions like “R2-ch1, sc inc (total 12 sc)” — which is crochet shorthand for row 2, chain 1, then single crochet increase all the way around.
If that looks like a foreign language, don’t worry. What it really means is this: you’re building a flat circle that doubles in stitch count on the second row. You start with 6 single crochet stitches in a magic ring, then increase in every stitch around to end up with 12.
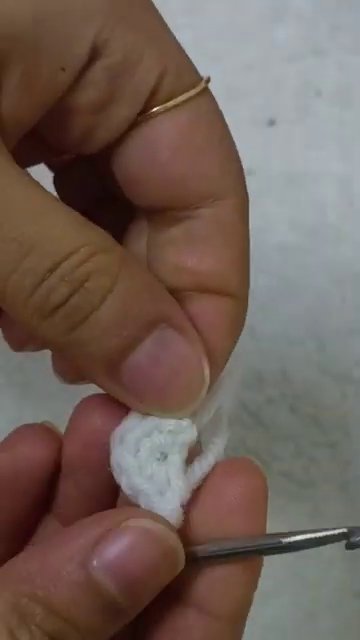
Here’s a tip that makes a real difference: keep your tension consistent on this base. If it’s too tight, the circle curls into a bowl shape. Too loose, and the petals will flop around. Aim for firm but not death-grip tight. If you’re still getting the hang of tension, check out this guide on how to hold your crochet hook and yarn for perfect tension every time — it’s a skill that improves every project you make.
Switching to your first color
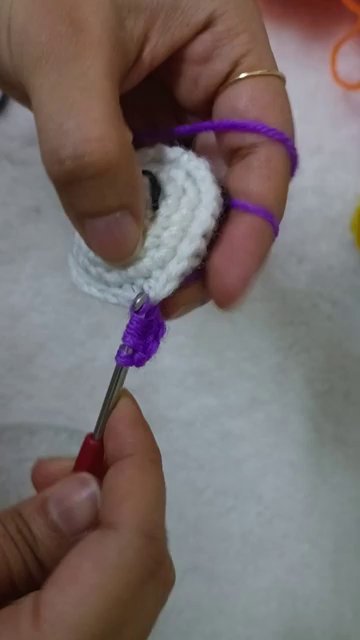
Once the white base is done, it’s time for the fun part. Cut the white yarn and pull through your last stitch. Now grab your first color — in the tutorial, that’s purple.
Attach the new color with a slip stitch into any stitch of the base circle. You’re about to start building petals, and this is where the project starts looking like something.
Don’t overthink the color order. You’re not committing to a strict pattern here — just work through your scraps in whatever sequence feels right. If you’ve got five colors, use all five. If you only have two, repeat them. There’s no wrong answer.
Making the petals
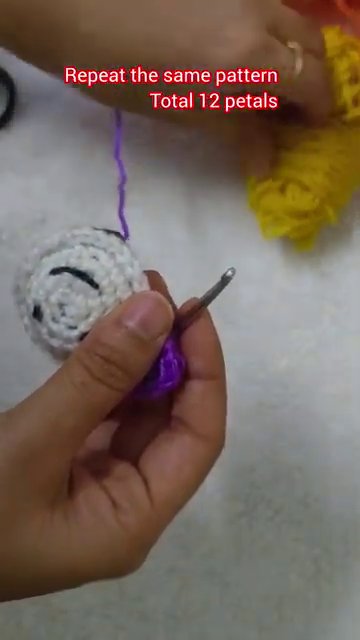
Here’s where the magic happens. Each petal is worked directly into the base stitches, and the pattern repeats identically for every petal. The on-screen text says “Repeat the same pattern. Total 12 petals.” So you’ll work the same sequence of stitches 12 times around the circle.
The exact stitch pattern for each petal typically involves: a chain, then a combination of single and double crochet stitches worked into the same stitch to create a fan shape, then a slip stitch to anchor it. The result is a small layered flower that sits flat against the base.
This is where the project feels repetitive in a good way. Once you’ve made two or three petals, your hands know the rhythm. You can almost go on autopilot. That’s the kind of crochet that works well with a podcast or TV show in the background.
One thing to watch for: petal crowding. If your stitches are too tall or loose, the petals will overlap and bunch up. Keep them compact. Each petal should sit next to its neighbor without fighting for space.
Continuing around the circle
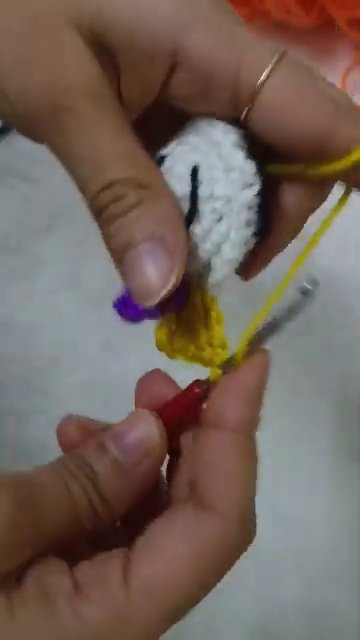
As you work your way around, you’ll switch colors every few petals or every single petal — totally up to you. The tutorial shows multiple colors in sequence: purple, then orange, then pink, then yellow. The contrast makes the finished piece look almost like a tiny mandala.
Here’s a practical detail that’s easy to miss: when you switch colors, carry the old yarn along the back of the work for a few stitches if the next section is close. It saves you from weaving a dozen tiny ends later. Just lay the old strand across the top of the stitches and crochet over it. If the color jump is long, cut and weave — but for short hops, carrying works fine.
Finishing the 12th petal
When you complete that 12th petal, you’ll have a full circle of color. The white base peeks through just enough to give the piece structure, while the petals create a flower-like silhouette. This is the moment where you step back and realize: yeah, that actually looks good.
Cut your yarn, pull through the last loop, and weave the tail into the back of the work using your tapestry needle. Don’t skip this step — loose ends will unravel with use, and a keychain gets handled constantly.
Attaching the keychain hardware
Now you need to turn this little flower into something you can actually clip to your bag or keys. A simple lobster clasp works best. Sew it onto the back of the piece using a strong thread or a strand of your yarn — just make sure it’s anchored securely through several stitches.
If you’re using a split ring instead, you can thread it through a loop of yarn on the back. Either way, test it. Give it a good tug before you clip it onto anything important.
Why this project works so well for leftover yarn
Here’s the honest truth: most scrap projects look scrappy. The colors don’t match, the sizes are weird, and you end up with something that feels more like a practice swatch than a finished object. This keychain avoids that problem because the design itself calls for multiple colors. The randomness is the point.
You can use up those partial balls that aren’t big enough for a hat or a pair of gloves. Even tiny amounts — 3 to 5 yards per color — are enough for several petals. It’s almost like the project was designed for that specific frustration of having “almost enough” yarn.
If you’re new to working in the round, this is also a low-stakes way to practice. The double stitch crochet walkthrough for beginners covers the techniques you’ll use here, and the small size means you can start over in five minutes if something goes wrong.
Variations to try
Once you’ve made one, you’ll probably think of five ways to change it. Here are a few ideas:
- Monochrome version: Use one color for the base and different shades of the same color for petals. Ombré effect, no extra work.
- Thicker yarn: Chunky yarn makes a bigger, squishier keychain that works great as a zipper pull on a backpack.
- Add a hanging loop: Instead of attaching hardware, crochet a chain loop at the top and tie it directly onto a bag strap.
- Mini version: Use thread-weight yarn and a tiny hook for a delicate charm. Great for phone charms or earrings.
What to do with extras
These keychains make fantastic small gifts. They’re quick enough to batch-craft for friends, coworkers, or the person at your local yarn swap who always compliments your projects. Attach one to a gift bag instead of a bow. Use it as a bookmark. Sew a pin back on it and wear it as a brooch.
The point is: one project leads to another. Once you see how satisfying it is to turn scraps into something finished and functional, you’ll start eyeing every partial ball in your stash differently.
So dig out those leftovers. Pick your colors. Start that first magic ring. In under an hour, you’ll have something new — and your scrap bag will be just a little bit lighter.