There’s something about a Minion that just makes you smile. That big eye, the goofy grin, the way they speak in gibberish and still manage to be the funniest characters in the room. So why not bring that energy to your water bottle? A crocheted Minion bottle cover is exactly the kind of project that turns a boring everyday object into something you actually want to carry around. It’s practical, it’s cute, and it’s a great way to use up those scraps of yellow and blue yarn you’ve been hoarding.
I recently watched a maker work through this exact project, and the whole thing came together faster than you’d expect. The video showed hands moving through the process in a casual, homey setting — pink surface, scissors, a ball of black yarn, and a crocheted sunflower sitting in the corner like a cheerful witness. The finished piece was unmistakably a Minion: yellow body, blue overalls, that single goggle eye, and a little stitched mouth. If you’ve ever wanted to make one yourself, here’s how it breaks down.
What You’ll Need Before You Start
The beauty of this project is that it doesn’t call for a huge stash of supplies. You’re working with basic materials, and the technique is straightforward enough for an intermediate crocheter — though a confident beginner could handle it with a little patience.
You’ll want worsted weight yarn in three colors: bright yellow for the body, denim blue for the overalls, and black for the eye strap, mouth, and any small details. A small amount of white yarn helps for the eye itself. Grab a hook that matches your yarn weight — usually a 4mm or 5mm works well — and a tapestry needle for sewing pieces together. Scissors, stitch markers, and maybe some stuffing if you want the cover to have a bit of padding are also helpful.
The video showed the maker working with black thread at one point, which suggests they were embroidering the mouth rather than crocheting it. That’s a smart shortcut. It gives you more control over the expression, and it’s easier than trying to crochet a tiny curved line.
Starting with the Yellow Body
The bottle cover is worked from the bottom up. You’ll start with a magic ring — or a chain joined into a circle if you prefer — and work in continuous rounds to build a tube that fits snugly around your bottle.
The maker in the video kept their hands in the top-left corner of the frame, working steadily through the yellow section. The key here is tension. If your stitches are too loose, the cover won’t grip the bottle and will slide around. Too tight, and you’ll struggle to get the bottle in at all. Aim for a fabric that stretches just enough to slip over the bottle but stays put once it’s on.
For a standard 500ml water bottle, you’ll need about 20 to 24 stitches around, worked in single crochet. Increase evenly for the first few rounds until the base is flat, then stop increasing and work straight up. The yellow section should cover most of the bottle’s height — think of it as the Minion’s body, from the bottom of the overalls up to just below the head.
Adding the Blue Overalls
Once the yellow body reaches the right height, it’s time to switch to blue. This is where the Minion really starts to come to life.
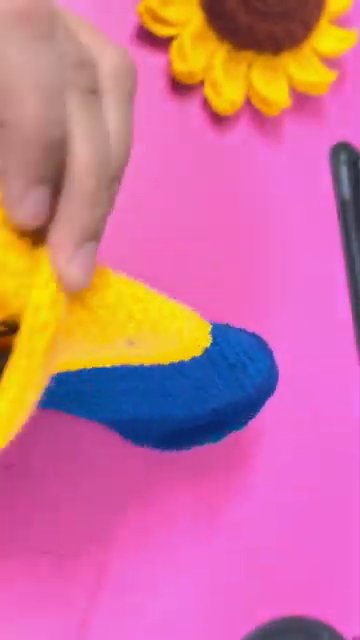
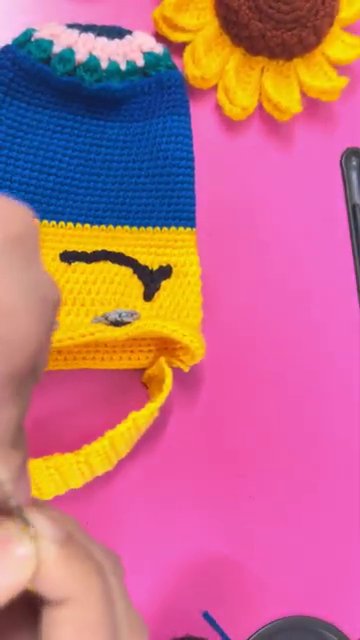
The overalls cover the lower portion of the body, so you’ll work a few rounds in blue, then add a strap that goes up over one shoulder. In the video, the maker seemed to be crocheting the overalls as a separate piece and then sewing it onto the yellow body. You could also crochet it directly by changing colors at the right point — both methods work. The separate piece approach gives you cleaner color changes and makes it easier to position the strap exactly where you want it.
The strap is just a narrow chain or a few rows of single crochet, attached at the front and back of the overalls. It should sit diagonally across the yellow chest area. If you want to add pockets or buttons, small rounds of blue yarn stitched onto the front add that extra bit of character.
The Face: Eye, Goggle, and Mouth
This is where things get really fun. The face is the most recognizable part of any Minion, and getting it right makes the whole project worth it.
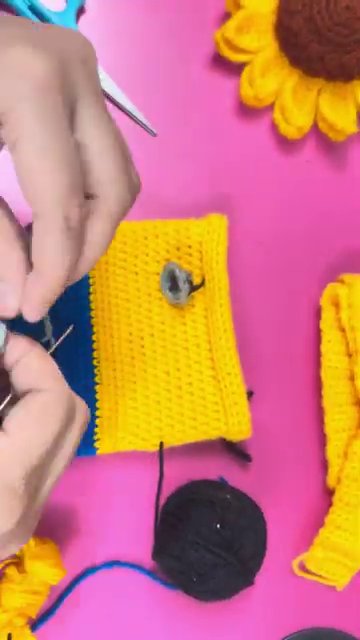
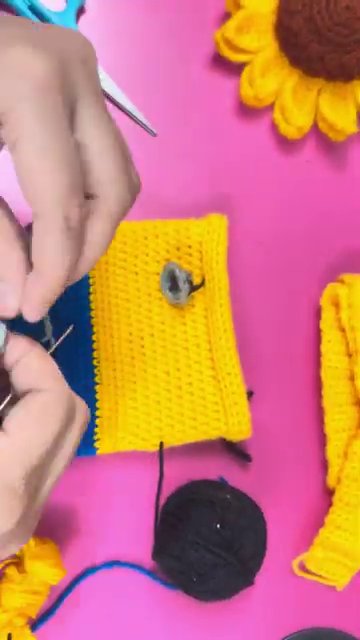
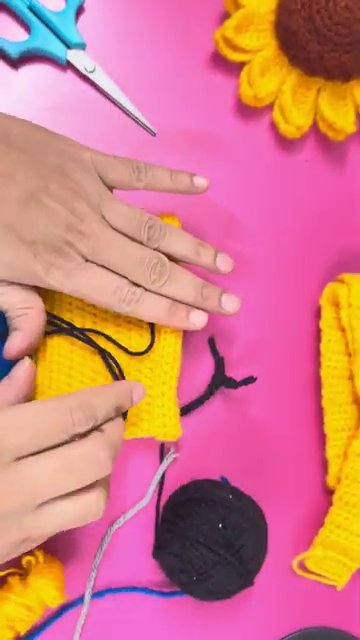
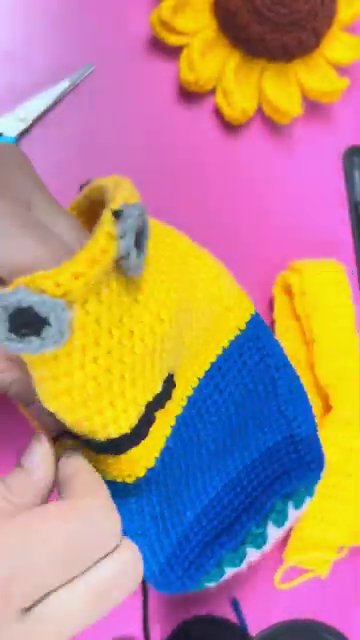
The maker in the video used black thread to stitch a simple curved mouth — just a few straight stitches pulled into a smile. A small black line for the mouth opening and maybe a tiny tongue in red or pink if you’re feeling ambitious. The eye is the real centerpiece.
Start by crocheting a white circle — a few rounds of single crochet, increasing evenly until it’s about two inches across. Then switch to black for a single round to create the goggle rim. Sew or crochet a thin black strap that wraps around the side of the cover, mimicking the goggle band that Minions wear. The eye itself is a black circle stitched or crocheted onto the white base. In the video, the maker positioned the eye slightly off-center, which gives the Minion that classic lopsided look.
If you want to get really detailed, you can add a small silver or gray ring around the goggle for the metallic frame. A bit of embroidery floss works well for this.
Sewing It All Together
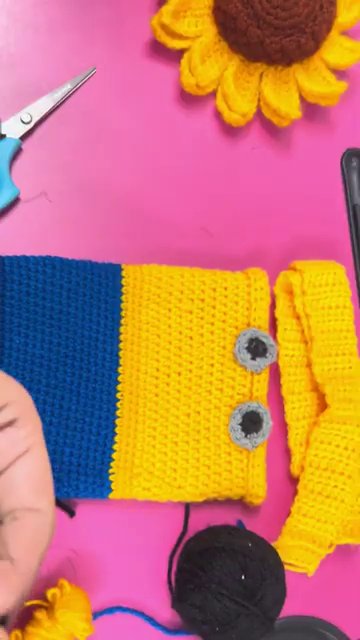
Once the main pieces are done, you’ll need to assemble everything. The video showed the maker carefully folding and adjusting the crocheted pieces before sewing them together. This step is worth taking your time with.
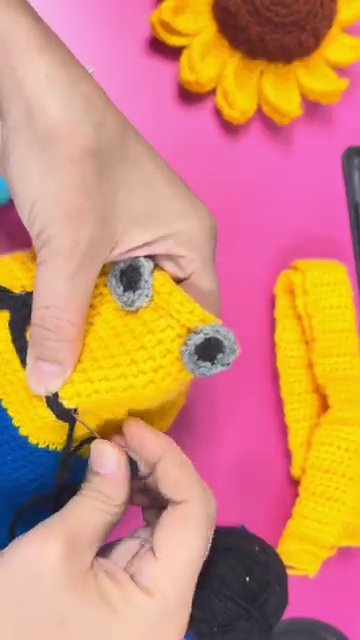
Pin or stitch-mark the eye and mouth in place before you commit to sewing. Hold the cover up against your bottle to check the positioning. You want the face to sit at the right height — not too high, not too low. The overalls strap should lie flat against the body without twisting.
Use a tapestry needle and matching yarn to sew the pieces on. Invisible stitches are ideal, but if your stitches show a little, it adds to the handmade charm. The maker in the video seemed to be using a whip stitch, which is fast and sturdy. Just keep your stitches even and not too tight, or the fabric will pucker.
Finishing Touches and Fit
After the face is on, give the cover a final test fit. Slip it over your bottle and see how it sits. Does it stay in place? Is the face centered? If everything looks good, weave in your ends and trim any excess yarn.
The video ended with a close-up of the finished product, and it looked fantastic. The yellow was bright, the blue was crisp, and the black details popped. The maker had clearly put care into every stitch. The cover fit the bottle snugly, and the Minion face was instantly recognizable.
You can customize this pattern in all sorts of ways. Use a smaller hook and finer yarn for a slim water bottle. Add a loop at the top so you can hang the bottle from a carabiner. Make a matching set for the whole family. Or try your hand at other characters — the same basic tube-with-face approach works for plenty of cartoon designs.
Why This Project Works So Well
There’s a reason this kind of project keeps showing up in crochet circles. It’s useful. It’s fast. And it makes people smile.
A bottle cover protects your drink from condensation, adds a bit of insulation, and makes your water bottle easy to spot in a crowd. But the Minion theme takes it from practical to playful. It’s a conversation starter. Kids love it. Adults pretend they’re above it, then secretly want one for their desk.
The video showed a maker who clearly knew their stuff, working through the process with confidence. The casual setting — likely someone’s home, maybe a kitchen table — made it feel approachable. This wasn’t a polished production with perfect lighting and a script. It was just someone sharing what they love to do. That’s the kind of project that inspires other people to pick up a hook and try it themselves.
If you’re new to amigurumi-style projects, you might want to start with something smaller first. A crochet plush frog pattern is a great warm-up — it uses similar techniques like working in the round and sewing pieces together, but on a smaller scale. Once you’ve got the basics down, the Minion bottle cover will feel like a natural next step.
Key Takeaways
- Use worsted weight yarn in yellow, blue, black, and white for the classic Minion look.
- Work the body as a tube from the bottom up, adjusting stitch count to fit your bottle.
- Crochet the overalls separately or change colors directly — both work.
- Embroider the mouth with black thread for precision.
- Sew the eye and goggle strap on carefully, checking positioning against the bottle.
- Test the fit before weaving in ends so you can make last-minute adjustments.
This project is one of those rare combinations of cute and functional. It’s a great weekend project, a thoughtful handmade gift, and a fun way to show off your crochet skills. Plus, every time you take a sip, you get to look at that ridiculous, lovable Minion face staring back at you. That’s hard to beat.