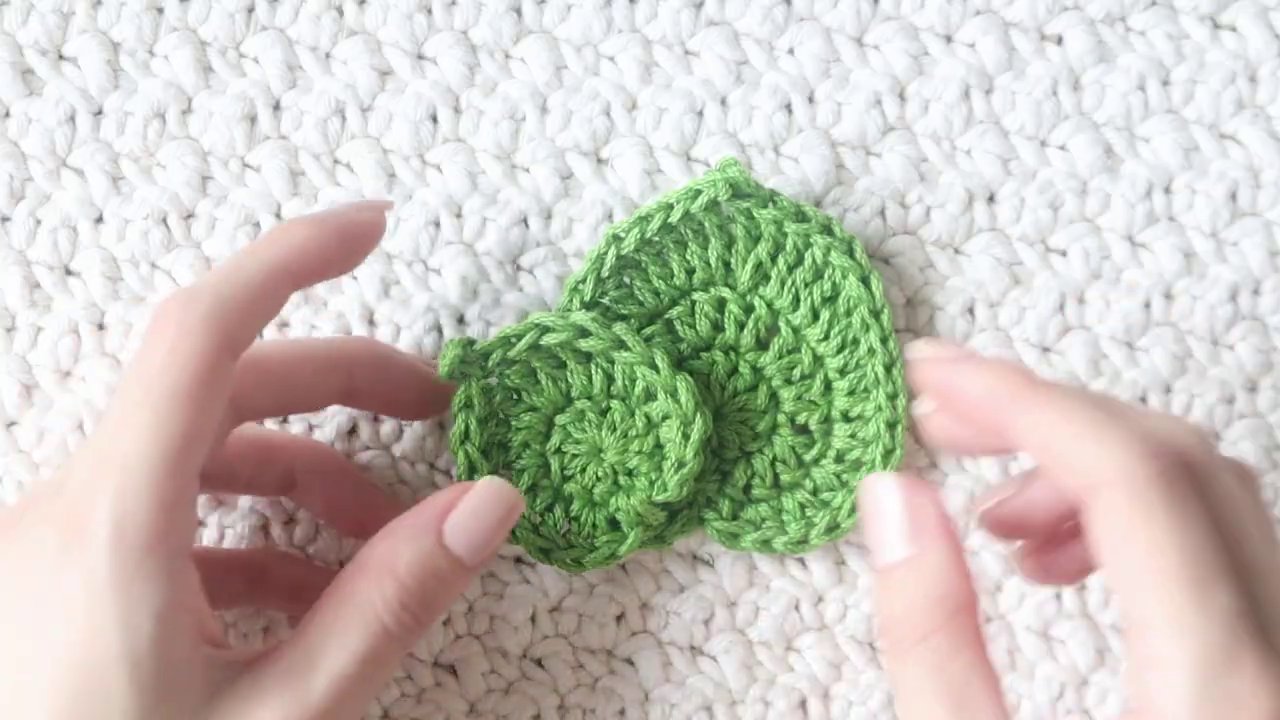
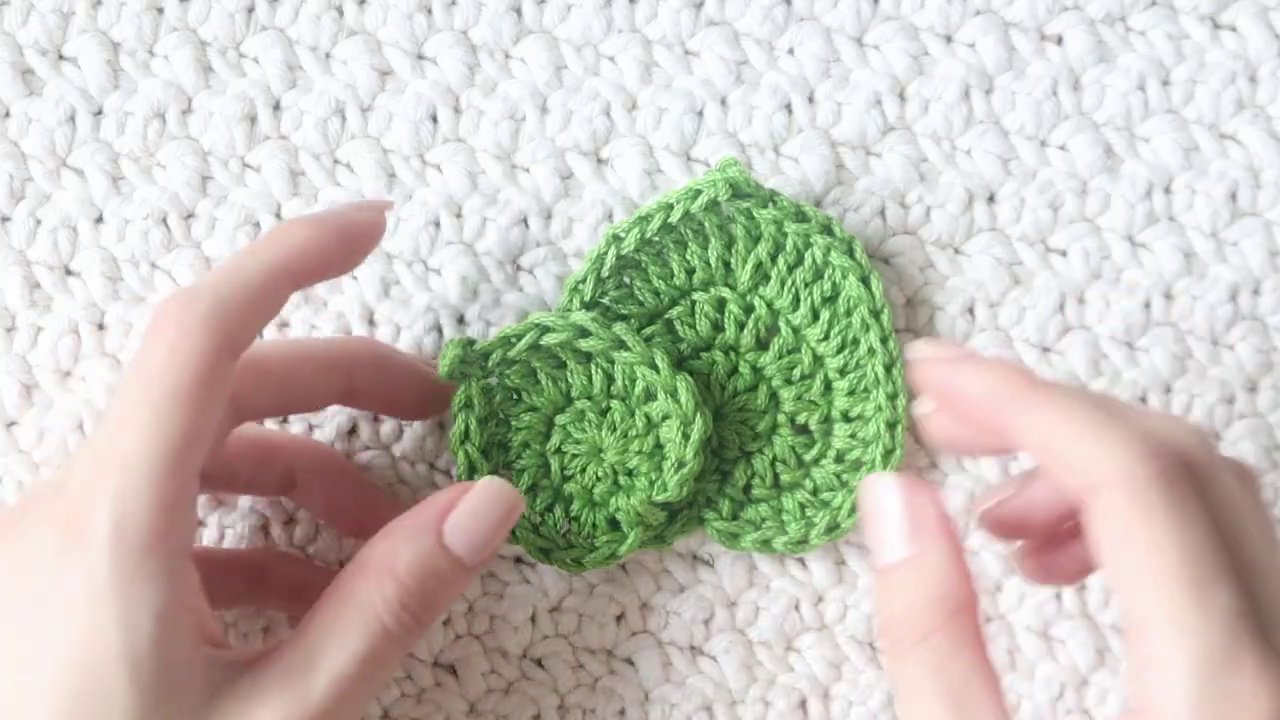
You’ve made the flowers. Maybe a cheerful daisy, a romantic rose, or a few chrysanthemums for a friend. They look lovely on their own — but something feels missing. The green. That pop of life that makes a bouquet actually look like it belongs in a garden instead of just sitting on a shelf. That’s exactly what we’re fixing today.
I’ve been making flowers in my workshops for weeks now, and every time someone finishes a bloom, they look at it and say the same thing: “It needs leaves.” So here are two easy leaf designs that take about ten minutes each. One is small and delicate. The other is bigger, with more texture. Both start the same way — with a magic ring and ten double crochets.
Getting Started: The Magic Ring
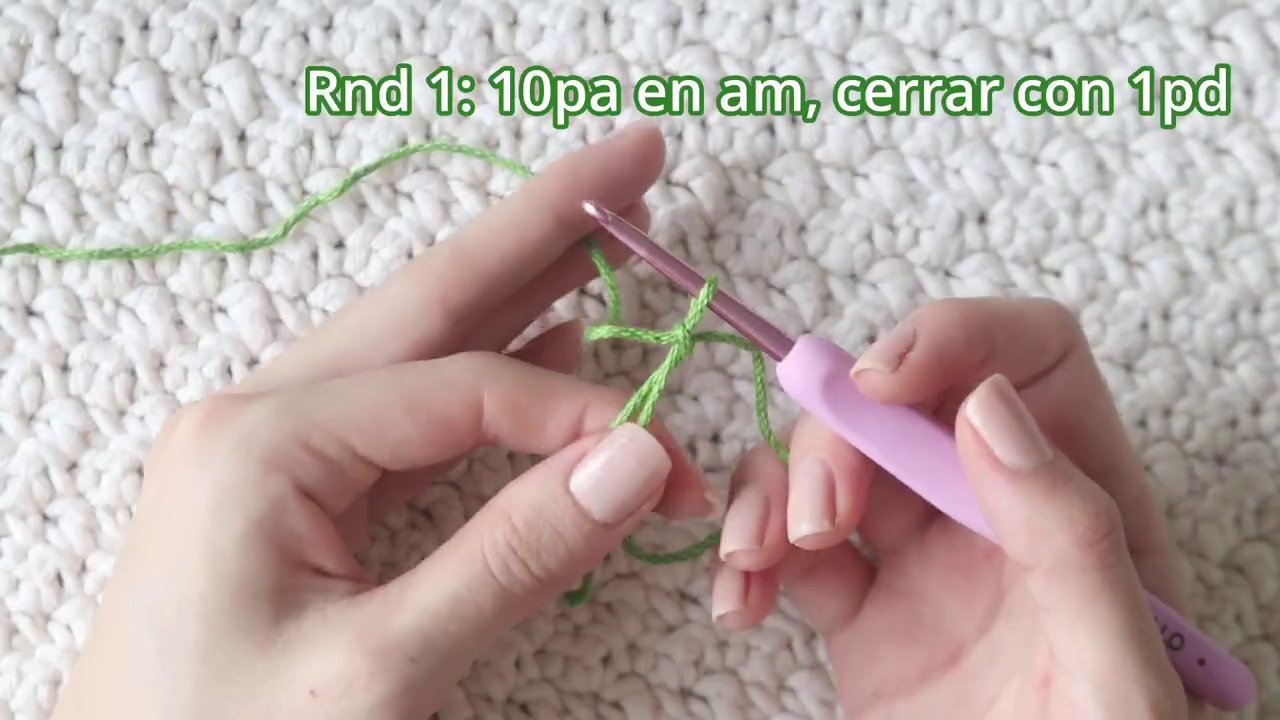
Both leaves begin with a magic ring. If you’ve never done one before, here’s the quick version: lay the yarn across your palm, wrap it around your fingers in an X shape, hold the cross with your thumb, then reach under the first strand and over the second. Pull the working yarn through the loop and tighten. That’s your ring.
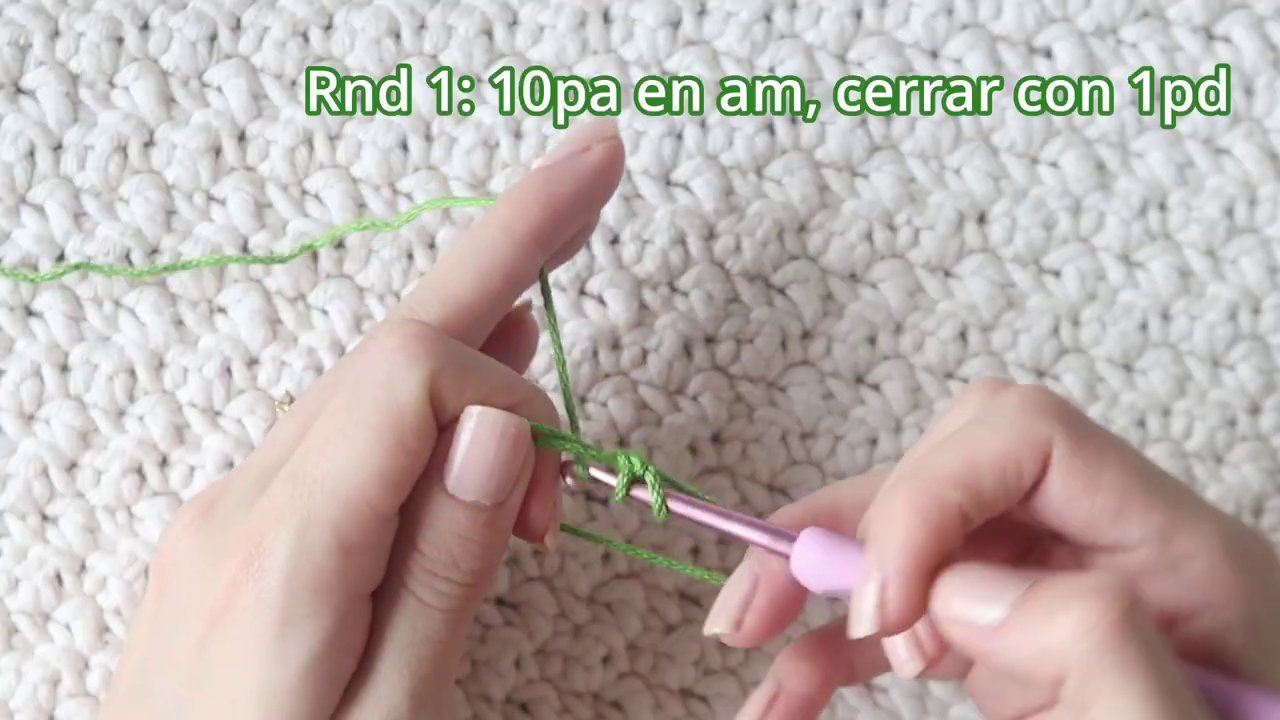
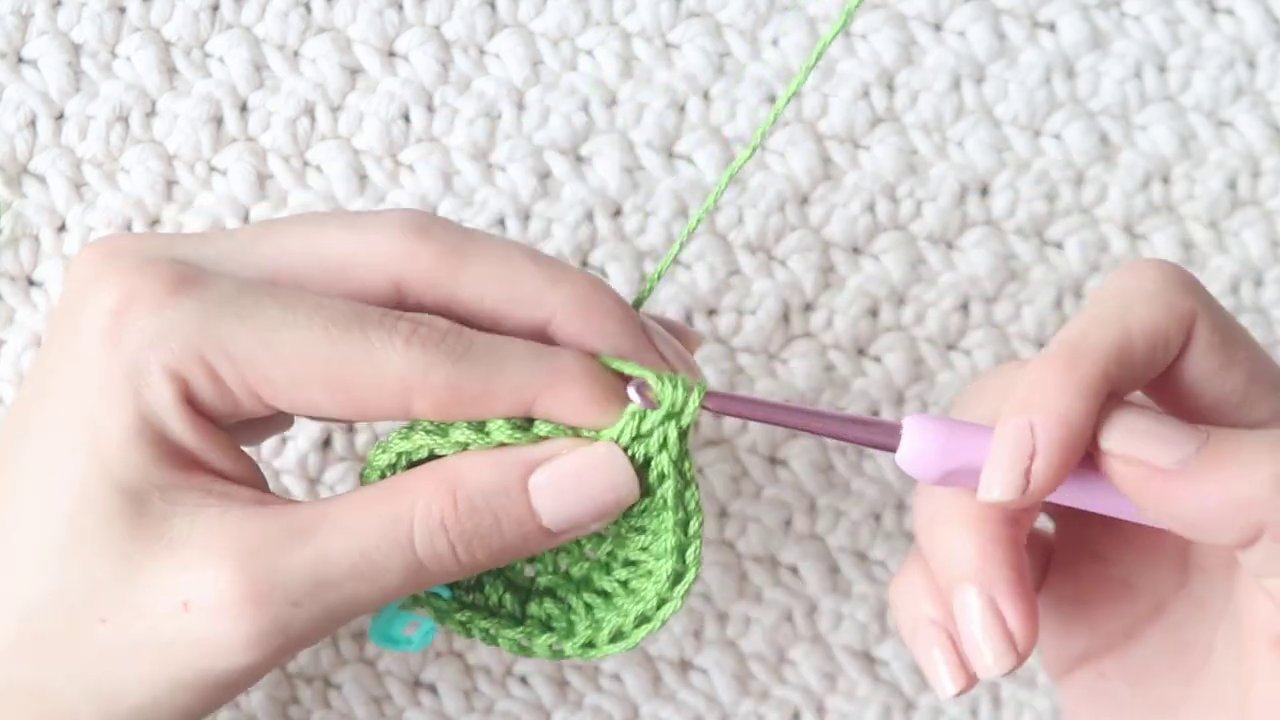
Once it’s secure, chain two (that counts as your first double crochet) and work nine more double crochets into the ring. You want ten total. Pull the tail to close the ring tight, then slip stitch into the top of your first stitch to close the round. That’s the foundation for both leaves.
Leaf One: The Small Pointed Leaf
This one pairs beautifully with daisies or any small flower. It’s quick, uses very little yarn, and has a sharp point at the tip that gives it a natural look.
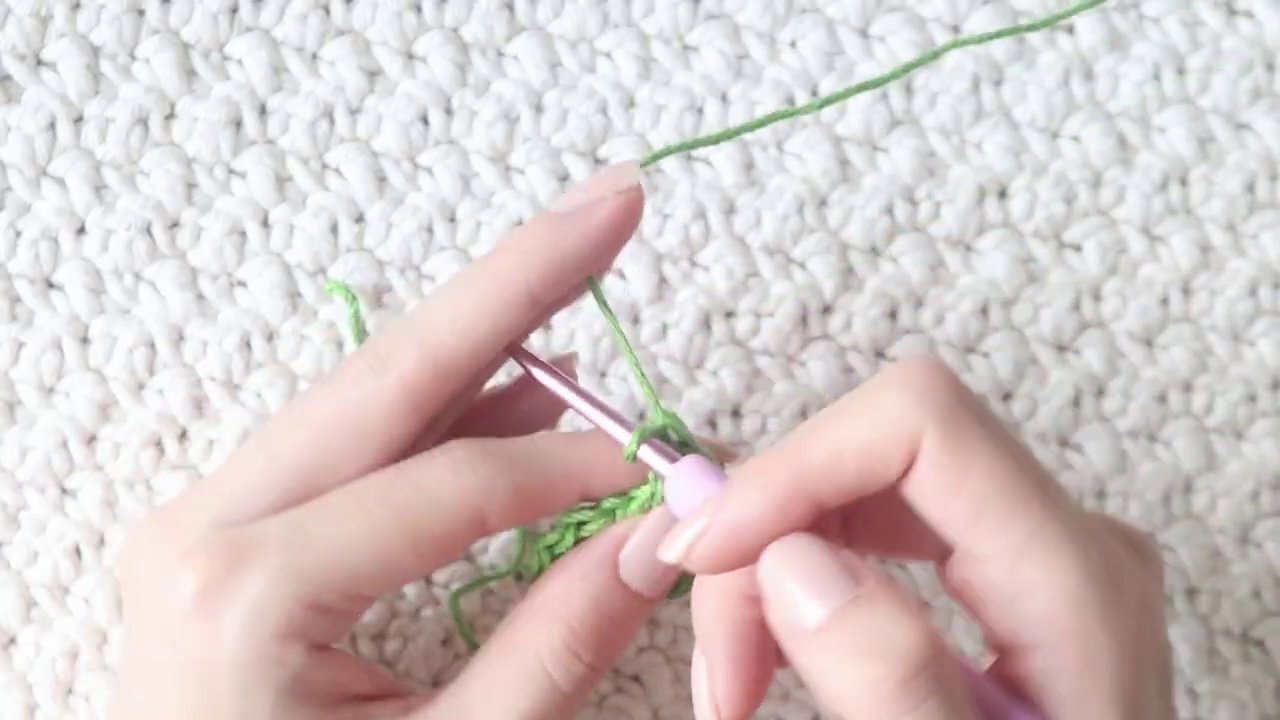
After closing the first round, you’ll build the leaf shape by working increases in specific stitches. Start with two half double crochets in the next available stitch. Then do two increases in double crochet — that means two double crochets in the same stitch, twice. Next comes the trickiest part: a triple crochet increase.
Wrap the yarn twice around your hook, insert into the next stitch, pull through, and then close it in pairs — two loops at a time. Do that twice in the same stitch. Then repeat that triple crochet increase in the next stitch. You should have two triple crochet increases in a row.
Now for the tip. Chain two, then insert your hook into the base of the last triple crochet stitch you made. Pull through and slip stitch. That’s a picot point — it creates that tiny nub at the top of the leaf.
From here, you mirror what you did on the other side. Two triple crochet increases, two double crochet increases, and two half double crochet increases. Slip stitch to close, cut the yarn, and weave in the ends.
This leaf is perfect for attaching directly to a flower stem. Just thread a piece of floral wire through the base, wrap it around the stem, and secure with green thread or yarn.
Leaf Two: The Larger Textured Leaf
Sometimes you need a leaf with more presence. Maybe you’re making a rose bouquet or a larger arrangement where small leaves would look out of place. This version uses the same starting round but adds an extra row of increases to make the leaf wider and more substantial.
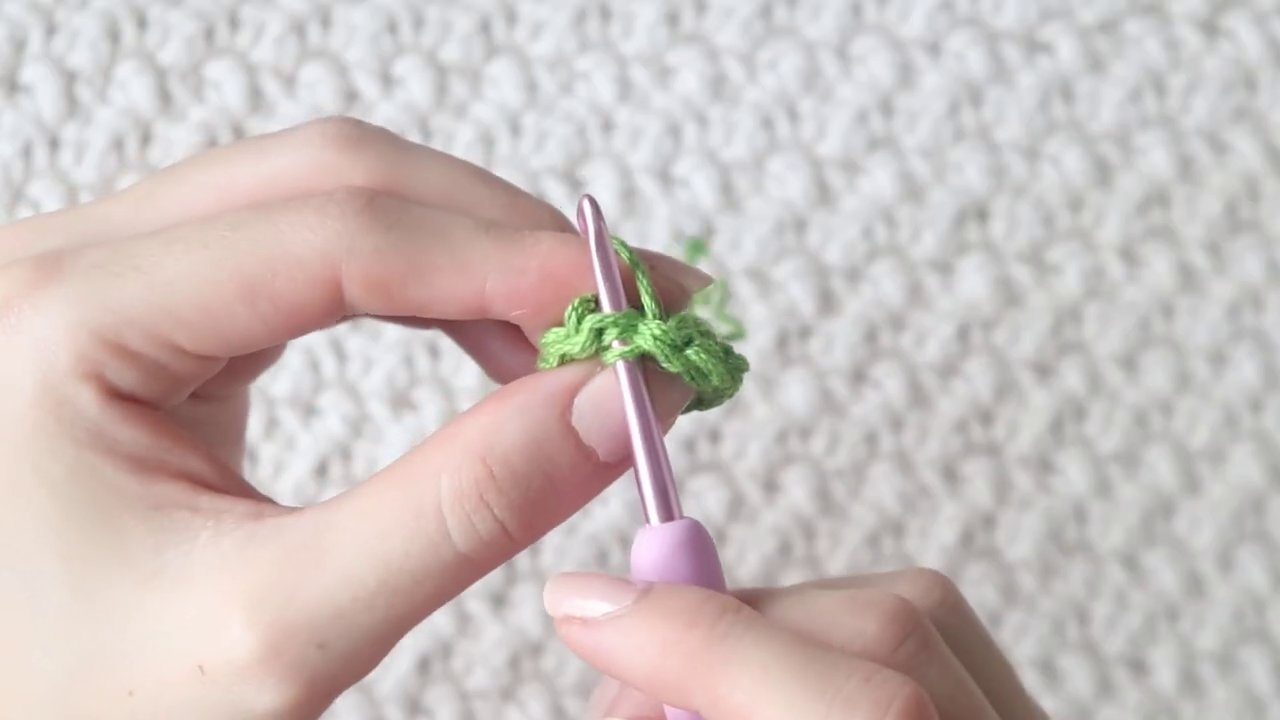
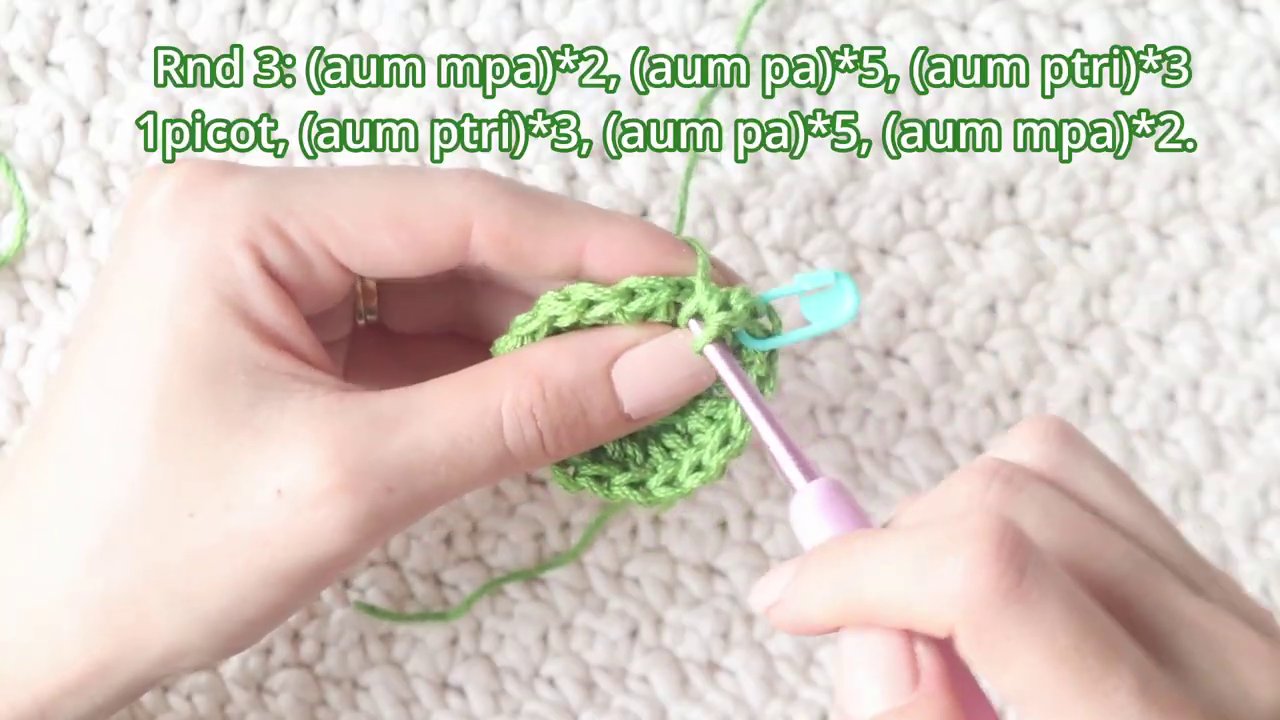
Start the same way: magic ring, ten double crochets, close with a slip stitch. But now, instead of jumping straight into the leaf shape, you’ll work a second round of increases. Put two double crochets in every stitch around. That gives you twenty stitches total. Use a stitch marker to keep track of where the round starts — it’s easy to lose your place here.
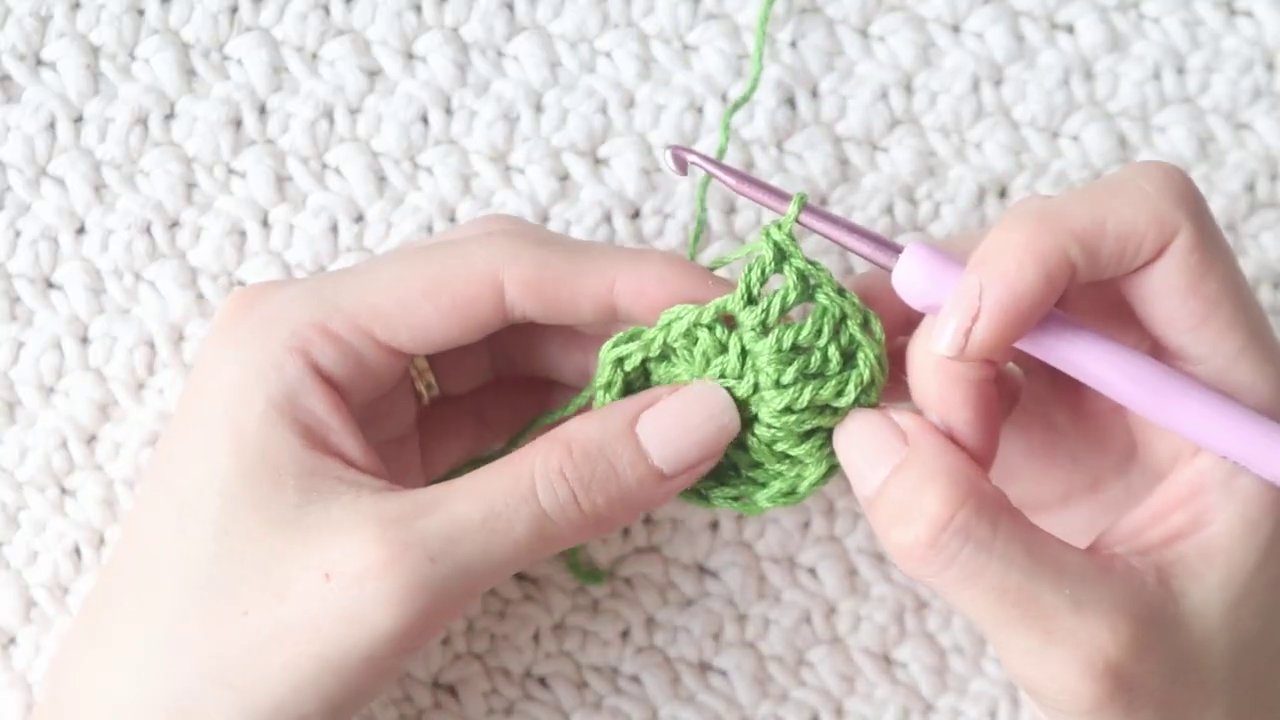
Now for the shaping. Work two half double crochet increases in the first two stitches. Then five double crochet increases — that’s ten stitches total, two in each of five stitches. Then three triple crochet increases. The leaf should already look noticeably wider than the small version.
At the tip, make another picot point the same way: chain two, slip stitch into the base of the last triple. Then mirror the other side with three more triple crochet increases, five double crochet increases, and two half double crochet increases. Slip stitch to close.
This leaf has a more dramatic curve and feels sturdier. It works well with heavier flowers and stands out in arrangements.
How to Attach Them
You’ve got options here. The simplest method is to thread the yarn tails through a needle, sew the leaf to the flower stem, and knot it securely. If you’re using floral wire, you can pierce the base of the leaf, bend the wire downward, and wrap it with green yarn or floral tape.
For more versatility, give each leaf its own wire stem. That way you can position them independently in the arrangement. Move them around, bend them slightly, create different angles. It makes the whole piece look more organic.
If you’re attaching directly to a flower, place the leaf just below the bloom and wrap both stems together. A few tight wraps with green thread will hold everything in place.
Why Leaves Matter
It sounds obvious, but leaves really do transform a crochet flower from a cute object into something that looks alive. The green provides contrast. It frames the petals. It gives the eye somewhere to rest. Without leaves, even the most beautifully made flower can feel a bit flat.
If you’ve been making flowers and wondering why they don’t quite look like the pictures you see online, this is probably why. The leaves aren’t an afterthought. They’re part of the design.
And the best part? These leaves use almost no yarn. You can make a dozen from a single skein. They’re great stash-busters and perfect for using up those partial balls of green that seem to accumulate in every crocheter’s bag.
A Few Tips Before You Start
Use a smooth, medium-weight yarn in a bright green. The tutorial uses a shade called grass — it’s that vibrant, almost neon green that really pops against pastel flowers. But any green will work. Darker greens give a more realistic, woodsy look. Lighter greens feel softer and more whimsical.
Keep your tension consistent. The leaves look best when the stitches are even. If you tend to crochet tightly, go up a hook size. If you’re loose, go down. The goal is a fabric that holds its shape without being stiff.
And don’t skip the picot at the tip. It’s a tiny detail, but it makes the leaf look finished. Without it, the top feels blunt. With it, you get that little point that mimics real leaves.
If you’re new to triple crochet, take it slow. The extra wrap can feel awkward at first. But once you do a few, it becomes second nature. And the height it adds is exactly what makes these leaves look dimensional.
What’s Next
I’ll be sharing more flower patterns soon — including the chrysanthemums we’ve been working on in my workshops. The plan is to build up a full floral arrangement piece by piece, so you can mix and match flowers and leaves however you like.
In the meantime, these leaves pair perfectly with the daisy from the last tutorial. If you haven’t made that one yet, it’s a good place to start. The small leaf fits it like it was designed together — which, honestly, it kind of was.
Thanks for sticking with me through the whole tutorial. If you make these leaves, I’d love to hear how they turned out. And if you have questions about the stitches or the assembly, just ask. That’s what this space is for.
See you next Wednesday.