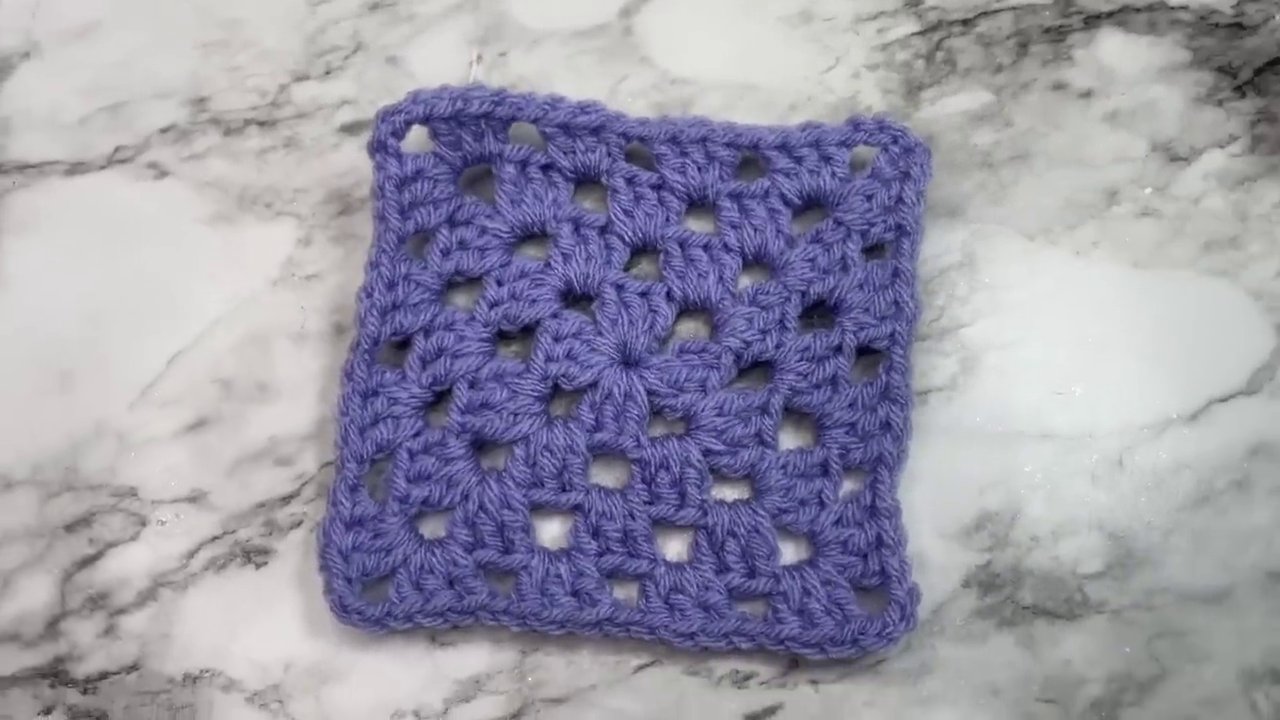
Welcome to the wonderful world of crochet! If you’re looking for the perfect first project, you’ve found it. The classic granny square is a foundational crochet motif that is not only simple to learn but also incredibly versatile. In this updated, comprehensive guide, we’ll walk you through every single step, from creating your very first slip knot to weaving in the final tail. By the end, you’ll have a beautiful, finished square ready to be turned into countless projects, from cozy blankets to stylish bags. Let’s pick up your hook and yarn and begin this creative journey together.

Your Complete Guide to the Beginner Granny Square
The granny square is more than just a pattern; it’s a rite of passage for crocheters. Its repetitive, cluster-based construction makes it an excellent teacher for fundamental stitches and techniques. This tutorial is designed as an updated method, refining the process for clarity and ease. We’ll be using US crochet terminology throughout. All you need to get started is a crochet hook, some yarn (a medium weight like worsted is perfect for beginners), and a pair of scissors. Remember, the beauty of this square is that you can make it any size by simply adding more rounds.
Getting Started: The Foundation Ring
Every granny square begins with a solid center. We’ll create this by forming a ring of chains, which will serve as the base for our first round of stitches.
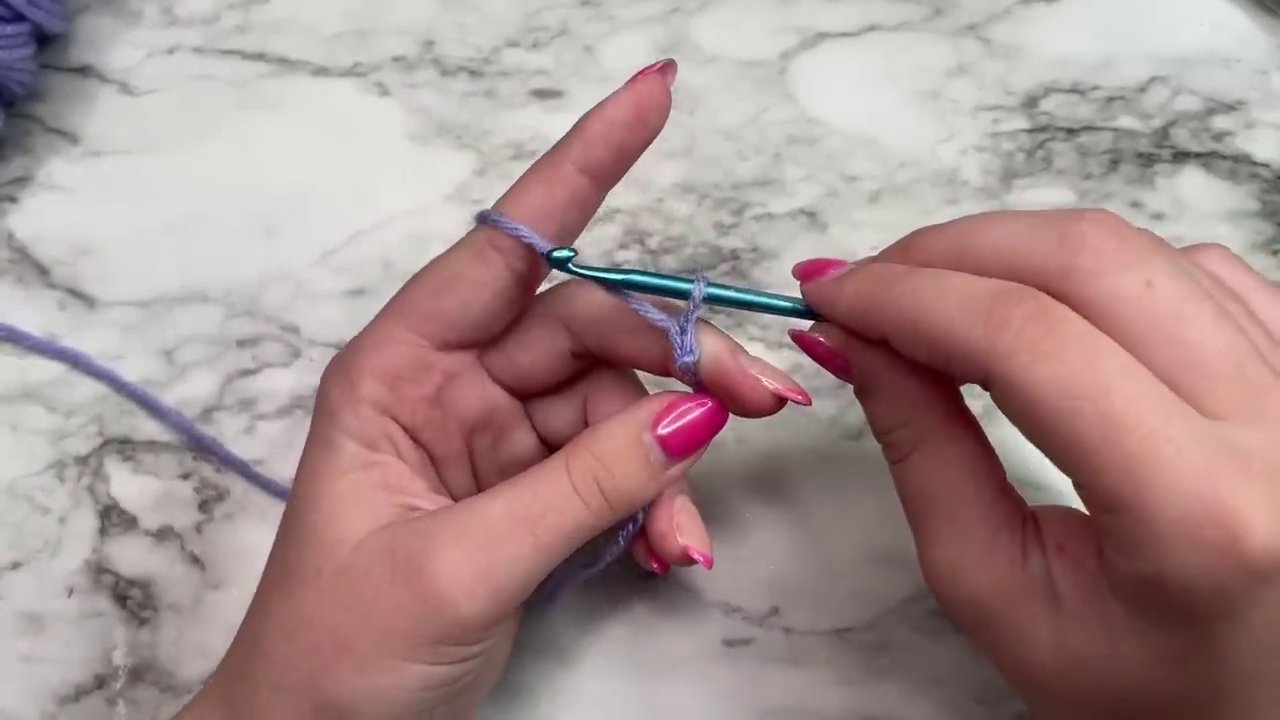
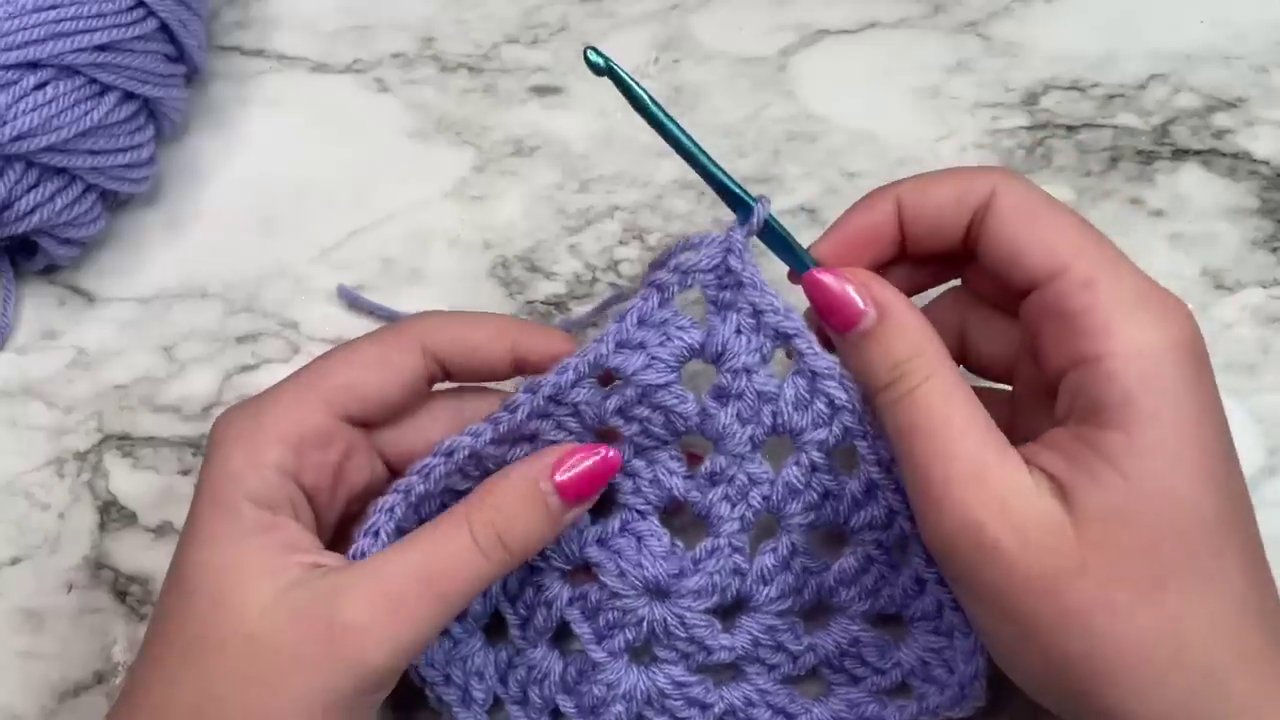
- Create a Slip Knot: This is how you attach the yarn to your hook. Take the tail end in your right hand and the long working strand in your left. Cross them to form a loop. Insert your fingers through the back of the loop, grab the long strand, and pull it through partially. Hold the tail and pull the loop tight to form a secure knot. Place this loop on your hook and gently tug the long strand to tighten it onto the hook.
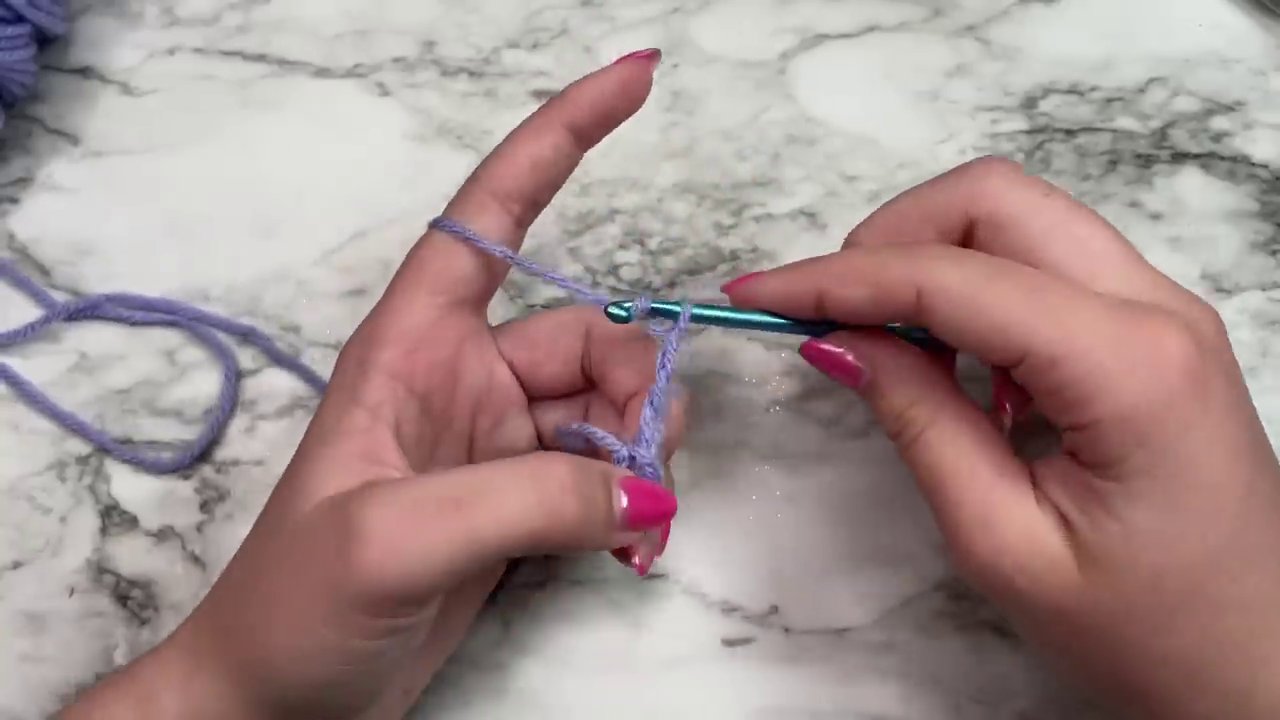
- Chain Four: Now, we’ll create the initial chains. Yarn over (wrap the yarn around your hook from back to front) and pull that new loop through the loop already on your hook. This is one chain stitch. Repeat this three more times until you have four chains in total.
- Form the Ring: To join these chains into a ring, insert your hook into the very first chain you made. Yarn over and pull up a loop. You will now have two loops on your hook. Pull the second loop through the first to complete a slip stitch. You should now see a small ring or circle made of chains. This is your working space for Round 1.
Round 1: Building the First Corners
This round establishes the four-corner structure that defines the granny square. Pay close attention to the chain-3 spaces, as these will become your corners.
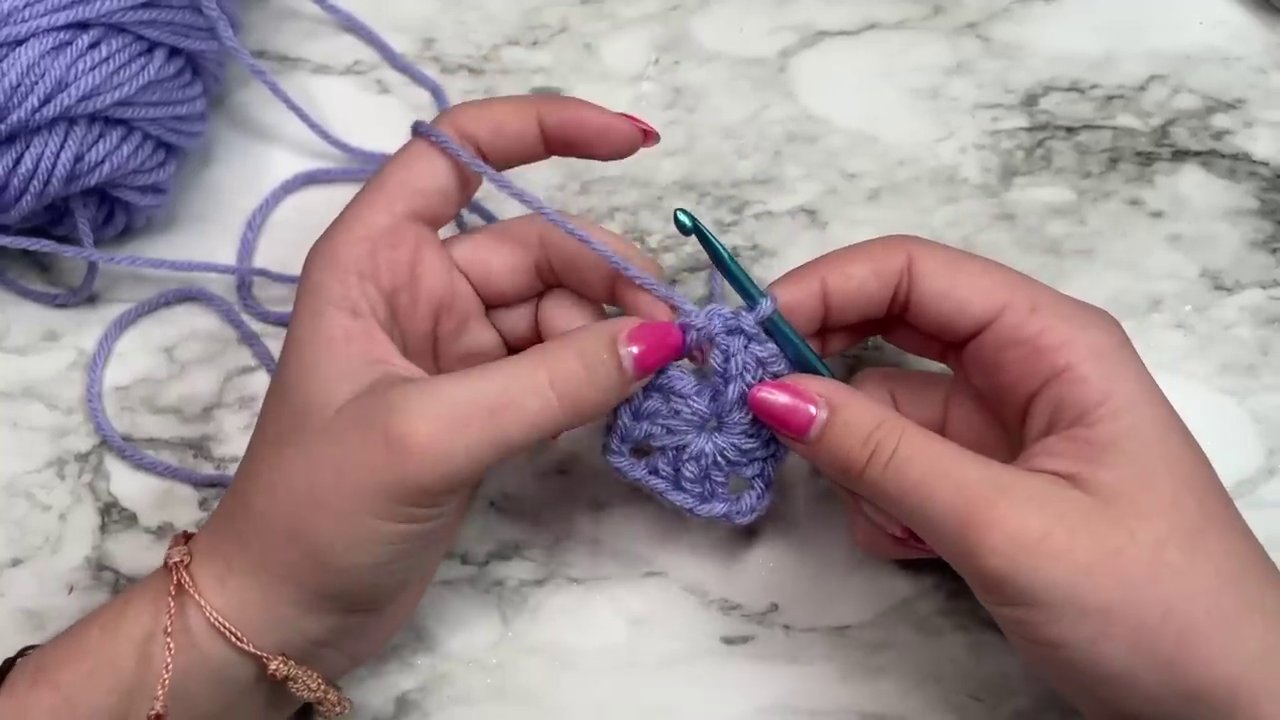
- Chain Six: This counts as your first double crochet plus the three chains that form a corner. Think of it as (1 dc, ch 3).
- Work the First Cluster: Into the center ring, work three double crochets. To make a double crochet (dc): yarn over, insert your hook into the ring, yarn over and pull up a loop (3 loops on hook), yarn over and pull through the first two loops (2 loops remain), yarn over and pull through the last two loops.
- Create a Corner: Chain three. This chain-3 space is your first official corner.
- Repeat the Pattern: Into the same center ring, work another set of three double crochets. You have now completed one side, which consists of a beginning cluster and an ending cluster with a chain-3 corner in between.
- Complete the Round: Repeat the sequence of chain three, three double crochets in the ring two more times. You should now have four groups of three double crochets, each separated by a chain-3 space. For the final side, after your last chain three, work only two double crochets into the ring.
- Join the Round: To close the circle, make a slip stitch into the third chain of the initial six-chain you made at the start. This joins your work and completes Round 1. You now have a clear square shape with four distinct corners.
Round 2: Expanding the Square
In this round, you’ll learn the crucial pattern for corners versus sides, a rule that applies to every subsequent round.
- Positioning: First, slip stitch into the first chain-3 corner space from the previous round.
- Start a Corner: Chain six (counts as 1 dc, ch 3). Then, work three double crochets into the same chain-3 space. You have now made your first cluster of the round and started a new corner. Chain one to move to the next space.
- Work the Next Corner: In the next chain-3 space (which is the next corner), you will work two clusters separated by three chains. So, work: three double crochets, chain three, three more double crochets—all into that same corner space. Chain one.
- Repeat Around: Continue around the square: in each corner space, work (3 dc, ch 3, 3 dc). In the side spaces between corners (which are just the gaps between clusters from Round 1), you will only work one cluster of three double crochets, followed by a chain one to move to the next space.
- Finish the Round: When you reach the starting corner again, work two double crochets into that first space (to match the beginning chain-6). Join with a slip stitch into the third chain of the beginning chain-6.
The Golden Rule: From this point forward, remember: Corners get two clusters with a chain-3 between them. Sides get one cluster. Always chain one between clusters when moving from one space to the next.
Round 3 and Beyond: The Repeating Pattern
Once you understand the logic of Round 2, you can make your granny square as large as you desire. The pattern simply expands outward.
- Starting a New Round: Always begin by slip stitching into the first chain-3 corner space. Then, chain six to start your first corner cluster.
- Follow the Pattern: Work one cluster (3 dc) in that same starting space. Chain one. Now, work your way around the square. For every side space (the single-chain gaps along the edges), work one cluster of 3 dc and chain one. For every corner space, work the full (3 dc, ch 3, 3 dc) and chain one to move on.
- Expanding Sides: With each new round, you will have one more side space between each corner. For example, in Round 3 you’ll have two side spaces per side. In Round 4, you’ll have three, and so on.
- Joining and Finishing: Always end the round by working two double crochets into the starting corner space and joining with a slip stitch to the third chain of the beginning chain-6. When you’ve reached your desired size, chain one after the final join, cut your yarn leaving a 6-inch tail, and pull the tail through the loop on your hook to secure it.
Finishing Your Granny Square
A project isn’t truly complete until the ends are secured. Use a yarn or tapestry needle to thread the long tail you left. Weave this tail back and forth through the stitches on the backside of your work, going in multiple directions to lock it in place. After weaving for an inch or two, gently pull to tighten and trim the excess yarn close to the work. Repeat this process with the starting tail from your slip knot. This step ensures your square won’t unravel and gives it a professional, polished look.
Inspiration and Next Steps
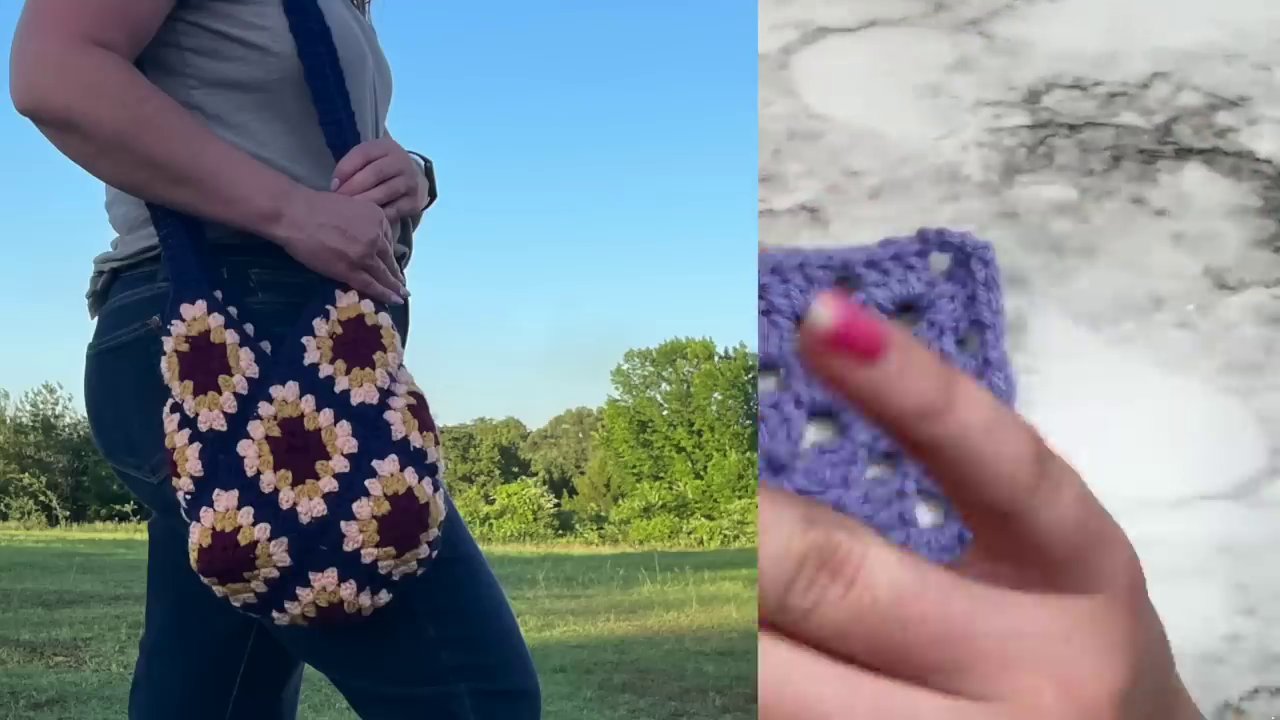
Congratulations! You now hold a handmade granny square, a building block for endless creativity. The classic look is timeless, but don’t be afraid to experiment with a different color for each round to make it pop. These squares can be joined to make blankets, cardigans, bags, and even home decor. For instance, you could create a charming Striped Pouch – Free Bag Crochet Pattern by sewing several squares together. If you enjoy working with motifs, you might also love creating adorable amigurumi, like these Cuddly Caterpillars.
Conclusion: Your Crochet Journey Begins
You’ve successfully mastered the foundational granny square! You’ve learned how to create a slip knot, work double crochet clusters, form corners, and follow a repeating pattern to expand your work. This skill opens the door to a vast array of projects. Keep practicing—your tension and speed will improve with each square you make. What will you create first? A cozy blanket, a set of coasters, or perhaps the start of a stylish tote? Share your projects and ideas; the crochet community is full of inspiration. Happy crocheting