If you’ve been scrolling YouTube looking for a crochet method that actually works for thinning hair or alopecia, you’ve probably seen the miracle knot. It’s the style everyone’s talking about — and for good reason. I recently tried it on a client with no edges and significant hair loss in the front, and the results were honestly stunning. Here’s exactly how I did it, step by step.
What Makes the Miracle Knot Different?
Let me start with the hair itself, because that’s where the magic begins. This isn’t your standard crochet braid hair. The miracle knot hair comes in bundles with a thin piece of thread running through each strand. You’ll notice it right away when you open the package — there’s a wrap around the bundle, and after you take that off, you have to cut a small piece of thread to detangle the hair.
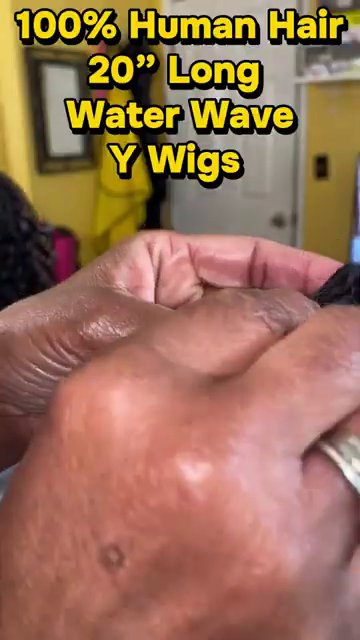
The hair I used is 100% human hair, 20 inches long, in a water wave texture and natural black color. I got it from Y-Wigs. Each pack comes with six bundles, and once you cut that thin thread that holds everything together, you can separate each piece. Every strand has its own little thread that separates the human hair on one side from the other.
Prepping for the Illusion
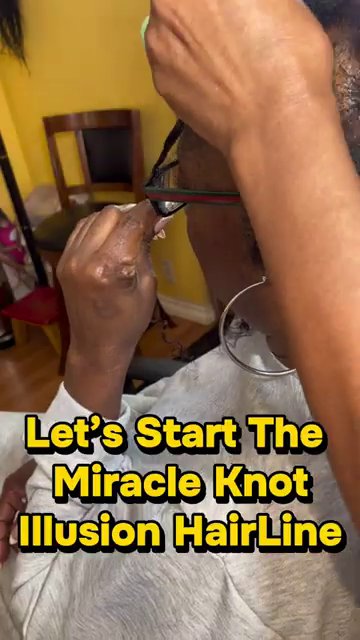
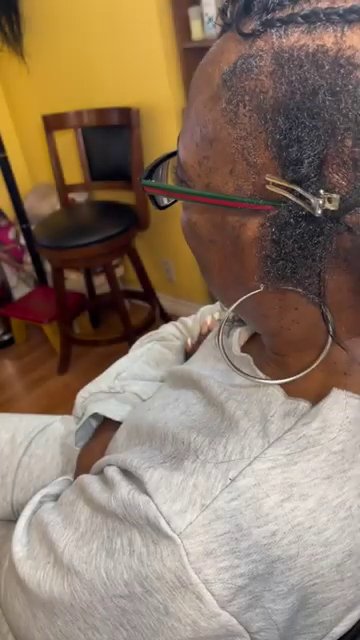
Now, here’s where the technique really starts. I had my client hold one end of the crochet hair while I used the other end to start a cornrow. I did about ten cornrows across the front of her head, from ear to ear.
But here’s a key detail: I added braiding hair to each cornrow. Why? Because when you’re working with thinning hair, the cornrow itself is going to be thin if you don’t add something to it. I wanted this to be healthy and secure. The braiding hair gives strength and makes the braid a nice, substantial size — which actually protects the natural hair underneath. It’s a feeding braid technique, just like you’d do with any other extension method, but the purpose here is twofold: security for the style and protection for her fragile edges.
Creating the Illusion Hairline
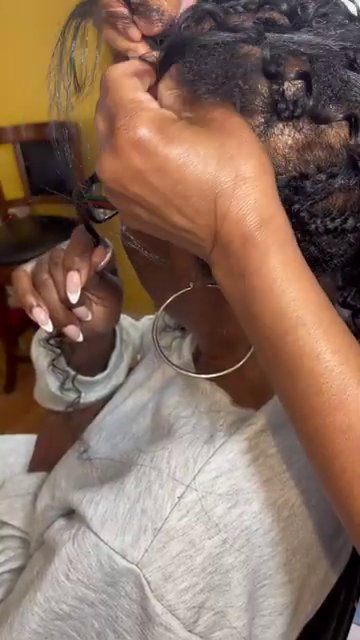
This is the part that really blew me away. As I worked across the front, I sectioned off pieces of her natural hair and grabbed two pieces of the crochet hair at a time. Then I started the cornrow with one end while my client held the other. The braiding hair got fed in just like a regular feeding braid.
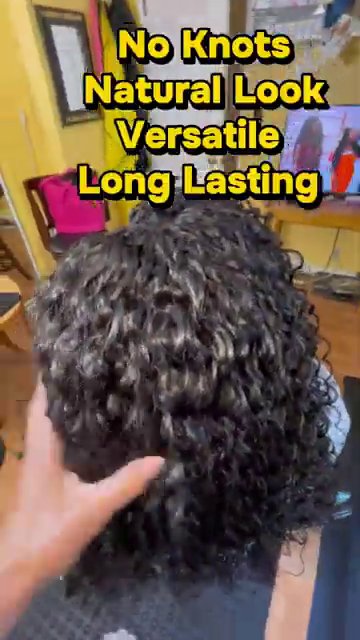
The result? A completely natural-looking hairline. No knots. None. With traditional crochet braids, you almost always see a knot somewhere — at the beginning of the braid, in the middle, wherever. But with the miracle knot hair, the thread is so thin that there’s no visible knot at all. That’s what gives you the illusion. She can flip it to the left, to the right, or pull it back, and you’d never know she has any hair loss in the front.
The Finished Look
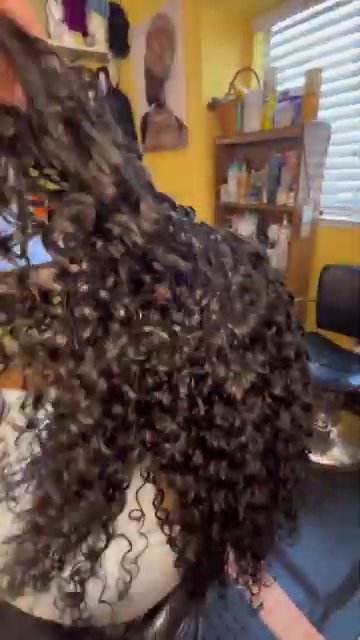
Oh my gosh, when we finished, it was absolutely beautiful. The fullness in the front was incredible. She can wear a left side part, a right side part, or a middle part — and it looks full and natural every time. No one would ever know she has any hair loss at all.
The style is lightweight, which is huge for someone with fragile edges. There’s zero tension on her hairline. It’s instant fullness, and it works on all hair lengths and textures. But more than anything, it boosts confidence and self-esteem. When you’ve been struggling with hair loss, finding a style that restores a natural look without damaging what you have left is a game-changer.
Why This Works for Alopecia
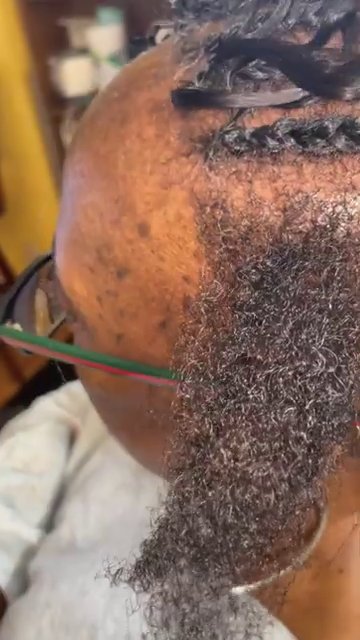
If you have alopecia, thinning edges, or no edges at all, you might think crochet braids aren’t for you. But the miracle knot method changes that. Because you’re not crocheting directly onto fragile hair — you’re crocheting into a cornrow that’s reinforced with braiding hair. That means zero tension on your edges.
The illusion comes from the fact that there are no visible knots. The hair is so finely constructed that it blends seamlessly with your natural hair. And because you can create multiple parts, you’re not locked into one look. You can change your part, pull your hair back, or wear it down — it’s versatile.
Tips for Best Results
If you’re planning to try this method, here are a few things I learned:
- Use good quality human hair. The miracle knot hair from Y-Wigs worked beautifully, but make sure you’re getting 100% human hair for the most natural look.
- Don’t skip the braiding hair. It might seem like an extra step, but it’s what makes the cornrows strong enough to hold the crochet hair without damaging your natural hair.
- Take your time with the cornrows. The more careful you are, the more natural the illusion will look. Ten cornrows across the front gave my client plenty of security and fullness.
- Be gentle with the detangling. The hair comes with a thin thread that needs to be cut carefully. Rushing this step can lead to tangles and breakage.
Who Is This For?
Honestly, anyone with thinning hair or hair loss in the front can benefit from this method. It works on short hair, long hair, straight hair, curly hair — you name it. The key is that it’s protective and low-tension, so it won’t make existing hair loss worse.
If you’ve been feeling self-conscious about your edges or your hairline, this style can give you back some of that confidence. My client walked out of the salon feeling like a new person. She couldn’t stop looking in the mirror.
Final Thoughts
The miracle knot crochet method is one of those rare techniques that actually delivers on the hype. It’s not just about the hair — it’s about giving people options. If you’ve been told you can’t wear certain styles because of hair loss, this proves that you absolutely can.
So if you’re ready to try something new, grab some miracle knot hair, find a stylist who knows the method, or try it yourself if you’re comfortable. The results speak for themselves.
Just remember: you don’t have to settle for less just because you have thinning hair. With the right technique, you can have the fullness, the versatility, and the confidence you deserve.